

Create and update an export template
How to set up an export template in the Developer Portal, from its name and logo to its attributes, advanced settings, external metadata, and site usage.
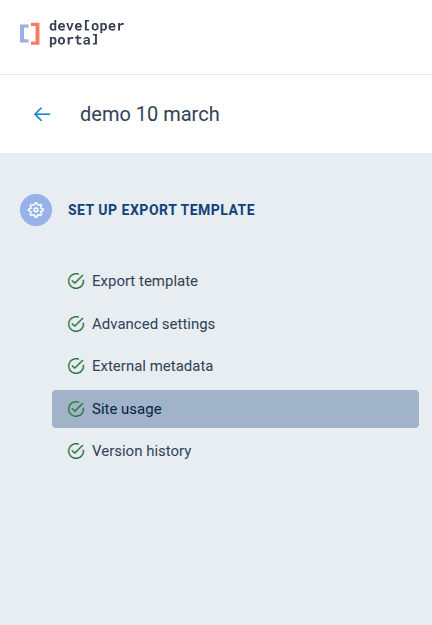
After you add an export template, you set it up on its own page. Its side menu has one tab per part of the setup, and this page follows the same order: Export template, Advanced settings, External metadata, Site usage, and Version history. To add an export template, see Add an export template.
To open an export template:
Go to Export templates in the Developer Portal.
Search for the export template and select it in the list.
Caution
Saving is not publishing. Save stores your changes as a draft, and platform users do not see them until you publish the export template.
When you have finished, select Publish at the top of the page. See Publish export template changes.
Export template
The Export template tab holds the name, the logo, and the attributes of the export template.
Change the name and logo
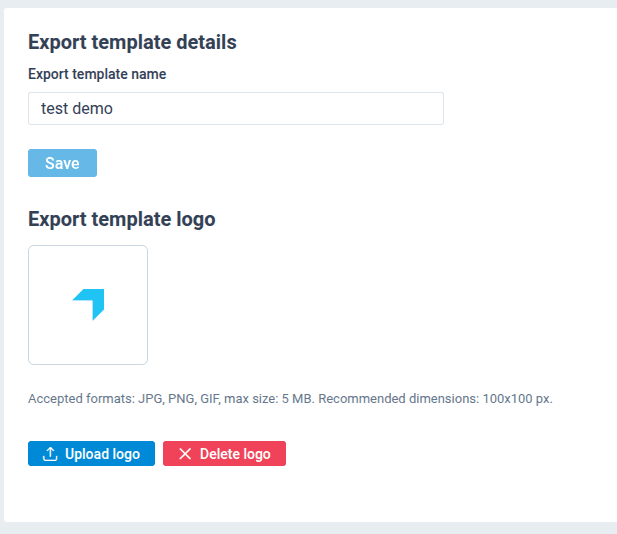
A logo helps users identify the target channel of the export template.
On the Export template tab, edit the name in Export template name.
Select Save.
Select Upload logo and choose the image file. The logo must meet these requirements:
| Requirement | Value |
|---|---|
| Format | JPG (.jpg or .jpeg), PNG, or GIF. Other formats, such as SVG, WebP, or BMP, are not accepted. |
| File size | At most 5 MB. |
| Dimensions | At least 100 × 100 px. Larger images are accepted. |
To remove the logo, select Delete logo. The export template then shows the default logo.
You can also rename an export template from the Export templates page. See Rename an export template.
Attributes and analyzer tests
The Attributes and analyzer tests section lists the attributes of the export template and the analyzer tests of each attribute. See Attributes and Analyzer tests.
Advanced settings
Select the Advanced settings tab to choose the organization and configure the file the export creates.
Choose the organization
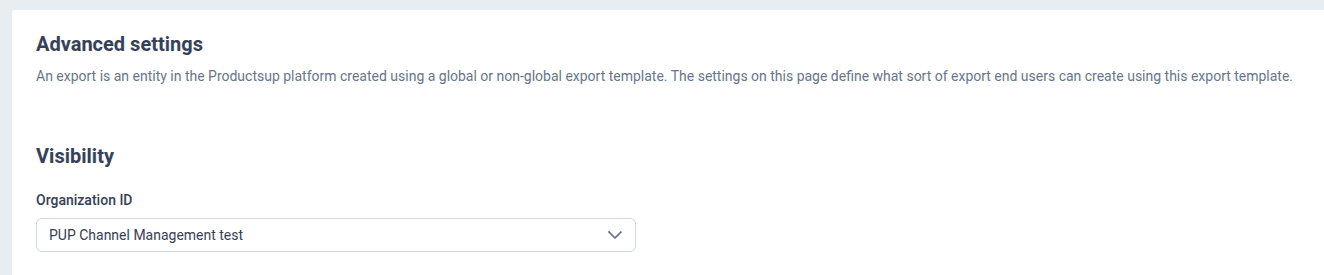
An export template belongs to one organization, and the sites of that organization can use it.
When you create an export template, it is assigned to your organization automatically. If you belong to several organizations, select the right one in the Organization ID list, then select Save.
Technical settings
Use the Technical settings section to define the file the export creates and to turn on delta updates.
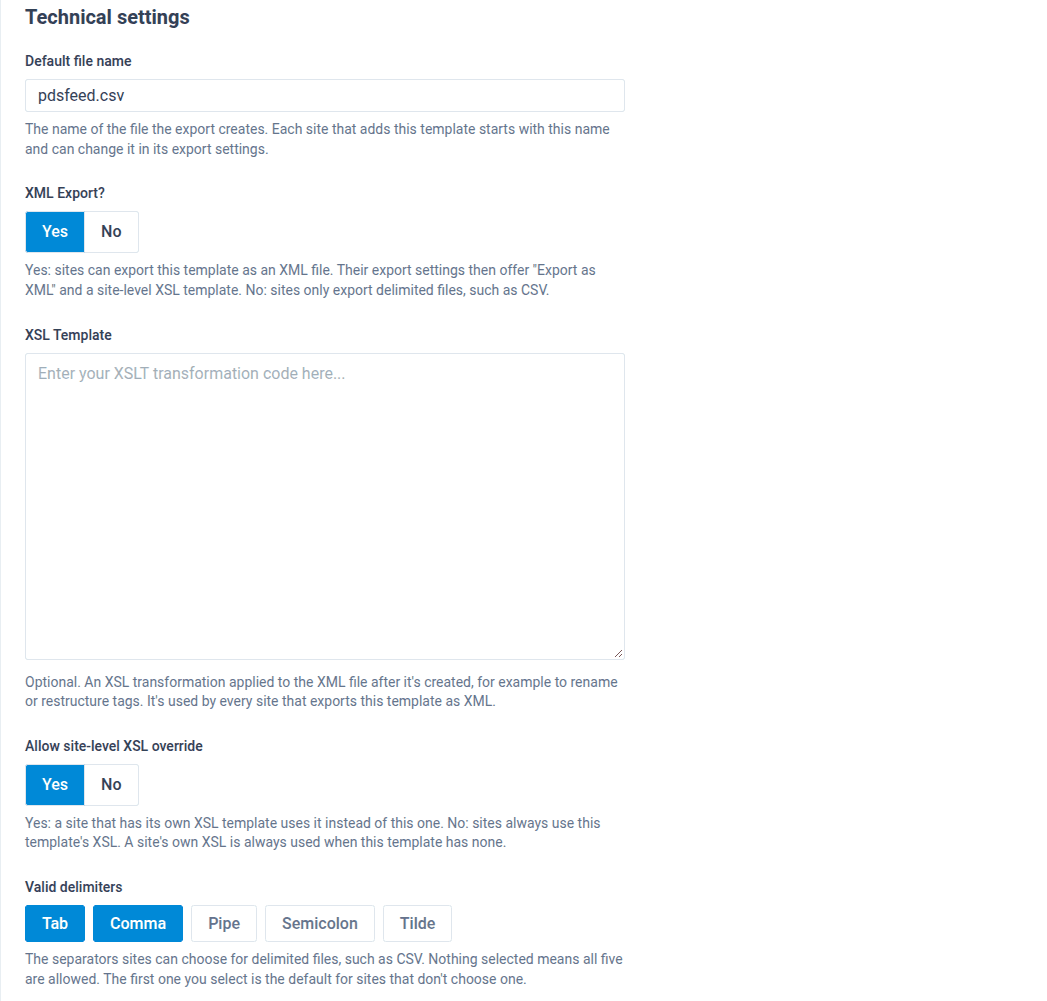
| Setting | What it does |
|---|---|
| Default file name | The name of the file the export creates, for example pdsfeed.csv. Each site that adds this export template starts with this name and can change it in its export settings. |
| XML Export? | Yes: sites can export this export template as an XML file. Their export settings then offer Export as XML and a site-level XSL template. No: sites only export delimited files, such as CSV. |
| XSL Template | Shown when XML Export? is Yes. Optional. An XSL transformation applied to the XML file after it is created, for example to rename or restructure tags. Every site that exports this export template as XML uses it. |
| Allow site-level XSL override | Shown when XML Export? is Yes. Yes: a site that has its own XSL template uses it instead of this one. No: sites always use this export template's XSL. A site's own XSL is always used when this export template has none. |
| Valid delimiters | The separators sites can choose for delimited files: Tab, Comma, Pipe, Semicolon, or Tilde. If you select none, all five are allowed. The first one you select is the default for sites that do not choose one, so the order in which you select them matters. |
| Delta export? | Yes: each site run creates up to 5 files instead of one full file. See Delta updates. |
Select Save at the bottom of the page to apply your changes.
Delta updates
With delta updates, an export sends only what changed since the previous site run. Each run splits the items into up to 5 files:
| File | Contains |
|---|---|
| New | Items that were not in the previous run |
| Changed | Items whose values changed |
| Deleted | Items that were in the previous run but are not anymore |
| Unchanged | Items that did not change |
| Skipped | Items that were skipped in this run |
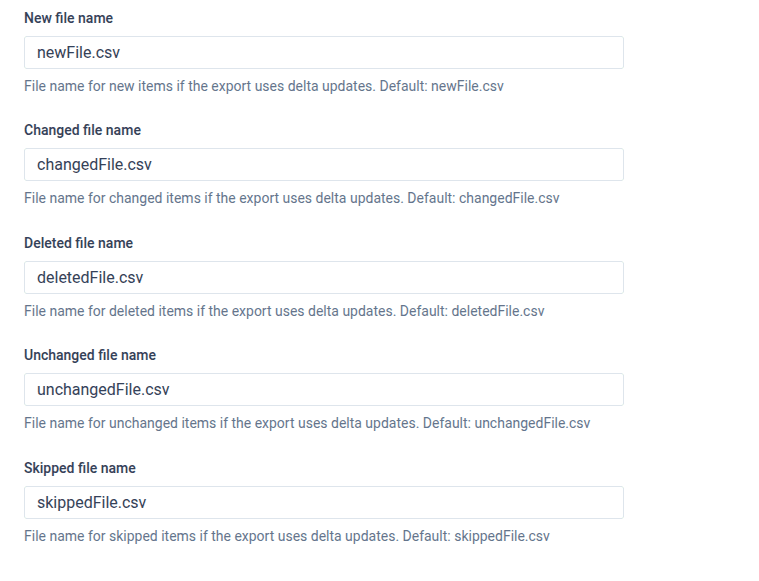
When Delta export? is Yes, you can set the default name of each file in New file name, Changed file name, Deleted file name, Unchanged file name, and Skipped file name. Each site can change these names in its export settings. If you leave a name empty, that file is not created.
A delta export needs at least one Delta Key: an attribute that identifies the same item from one run to the next, such as a product ID or SKU. You can make several attributes Delta Keys; together they identify the item. You can set them up in any order:
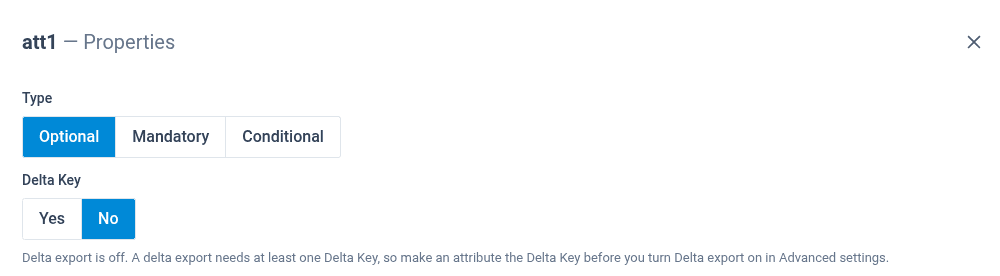
- Delta Key first: for each attribute, open its Properties dialog, set Delta Key to Yes, and select Save. Then toggle Delta export? to Yes and select Save. See Delta settings.
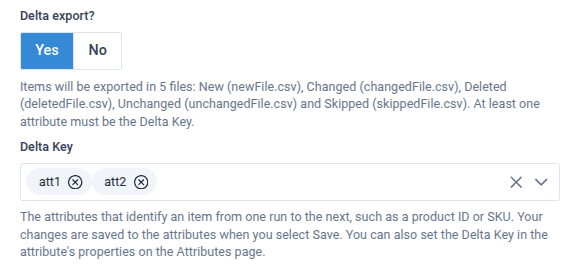
- Delta export first: toggle Delta export? to Yes. In the Delta Key list that appears, choose one or more attributes, then select Save. The attributes become Delta Keys, and delta updates are turned on.
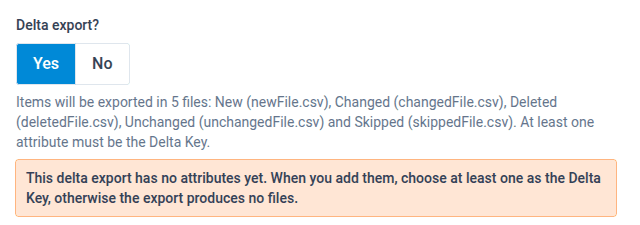
- New export template without attributes: toggle Delta export? to Yes and select Save. The Advanced settings tab shows a warning until the export template has a Delta Key. When you add the attributes with Add attributes, choose one or more of them as Delta Keys. See Add attributes by name.
While Delta export? is Yes, the Delta Key list in Advanced settings shows the export template's Delta Keys. To change them, add or remove attributes in the list and select Save. The change is saved on the attributes, so their Properties dialog and the Delta Key column in the attribute list show the same Delta Keys. A Delta Key you set in the Properties dialog also shows in this list.
- You cannot remove the last Delta Key while delta updates are on. Save stays unavailable until at least one attribute is chosen.
- An attribute set to Delta Ignore is shown in the list with (Delta Ignore) after its name, but you cannot choose it. An attribute cannot be both Delta Key and Delta Ignore.
- When you turn delta updates off, the attributes keep their Delta Keys. They show in the list again when you turn delta updates back on.
A CSV file cannot mark a Delta Key. To fill a new delta export template from a CSV file, upload the file before you turn on delta updates, or add the first attributes with Add attributes. If an export template already has delta updates on without a Delta Key, the Advanced settings tab shows a warning: the delta export is skipped on every run and produces no files until you choose a Delta Key in the Delta Key list.
External metadata
External metadata helps users find the export template and understand what it is for. You can add a description, define the export type, and choose the categories and countries.
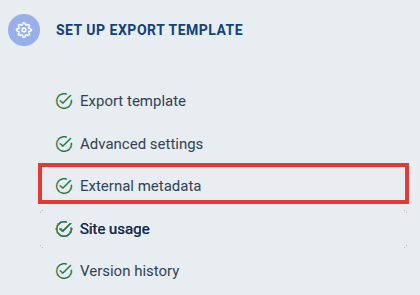
Select External metadata from the side menu.
Enter a description in Description.
Select which type of export this export template performs: File or API.
Select the channel category for the export template in the Categories dropdown.
Select the designated countries for the export template in the Countries dropdown.
Select Save.
Site usage
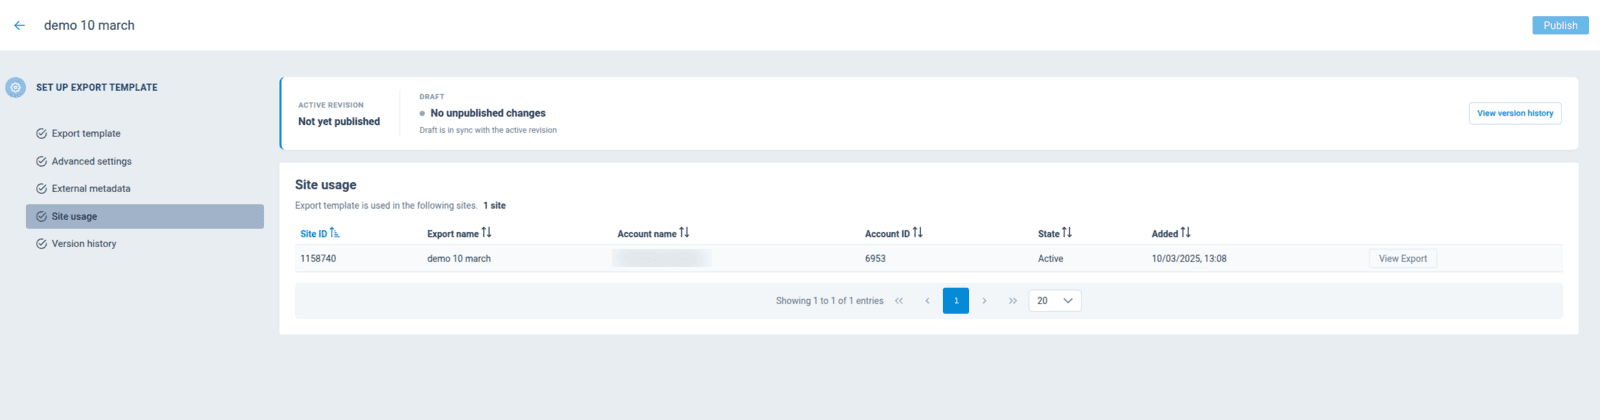
Before you change or delete an export template, check which sites use it. Select Site usage from the side menu.
The list shows each site that uses the export template: the site ID, the export name, the organization, when the export was added, and its state (Active, Paused Upload, or Disabled). Select View Export to open the export in the Productsup platform.
Version history and publishing
- To see every published version and what changed in it, select Version history from the side menu. See View version history.
- To make your changes available in the Productsup platform, select Publish. See Publish export template changes.
How is this guide?