

Import catalog data from the platform into Content Portal
Export product data from a platform Site so Content Portal can import it into a catalog.
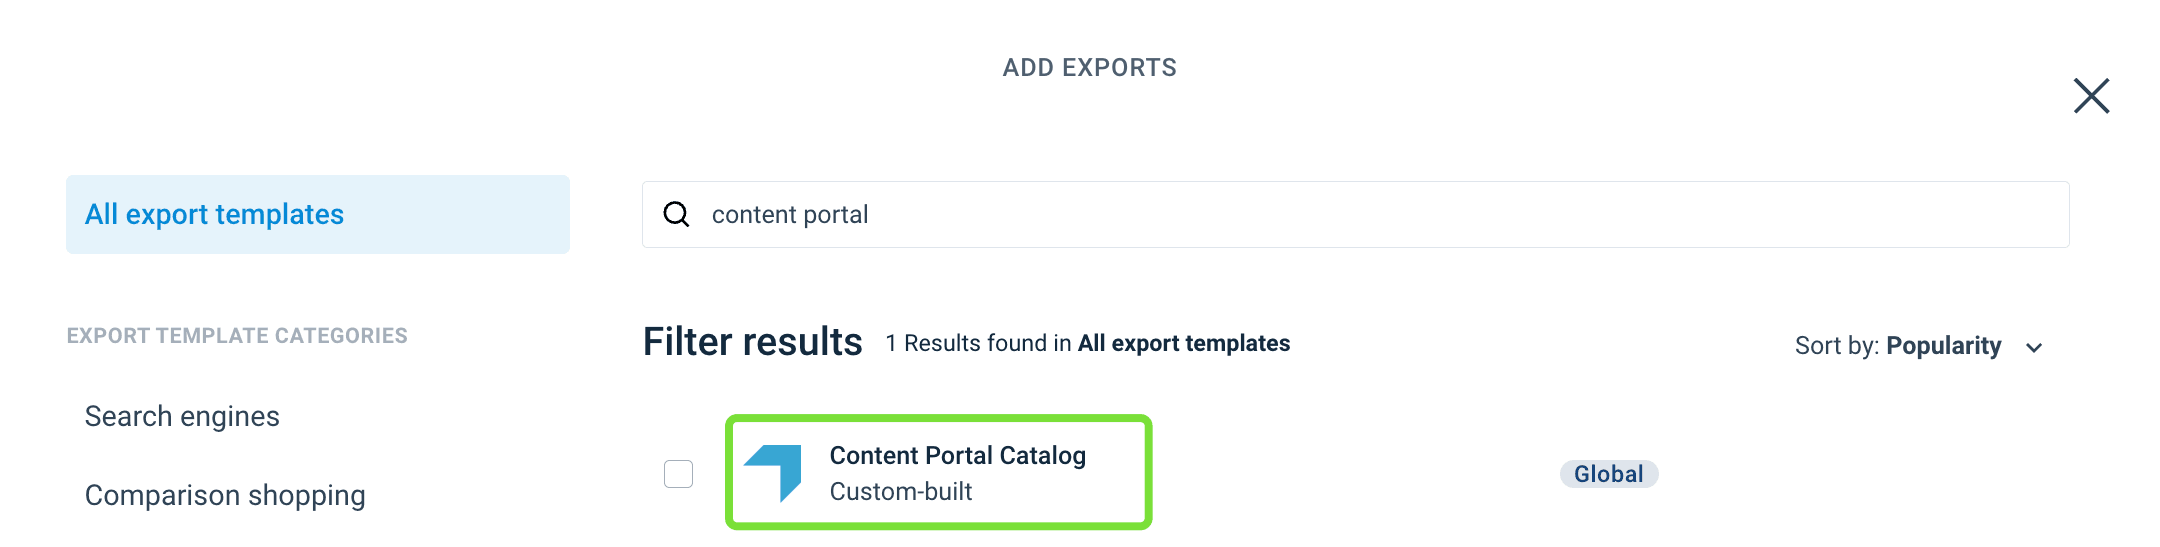
After you add a catalog, export product data from a Productsup site so Content Portal can import it. Use the Content Portal Catalog export or a Blank export with the Content Portal Catalog destination. Later site runs can update the products in the catalog, if scheduled. After the first successful import, Admins map catalog attributes so search, filters, and assets appear in the portal.
To customize the spreadsheet users download in Content Portal, see Create a custom template for XLSX downloads in Content Portal.
Caution
Until the first successful export run, the catalog in Content Portal stays empty. Add the export, add the destination, complete destination settings, and map attributes in Dataflow. None of these steps is optional. If you omit any of them, product data is not transferred into Content Portal.
Mandatory catalog attributes
The feed must include eight mandatory catalog attributes. Map them in Dataflow and complete the matching dropdowns in Destination settings.
| Attribute | Purpose |
|---|---|
id | Unique product identifier |
title | Product name |
description | Product description |
category | Product category |
price | Product price |
image_link | URL of the main product image |
deeplink | URL to the product on your site or shop |
additional_images | URL to the secondary product images |
Tip
The Content Portal Catalog export already uses the attribute names that Content Portal expects, as listed in Mandatory catalog attributes. For a Blank export, use the same eight attribute names when you can.
Admins can still use their own attribute names. For example, you can use product_bild instead of image_link. See Use custom attribute names.
Add the export
Go to Exports in the main menu.
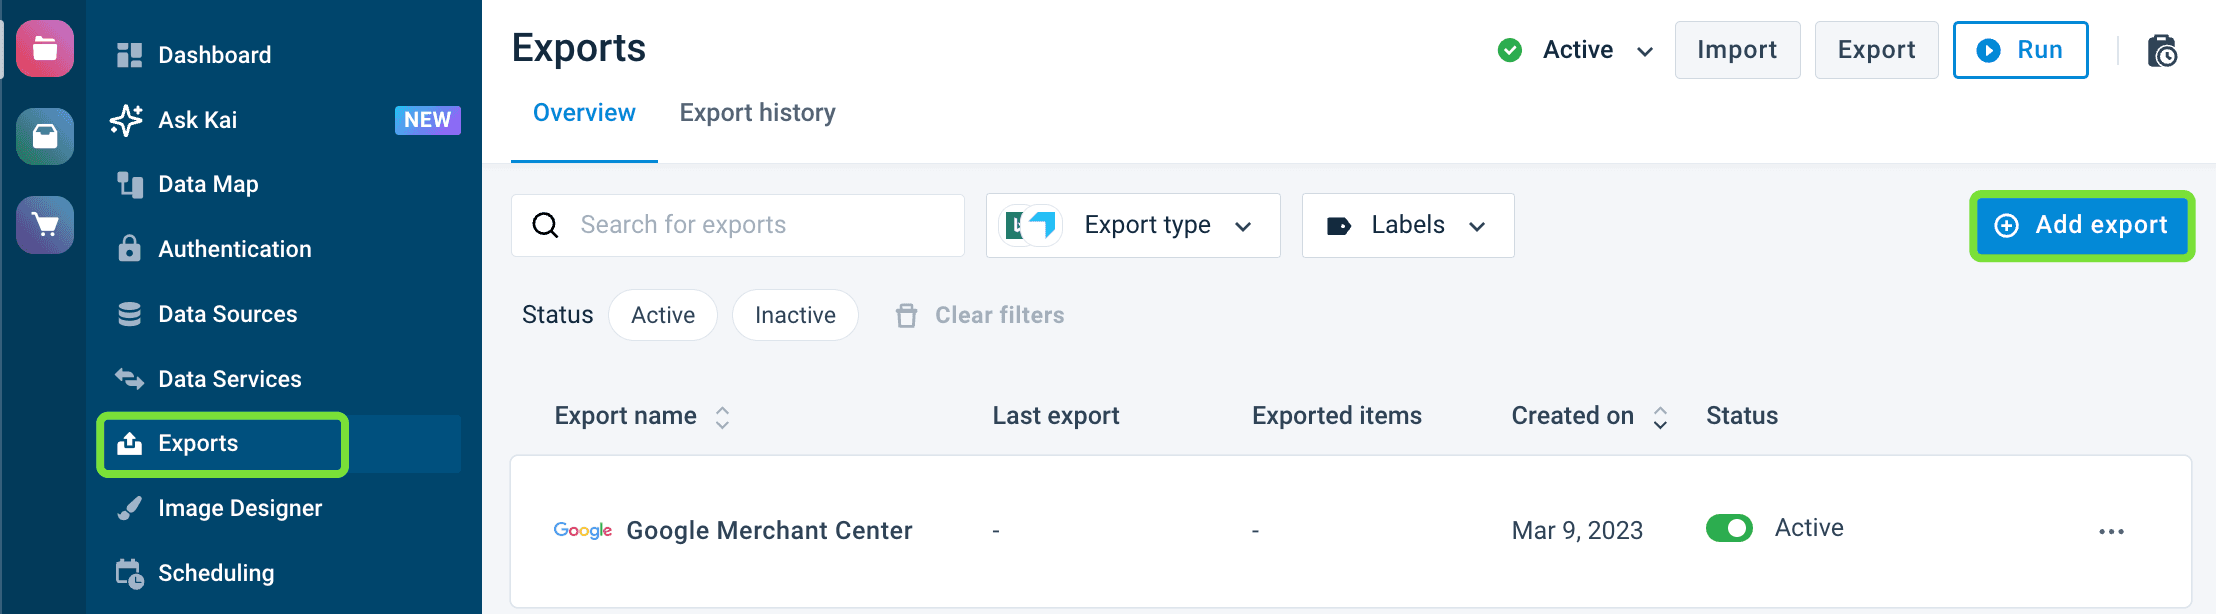
Select Add.
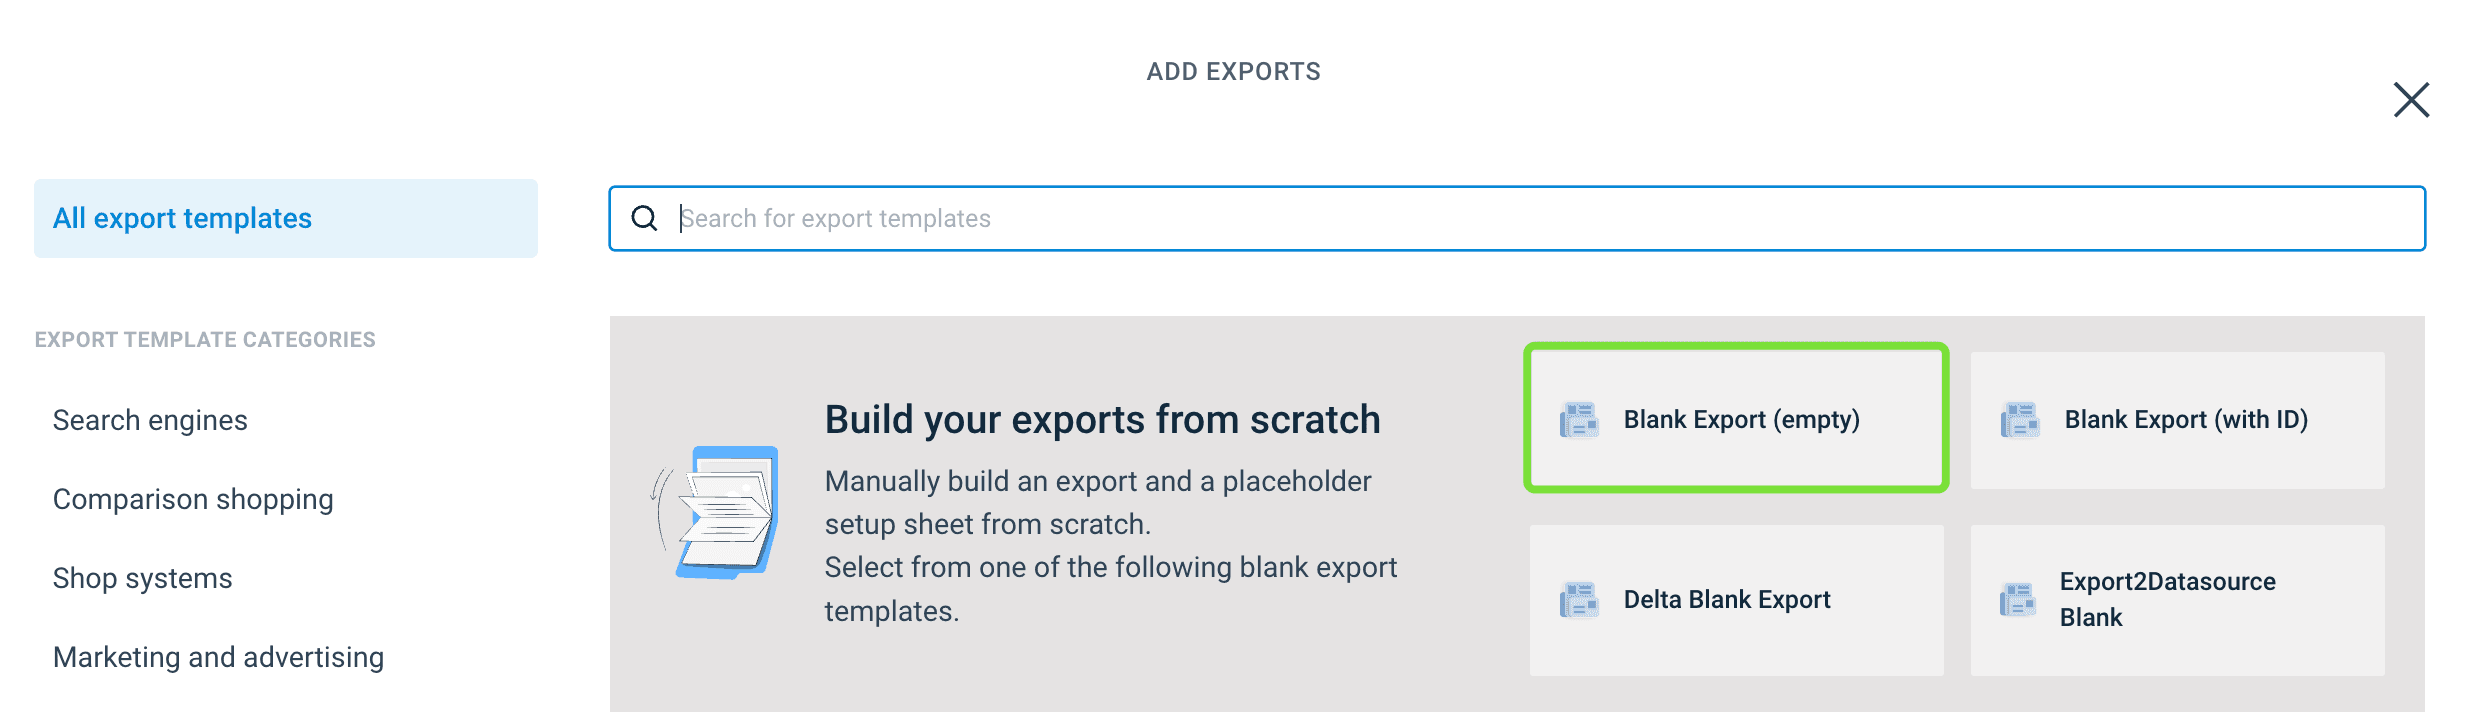
If you use a Blank export instead, add Blank, create the eight mandatory export columns, then continue with the destination steps.
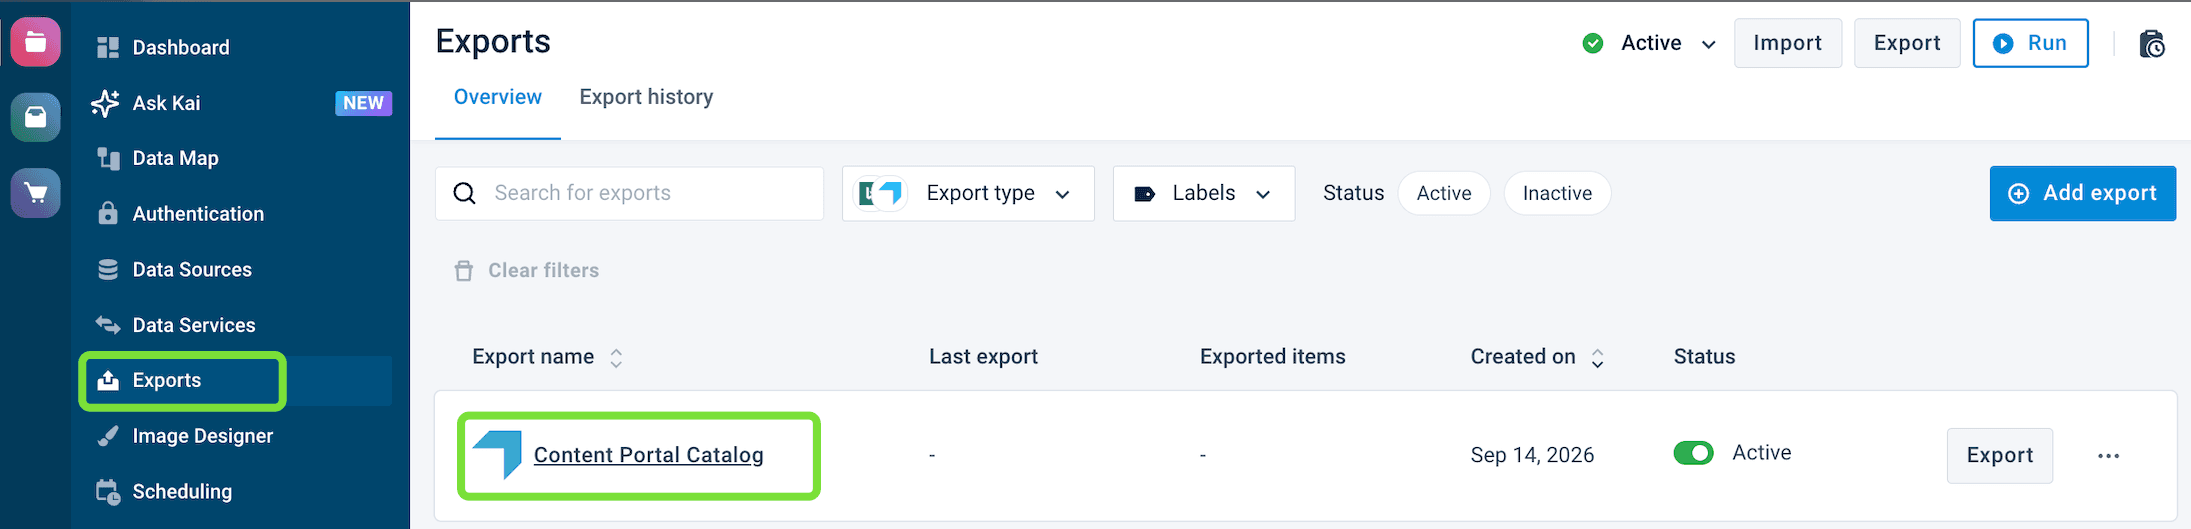
Add the destination
On the Exports page, select the export name.
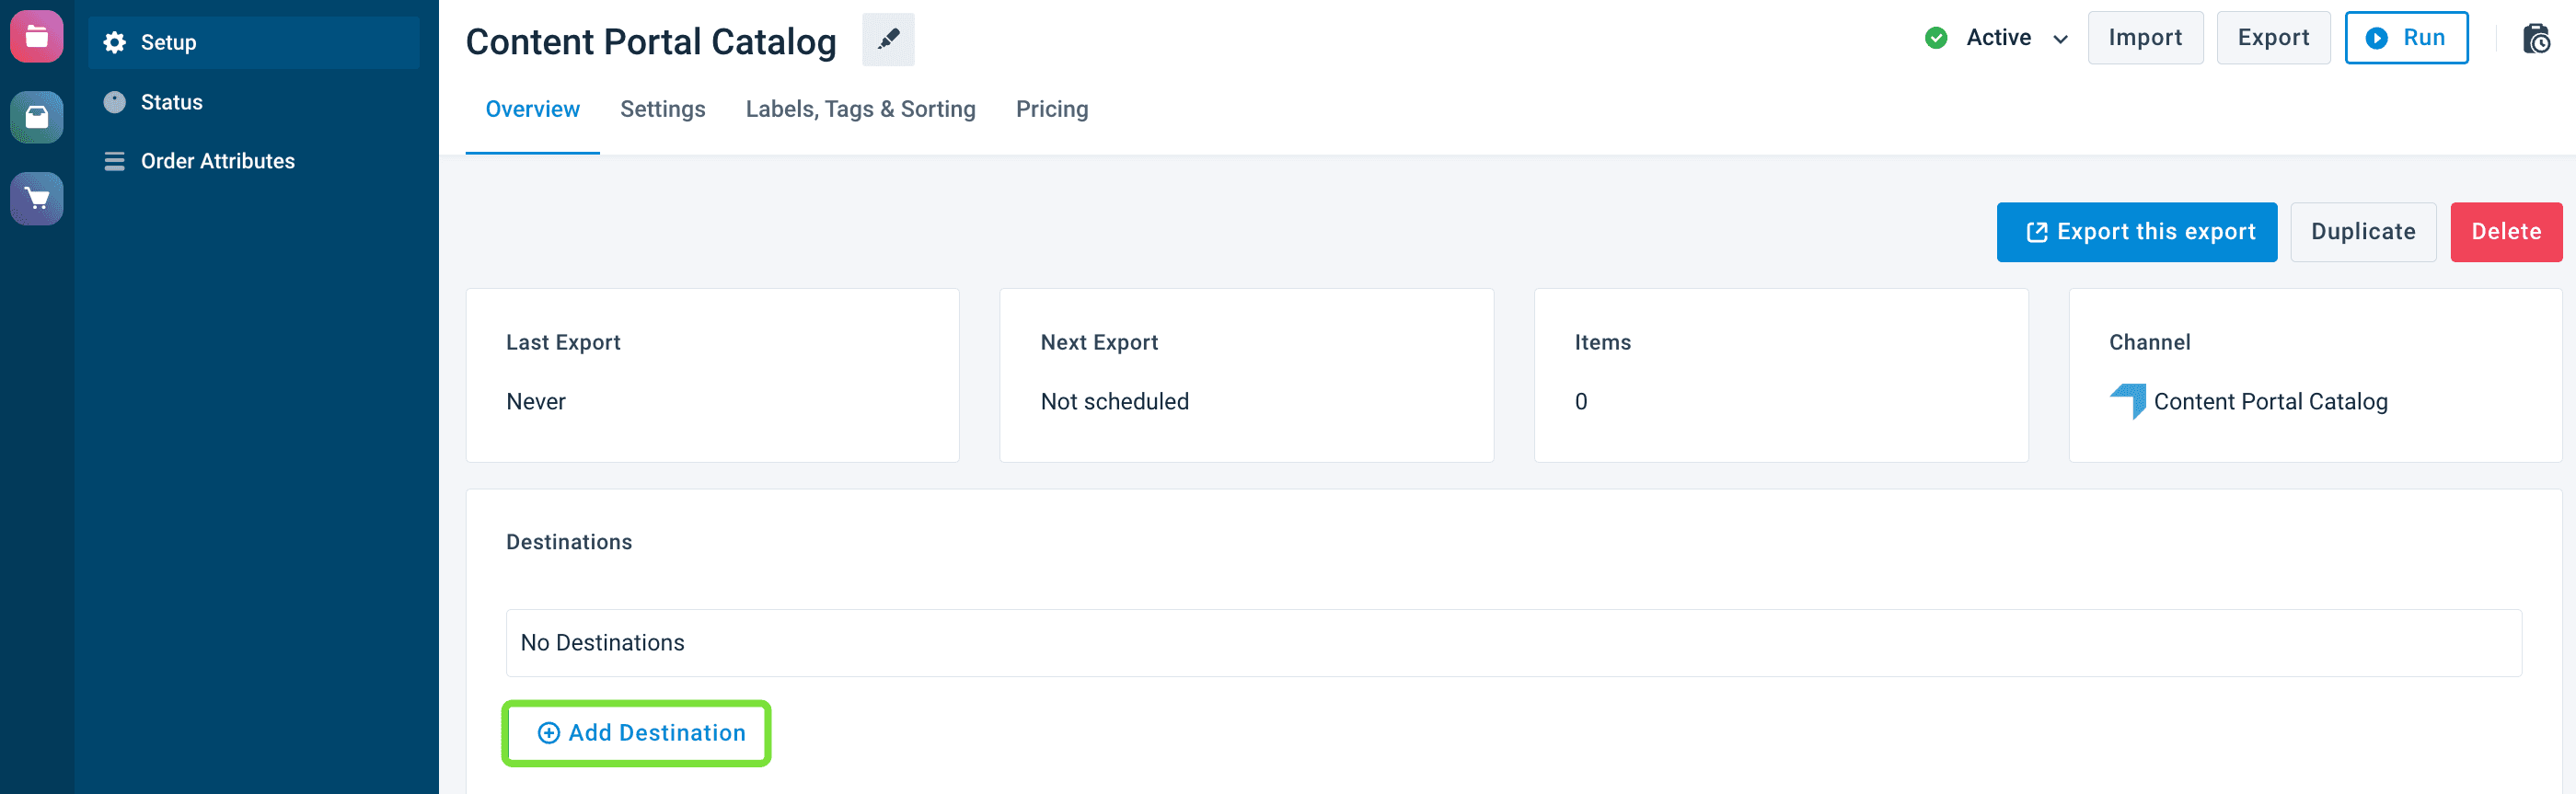
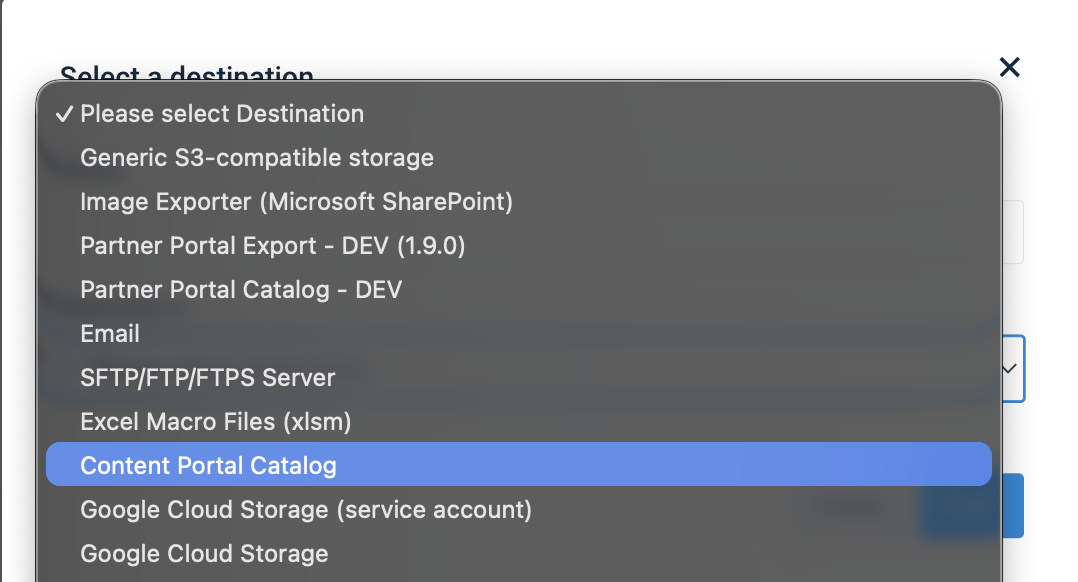
Select Save.
Destination settings
After you select Save, the destination setup page opens. Complete every dropdown before you activate the destination.
In ID, select an attribute that contains unique product identifiers, such as SKU.
Copy the catalog ID from the catalog card.
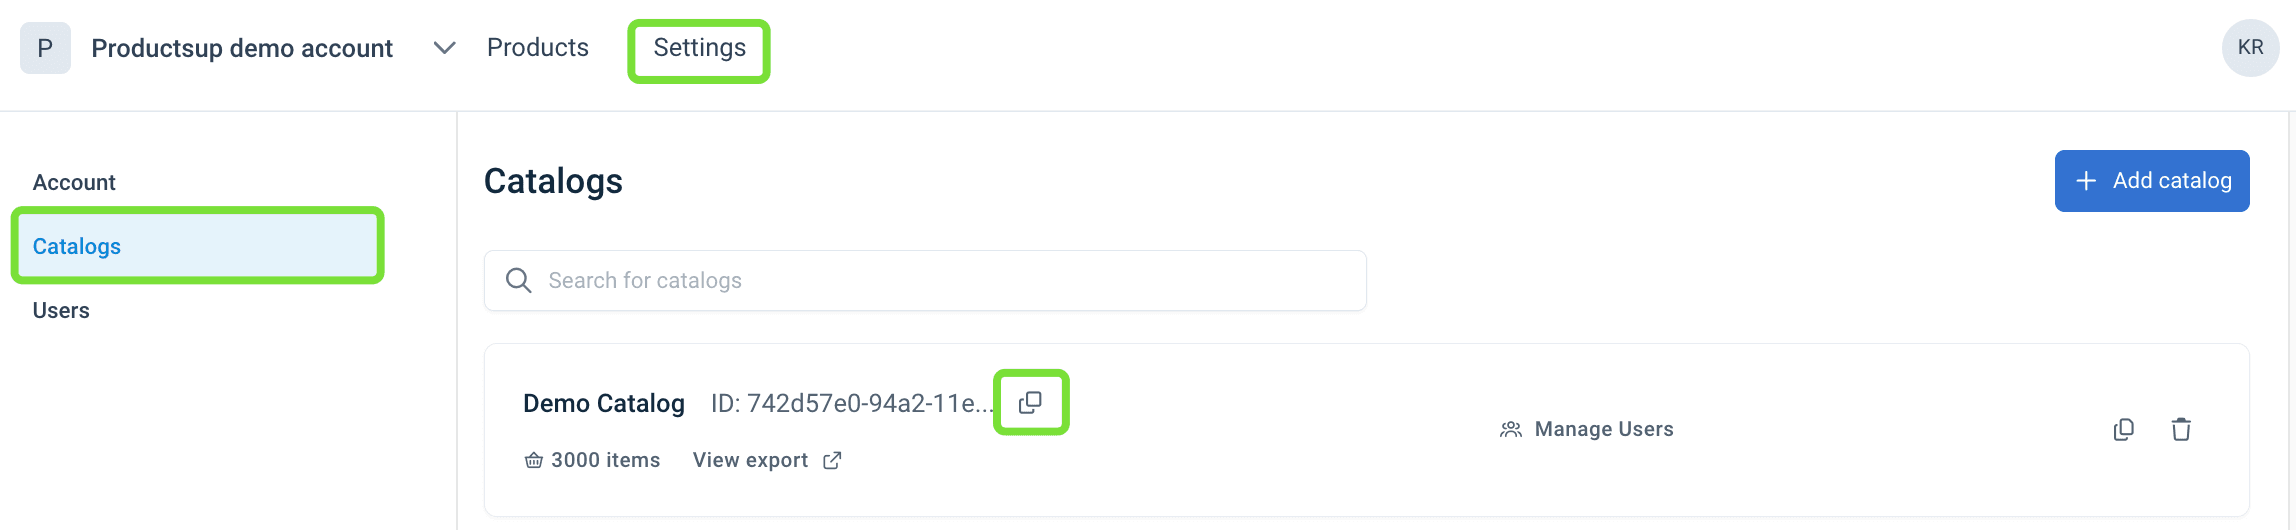
Tip
Paste the catalog ID in Catalog Identifier with the prefix uuid:. For
example, uuid:af22423c-8f0e-11e8-981a-1c36bbed83ab.

Select the matching attributes for the remaining mandatory fields: title,
description, category, price, image_link, deeplink, and
additional_images.
Select Save.
Attribute mapping in Dataflow
Go to Dataflow.
Map the relevant attributes from Import to Intermediate and to Export. You can use Automap connections.
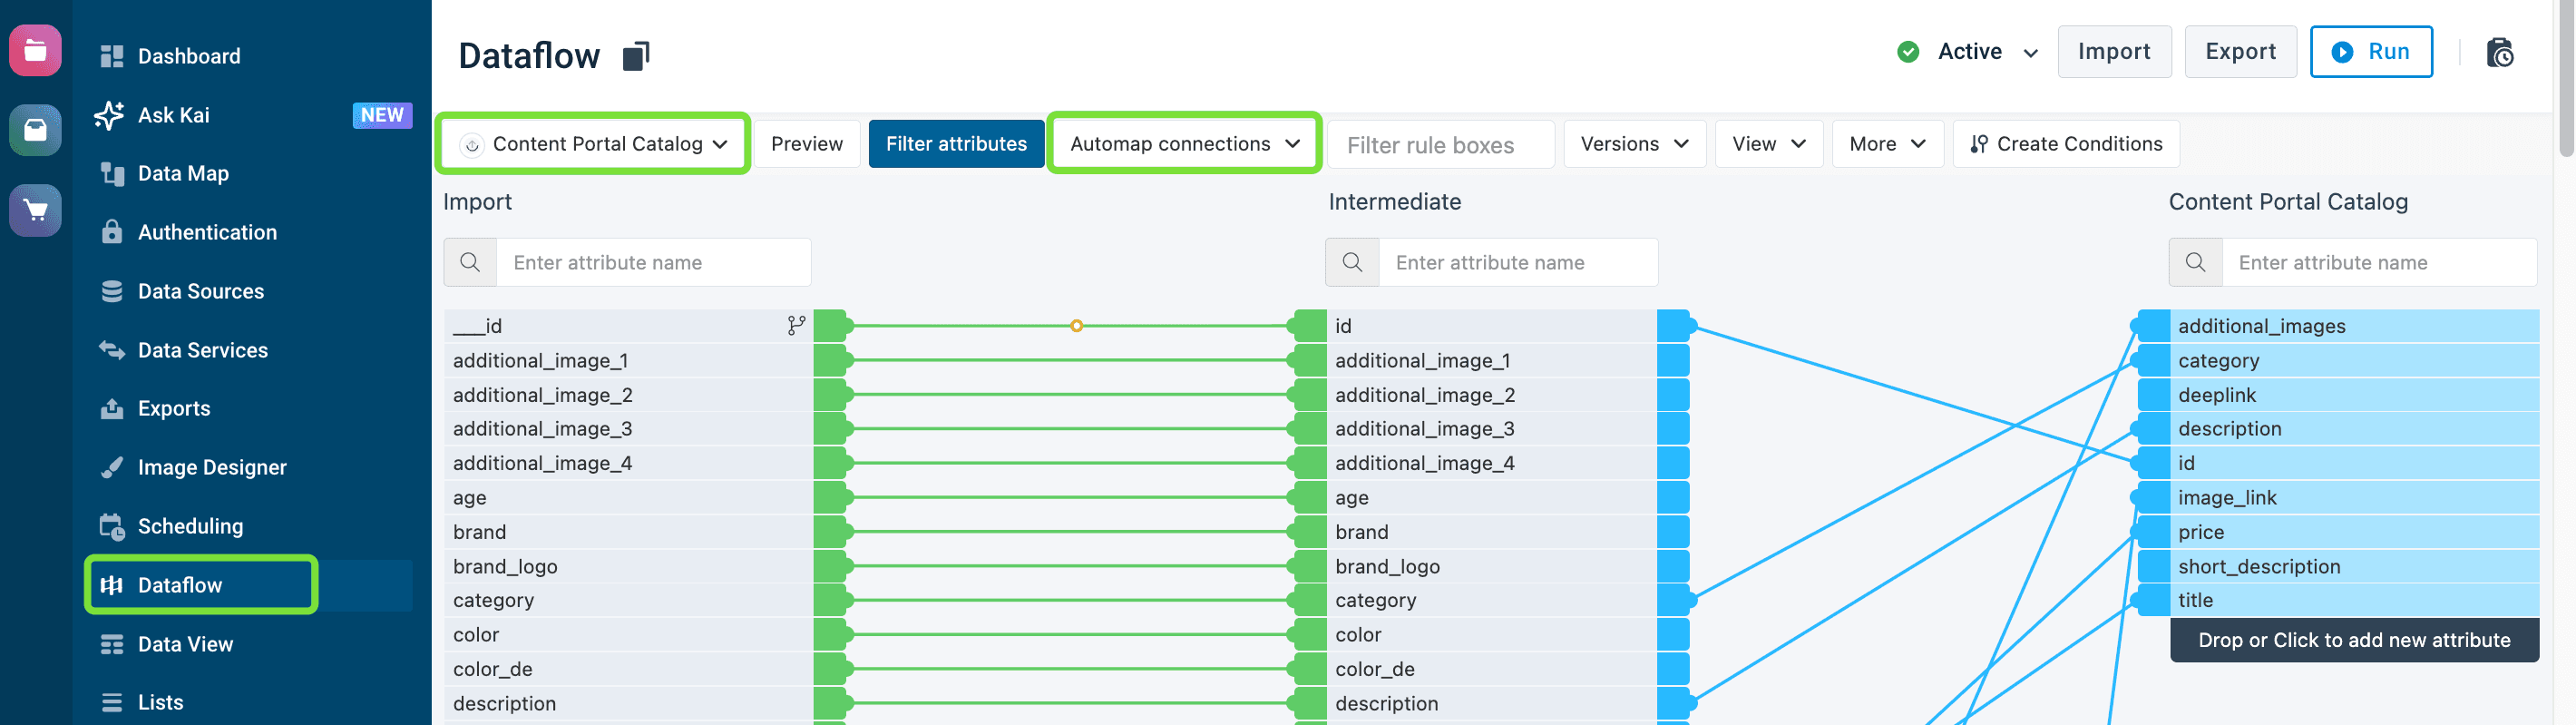
Select Run or Export.
Tip
After the run, open the catalog in Content Portal and confirm that products appear. Then map catalog attributes in Content Portal.
Use custom attribute names
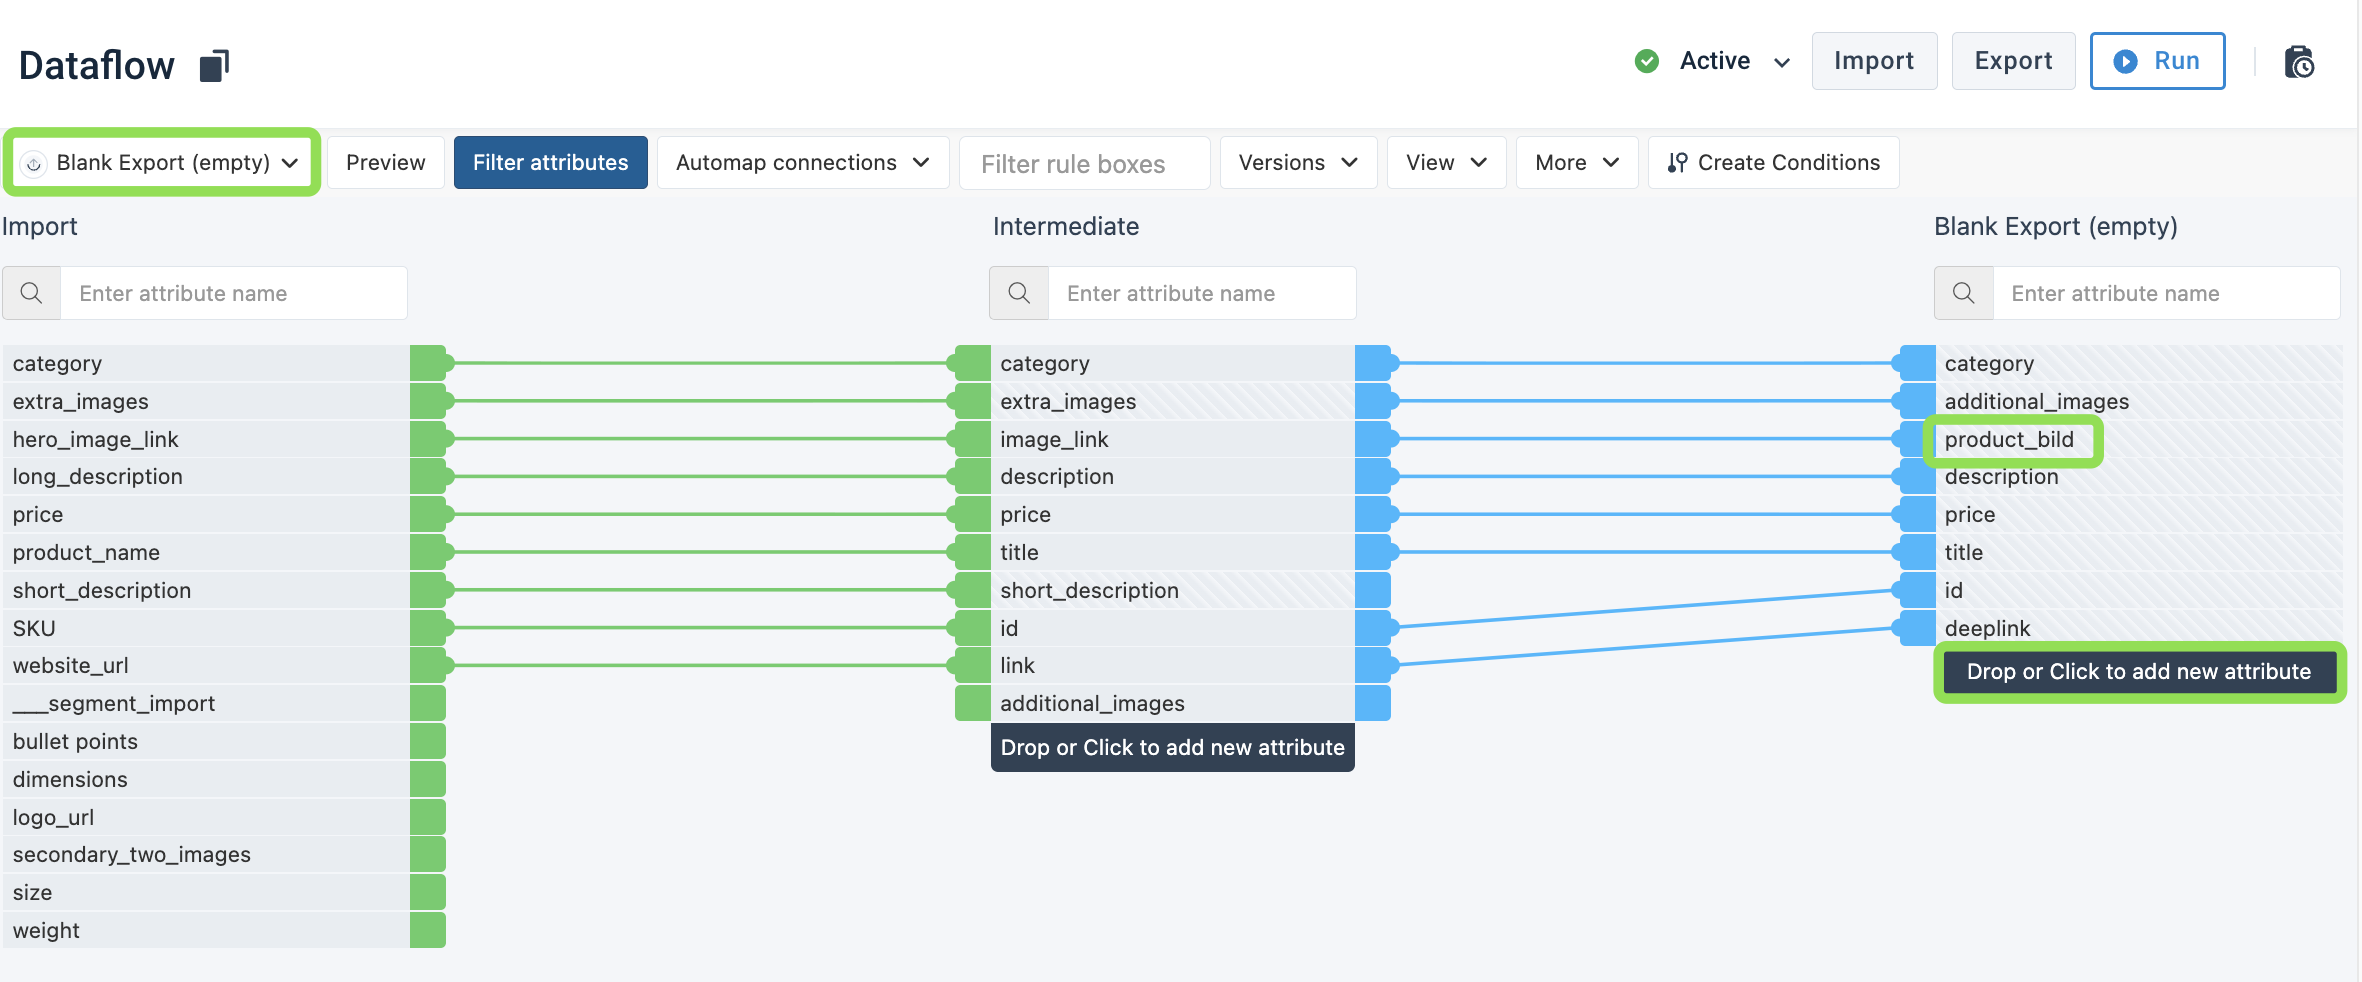
You can name export attributes however you prefer, as long as destination settings map each custom name to the matching mandatory field. The steps below use product_bild in place of image_link.
In Dataflow, select the Content Portal Catalog export or the Blank export.
product_bild attribute.Map product_bild from Intermediate. See Use Dataflow to map your
attributes from import to
export
for more information.
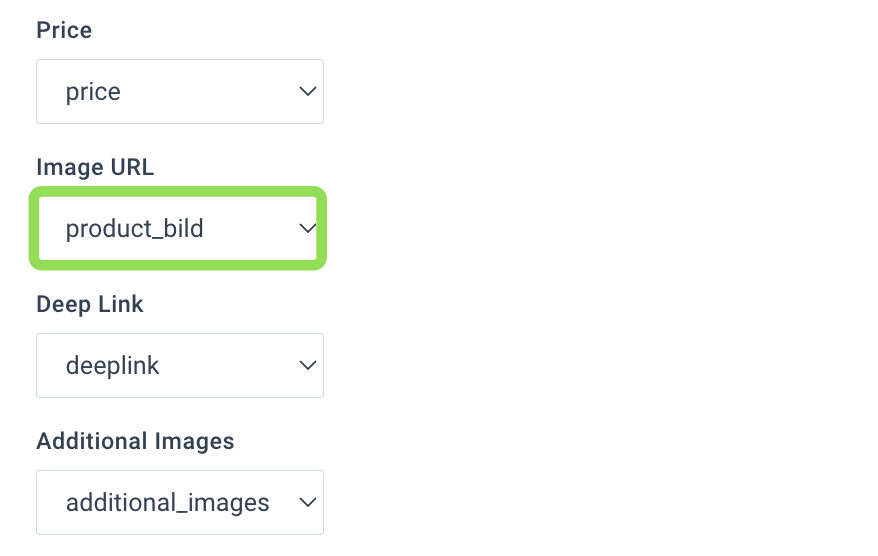
In destination settings, map the image_link dropdown to product_bild.
Do not leave the default image_link attribute selected.
On the product details page, confirm that Download CSV and
Download XLSX include a product_bild attribute name.

Troubleshoot imports
| What you see | What to check |
|---|---|
| Catalog stays empty | The destination is On, the catalog ID uses the uuid: prefix, and you ran Export after mapping |
| Products appear, but XLSX or asset emails never arrive | Each destination dropdown maps to the export column you send, including any custom name. For custom spreadsheet layouts, see Create a custom template for XLSX downloads in Content Portal |
| ZIP of assets is incomplete | Asset URLs include a file extension such as .jpg or .pdf. See Map catalog attributes in Content Portal |
How is this guide?