Set up User Management
Learn how to set up User Management in the Productsup platform.
Learn how to set up User Management, add new users, remove users, and change user access to sites and projects. To learn more about multiple user types, see User types and permissions.
Note
To access User Management, you must be a user admin in your organization.
All changes, such as adding new users, removing existing ones, and changing access permissions, must be performed by the organization admin(s). The Productsup Support Team cannot make those changes.
Access User Management
To access User Management:
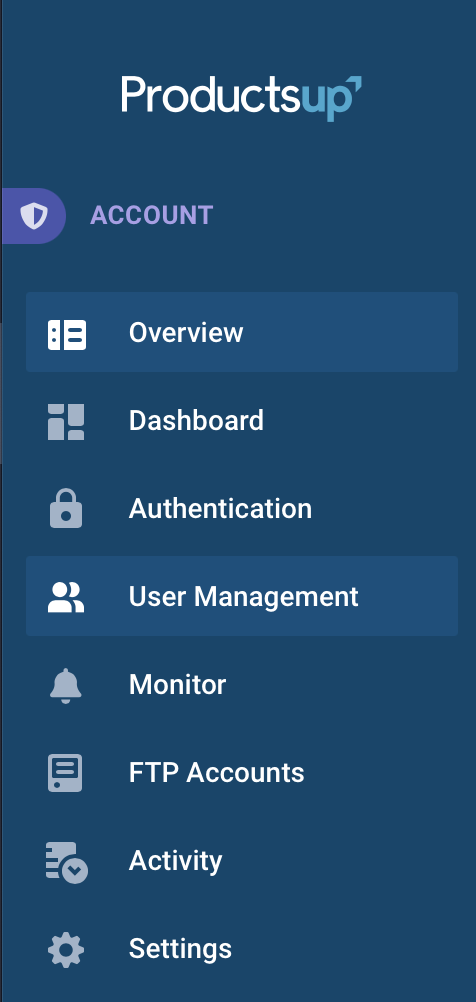
Go to User Management from your organization's main menu.

Here's an overview of all users associated with your organization.

Add new users
Go to User Management from your organization's main menu.
Select INVITE USERS in the top right-hand corner of the User Management page.
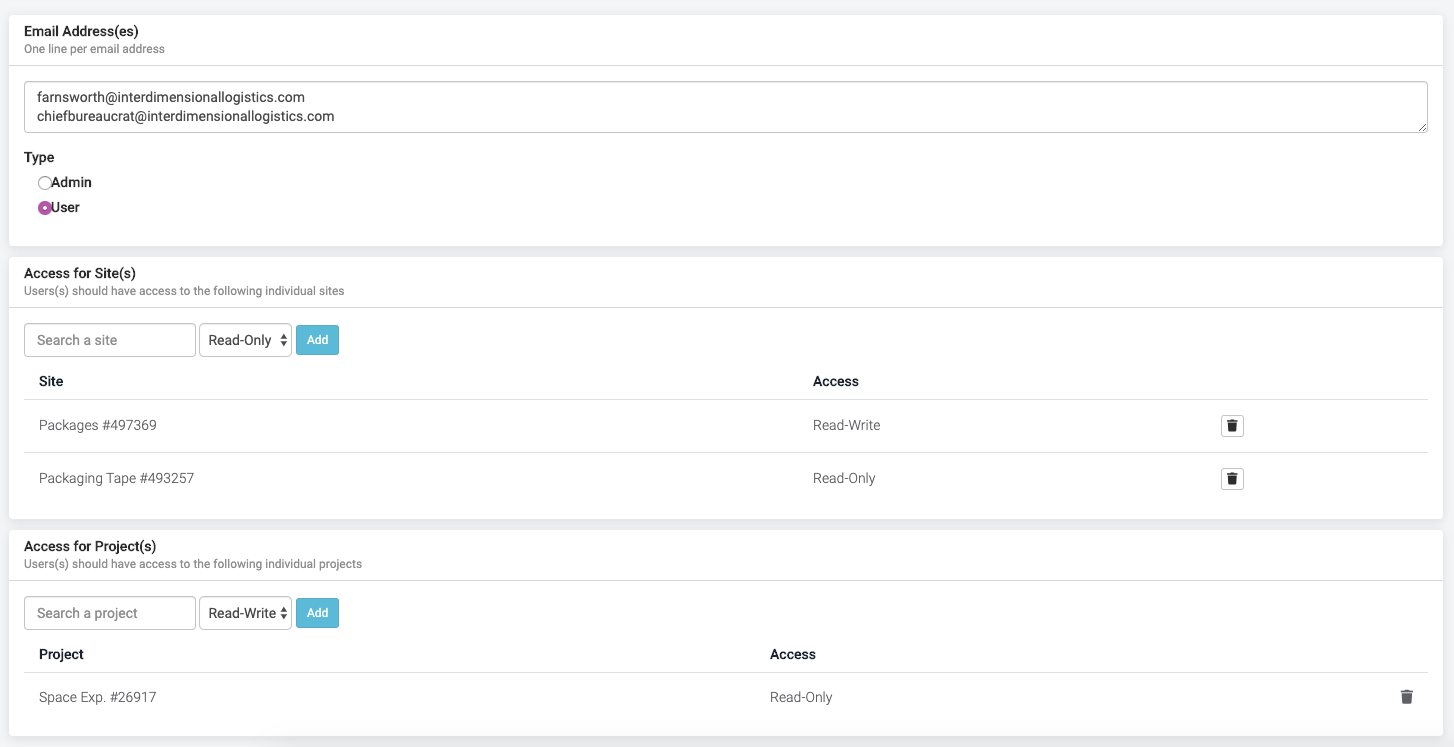
Add the email address(es) of those you wish to invite.
You can add one email address per line to invite multiple users at once.
Select if your user should have Admin or User access.
After making a selection, you can give them access to the appropriate sites or projects.
When adding sites or projects, you should define whether access should be Read-Write or Read-Only.
Select Save.

The users you invited now receive an email prompting them to accept an invitation to join your organization.
The email prompts your invited users to accept this invitation.
Upon accepting it, they will be prompted to configure their account by setting their name, password, email address, the country they are in, and the language they want to use in the platform.
After accepting the invitation, your new users will have access to Productsup.
Note
Any invites sent to new users will be valid for 30 days. After this, the link expires. The address will then disappear from the list of invited users in your User Management.
Remove users
Go to User Management from the main menu at the organization level.
Select the arrow to expand the Edit drop-down menu for the user you want to delete.

Select Delete.
Note
To delete admin users, you should first change their role from Admin to User. See Change user/admin role.
Without changing the user role, you can't delete admin users.

Give users access to sites/projects
To give access to users, either Read-Write or Read-Only, to sites or projects:
Go to User Management from your organization's main menu.
Select the button showing the number of sites the user has access to.

Add, change, or delete access to sites and projects.
Change user/admin role
You can elevate users to administrators as well as demote administrators to users.
Go to User Management from your organization's main menu.
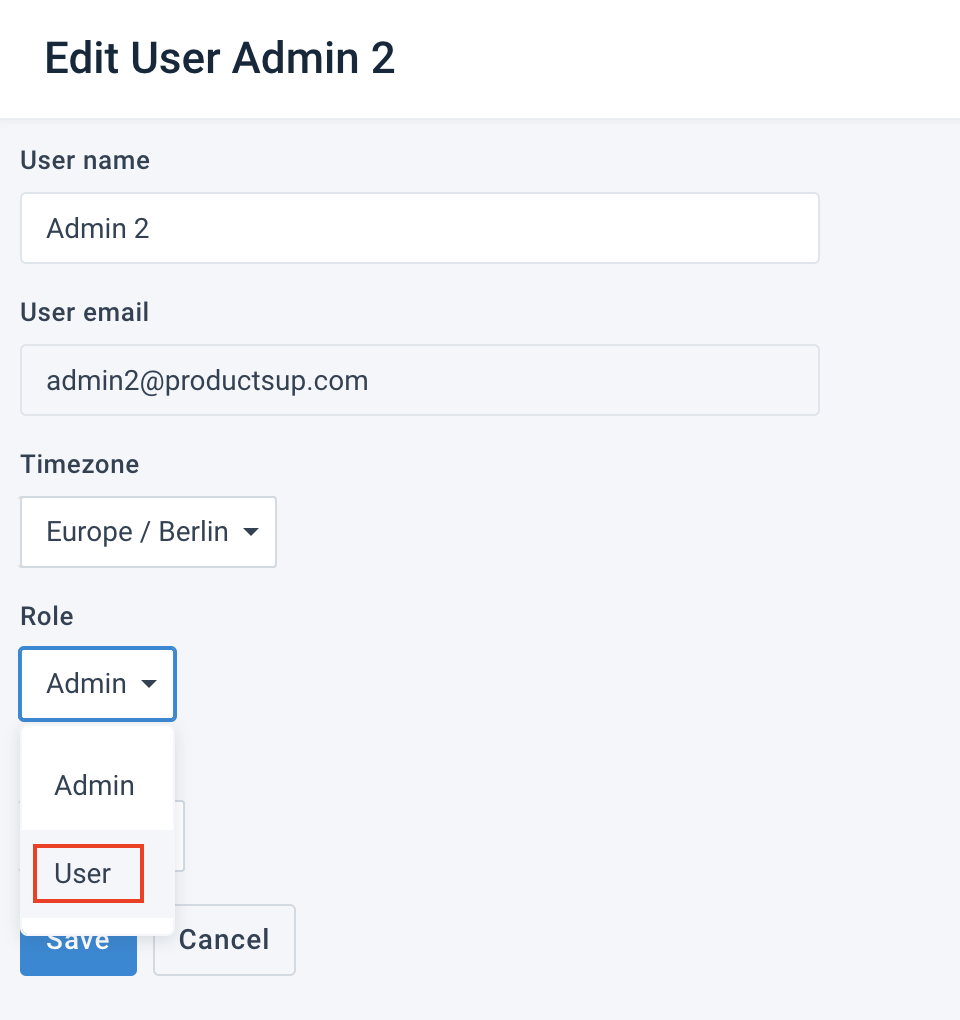
To demote a person from an admin profile, select Edit from their user profile in User Management:
In Role, change their role from Admin to User.

Select Save.
Add any sites/projects you wish the user to have access to.
To elevate a user with read-only or read-write access:
Select edit on their user profile in User Management.
Under settings, change the role to Admin.
Select Save.