Import products from a shop system
Import products from a shop system, such as WooCommerce or Shopify in Productsup.
You can import your products directly from your shop system, such as WooCommerce or Shopify.
To find available shop systems:
Go to Data Sources from your site's main menu and select Add data source.
Select Shop Systems in the filters or use Search to find a desired shop by its name.
Productsup supports product imports from the following shop systems:
BigCommerce
Blibli
Magento
PrestaShop
Salesforce
Shopify
VTEX
WooCommerce
Tip
Most of the shop systems connect to Productsup via REST or SOAP API connections. You can test REST API credentials in a regular Internet browser. Most API clients can perform both REST and SOAP test requests.
Here are some troubleshooting recommendations if the credentials don't work in a browser or an API client:
Add or remove
wwwand similar parts of the URLAdd or remove a slash (
/) inside or at the end of the URLTry a secure protocol, HTTPS vs. HTTP
Set up new API credentials
Check the API version documentation
Check the shop system forums for common errors
Import products from BigCommerce
BigCommerce is the world's leading cloud-based eCommerce platform for established and rapidly growing businesses. The platform combines enterprise functionality with an open architecture and app ecosystem. It powers and boosts the performance of eCommerce websites for successful retailers worldwide.
Before importing your products from BigCommerce, you must create an account in BigCommerce. See Creating an API Account.
Go to Data Sources from the site's main menu and select Add data source.
Search for BigCommerce API Import OAuth and select Add.
Give your data source a custom name if desired, then select Continue. The custom name replaces the data source name on the Data Sources Overview page.
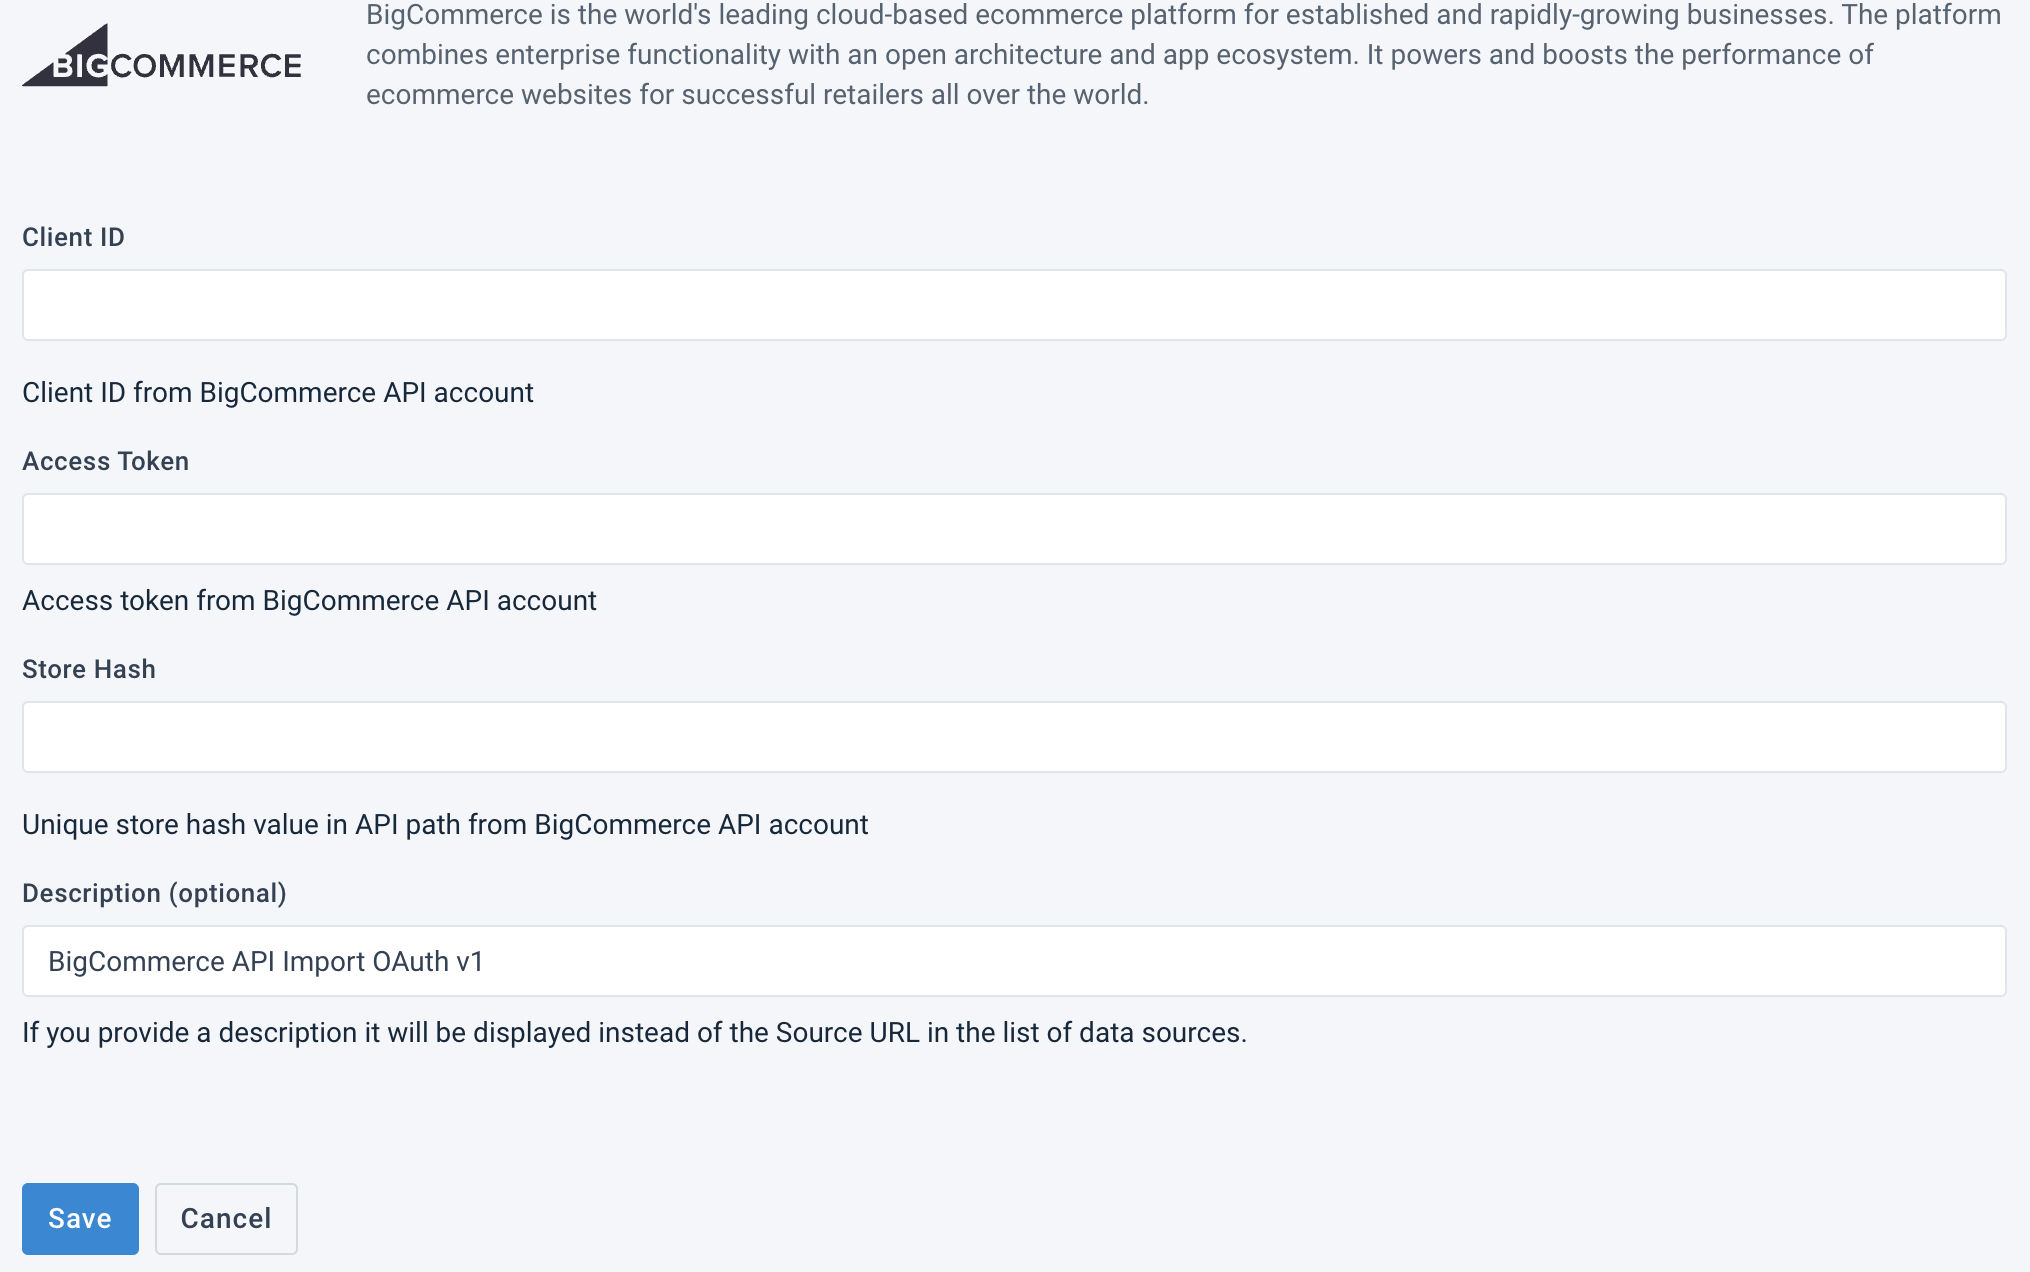
In Client ID, enter the client ID from the BigCommerce API account.
In Access Token, add the access token from the BigCommerce API account.
In Store Hash, enter a unique store hash value in the API path from the BigCommerce API account.
Optionally, enter a custom name in Description (optional).
Select Save.
Import products from Blibli.com
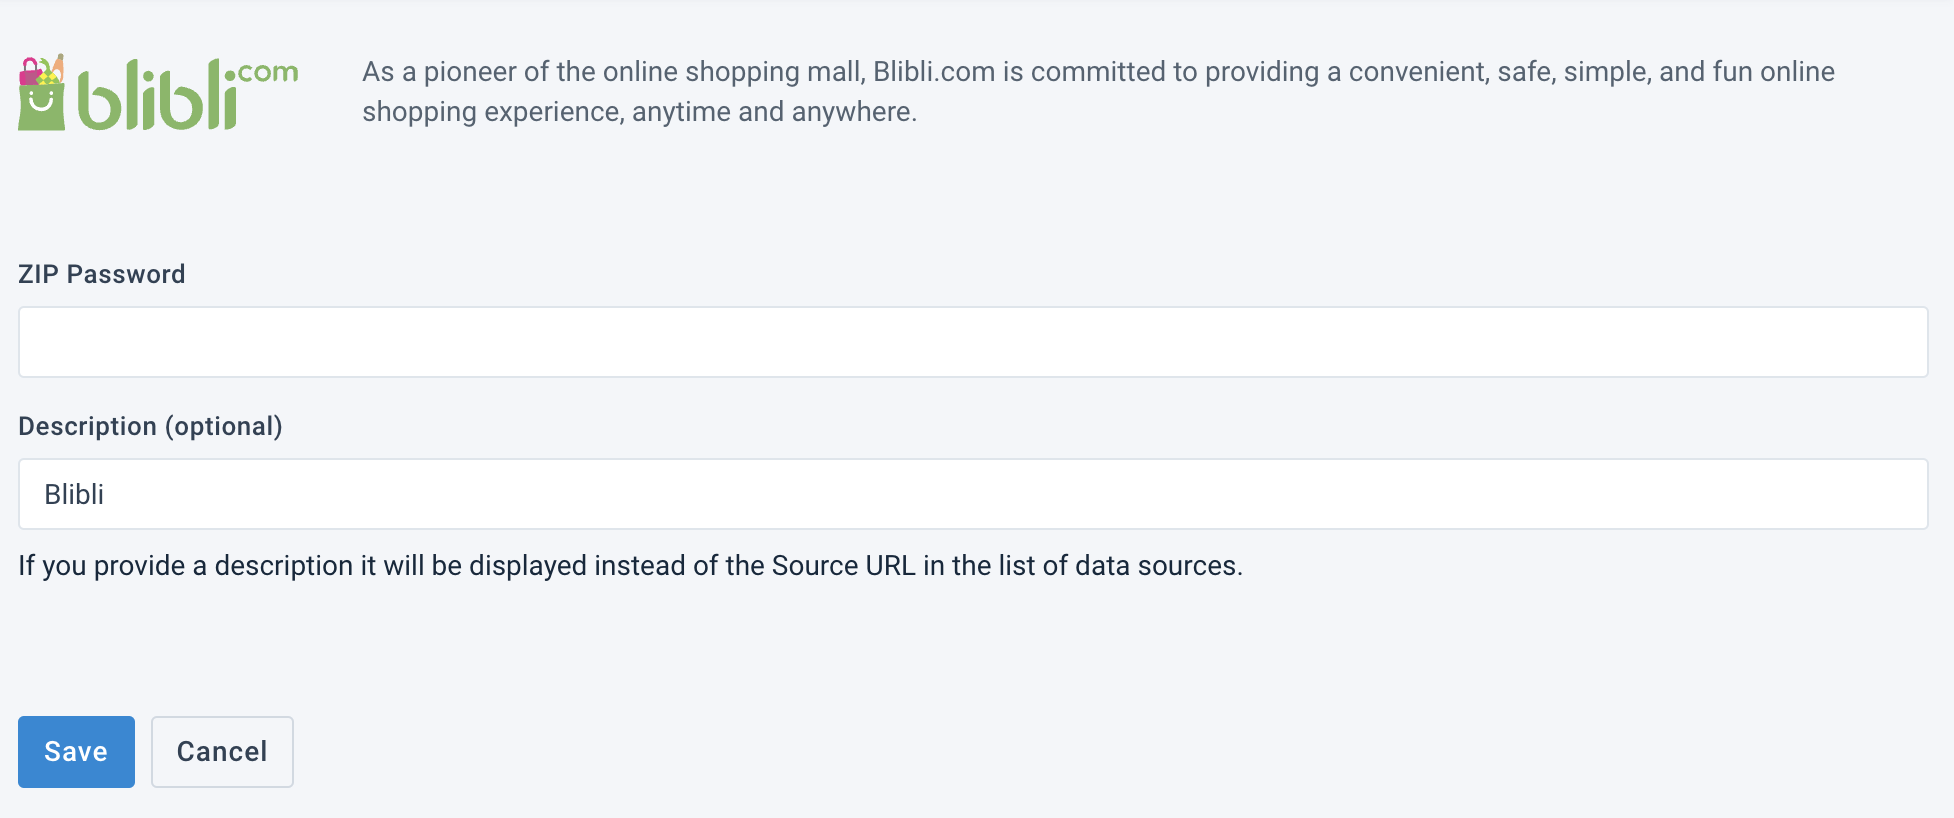
Blibli.com is an Indonesian online shopping mall pioneer committed to providing a convenient, safe, simple, and fun online shopping experience.
Before importing your products from Blibli, you must create an account there.
Go to Data Sources from the site's main menu and select Add data source.
Search for Blibli and select Add.
Give your data source a custom name if desired, then select Continue. The custom name replaces the data source name on the Data Sources Overview page.
In ZIP Password, enter the password for your Blibli zip file.
Optionally, enter a custom name in Description (optional).
Select Save.
Import products from Magento
Magento is a modern cloud commerce platform with an open-source ecosystem. Flexible for B2C, B2B, and hybrid solutions, Magento extends beyond the shopping cart for every shopping experience, including email, mobile, in-store, shipping, and marketplaces.
You can import your products from Magento by choosing a method appropriate to your version.
Import from Magento 1.x
Before importing your products from Magento, you must create your account in Magento. To configure Magento, see Magento Developer Documentation.
Go to Data Sources from the site's main menu and select Add data source.
Search for Magento 1.x SOAP API and select Add.
Give your data source a custom name if desired, then select Continue. The custom name replaces the data source name on the Data Sources Overview page.
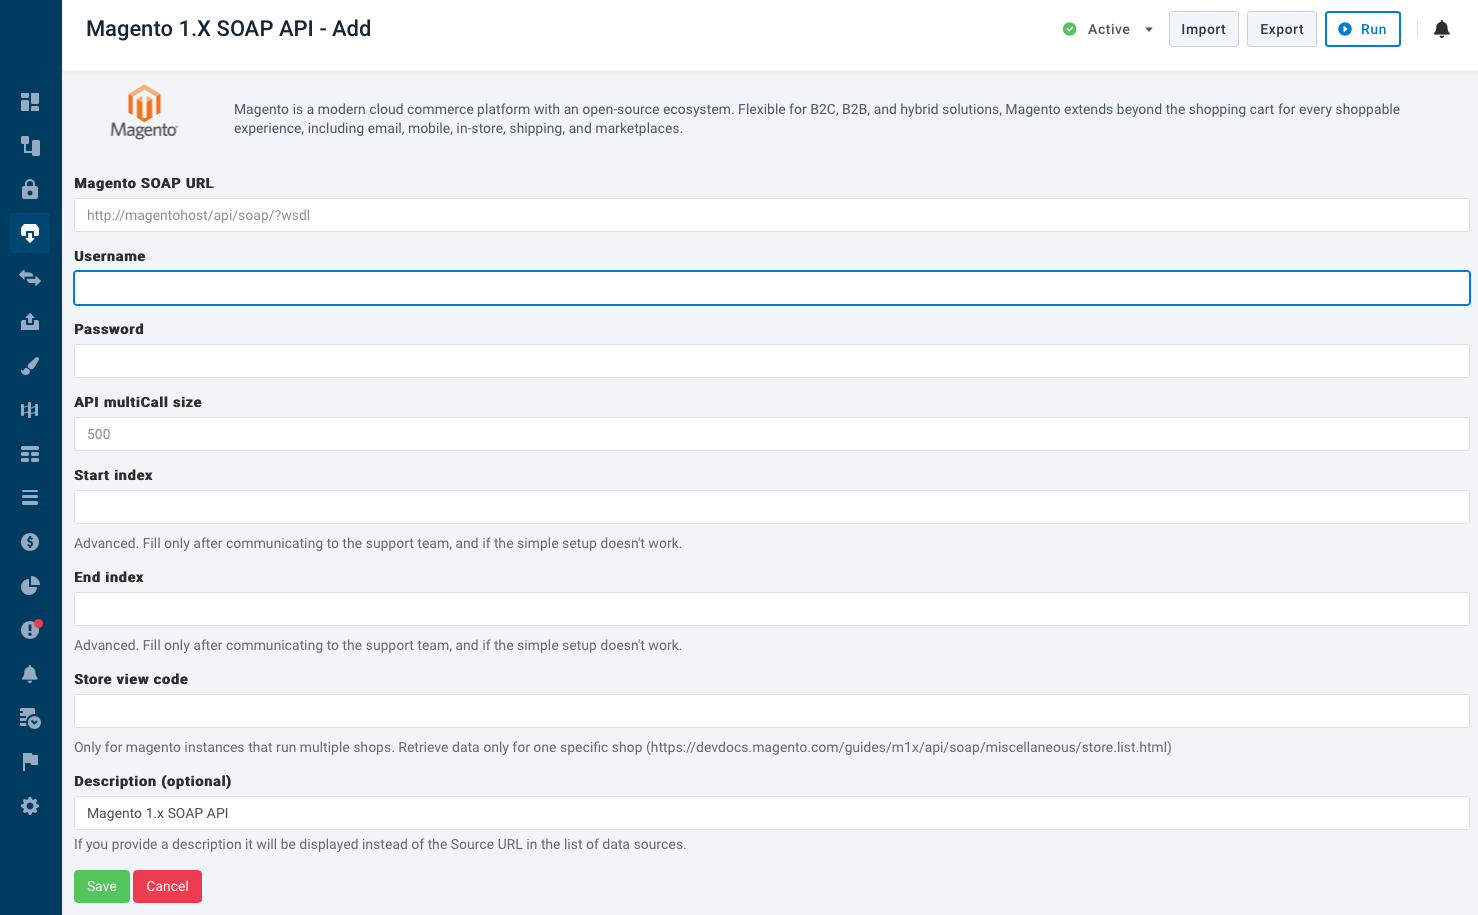
Add the Magento SOAP URL you previously set up in your Magento account. The link format should be such as
https://mymagentoshop247.com/api/soap/?wsdl.Note
Perform a basic functionality test by selecting your link. It displays information about the web service.
Enter your credentials in Username and Password.
Define how many API calls you want the platform make simultaneously in API multiCall size.
If you want to receive only a specific range of product IDs, add the first value in Start index and the last value in End index.
If you manage several stores and want to download products only from a specific store, enter the store's code in Store view code.
Optionally, enter a custom name in Description (optional).
Select Save.
Import from Magento 2.x
Before importing your products from Magento, you must create an account in Magento. See How do I get started?
Go to Data Sources from the site's main menu and select Add data source.
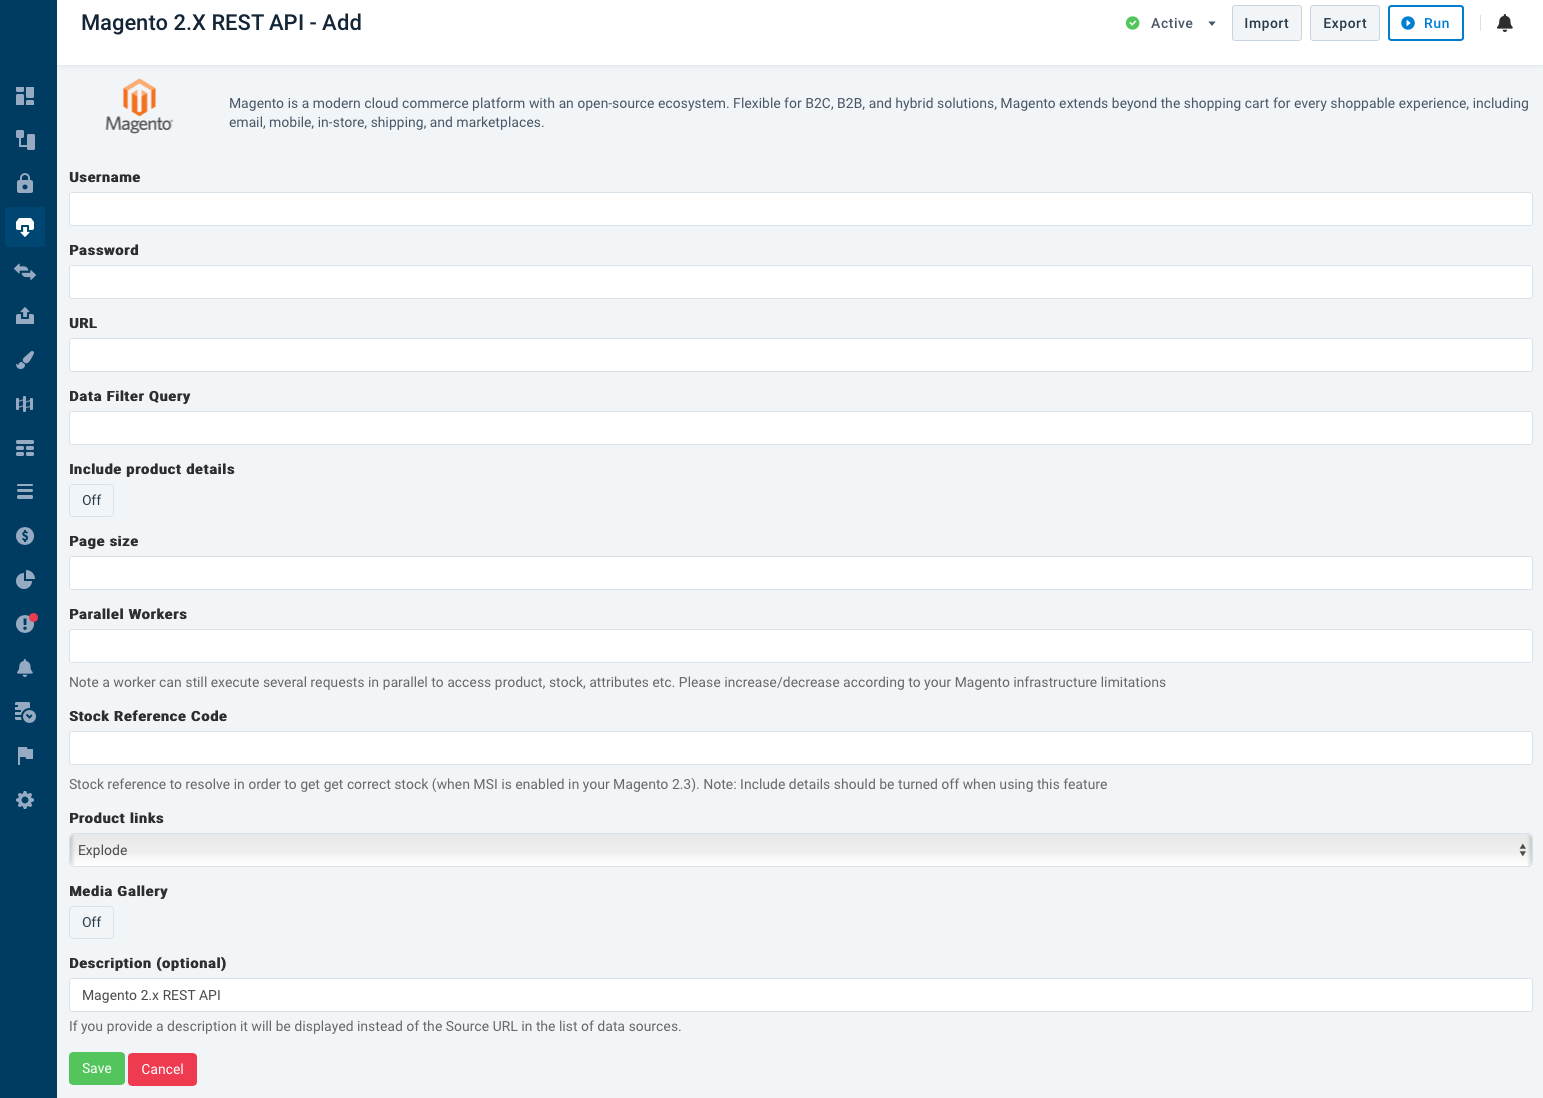
Search for Magento 2.x REST API and select Add.
Give your data source a custom name if desired, then select Continue.
The custom name replaces the data source name on the Data Sources Overview page.
Enter your credentials in Username and Password.
Add the Magento REST URL you previously set up in your Magento account. The link format should be
https://mymagentoshop247.com/api/soap/?wsdl.Note
Perform a basic functionality test by selecting your link. It displays information about the web service.
In Page size, define the number of products to extract with each API call, depending on your hosting server's capabilities.
Enter a filter in Data Filter Query.
In Parallel Workers, define the maximum amount of API calls to make at once to access products, stock, attributes, etc.
Set Include product details to On.
You may need to enter a Stock Reference Code to pull the correct stock.
In this case, set Include product details to Off.
Select the behavior of product link information in Product links:
Explode splits links into separate attributes.
Discard removes the links.
Bundle groups several attributes if there are too many of them.
Optionally, enter a custom name in Description (optional).
Select Save.
Tip
By default, the platform retrieves products from the following endpoints:
/products – main product catalog.
/products/attributes – details of the product such as color, size, gender, etc.
/categories – the categories for the website taxonomy and specific products.
If you need to fetch products from other endpoints, contact support@productsup.com.
Import products from PrestaShop
PrestaShop is an open-source eCommerce solution that powers more than 250,000 stores worldwide. It offers online shopping cart solutions with more than 300 advanced features fitting the needs of any online business.
Before importing your products from PrestaShop, you must create an access key in your PrestaShop account. See Create an access key.
Once you've created an access key, you're ready to set up the data source in the platform:
Go to Data Sources from the site's main menu and select Add data source.
Search for Prestashop Import and select Add.
Give your data source a custom name if desired, then select Continue. The custom name replaces the data source name on the Data Sources Overview page.
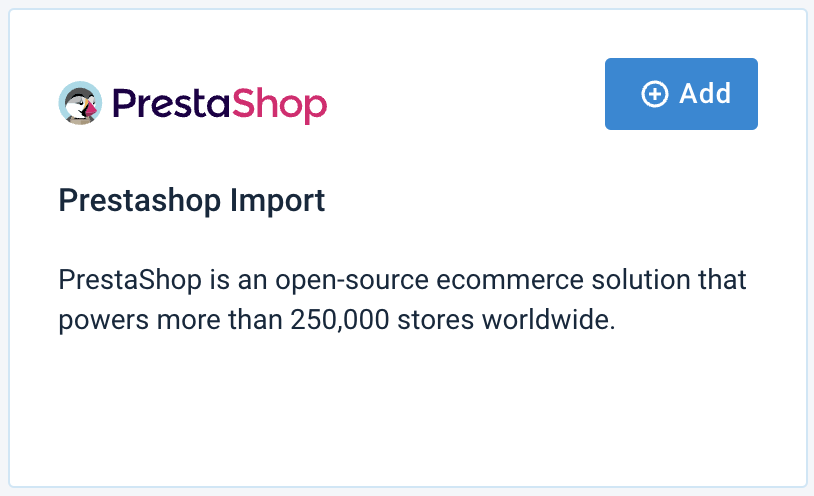
In API Key, enter the access key you've created in the PrestaShop account.
Add your web shop's domain in Domain in the format such as
https://www.yourdomain.deOptionally, in Default Language ID, define the language ID for the products you are importing. See Languages at PrestaShop website.
If necessary, enter credentials in the HTTP Auth User and HTTP Auth Password fields.
If you wish to import all your product variants, set Fetch Variants to On.
Optionally, enter a custom name in Description (optional).
Select Save.
Import data from Salesforce
You can retrieve three (3) types of data from Salesforce Commerce Cloud:
Your catalog with all your products and their attributes.
Your pricing data.
Your inventory data containing your products' stock levels.
Import your product catalog from Salesforce
To import catalog data from Salesforce Commerce Cloud into Productsup, you need to export your Salesforce product data into an XML file and store it on an FTP server. You can use the Productsup Cartridge add-on or the out-of-the-box capabilities of Salesforce to create the XML file. To store it, you can use the Productsup FTP Server. See Create an FTP server hosted by Productsup for more information.
Note
To request Productsup Cartridge, contact your Customer Success Manager or support@productsup.com.
If you use Salesforce Commerce Cloud as a B2B organization, you should instead consider using the out-of-the-box capabilities of Salesforce to run the export.
Once the XML file is ready and available on an FTP server, the Salesforce Commerce Cloud (Catalog) data source option lets you import your products into Productsup.
Go to Data Sources from your site's main menu and select Add data source.
Search for Salesforce Commerce Cloud (Catalog), select Add, change the name of the data source as desired, and then select Continue.
In Host, enter a link to your FTP server. If you are using the Productsup FTP Server, use the link suggested in the field.
In URI, specify the path to your import file on the FTP server. The path is a string of characters that uniquely identifies a location in the directory structure of your FTP server.
In Filename, enter the name of your import file that corresponds to the name of your XML file on the FTP server.
Provide your FTP authentication data in Username and Password.
In Locale, choose which locales Productsup should import from the file. You can choose to import:
Products that belong to a specific locale only. Select the needed language or market code to import products that belong to the needed locale.
All products that belong to all locales in the file. Select all to import all products from all locales.
The default locale of the file only. Select x-default to import products of the default locale.
Edit the name of the data source in Description (optional) as needed.
Select Save.
Import price and inventory data from Salesforce
There are two (2) options for importing price and inventory data from Salesforce Commerce Cloud into Productsup. Via:
The Feed URL data source.
The Productsup Platform API data source.
If your inventory and price data don't change frequently, you can use the Feed URL data source option to import prices and stock levels as additional data sources. See Import a file from a URL and Enhance your data with additional data sources.
Note
While setting up your new additional data source with price or inventory data, set the attributes_product-id attribute in ID Column In This Feed as the unique item identifier.
In ID Column From Your Main Feed, choose the unique item identifier column from the Salesforce Commerce Cloud (Catalog) data source. Salesforce Commerce Cloud (Catalog) is your main data source.
If your price and inventory data change frequently, you can use the Productsup Platform API data source option to import this data into the platform. Selling products on multiple marketplaces and altering prices to support recurrent promotional campaigns are common causes of frequent price and inventory data updates.
The Productsup Platform API data source option requires additional configurations in Salesforce. For example, you need to set up delta jobs that look for price and inventory data changes and push those changes to the Productsup Platform API. See Import data via the Productsup Platform API for more information.
Tip
It may be the case that your price data doesn't change frequently, but your inventory data does. If so, you can use the Feed URL data source option to import the price data and the Productsup Platform API data source option to import your inventory data.
Import products from Shopify
Shopify is a cloud-based, multi-channel commerce platform designed for small and medium-sized businesses. Merchants can use this platform to manage their stores across multiple sales channels, such as web, mobile, social media, marketplaces, brick-and-mortar, and pop-up shops.
You can use the Shopify Products data source in Productsup to import enriched product data from Shopify.
Note
Shopify is deprecating its REST API and has released the GraphQL API. The Shopify Products data source imports products from Shopify using the GraphQL API.
Prerequisites
Before importing your products from Shopify, you need to get an API access token using a custom app in Shopify. See Custom apps for detailed instructions in the Shopify Help Center.
Disclaimer
The Productsup Help Center doesn't bear any responsibility and accountability for the accuracy and relevance of the processes, features, UI elements, and other information mentioned in the following instructions about third-party websites and platforms. The following instructions aim to help the readers of the Productsup Help Center perform complex activities outside the Productsup platform while the official technical documentation of the website or platform in question doesn't provide easy-to-find information on the needed activities.
Go to the Shopify admin panel, and select Settings in the bottom-left corner. Then, select Apps and sales channels.
Select Develop apps, and choose a relevant custom app.
If you don't have any custom apps yet, create one by selecting Create a custom app. Set up your app by choosing an app developer, assigning permissions, and defining API scopes.
Note
The minimum required scopes are read_products and read_inventory.
Go to the API credentials section, select Install app, and confirm the action.
Select Reveal token once. The token is shown only once, so save it securely as you will need it to set up the Shopify Products data source in Productsup.
Set up the Shopify Products data source
Once you've created an API token, you're ready to set up the data source in the platform:
Go to Data Sources from the site's main menu and select Add data source. Search for Shopify Products and select Add.
Give your data source a custom name if needed, and select Continue to proceed. The custom name replaces the data source name in the Overview tab in Data Sources.
Add your shop's web address in Shop URL.
Enter the API token in Admin API access token. The token always starts with
shpat_.Toggle include Metaobject Data to one of the following state:
If toggle to On, the platform imports the Metaobject fields as data. In this case, you must enable the
read_metaobjectsscope for the applied Shopify Auth.If toggle to Off, the platform imports the Metaobject fields as links instead of data. This setting requires no additional scope.

You can use filters to import only specific sets of products to Productsup:
Caution
If you use one of the following filter types, we don't recommend setting up any other filter types in the same data source.
To import only products with the needed states, select the desired states in Status. Selecting a certain status, you exclude unnecessary products from import. By default, the data source imports products of all statuses. You can select a necessary combination of statuses by holding the cmd or Ctrl key.

To import products created, updated, or published after a certain date and time, enter the corresponding values in Created at minimum, Updated at minimum, and Published at minimum. Enter the value in the format
xxD:xxH, wherexxis the number of days and hours the platform should subtract from the date and time of the import run. For example,10D00Hmeans ten days and zero hours before the date and time of the import run.Note
If you enter values in more than one of these time filter fields, they use the
ANDlogic, which means you will import only products that meet all the filtering criteria. For example, if you enter values in all three fields, the platform imports only the products that had all three changes (creation, update, and publication) at the chosen times.To follow the
ORlogic and import data created, updated, or published at the needed times, you should set up a separate data source for each time filter, for example, one for Created at minimum, one for Updated at minimum, and another one for Published at minimum.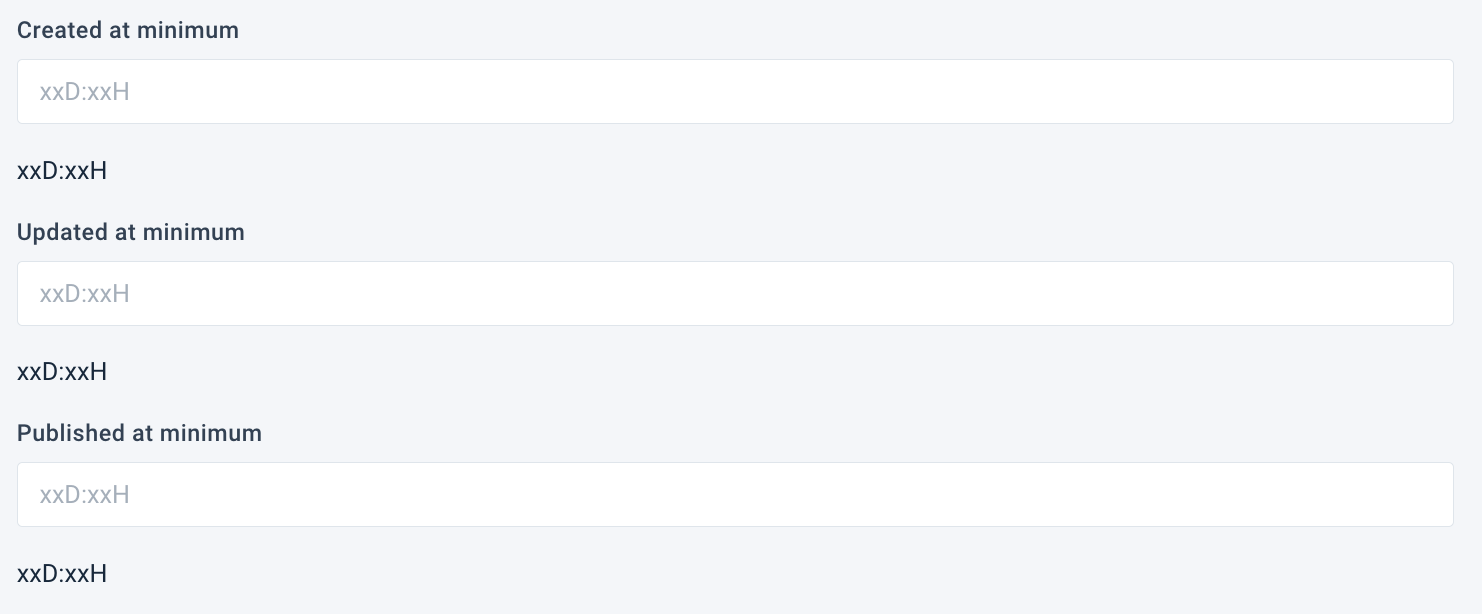
Note
We recommend using these settings if you have a large product catalog and only want to import a small number of products to speed up the import process.
To import only products belonging to a particular collection in your Shopify account, enter the ID of the desired collection in Collection Id.
You can create a new collection in Shopify to group the exact products you want to import into Productsup. You can also use an already existing collection. See Collections for more information.

Warning
You can't combine the Collection Id filter with any other filters in the data source setup. Instead, we recommend using collections in Shopify to group and filter the products you need to import into Productsup.
In Pricing context, enter valid country codes separated by a comma. See ContryCode.
If you enter DE,FR in this field, the platform creates the following attributes to import country-specific pricing data: contextualPricingDE_amount, contextualPricingDE_currencyCode, contextualPricingFR_amount, contextualPricingFR_currencyCode.
In Translations locale, you can enter the
isoCodesof the needed locales, for example, de, nl, en, to import all attributes containing localized content for these locales. See availableLocales.Optionally, enter a custom name for the data source in Description (optional).
Select Save.
Note
During the import, the platform adds the Shopify description attribute values in the body_html attribute.
Import products from VTEX
To import your products from VTEX, see Import products from VTEX.
Import products from WooCommerce
WooCommerce is an open-source eCommerce plugin for WordPress.
To import products from WooCommerce, you must set up API access in your WordPress store. See WooCommerce REST API.
Once you've created the API access, you're ready to set up the data source in the platform:
Go to Data Sources from the site's main menu and select Add data source.
Search for WooCommerce Products Importer and select Add.
Give your data source a custom name if desired, then select Continue. The custom name replaces the data source name on the Data Sources Overview page.
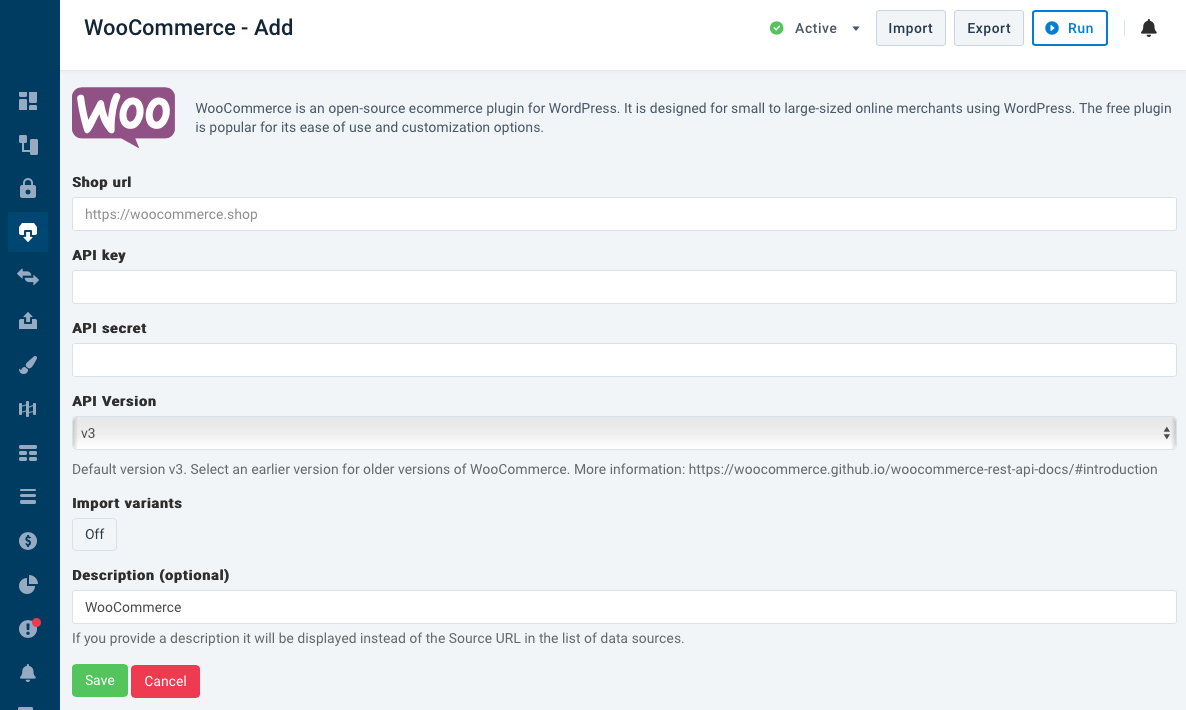
Add your web shop's address in Shop url.
Enter the API credentials you've created in your WooCommerce account in the API Key and API secret fields.
Select a WooCommerce version in API Version.
If you wish to import all your product variants, toggle Import variants to On.
If you want to import only specific attributes, you can type only these attributes in Import data filter. Separate them by a comma (
,) without spaces such asid,name,description.To send auth secrets as string for OAuth 1.0, toggle OAuth 1.0 auth as string to On.
Optionally, enter a custom name in Description (optional).
Select Save.
