Optimize your data in Dataflow
Modify your data in Dataflow in Productsup.
Introduction
You can modify your data in Data View or Dataflow before exporting it. The difference between editing your data in Data View and Dataflow is as follows:
Data View lets you see the actual data and preview the results of the changes you make with rule boxes. See Add a rule box to learn how to add rule boxes in Data View.
Dataflow provides a broad overview of all the connections and rule boxes you have already applied. You can add rule boxes, append one attribute's column to another, replace connections, and copy and apply rule boxes to other attributes. This document describes all these features.
Add a rule box in Dataflow
Go to Dataflow from your site's main menu and select the needed export from the dropdown on the left in the top ribbon.
Select the arrow icon
 next to the needed attribute in the relevant stage. The panel on the right opens.
Select the Select an Option dropdown, search for and select the needed rule box in the list.
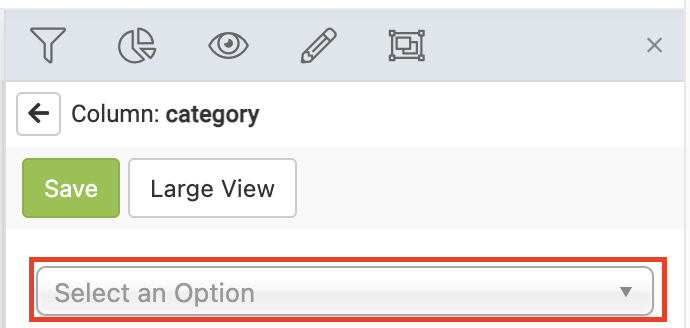
Configure the rule box by selecting or entering values.
Tip
Select the wrench icon 🔧 in the top-right corner of the rule box to open advanced options such as pausing, duplicating, removing, or applying the rule box to a segment.
Select Save.
Go to Data View from your site's main menu, select the same export as in Dataflow where you added the rule box, and see the changes in the attribute.
Add a rule box in Dataflow using Large View
To see a list of the available rule boxes and filter them, use Large View:
In the right panel opened after you selected an attribute for editing, select the Large View button.
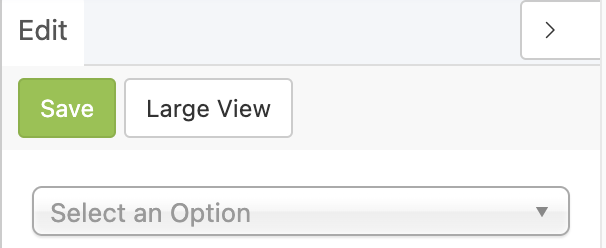
To find a needed rule box, use the following options:

Drag the rule box to the needed stage: the green area is for the import to intermediate stages, and the blue area is for the intermediate to export stages.
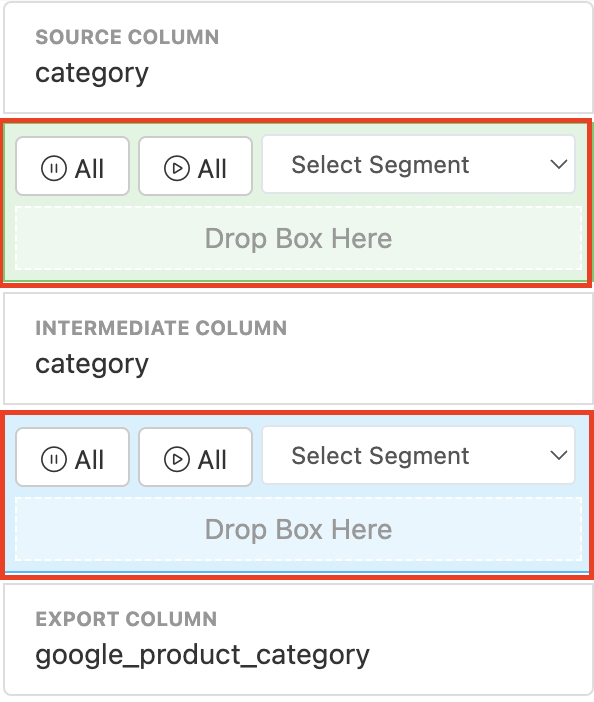
Configure the rule box and select Save.
Edit a rule box in Dataflow
You can edit any rule box after you have applied it.
Go to Dataflow from your site's main menu and select a needed export from the drop-down menu on the left side of the top ribbon.
Select an attribute in the stage where you added a rule box. The panel on the right opens.
Configure the rule box by selecting or entering values.
Select Save.
View all applied rule boxes in Dataflow
In Dataflow, you can see bubbles of different colors on connections between the stages. Each bubble represents a rule box that you applied to an attribute. Here are the meanings of the colors:
Green bubbles are rule boxes between the import and intermediate stages.
Blue bubbles are rule boxes between the intermediate and export stages.
Gray bubbles are rule boxes on pause.
Yellow bubbles are rule boxes containing skip rules.
To get more information about the applied rule boxes:
Hover over a connection to see a list of all rule boxes applied to it.

Select the needed attribute to see the rule box settings in detail. Or select the arrow icon that appears when hovering over to open Large View.
Filter rule boxes in Dataflow
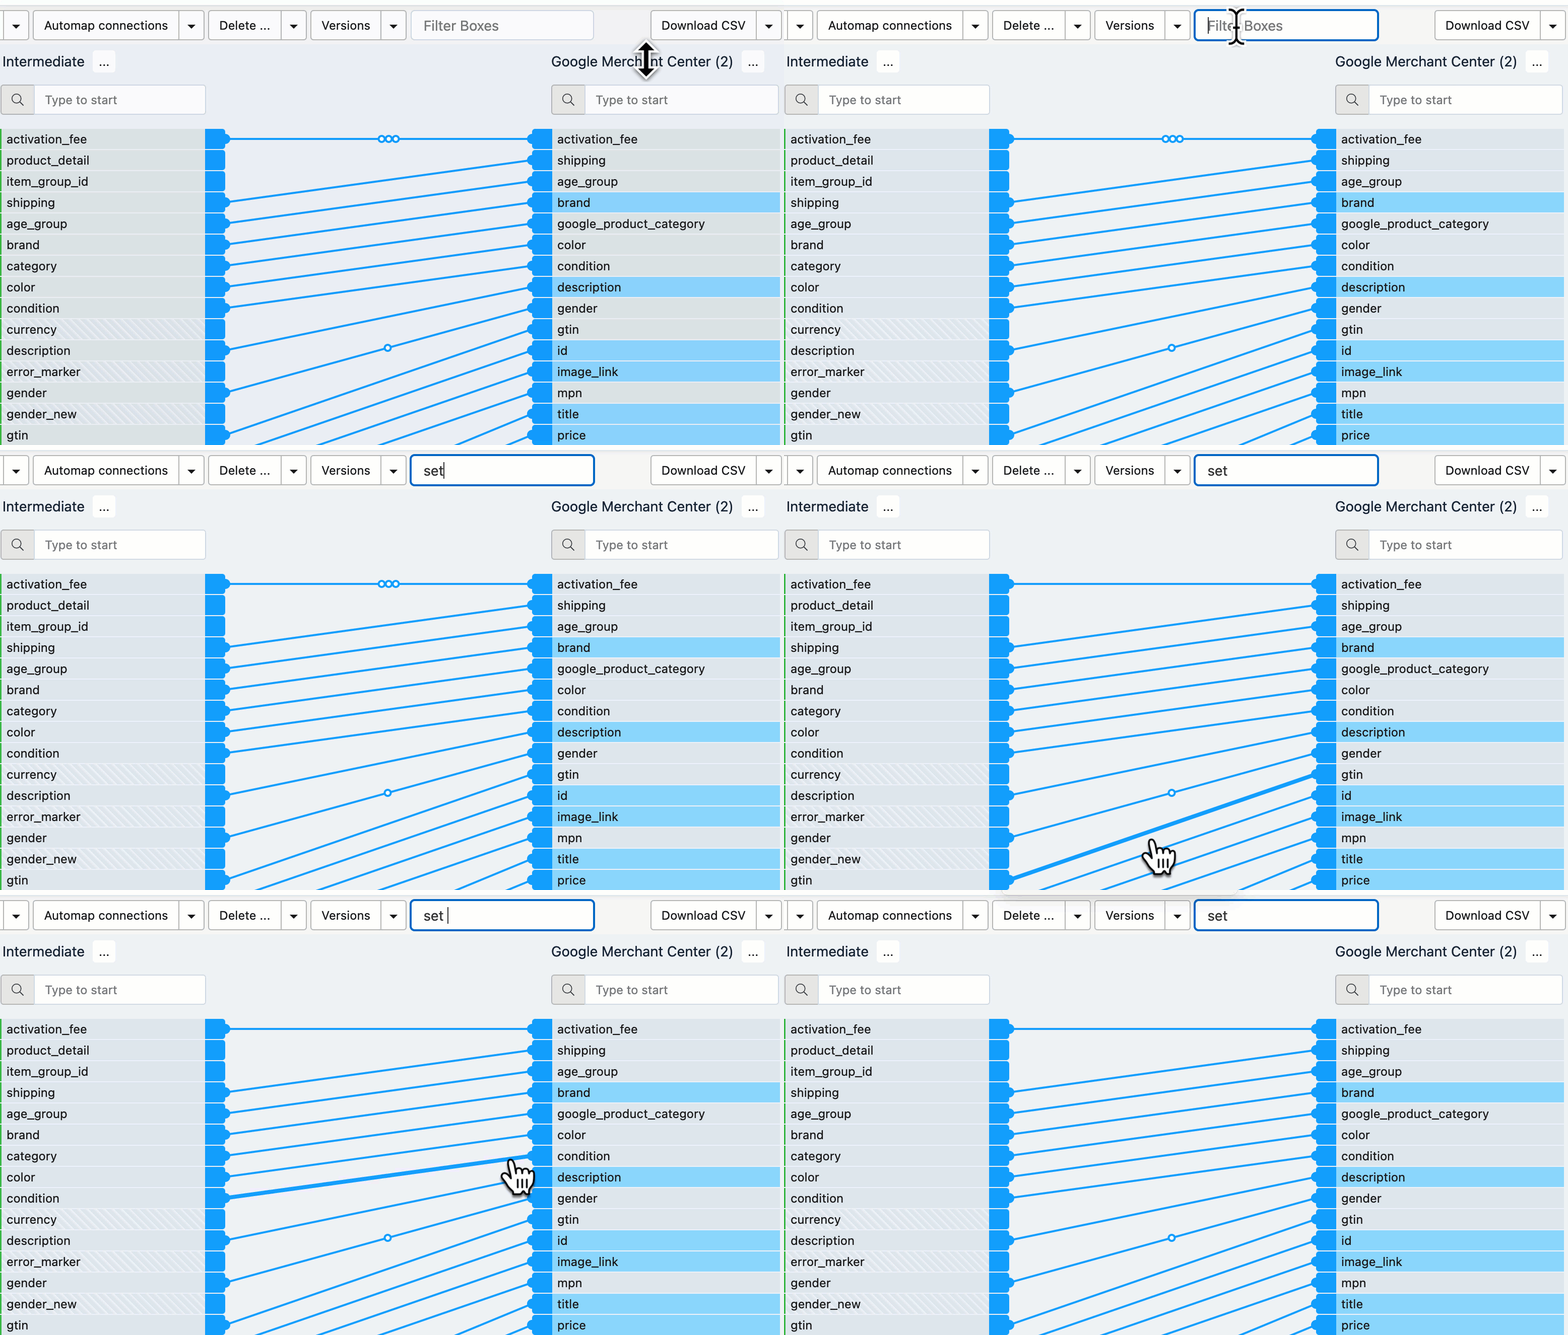
Filter rule boxes in Dataflow to find the necessary rule box applied to a connection. The platform hides all other rule boxes, leaving only those matching your search term.
Go to Dataflow from your site's main menu.
In the upper ribbon, enter a rule box name in Filter Boxes.
Append data from one attribute to another
You can append data from one attribute to another in Dataflow. For example, you can append values from the color and size attributes to your title attribute.
Tip
Alternatively, you can do it with the Append/Prepend Column rule box. See Append/Prepend Column.
To append data of one attribute to another using the Dataflow connections:
Go to Dataflow from your site's main menu.
Select the needed export from the drop-down menu on the left side of the upper ribbon.

Choose an attribute you want to append and map it to the desired attribute in the next stage. The attribute in the next stage should already have a connection to another attribute.
For example, you want the
idattribute to display the product name after the id. You can append data fromproduct namein the intermediate stage toidin the export that has a connection toidin the intermediate stage.Select Append in the pop-up window.
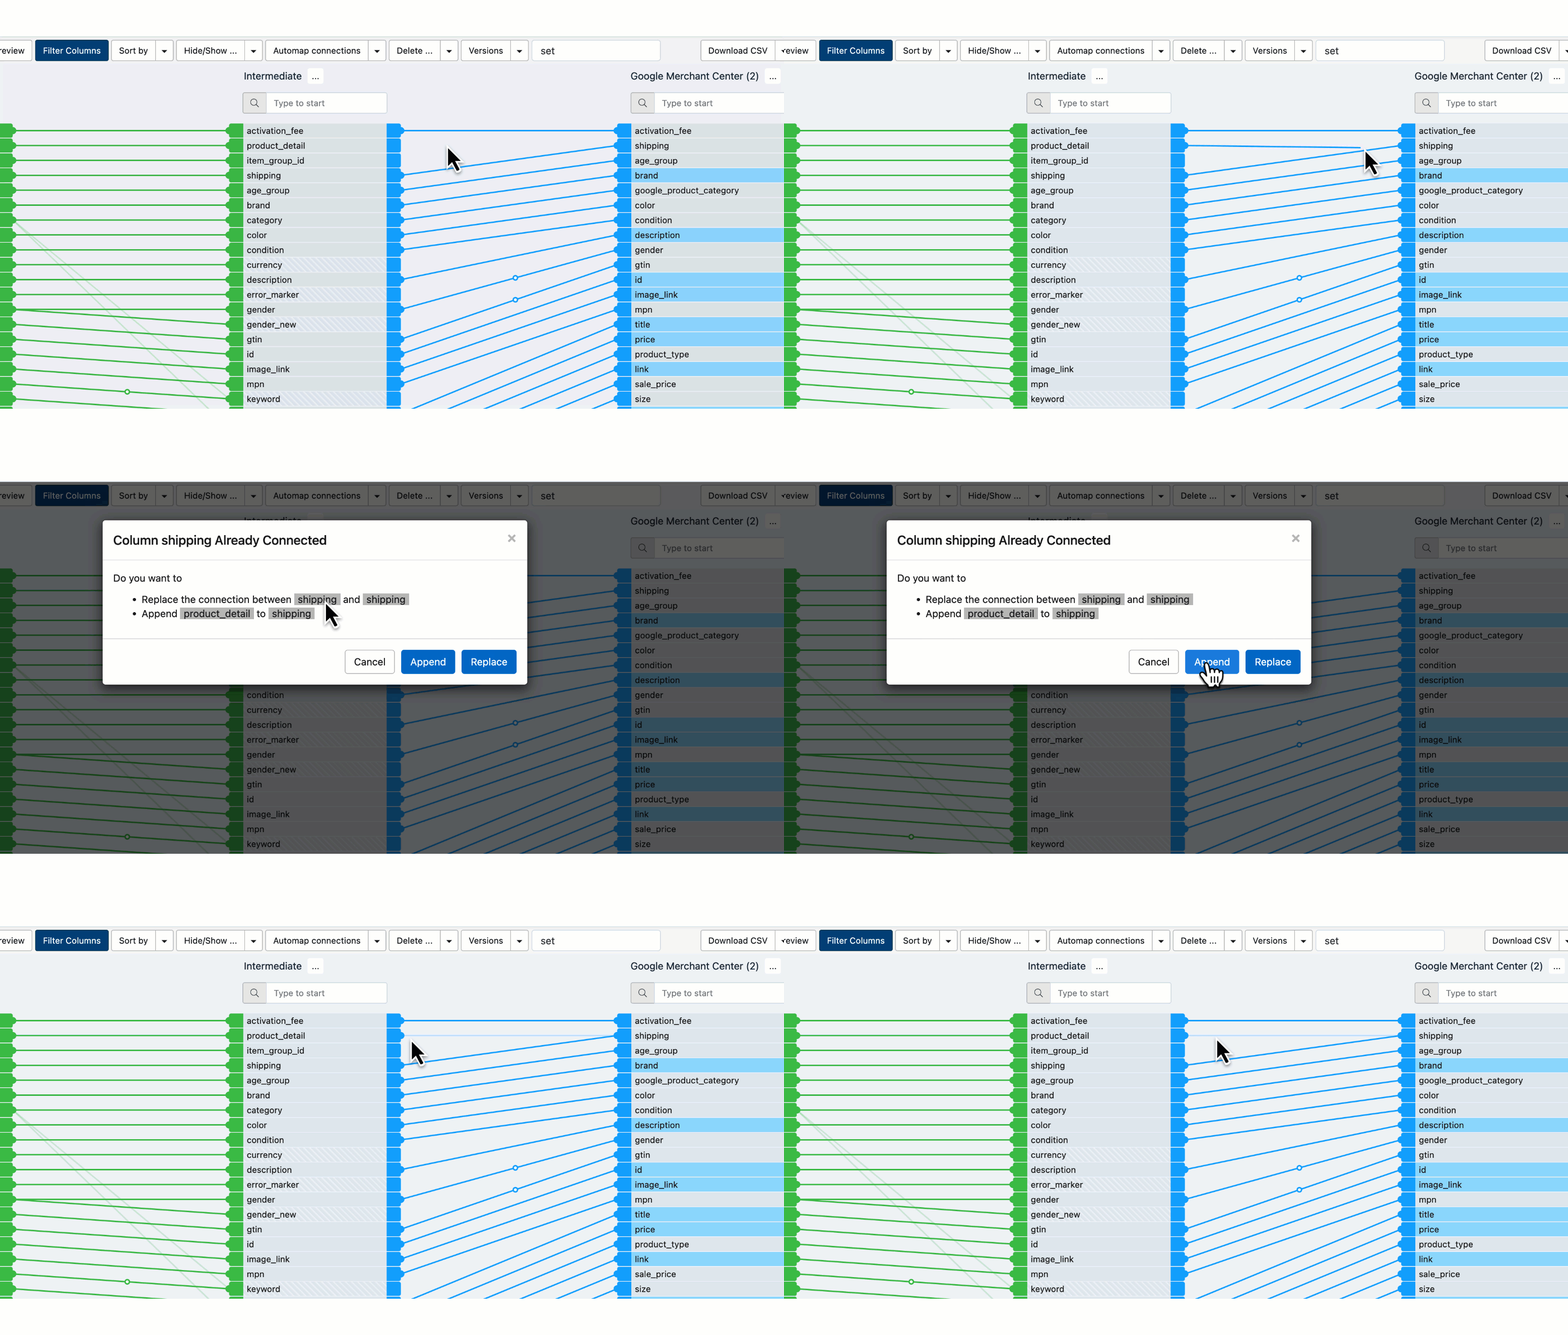
After appending the attributes, a light-blue connection appears between the attributes in two stages.
Replace a connection between attributes
If you need to change the connection between attributes, you can delete the existing connection and map a new one. But you can also replace a connection between attributes without deleting a previous connection first.
Go to Dataflow from your site's main menu.
Select the needed export from the drop-down menu on the left side of the upper ribbon.
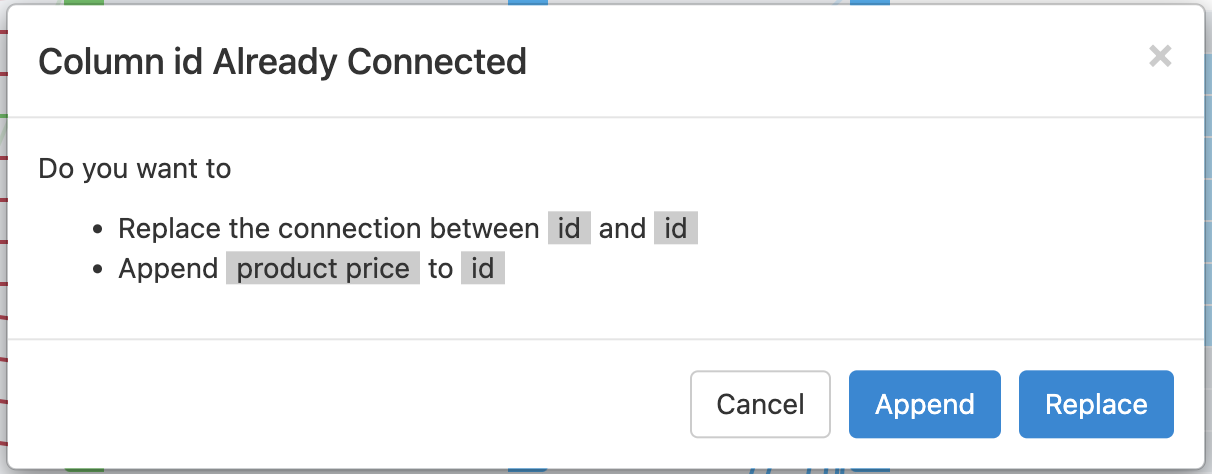
Drag a connection from an attribute to the attribute that already has a connection in the next stage.
Select Replace in the pop-up window.
Copy rule boxes from one attribute to another
If you want an attribute to use the same rule boxes as another one, you can copy and reuse these rule boxes.
Go to Dataflow from your site's main menu.
Select the needed export from the drop-down menu on the left side of the upper ribbon.
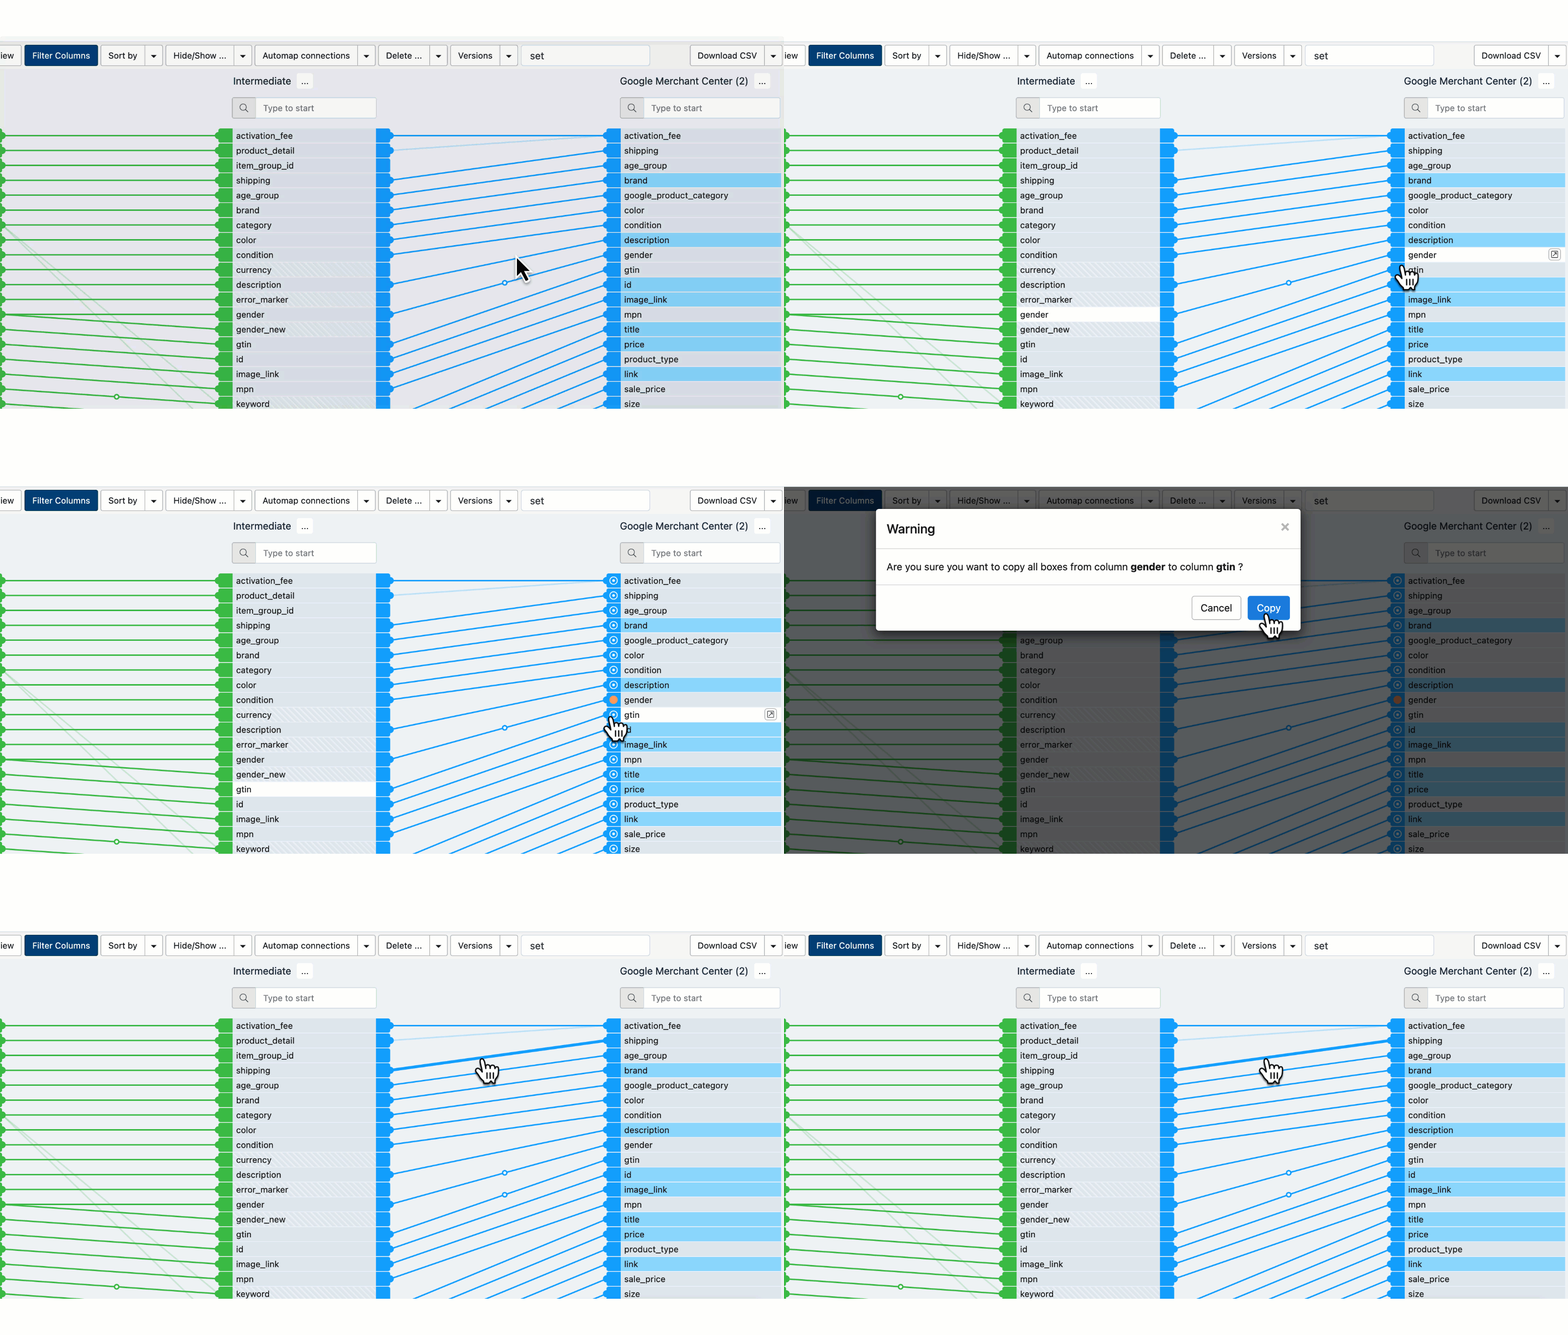
Select the node of the source attribute containing the rule boxes you want to copy.
Note
An orange circle appears on the attribute's node. The node has to be either in the intermediate or export stage.
Select the node of the target attribute in the same stage where you want to copy the rule boxes.
Note
The target attribute shouldn't have rule boxes applied. A white circle on the attribute indicates that you can apply these rule boxes to the attribute.
Select Copy in the pop-up window.
