Set up the Classification Mapping list
Set up the Classification Mapping list, formerly known as Classification List, to create a list of all included values in a selected import or intermediate attribute and replace them with categories from a classification system in Productsup.
Introduction
The Classification Mapping list, formerly known as Classification List, lets you create a list of all included values in a selected import or intermediate attribute and replace them with categories from a classification system.
For example, manufacturers in the electrical, heating and ventilation, and building and construction industries often need to provide product data to trade and industry partners. These products follow an international classification standard, which structures product information by class. Productsup supports the ETIM classification standard for trade and industry partners. See Set up ETIM Classes exports for more information.
When you create a Classification Mapping list, you map your current category values to the pre-defined classification values that should later replace your category values. To let your list replace the desired category values in your feed, you must add the Classification Mapping rule box to your category-related attribute in Data View or Dataflow. See Add the Classification Mapping rule box for more information.
Add the Classification Mapping list
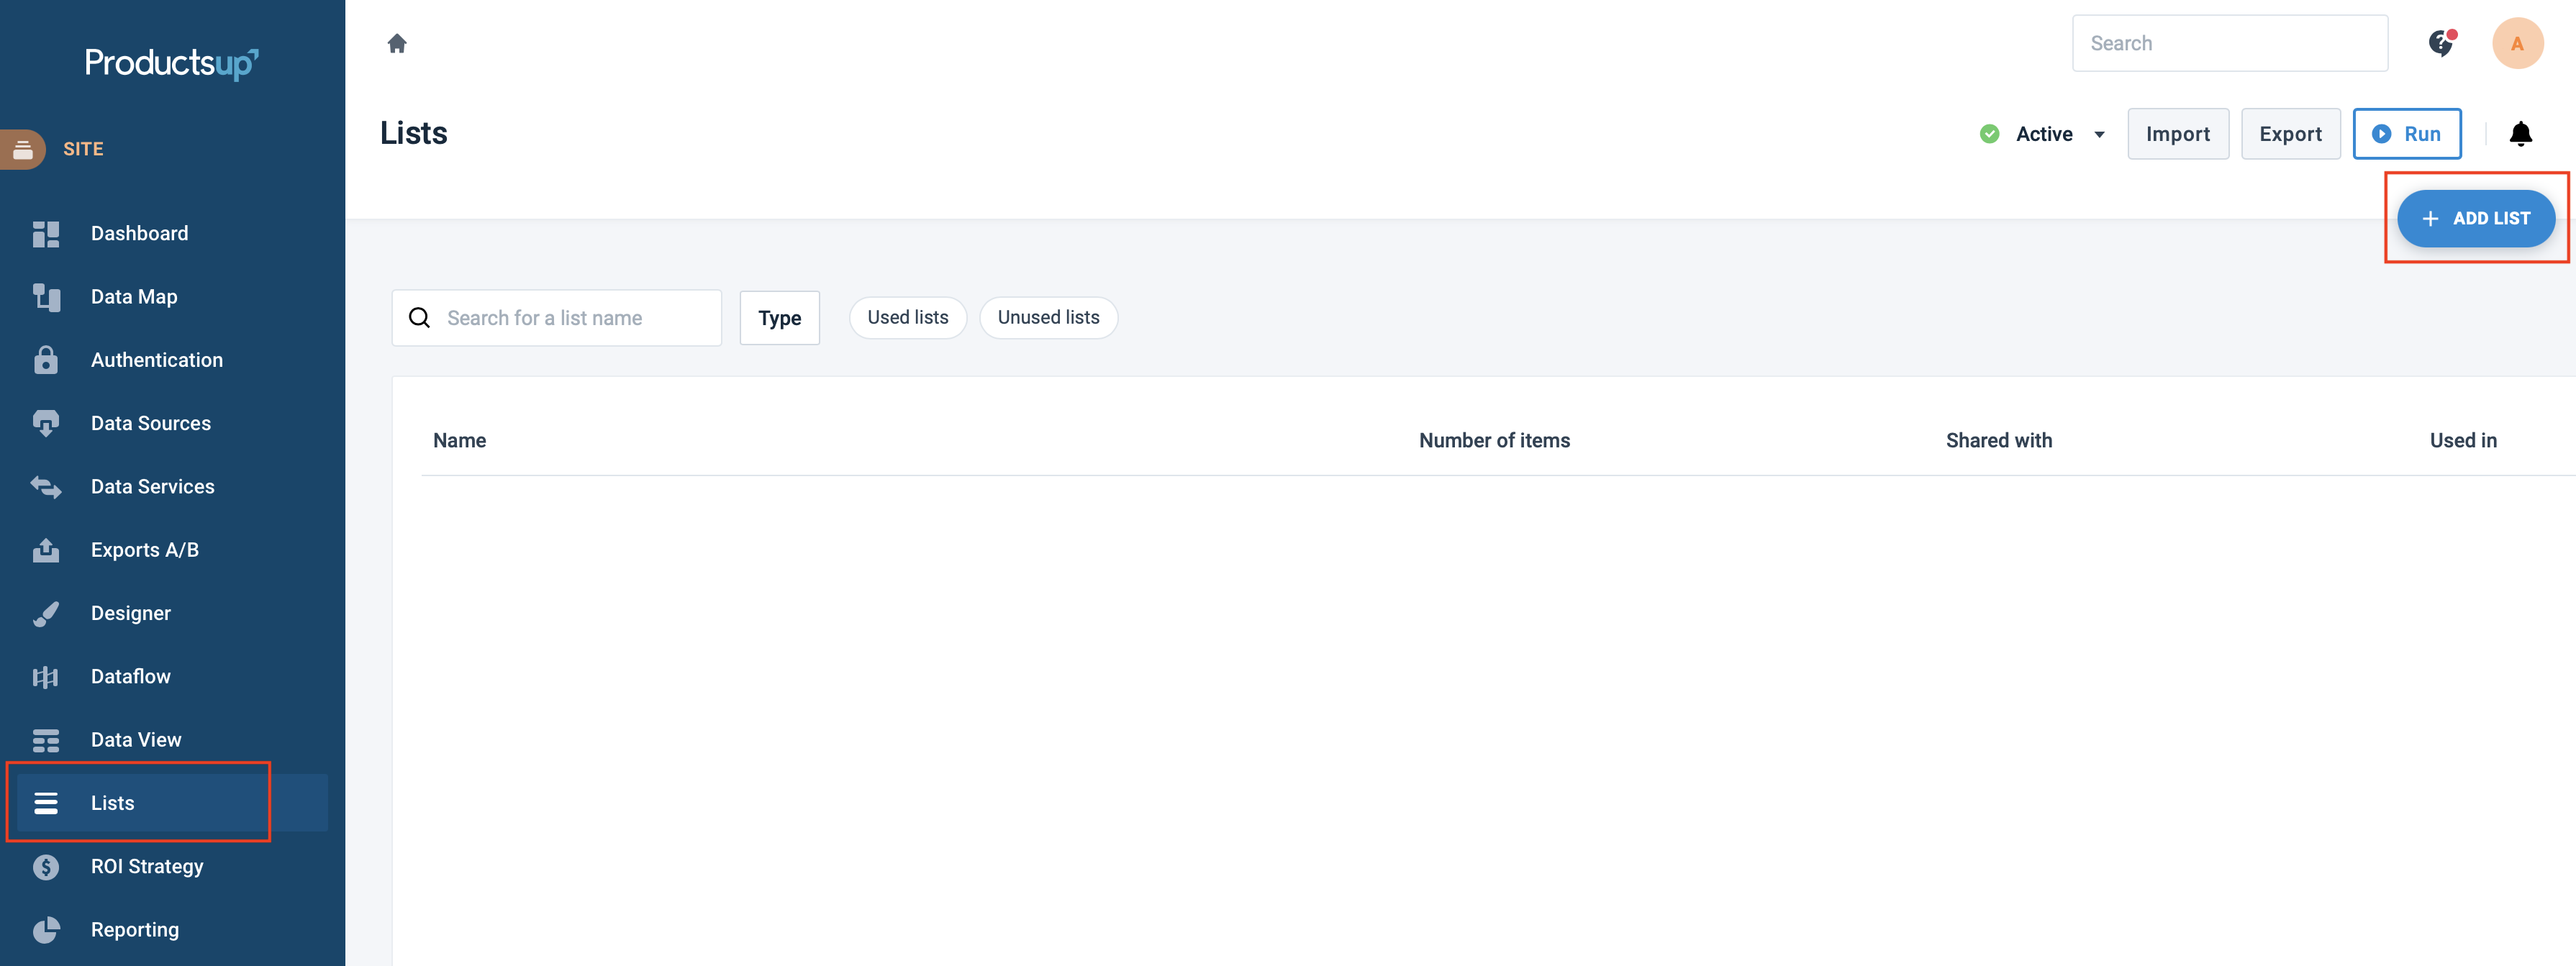
Go to Lists from your site's main menu and select ADD LIST.

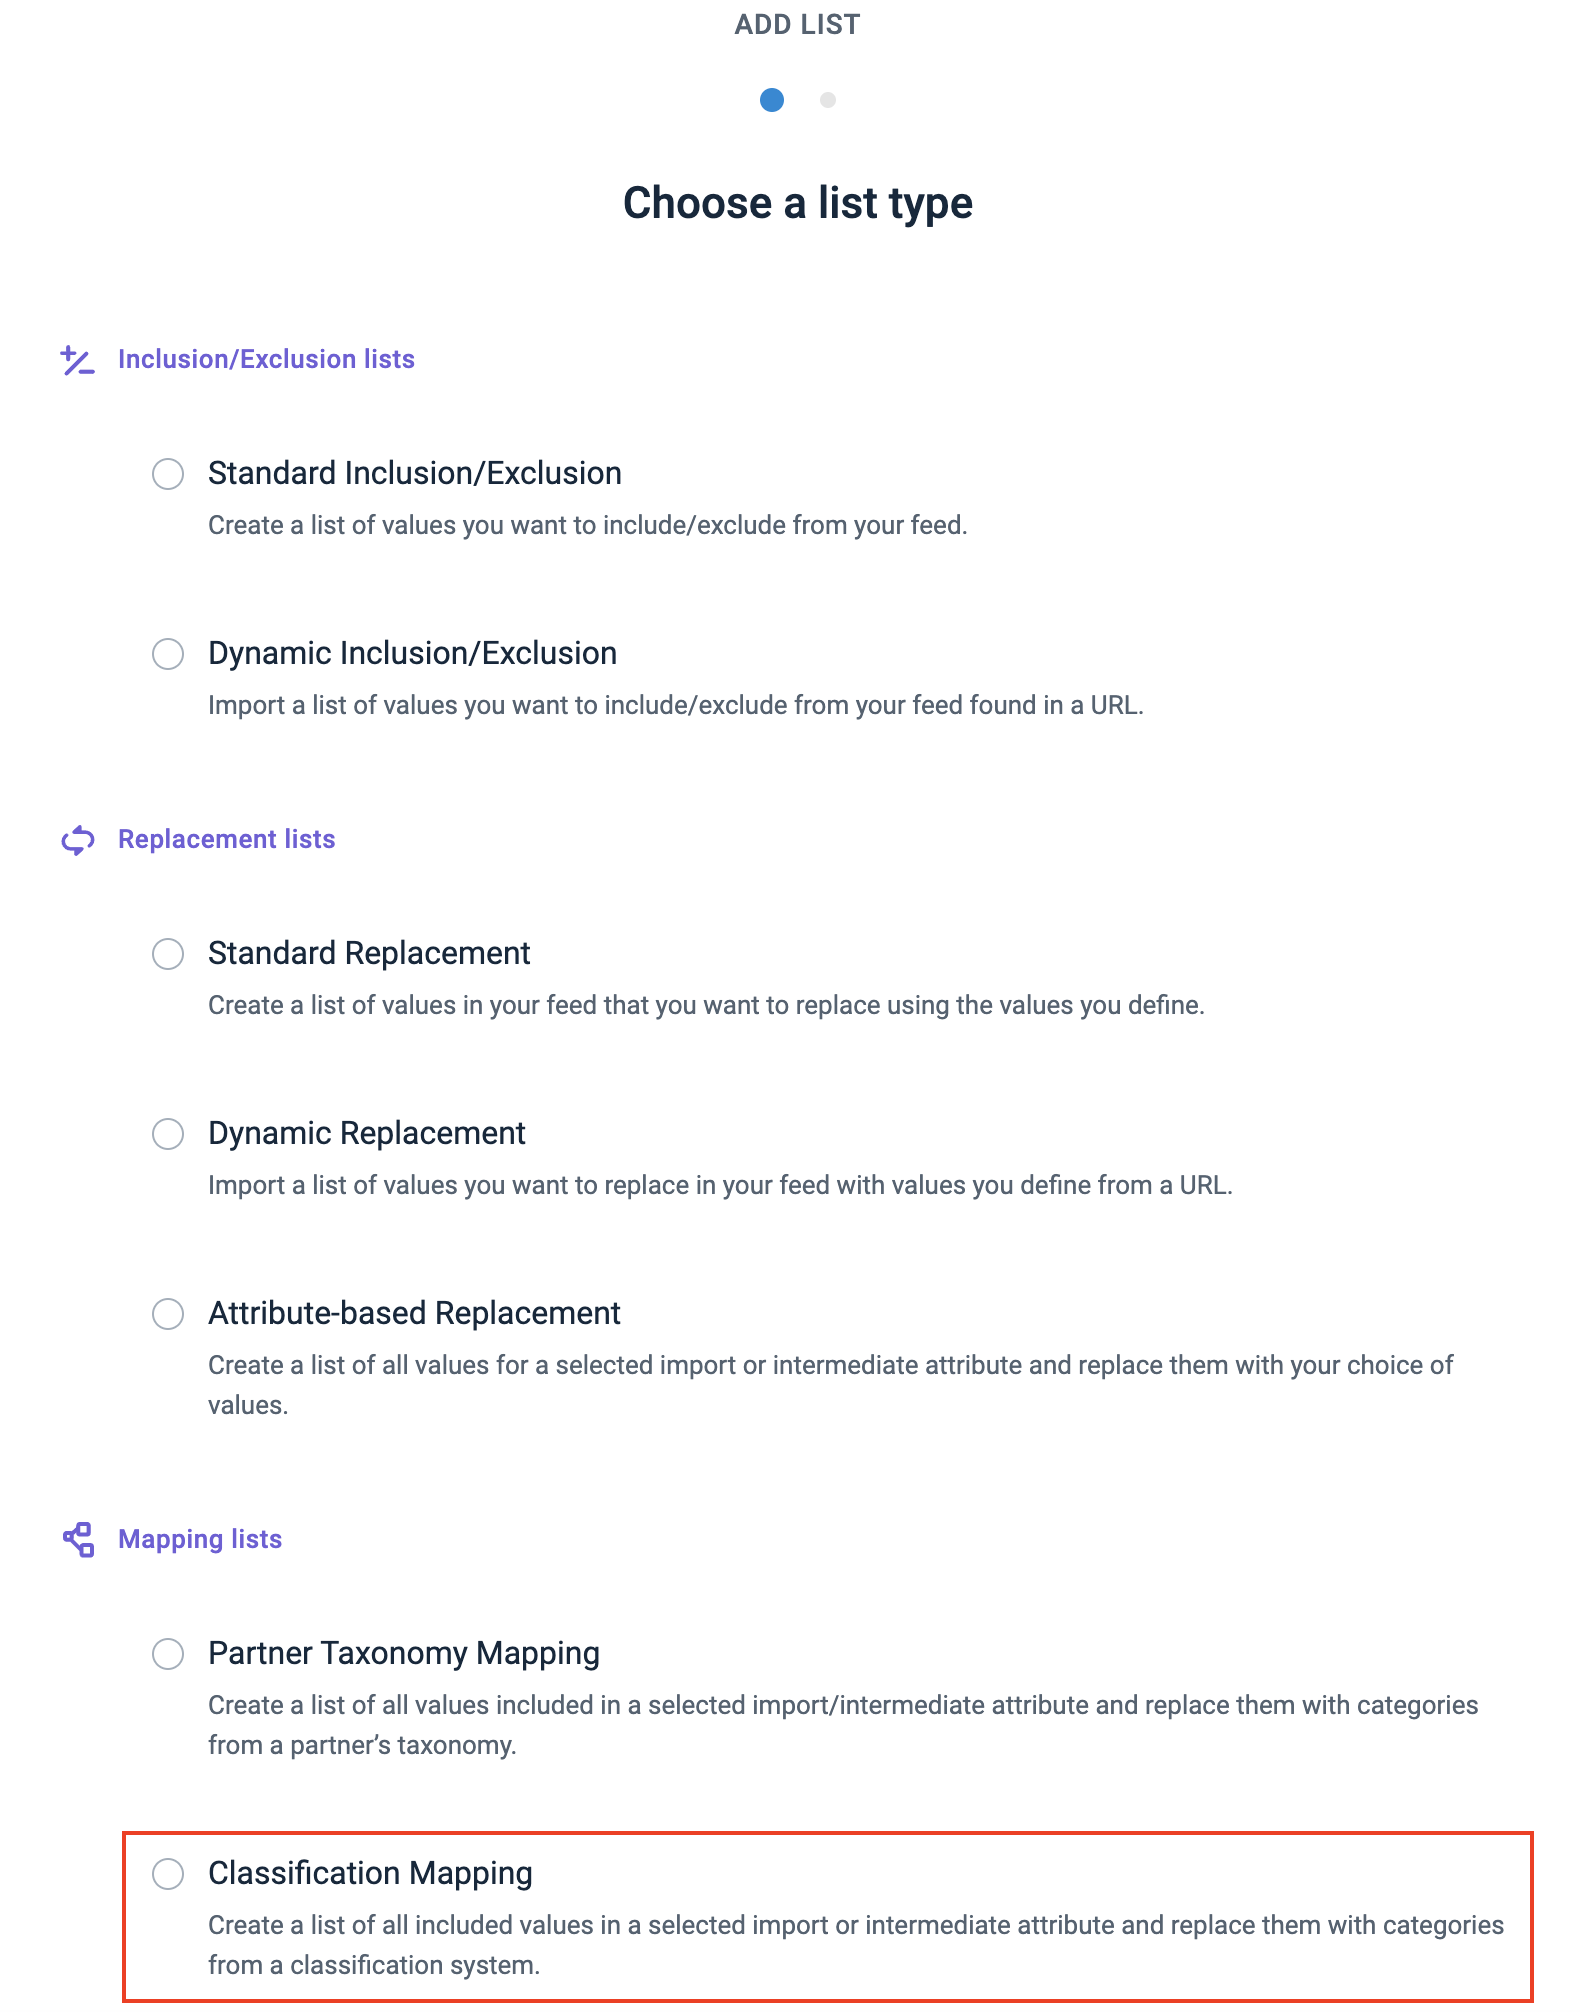
Next, choose Classification Mapping and select Continue.

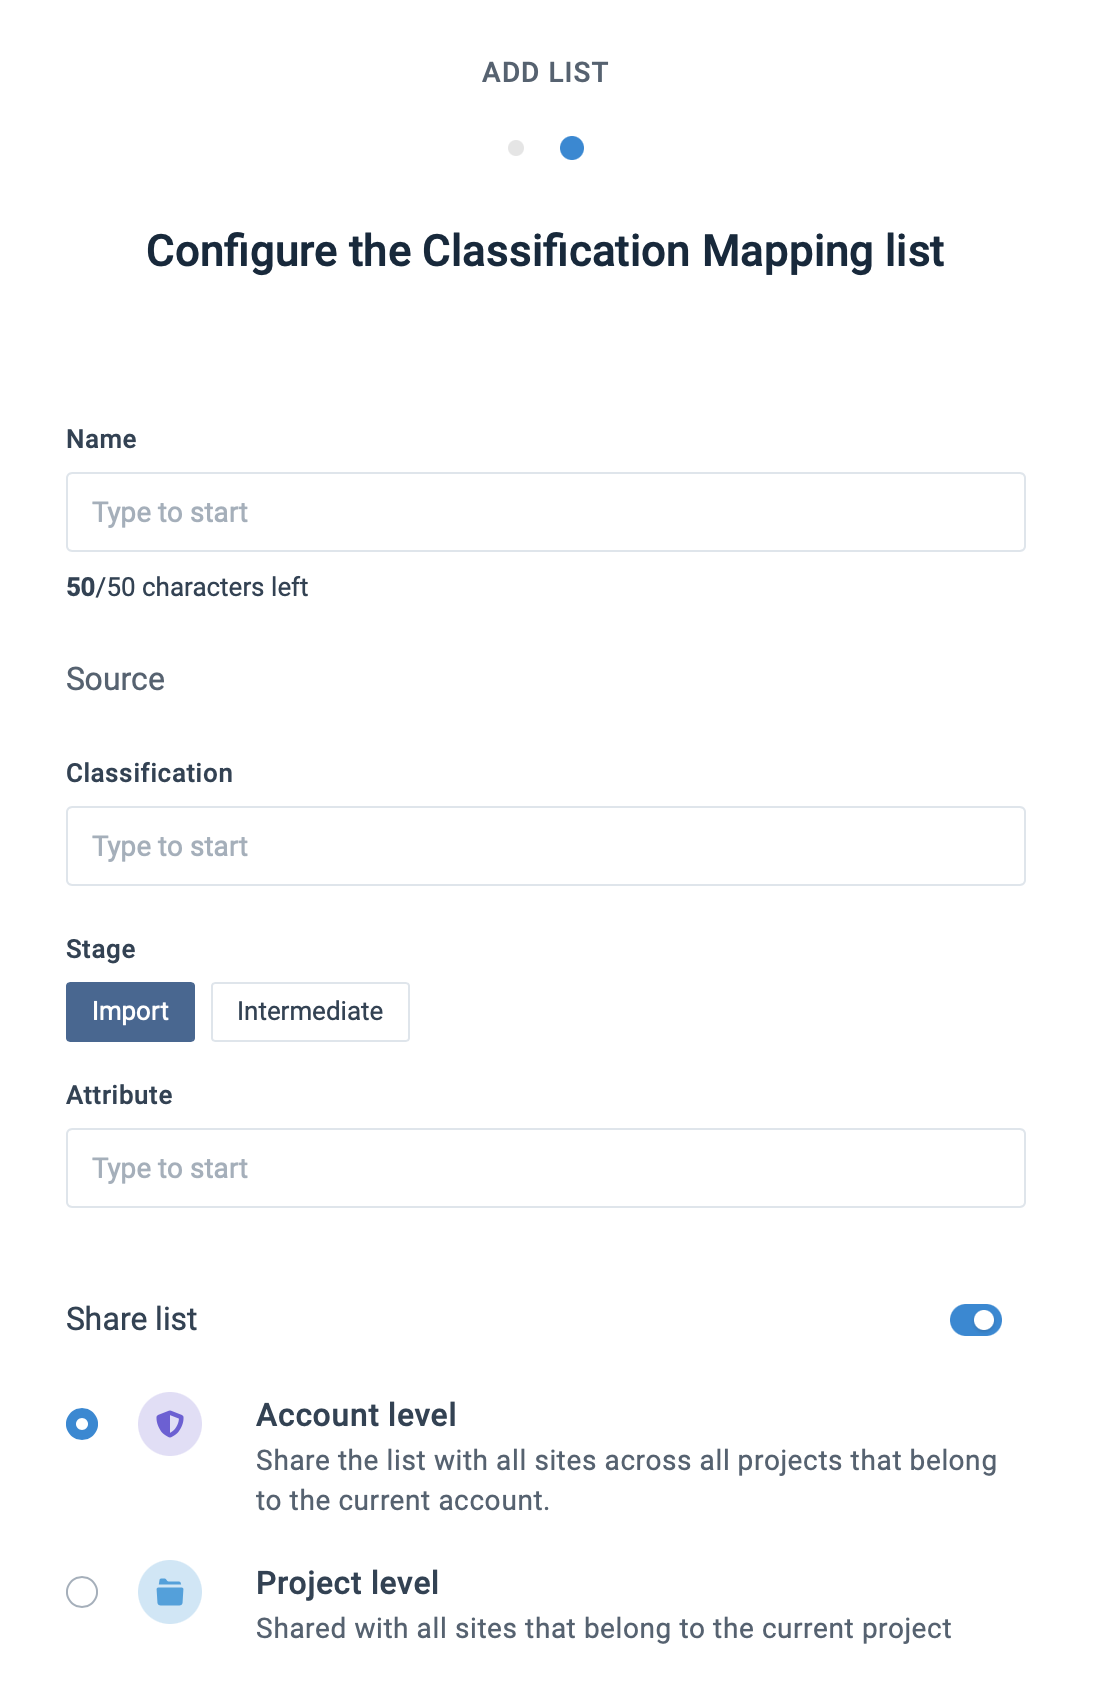
In Name, give your Mapping List a custom name to help you identify it. You can later edit the custom name.
In Classification, choose the classification system to map from the auto-complete list.
Next, in Stage, choose the Import or Intermediate stage to replace values with partner taxonomy categories.
In Attribute, select the field and enter attributes from an auto-complete list of pre-defined values from your selected import or intermediate column.
(Optional) Toggle on the Share list button and choose one of the following:
Account level - Share this list with all sites across all projects under this organization.
Project level - Share this list with all sites under this project.
Note
If you share the list at the organization or project level, the platform updates the list during an import from the original site where you created the list.
Select Add.

Match categories to classifications
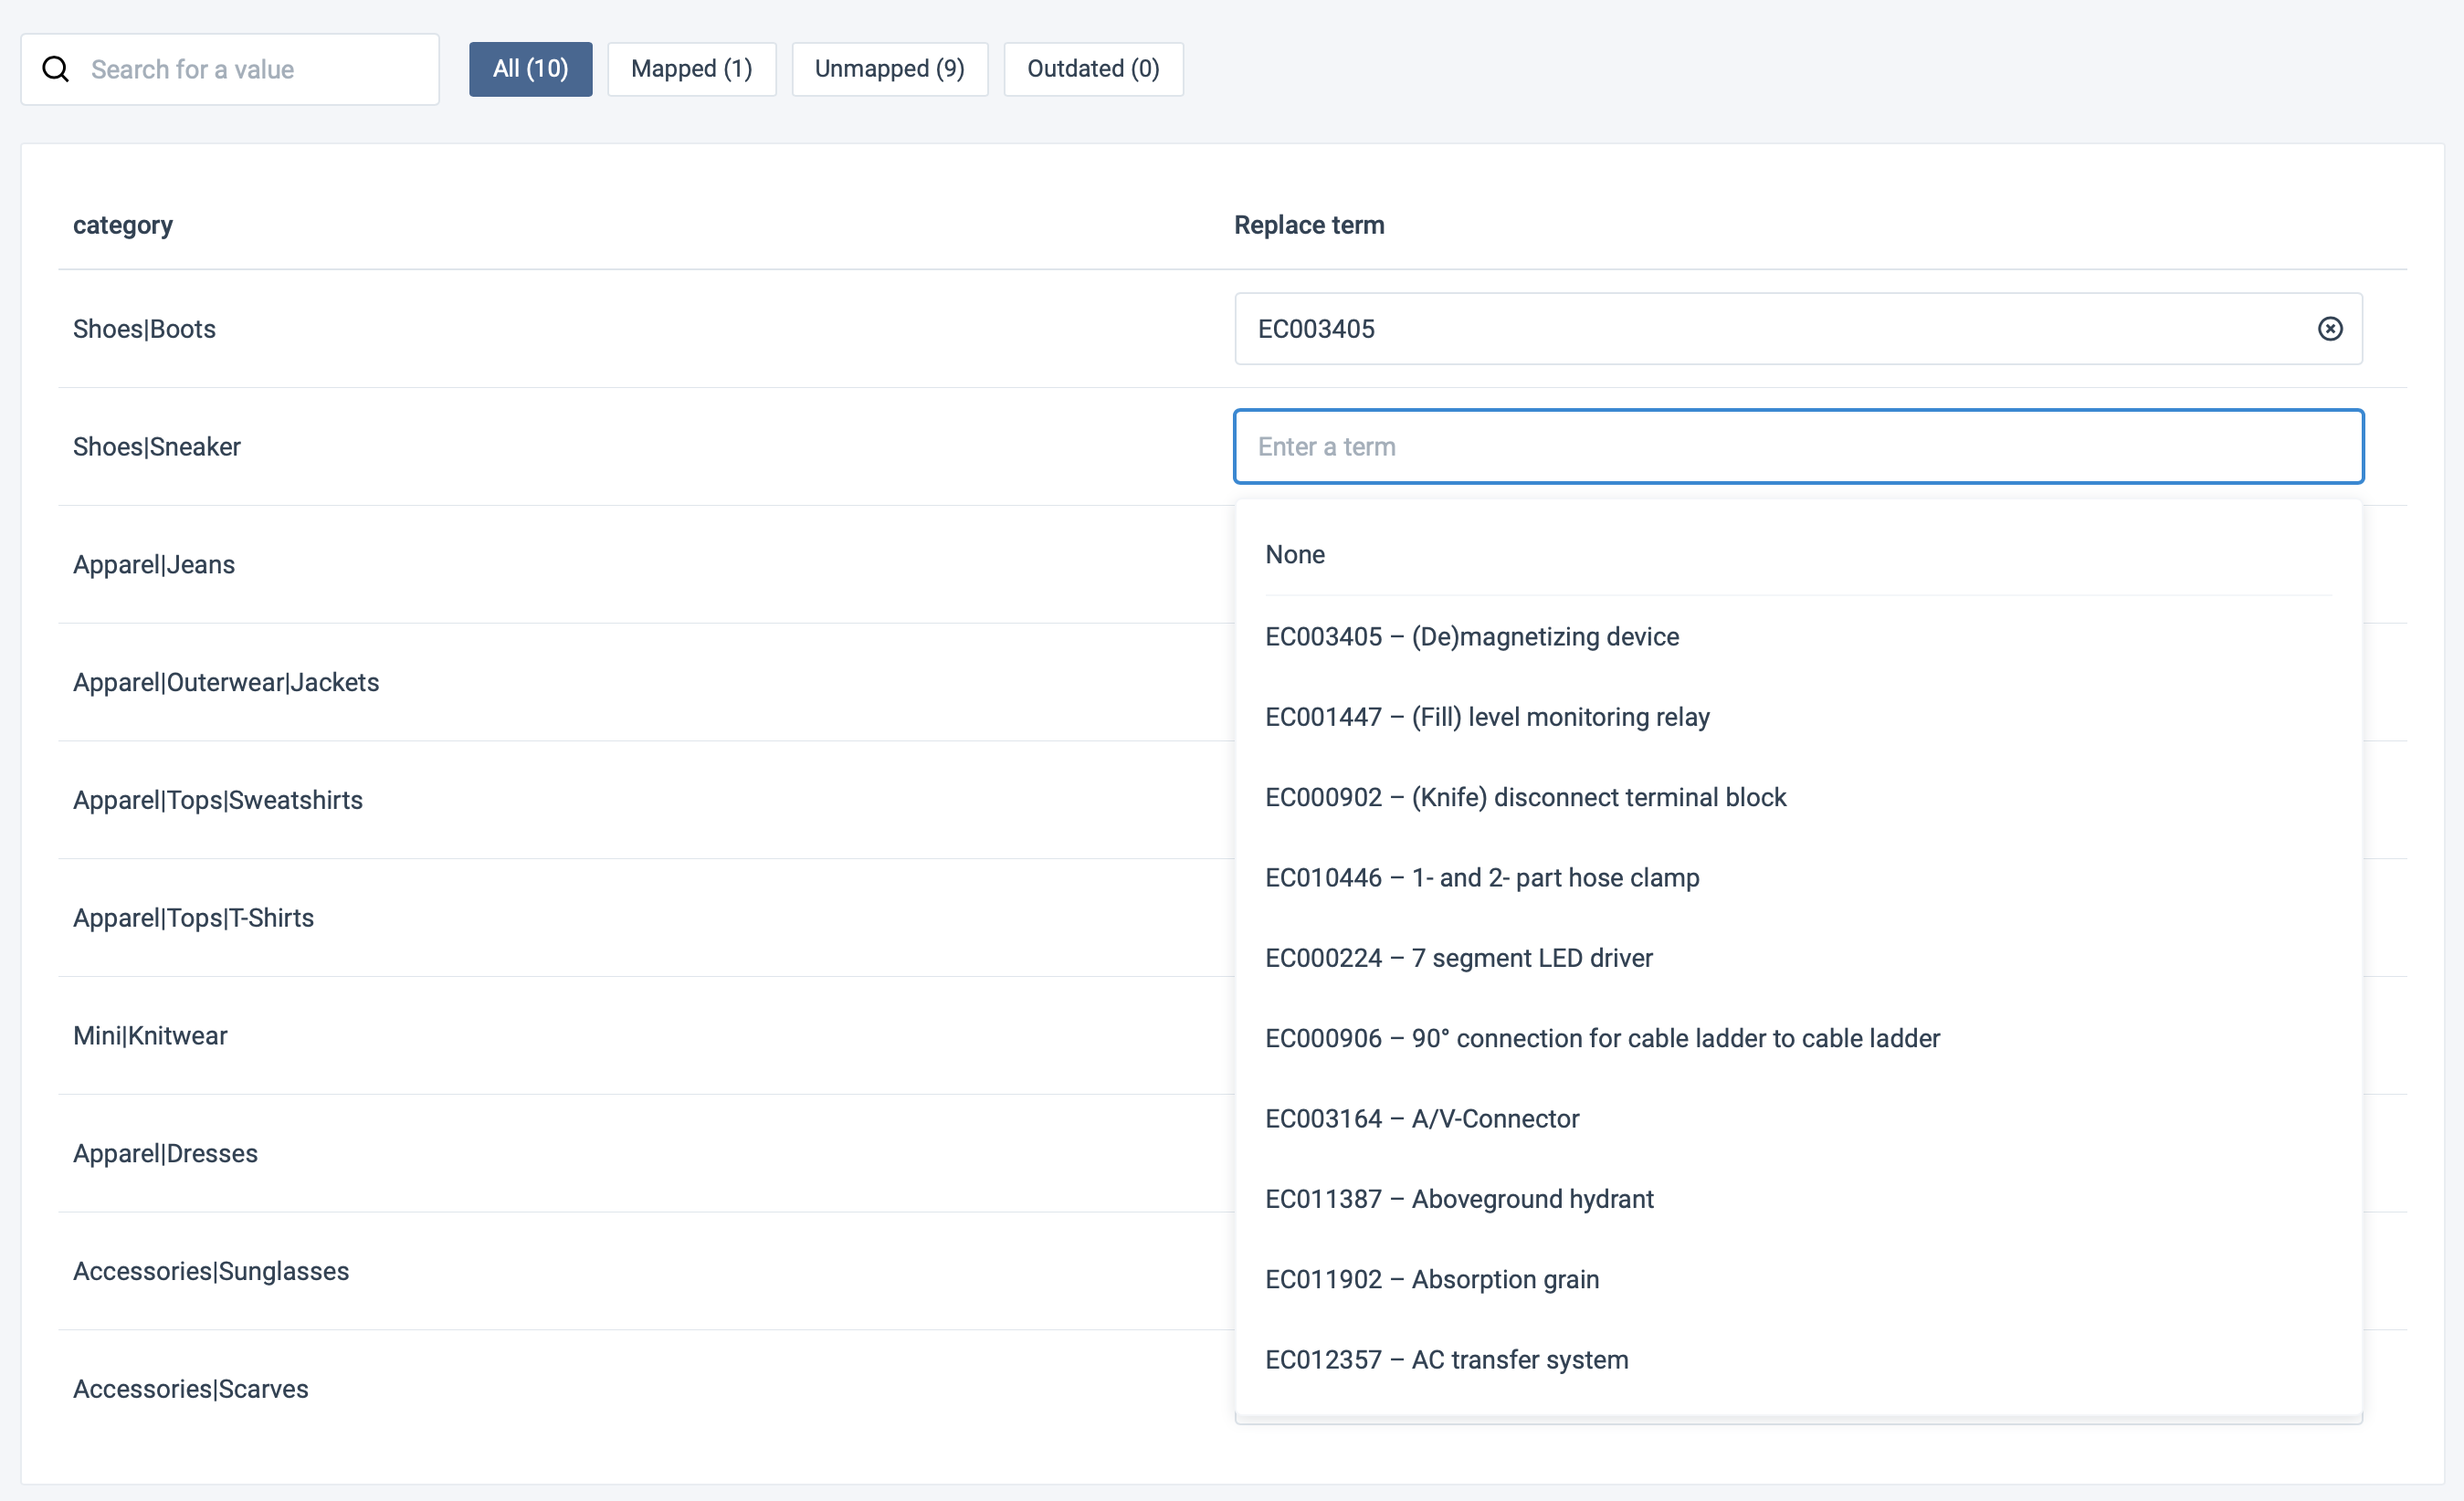
In the Classification Mapping list view, a list of values appears under the category column that you selected as a source.
Under the Replace Term column in the empty fields, as you begin typing, available classifications appear. As necessary, select the relevant classifications per category. Continue with each field to assign a classification to all product categories.

You have now mapped your product categories with a classification.
Add the Classification Mapping rule box
To apply your list to the values in your category-related attribute and let the platform replace your current category values with classification data, add the Classification Mapping rule box:
Go to Data View from your site's main menu and select Intermediate or a needed export from the drop-down menu on the left side of the upper ribbon.
Select Edit for the needed attribute.
Select the Select an Option drop-down menu, search for and select the Classification Mapping rule box.
Take steps from Classification Mapping.