Set up order sync for Wayfair Marketplace
Set up order sync for Wayfair Marketplace in Productsup.
Introduction
The order integration with Wayfair Marketplace lets you import marketplace orders in Wayfair. You can also:
Automatically update the stock level status of your marketplace accounts. This confirms that there’s a consistent stock status across all sales channels.
Send acceptance and shipping notifications from Wayfair via Productsup to your marketplace channels. This feature informs your clients about an upcoming delivery.
This document guides you through importing your Wayfair marketplace account in the platform using the Wayfair Orders data source.
Set up Wayfair Orders import
Add Wayfair Orders as the main data source to import your orders directly from Wayfair Marketplace.
Choose Data Sources from the site’s main menu, then select ADD DATA SOURCE. Next, choose Wayfair Orders and select Add. Select Add again to confirm.
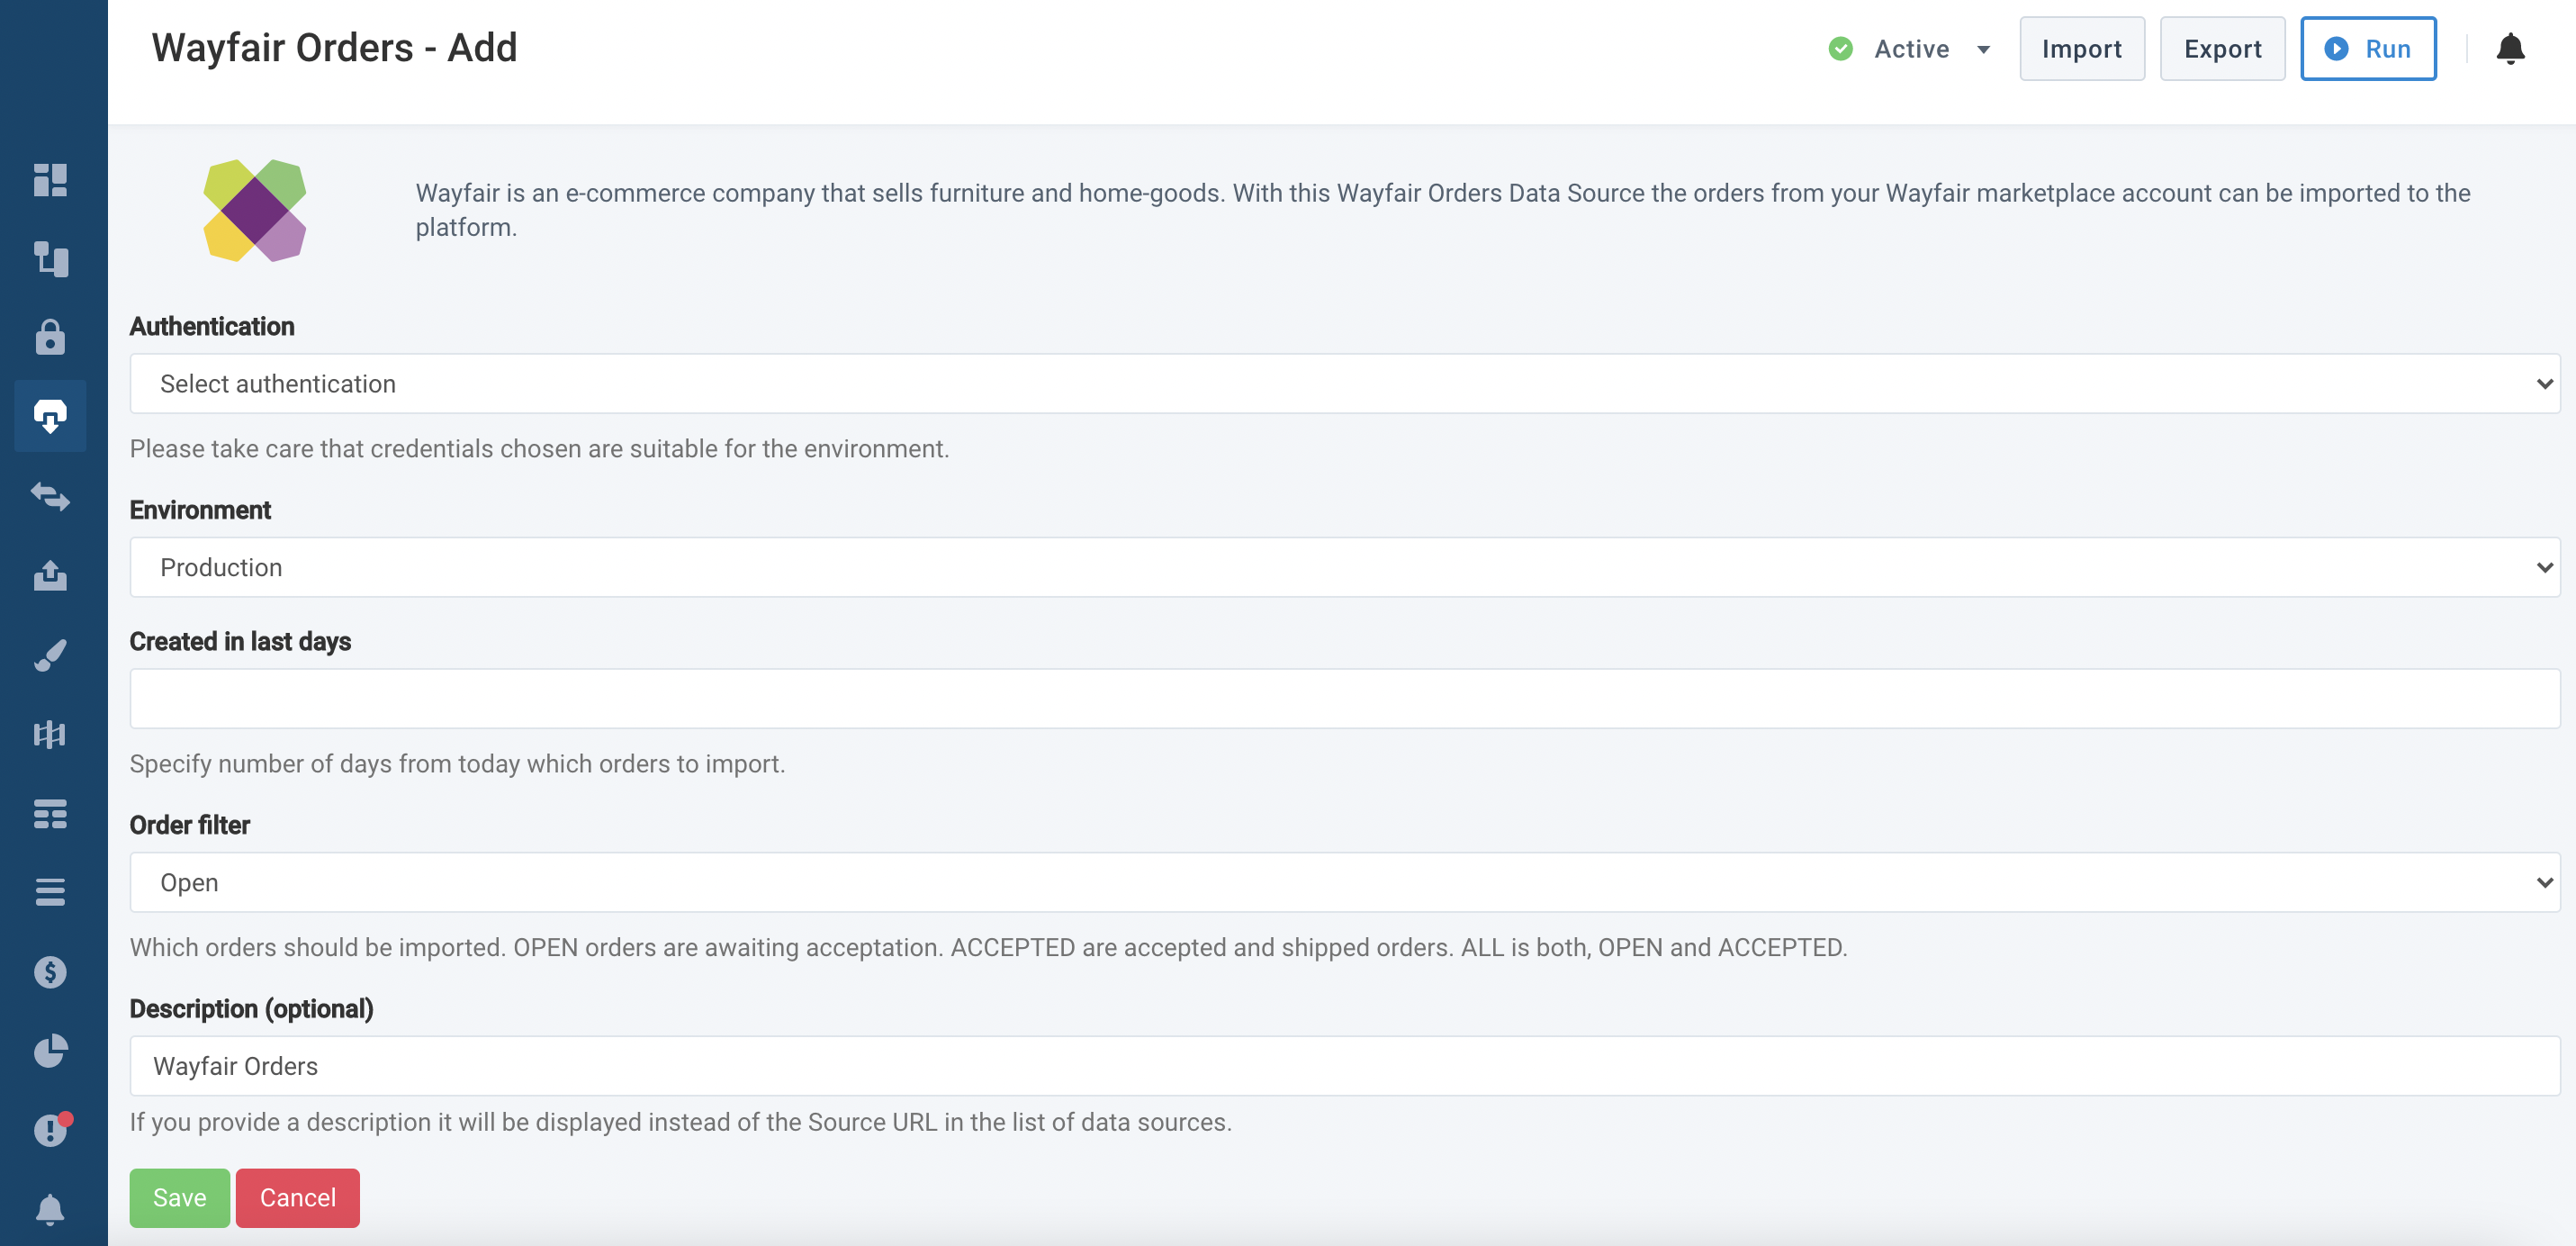
Select Authentication from the drop-down menu and choose Wayfair Authentication. Be certain that you use credentials suitable for the environment.
Select Environment and choose Production or Sandbox.
Enter your Store URL.
Enter the number of days from today to import orders in Created in last days.
Choose the orders for import in Order filter. Select Open, Accepted, or All. OPEN describes orders that are awaiting acceptance. ACCEPTED describes orders the platform accepted and has shipped. ALL describe both OPEN and ACCEPTED.
In Description (optional), enter a description, and the platform displays it in the list of data sources instead of the Source URL.
Select Save.
To learn more about export channel settings, see Add export.
Set up Wayfair Orders Acceptance Notifications export
After successfully adding your data sources, add the Wayfair Orders - Acceptance Notifications export channel for order acceptance export updates.
Go to Exports in your site’s main menu and select ADD EXPORT. Next, select Add for the Wayfair Orders - Acceptance Notifications export.
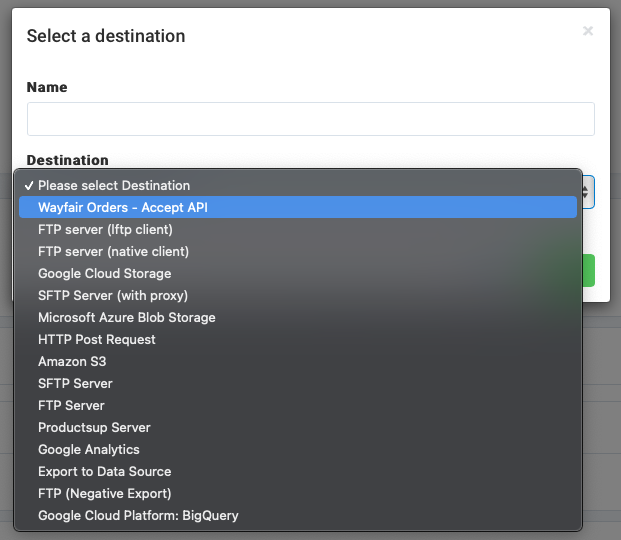
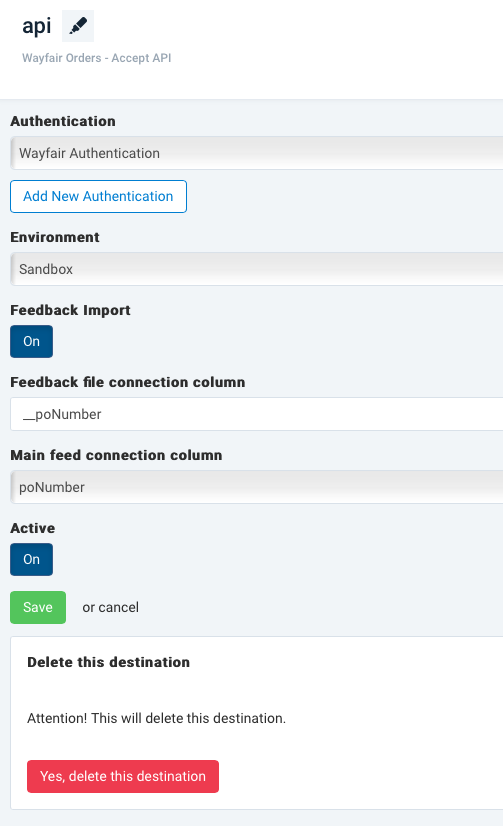
In the Destinations section, select Add Destination and choose Wayfair Orders - Accept API from the drop-down list. Now, enter a destination Name.
Select Authentication from the drop-down menu and choose Wayfair Authentication. Be certain that you use credentials suitable for the environment.
If you don’t see a Wayfair authentication in the drop-down list, add it by entering your Wayfair Marketplaces shop API credentials. Select Add New Authentication, choose Wayfair Authentication, and enter your Wayfair Client ID and Client Secret.
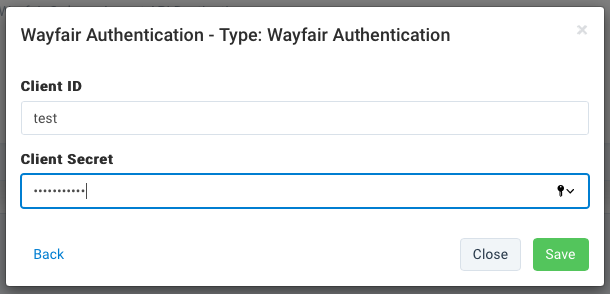
Select Environment and choose Production or Sandbox.
Switch Feedback import to On if you want an error file returned to the platform once your data export finishes. Go to step 8 if Feedback import is set to Off.
Enter a feedback file to report on in Feedback file connection column.
Connect the feedback file column to a main feed column in Main feed connection column.
Select Active to switch the destination to On.
Select Save.
The Wayfair Orders Acceptance Notifications export channel must include the following required columns in Dataflow to send an order acceptance:
poNumber: Mandatory.partNumber: Mandatory, the platform does not accept orders without line-item details. The platform also includes the order during shipped notifications.quantity: It is mandatory to provide the quantity of accepted line-item partNumber on acceptance.shipSpeed.estimatedShipDate.unitPrice.
Set up Wayfair Orders Shipment Notifications (Small Shipments) export
After successfully adding your data sources, add the Wayfair Orders - Shipment Notifications (Small Shipments) export channel for ship notification export updates.
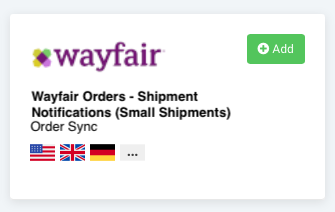
Go to Exports in your site’s main menu and select ADD EXPORT. Next, select Add for the Wayfair Orders - Shipment Notifications (Small Shipments) export.
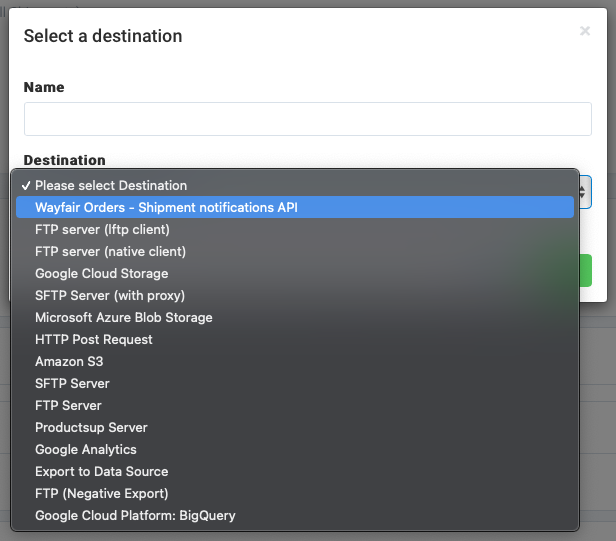
In the Destinations section, select Add Destination and choose Wayfair Orders - Shipment notifications API from the drop-down list. Now, enter a destination Name.
Select Authentication from the drop-down menu and choose Wayfair Authentication. Be certain that you use credentials suitable for the environment.
If you don’t see a Wayfair authentication in the drop-down list, add it by entering your Wayfair Marketplaces shop API credentials. Select Add New Authentication, choose Wayfair Authentication, and enter your Wayfair Client ID and Client Secret.

Select Environment and choose Production or Sandbox.
Switch Feedback import to On if you want an error file returned to the platform once your data export finishes. Go to step 8 if Feedback import is set to Off.
Enter a feedback file to report on in Feedback file connection column.
Connect the feedback file column to a main feed column in Main feed connection column.
Select Active to switch the destination to On.
Select Save.

Note
Check the export run status by selecting the Notifications bell icon in the top-right corner.