Import a file from a URL
Import your data source file from an HTTP, HTTPS, FTP, or SFTP URL using the Feed URL data source option in Productsup.
Introduction
To import your data into the Productsup platform from an HTTP, HTTPS, FTP, or SFTP URL, use the Feed URL data source option. It supports multiple file formats, including the following:
CSV and TSV - See Import CSV files - advanced settings.
XML - See Import XML files - advanced settings.
JSON - See Import JSON files - advanced settings.
XLSX - See Import Excel files - advanced settings.
TXT
RSS
BZ2
ZIP
GZ
Import file via Feed URL
Go to Data Sources from your site's main menu and select Add data source.
Search for Feed URL and select Add. Give it a custom name as desired and select Continue.
Tip
The custom name of a data source replaces the name of its data source option in Data Sources. For example, Feed URL is the name of a data source option, while Feed URL - winter clothes CSV can be a custom name of a data source.
In Source URL, add your FTP, SFTP, HTTP, or HTTPS link.
In Description (optional), edit the name of the data source as needed.
If Productsup requires authentication to access data in your file, provide relevant access data in Username (optional) and Password (optional). If you need Productsup to use basic authentication and include an encoded credentials string in the HTTP authorization header of each request to your data source, choose Basic Authentication in the Password drop-down menu.
In the Password drop-down menu, you can also select SSH Key (SFTP) to access the SSH Public Key that Productsup uses to authenticate in your SFTP server.
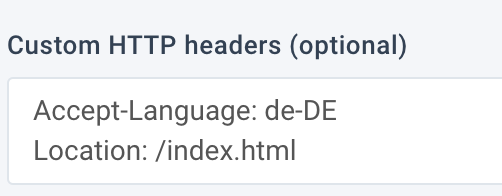
In Custom HTTP headers (optional), add your custom HTTP headers to request the needed data from the server.
Note
An HTTP header's format is <header name>: <value>. The header name is case-insensitive. If you need to add multiple headers, enter each header from a new line without a delimiter.
Select Save.
When the page reloads, you can select Additional Data Feed in the Content Mode panel to let Productsup import the data from your data source as new columns instead of new rows. See Enhance your data with additional data sources for more information.
Note
If you require a custom setup to upload your data to Productsup via the Feed URL data source option, contact support@productsup.com. Once the custom setup is ready, Productsup displays relevant information in Plugin (optional).
Modify import data in Content Options
Using Content Options, you can modify your data imported in Productsup via the Feed URL data source by adding or replacing headers, adding or removing columns, specifying custom delimiters, etc. Specific modifications available for your import depend on the type of file you are importing via the Feed URL data source option, such as a CSV, XML, or JSON.
Content Options - CSV Settings
The CSV Settings option in the Content Options panel lets you prepend or replace header rows and define the encoding, delimiter, enclosure, and the number of headers used in your CSV file. By default, Productsup detects the encoding, delimiters, and enclosures in CSV files automatically and considers the first row in your file to be the header.
See Import CSV files - advanced settings for more information.
Select CSV Settings in Content Options to access the import modifications available for CSV files.
In Encoding, define the file encoding.
In Delimiter, specify the delimiter used in the file.
In Enclosure, enter the enclosure used in the file.
In Header in Row, set the number of the row that contains the header. A digit is the expected input format.
If your file doesn't have a header, you can add it in Prepend Header Row. Enter all names of your columns and separate them with the delimiter used in your file.
For example, to a file using the
|delimiter, you can prepend the following header row:ID|title|mpn|product_type|description|url|image_url|price|sale_price|stock
If you have numerous data sources added to one site, you may need to know which attributes come from which data sources. You can distinguish between attribute sources by adding prefixes to the names of your attributes.
In Prepend a String to the Header Columns, enter the prefix you want to add to the names of the attributes imported from this data source. If your data source produces files other than CSV or XML files, you can still use this option.
Note
If your data source has a unique item identifier, open the Settings tab on the Data Sources page and modify the name of your unique item identifier in ID Column according to the new prefix of the relevant attribute name.
If the header in your file isn't correct, you can change it in Replace Header Row. Enter all names of your columns and separate them with the delimiter used in your file.
For example, in a file using the
;delimiter, you can replace the header row with the following string:ID;title;description;product_type;url;image_url;priceNote
The number and order of column names in Prepend Header Row and Replace Header Row must match the number and order of columns in the file.
Select Save all settings.
Content Options - XML Settings
The XML Settings option in the Content Options panel lets you change XML declarations, bundle repeating nodes into one column, define root nodes and maximum depths, and further modify your import data.
See Import XML files - advanced settings for more information.
Select XML Settings in Content Options to access the import modifications available for XML files.
To specify the root node used in your file, enter it in Root Node in the same format used in your file. For example, in the XML code abstract given in Step 3,
<CD>is the root node of the file.In Max Depth, specify how far down into the structure of your XML file the platform should go to find the root node. A digit is the expected input format.
Note
XML depths are layers of nodes or branches in a file. That means the XML file begins at the initial layer, which is
0. The layer is the depth of the file.In the following example, the
<CD>node begins at level1:<CATALOG> <CD> <TITLE>Queen II</TITLE> <ARTIST>Queen</ARTIST> <COUNTRY>UK</COUNTRY> <COMPANY>EMI</COMPANY> <PRICE>24.90</PRICE> <YEAR>1974</YEAR> </CD> </CATALOG>To find the root node in this XML file, the platform should scan at least two depths. The depth value specified in Max Depth for this file should be at least
2.If your data contains an attribute name with spaces or special characters, such as Size (mm), you can specify an XPath expression, such as
tagName[@attributeName], in Attribute name location. For example,attribute[@name].To add a header line to your XML file, enter it in Prepend Header Row.
Warning
The Productsup team doesn't recommend prepending a header row to your XML file.
If you have numerous data sources added to one site, you may need to know which attributes come from which data sources. You can distinguish between attribute sources by adding prefixes to the names of your attributes.
In Prepend a String to the Header Columns, enter the prefix you want to add to the names of the attributes imported from this data source. If your data source produces files other than CSV or XML files, you can still use this option.
Note
If your data source has a unique item identifier, open the Settings tab on the Data Sources page and modify the name of your unique item identifier in ID Column according to the new prefix of the relevant attribute name.
If the XML declaration in your file isn't correct, you can change it in Replace Xml Declaration. The XML declaration typically contains the XML version and the encoding used in the file. It can look similar to this:
<?xml version='1.0' encoding="UTF-8" standalone="yes" ?>If your file has multiple nodes describing the same product attribute with different values, you can bundle such nodes into one column in Bundle repeating nodes.
By default, Productsup bundles 11 repeating nodes into one column and uses the semicolon (
;) delimiter to separate them within the column. Specify a different number of repeating nodes in Bundle repeating nodes and add a different delimiter in Bundle delimiter as needed.If your XML file contains elements that may disrupt the parsing of your file, tick one or more of the following boxes:
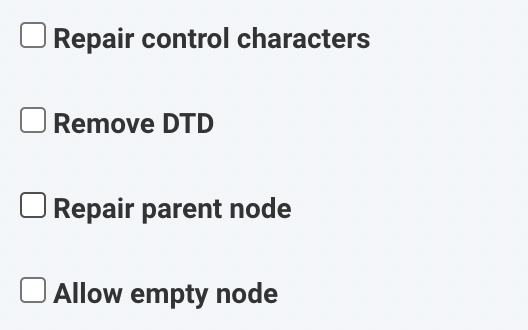
Repair control characters - This helps to repair broken control characters within your XML file. Although such unprinted characters can't appear in your product feed, they can cause parsing errors.
Remove DTD - This lets you remove the Document Type Declaration (DTD) from your file. In files that use a DTD, this section comes directly after the XML declaration.
Repair parent node - This helps to change a parent node that is incomplete or has an incorrect closure.
Allow empty node - This helps to import nodes with empty values into the platform to avoid skipping them during import and disrupting your data structure.
Select Save all settings.
Tip
Once Productsup scans your imported XML file, it suggests which nodes in your file could be the root nodes and displays them in Root nodes suggestions.

To check whether Productsup has correctly interpreted your file or if there have been some parsing issues:
Run an import by selecting Import in the upper right corner of the Feed URL setup page.
Take a look at the suggestions in Root nodes suggestions.
Content Options - JSON Settings
The JSON Settings option in the Content Options panel lets you define root and variant nodes, bundle repeating keys into one column, and exclude items from import.
See Import JSON files - advanced settings for more information.
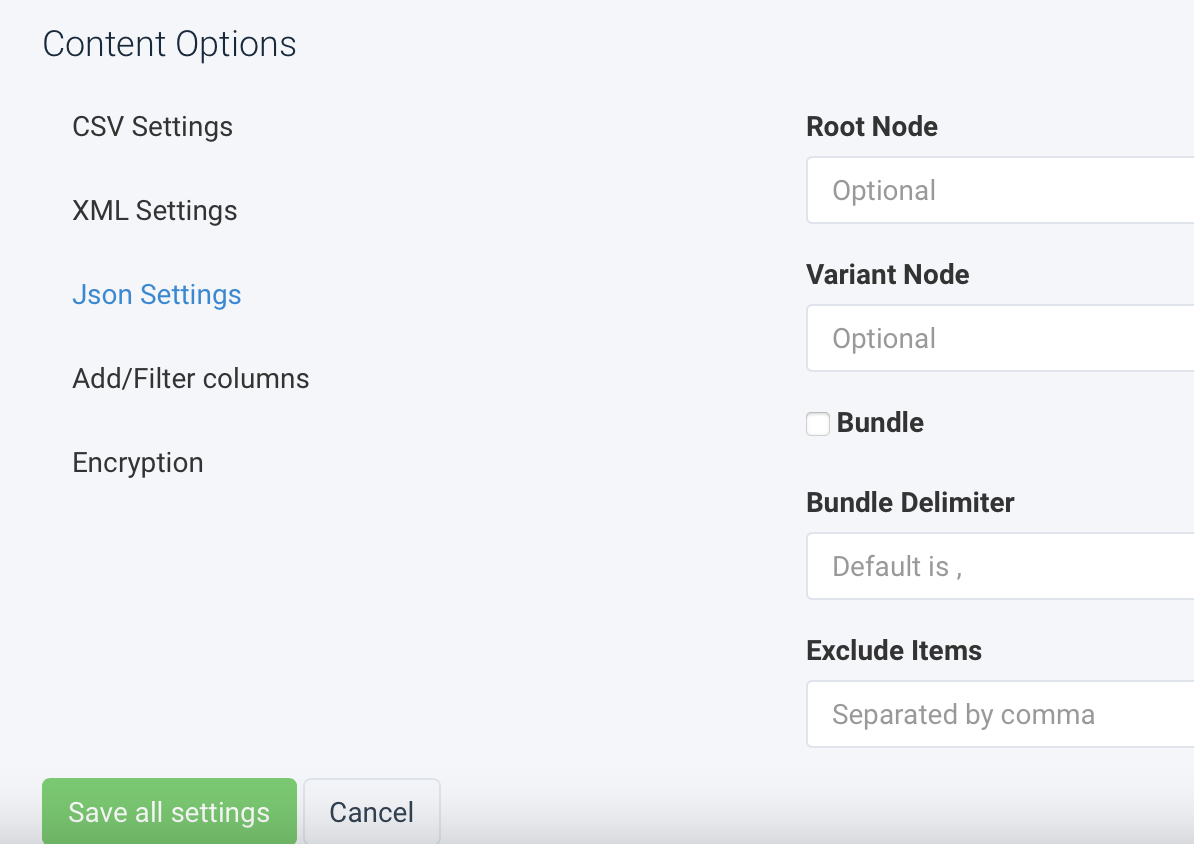
Select Json Settings in Content Options to access the import modifications available for JSON files.
If your JSON file has a root node, enter it in Root Node.
If your JSON file has product variants nested in one root node, input the node containing the product variants in Variant Node.
If your file has multiple keys featuring the same product attribute with different values, you can bundle such keys into one column by ticking the Bundle box.
By default, Productsup uses the comma (
,) delimiter to separate bundled values within a column. Specify a different delimiter in Bundle Delimiter as needed.If you don't want Productsup to import a particular key or keys from your JSON file, enter them in Exclude Items and separate the keys by commas if needed.
Select Save all settings.
Content Options - Add/Filter columns
The Add/Filter columns option in the Content Options panel lets you modify your import data by allowing, blocking, adding, or removing columns. This option applies to all imports regardless of the type of import files involved.

Go to Data Sources from your site's main menu and choose your feed URL's settings page by selecting the cogwheel icon (⚙). Next, under Content Options, select Add/Filters Columns.
Select Allow Columns or Block Columns and enter your column name in the Filter Columns field.
Select Save all settings and perform an import by selecting Run.
Go to Dataflow from your site's main menu and search for the column attribute you allowed or blocked. You can see an asterisk for all blocked column names while allowed column names appear as usual.
Tip
You can also use a regex to locate text. For example, if you select Allow Columns, entering the following regex
/^part/admits all column names that begin with part.
Content Options - Encryption
The Encryption option in the Content Options panel helps to provide Productsup with a password to let the platform read your password-protected import file.
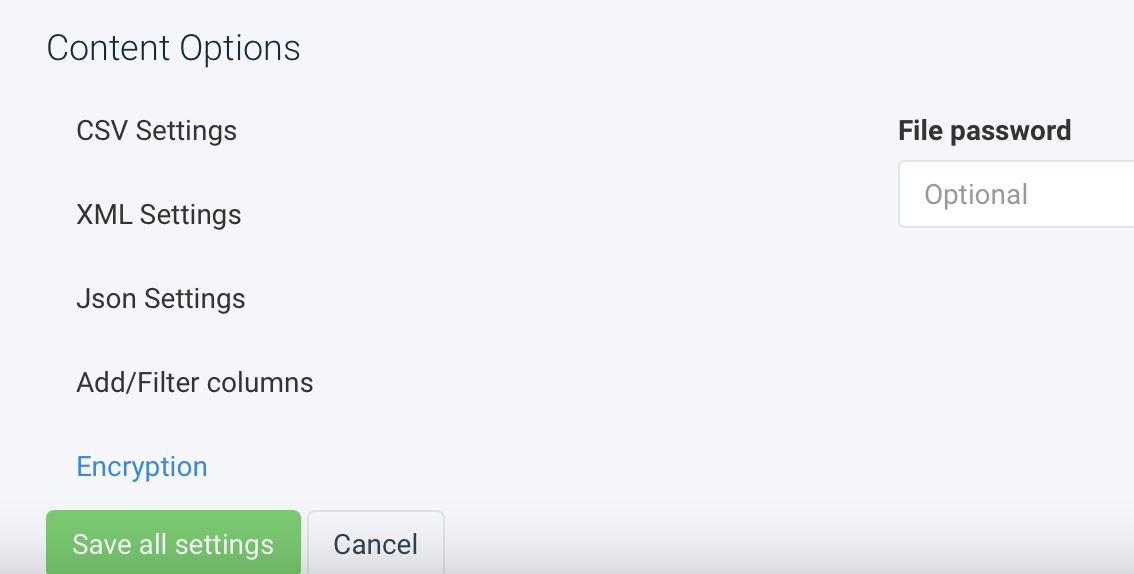
Select Encryption in Content Options.
Enter the password in File password.
Select Save all settings.
Edit Feed URL data source via Advanced Settings tab
If you want to add a label to your data source, delete your data source, or use the advanced technical settings of your data source, you can go to the Advanced Settings tab on the Feed URL setup page.
To access the Advanced Settings tab:
Go to Data Sources from your site's main menu.
Select the cogwheel icon (⚙) next to a chosen data source.
Select the Advanced Settings tab.
See Import your data into Productsup - Advanced Settings for more information.