Add TikTok Product Catalog API export
Use the TikTok Product Catalog API export template to upload products to your product catalog in Productsup.
Use the TikTok Product Catalog API export template to upload products to your product catalog. The export uses delta logic, which means that it exports only updated data instead of the entire product feed data.
See TikTok for Business Developers for more information about TikTok API for Business.
Add and set up the export
To add the TikTok API export in Productsup:
Go to Exports from your site’s main menu and select ADD EXPORT.
Search for TikTok Product Catalog API , hover over it, and select Add.

On the Exports page, select the name of the added export template to set it up.
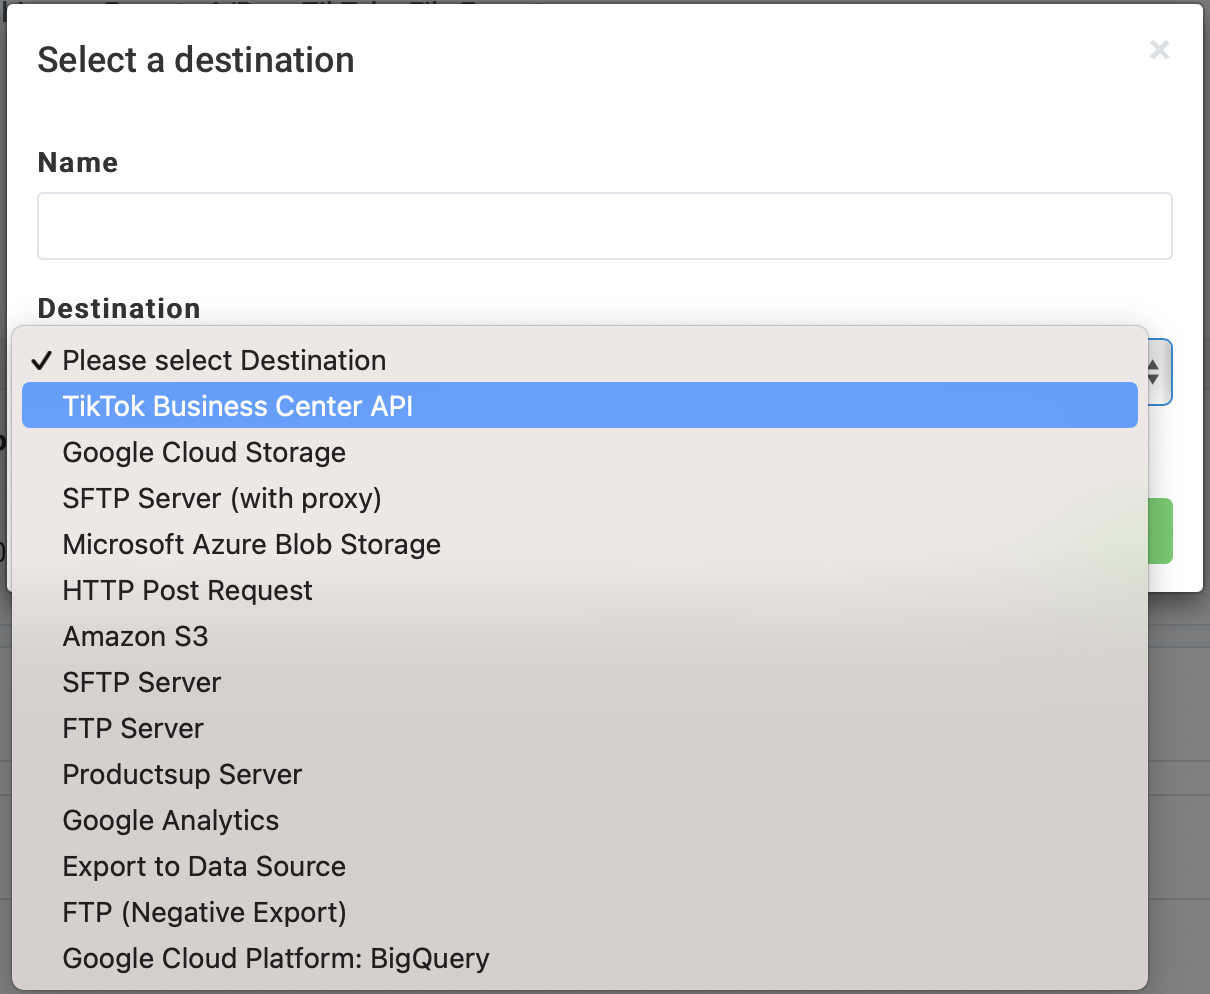
Select Add Destination and choose TikTok Business Center API from the dropdown. Give it a name as desired, and select Save.

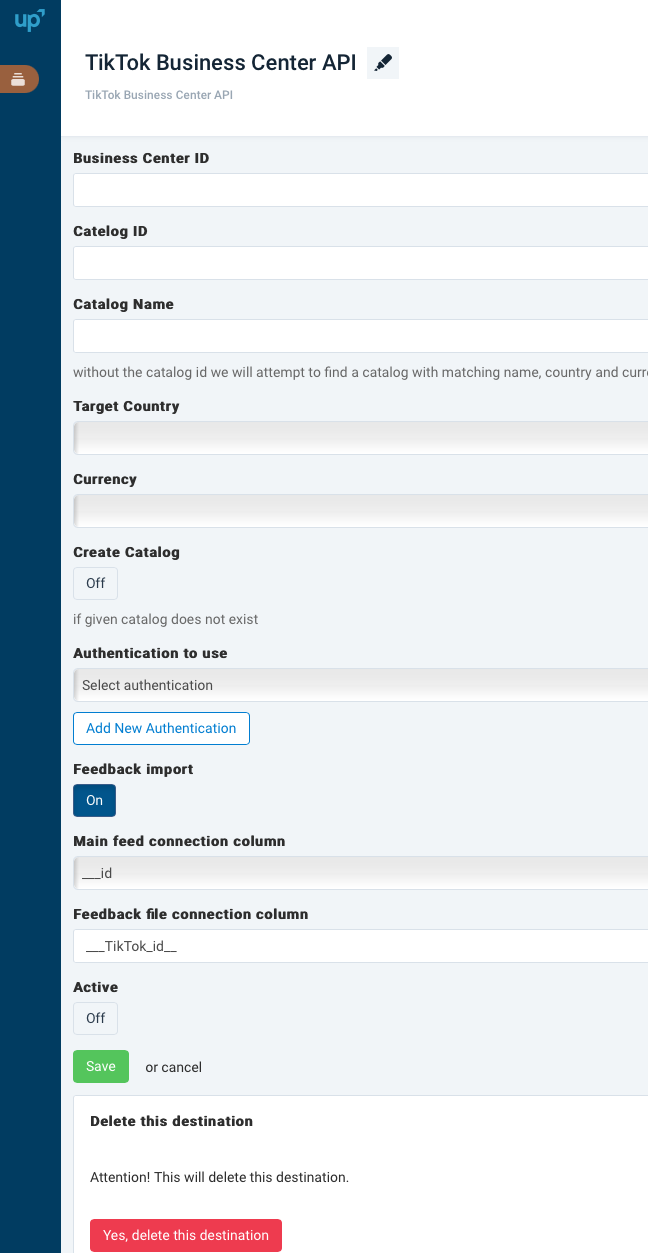
Enter your TikTok Ads Manager organization ID in TikTok Business Center ID.
In Catalog ID, enter your TikTok catalog ID. The destination searches for catalogs without an ID if this field is left empty.
Enter a name to locate your catalog in Catalog Name. The platform attempts to find a catalog with a matching name, country, and currency.
Specify your locale in Target Country.
Select the currency of your locale in Currency.
If a catalog doesn't exist, the platform automatically creates one when you select Create Catalog.
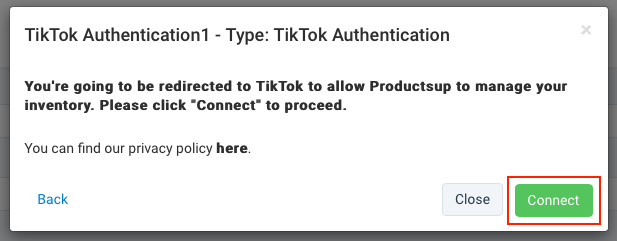
In Authentication to use, select an existing authentication from the dropdown or create a new TikTok authentication by selecting Add New Authentication.
To add a new authentication, the platform then redirects you to TikTok once you select Type and enter the Name of your authentication. Then, select Next and Connect and enter your TikTok credentials to proceed.

If you want an error file returned to the platform once your data export finishes, switch Feedback import to On. If not, skip this step and go to step 15.
Select the attribute where you want to receive a feedback import file in Main feed connection column.
Enter the attribute that connects to your feedback import in Feedback file connection column.
Switch Active to On to activate the destination.
Select Save.
