Import your files hosted by cloud services
Import your files hosted by cloud services such as Amazon S3, Google Cloud Storage, or Microsoft Azure in Productsup.
Connect to external cloud service systems such as Amazon S3, Google Cloud Storage, or Microsoft Azure to import your hosted product files. See Import from Google Sheets to learn how to import from Google Sheets.
You can find the cloud services that link to your shopping platforms in Data Sources by selecting ADD DATA SOURCE and choosing the Cloud Services tab.
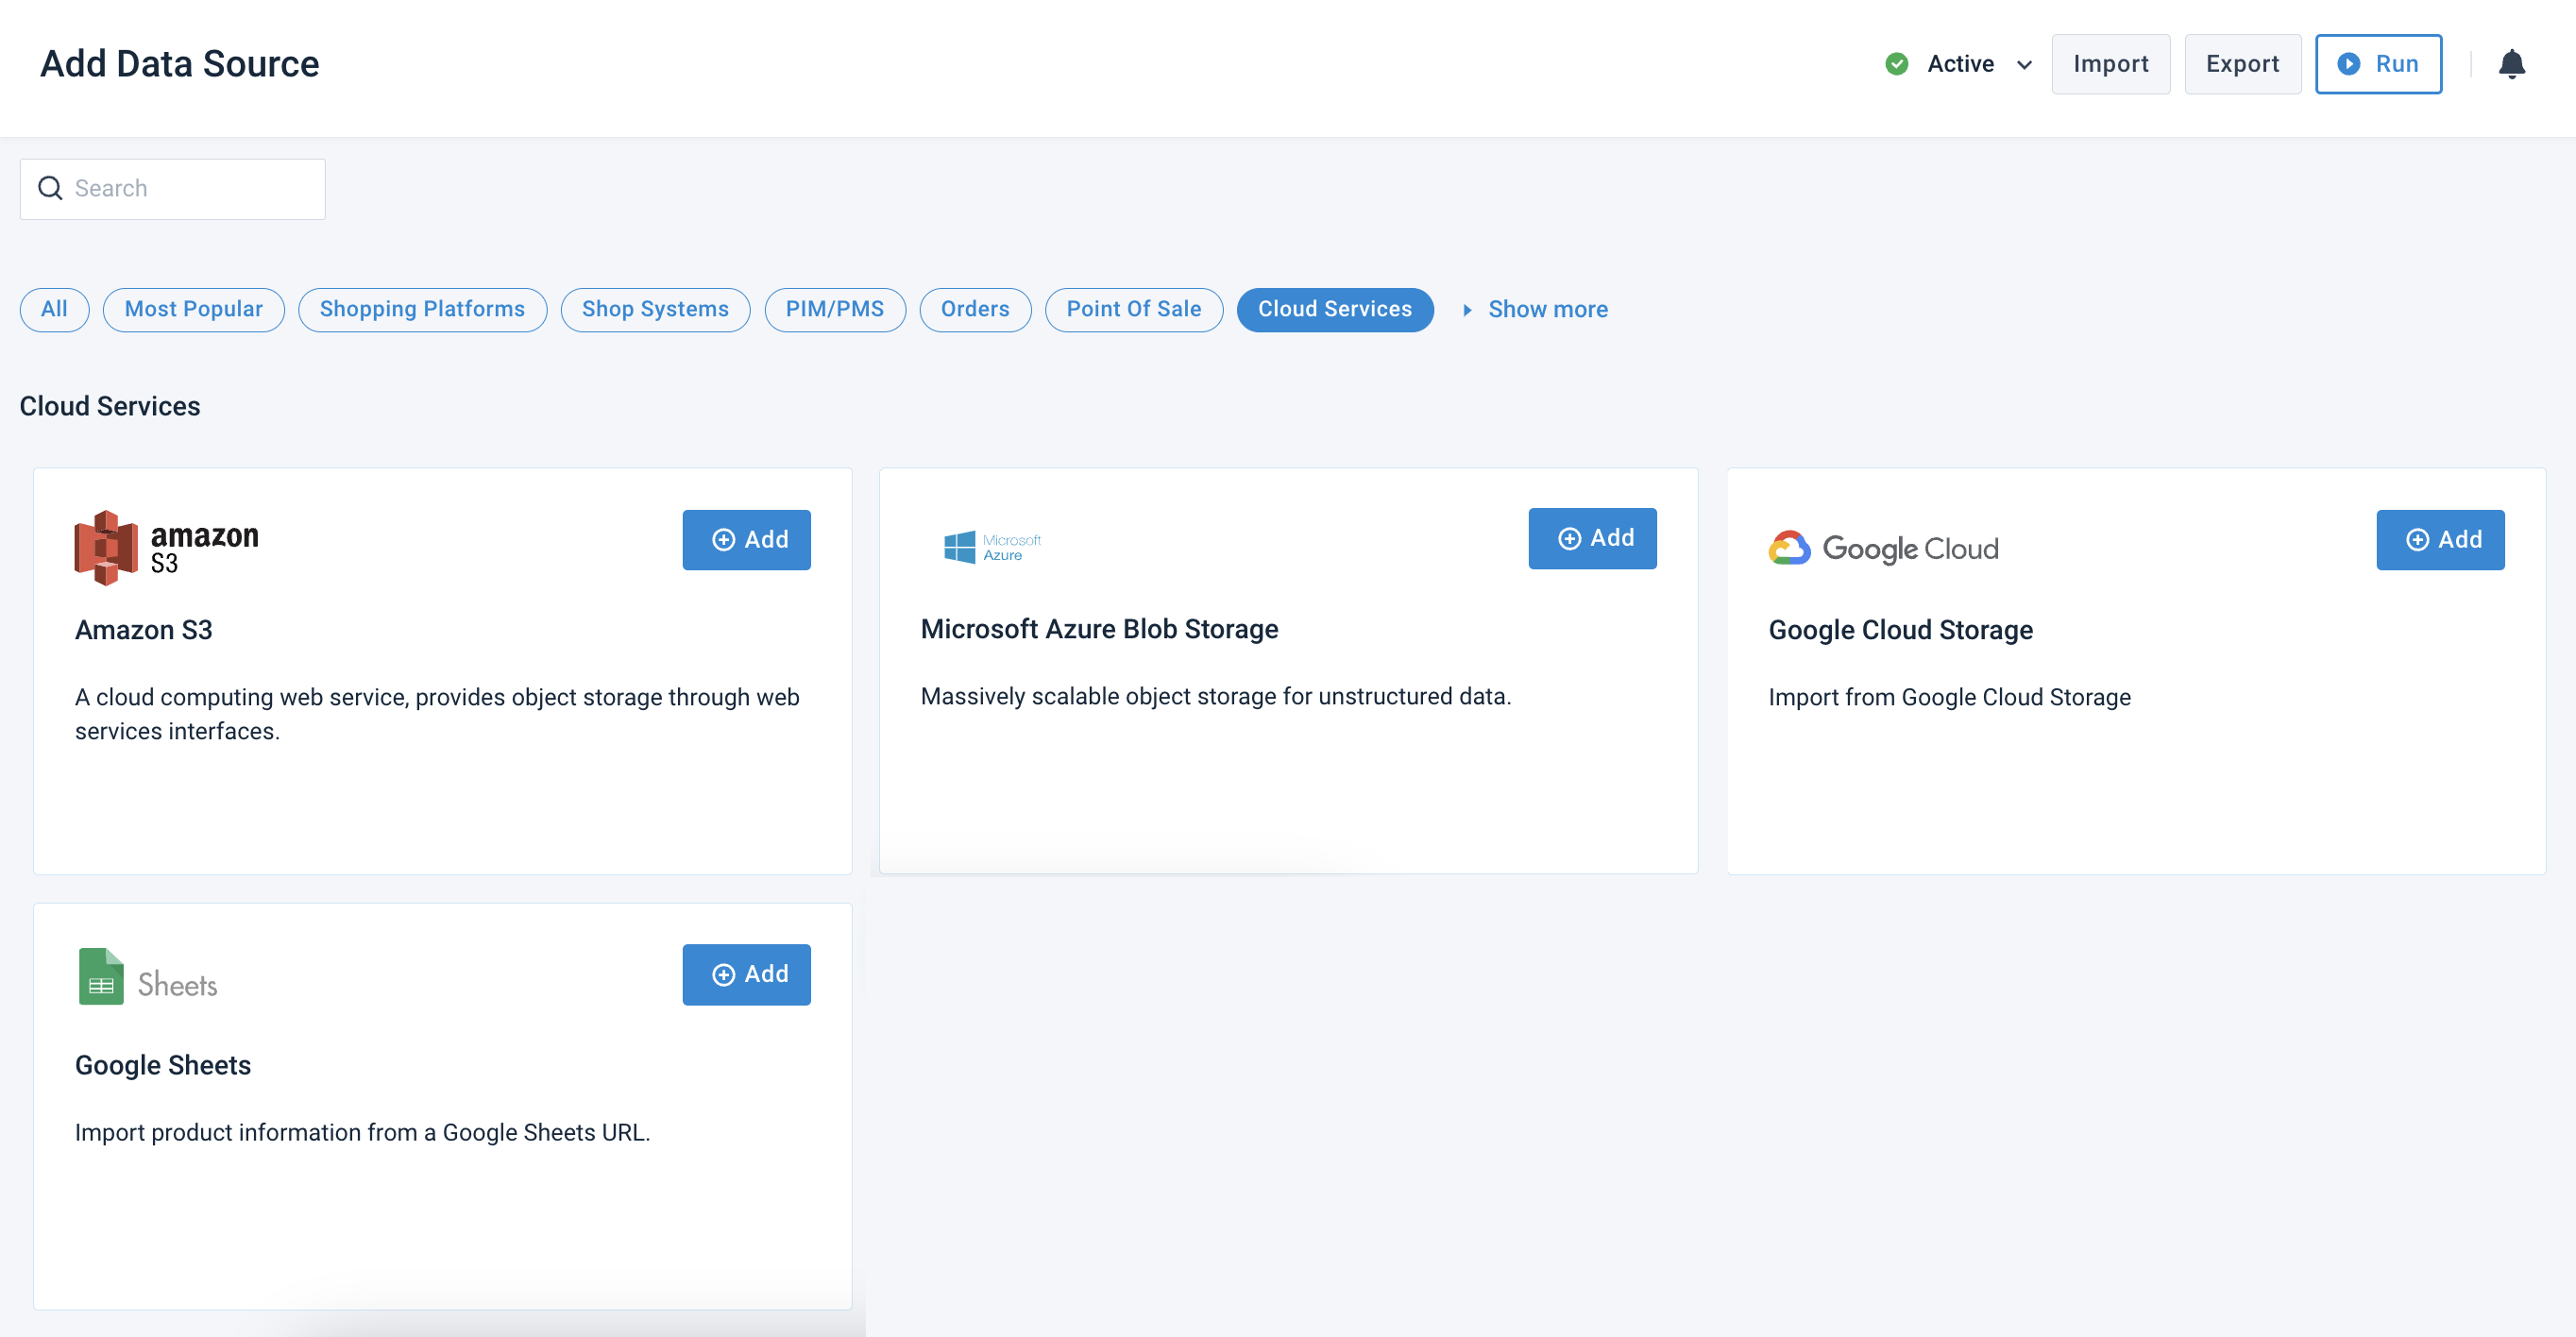
Import files from Amazon S3
To import files hosted by Amazon S3, take the following steps:
Go to Data Sources from the site's main menu and select ADD DATA SOURCE. Then, choose Amazon S3 and select Add.
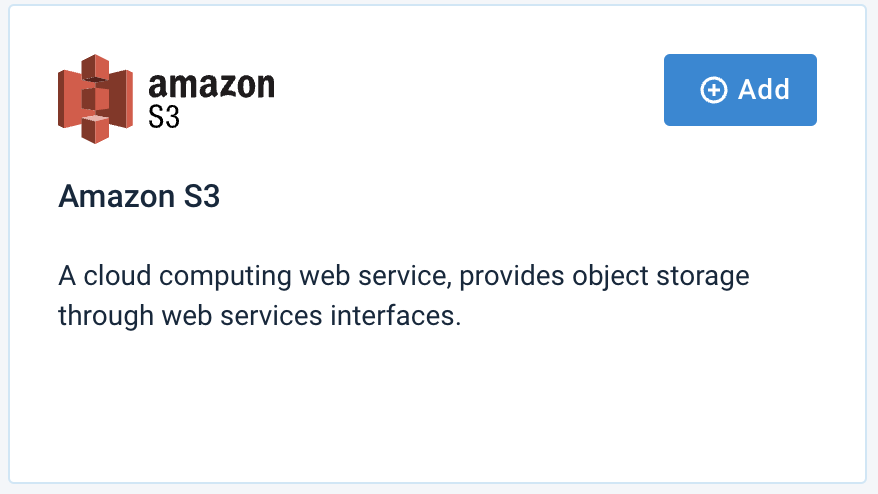
Give your data source a custom name if desired, then select Continue. The custom name replaces the data source name on the Data Sources Overview page.
Enter your Amazon AWS Access Key ID credentials in API Key and API Secret.
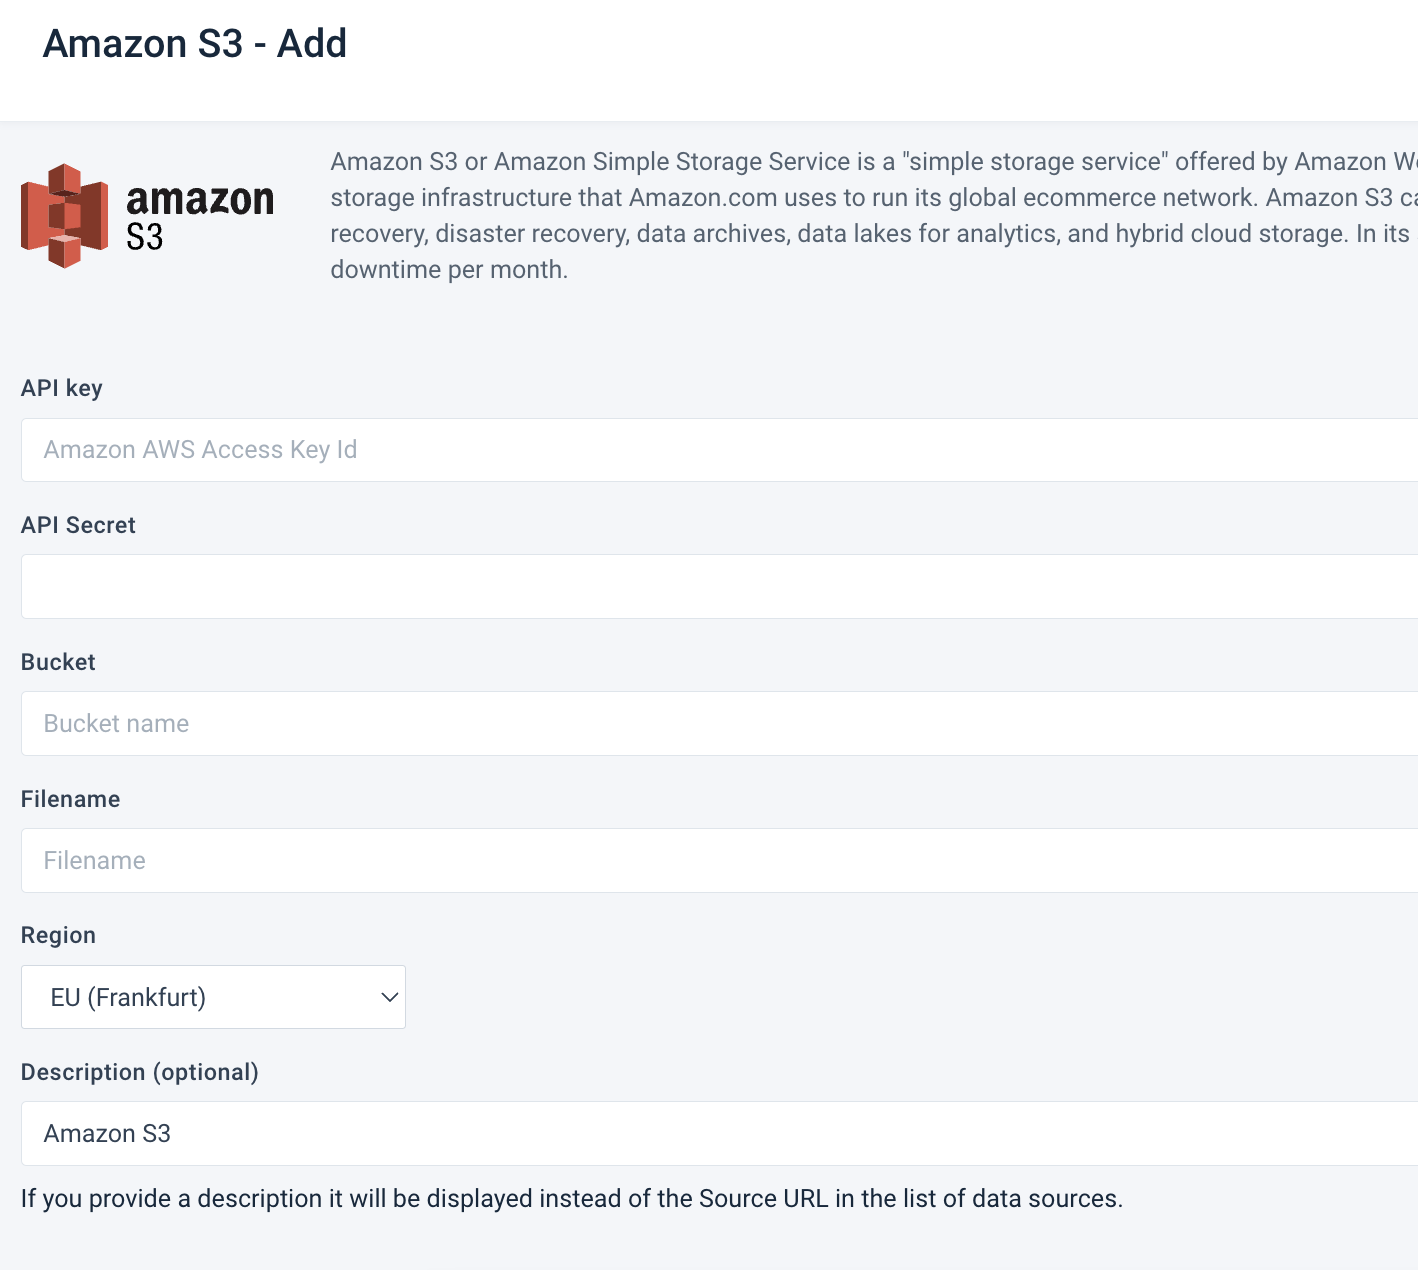
Enter the bucket name in Bucket. For example:
testexamplebucket1test-samples-may-2021cloud-hosted-items
For more information on how to name a bucket, see Bucket naming rules.
In Filename, enter the filename with the extension and path.
In Region, select the relevant S3 location from the drop-down menu.
Optionally, enter a custom name in Description (optional).
Select Save all settings.
Tip
See Import dynamic URLs to learn how to set up an automatic import.
Import Parquet files from Amazon S3
Apache Parquet is an open-source, columnar file format that lets you efficiently store and retrieve data. To import files in the Parquet format hosted by Amazon S3, take the following steps:
Go to Data Sources from the site's main menu and select ADD DATA SOURCE. Then, choose Amazon S3 Parquet and select Add.
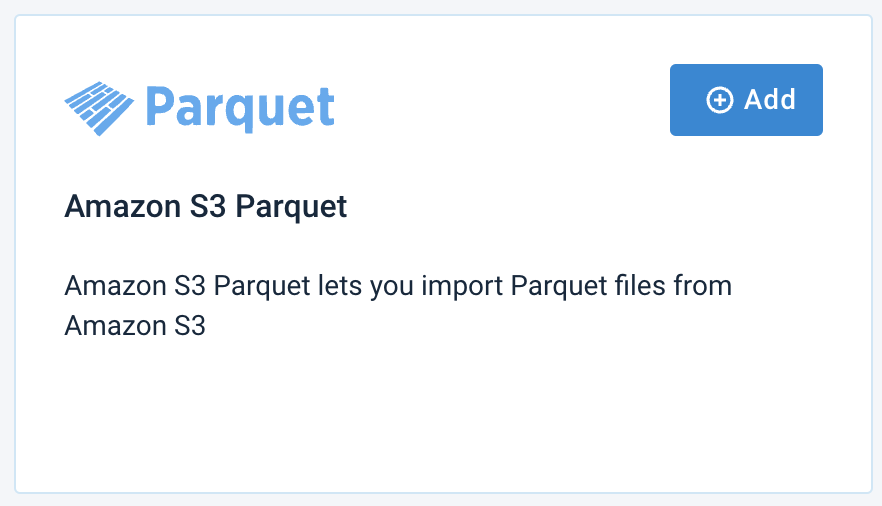
Give your data source a custom name if desired, then select Continue. The custom name replaces the data source name on the Data Sources Overview page.
In Filename, enter the filename with the extension and path.
Enter your Amazon AWS Access Key ID and AWS Secret access key.
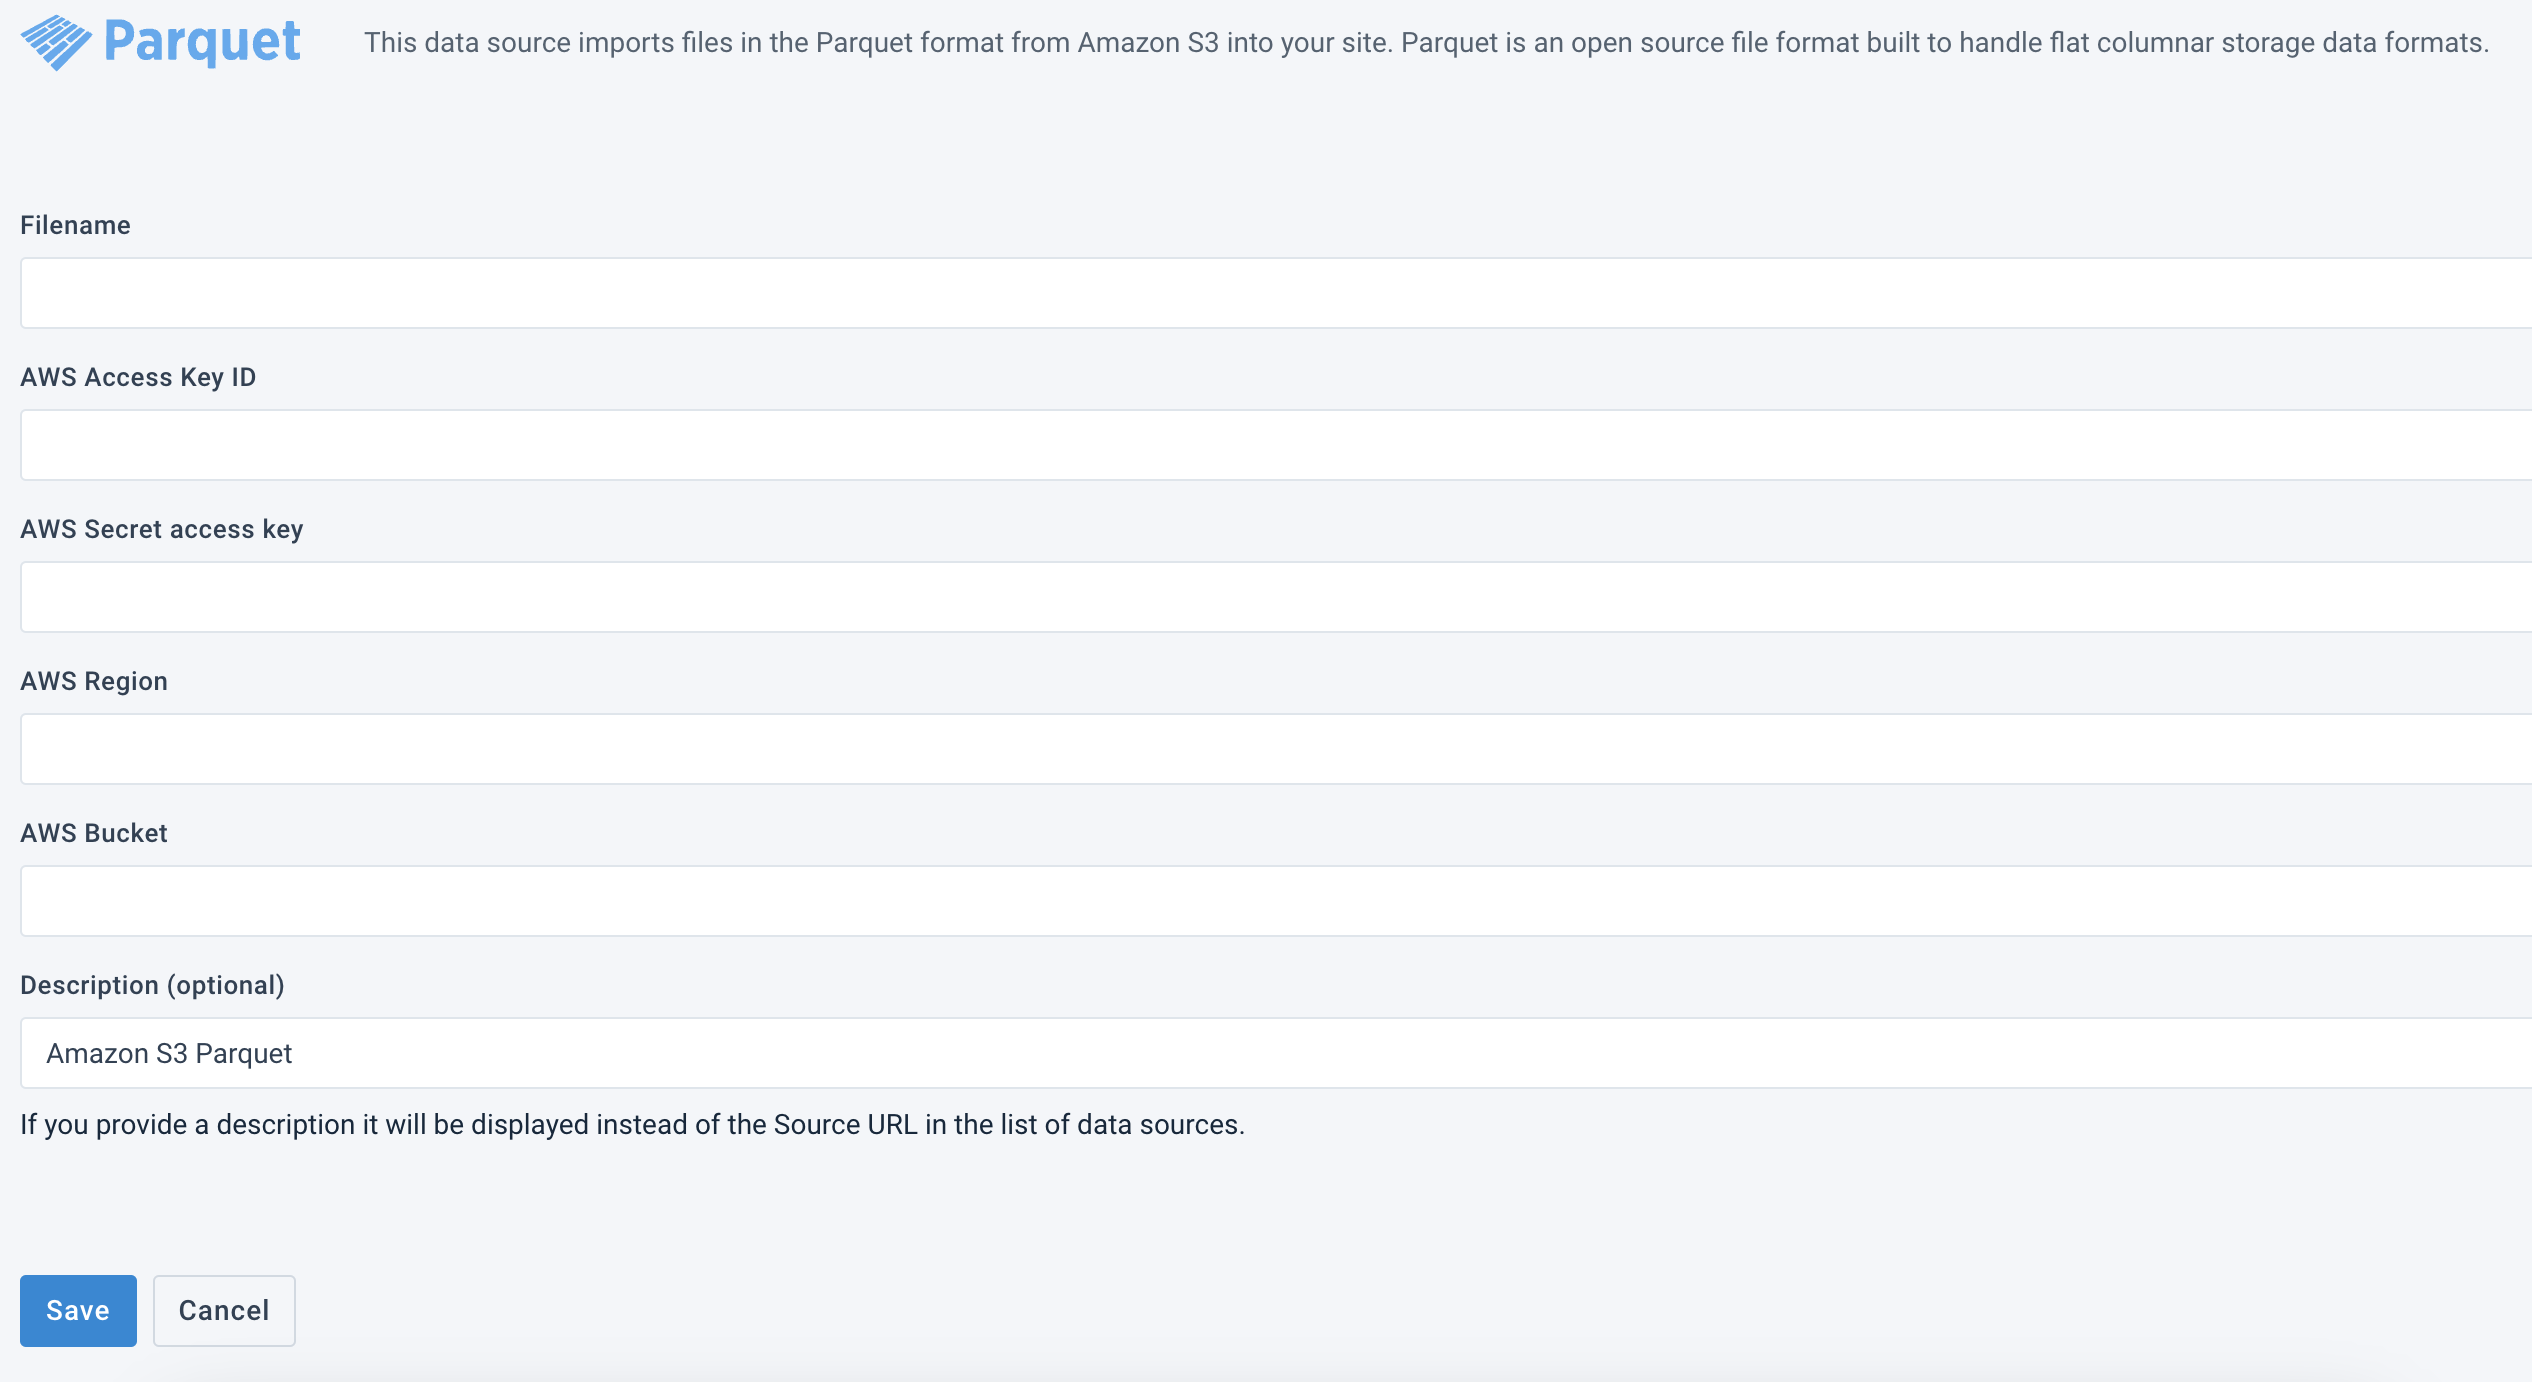
In AWS Region, enter the S3 location.
In AWS Bucket, enter the bucket name, for example:
testexamplebucket1test-samples-may-2021cloud-hosted-items
For more information on how to name a bucket, see Bucket naming rules.
Optionally, enter a custom name in Description (optional).
Select Save.
Import files from Google Cloud Storage
To import files hosted by Google Cloud Storage, perform the following steps:
Go to Data Sources from the site's main menu and select ADD DATA SOURCE. Then choose Google Cloud Storage and select Add.
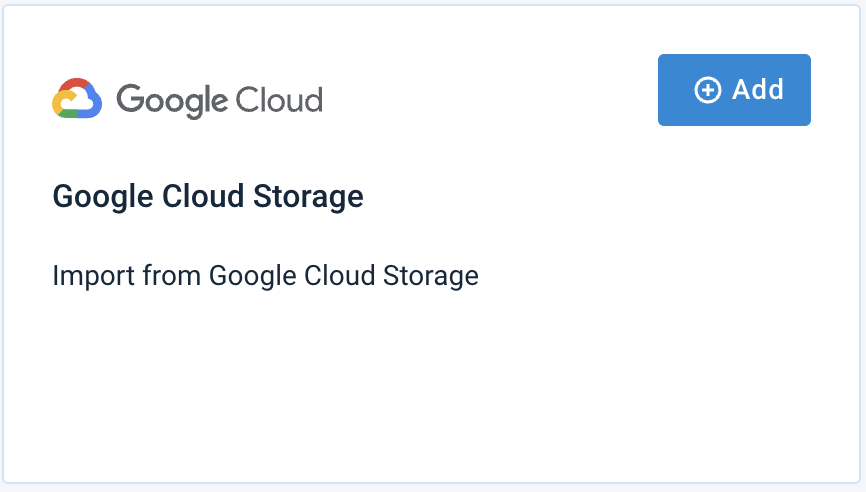
Give your data source a custom name if desired, then select Continue. The custom name replaces the data source name on the main Data Sources page.
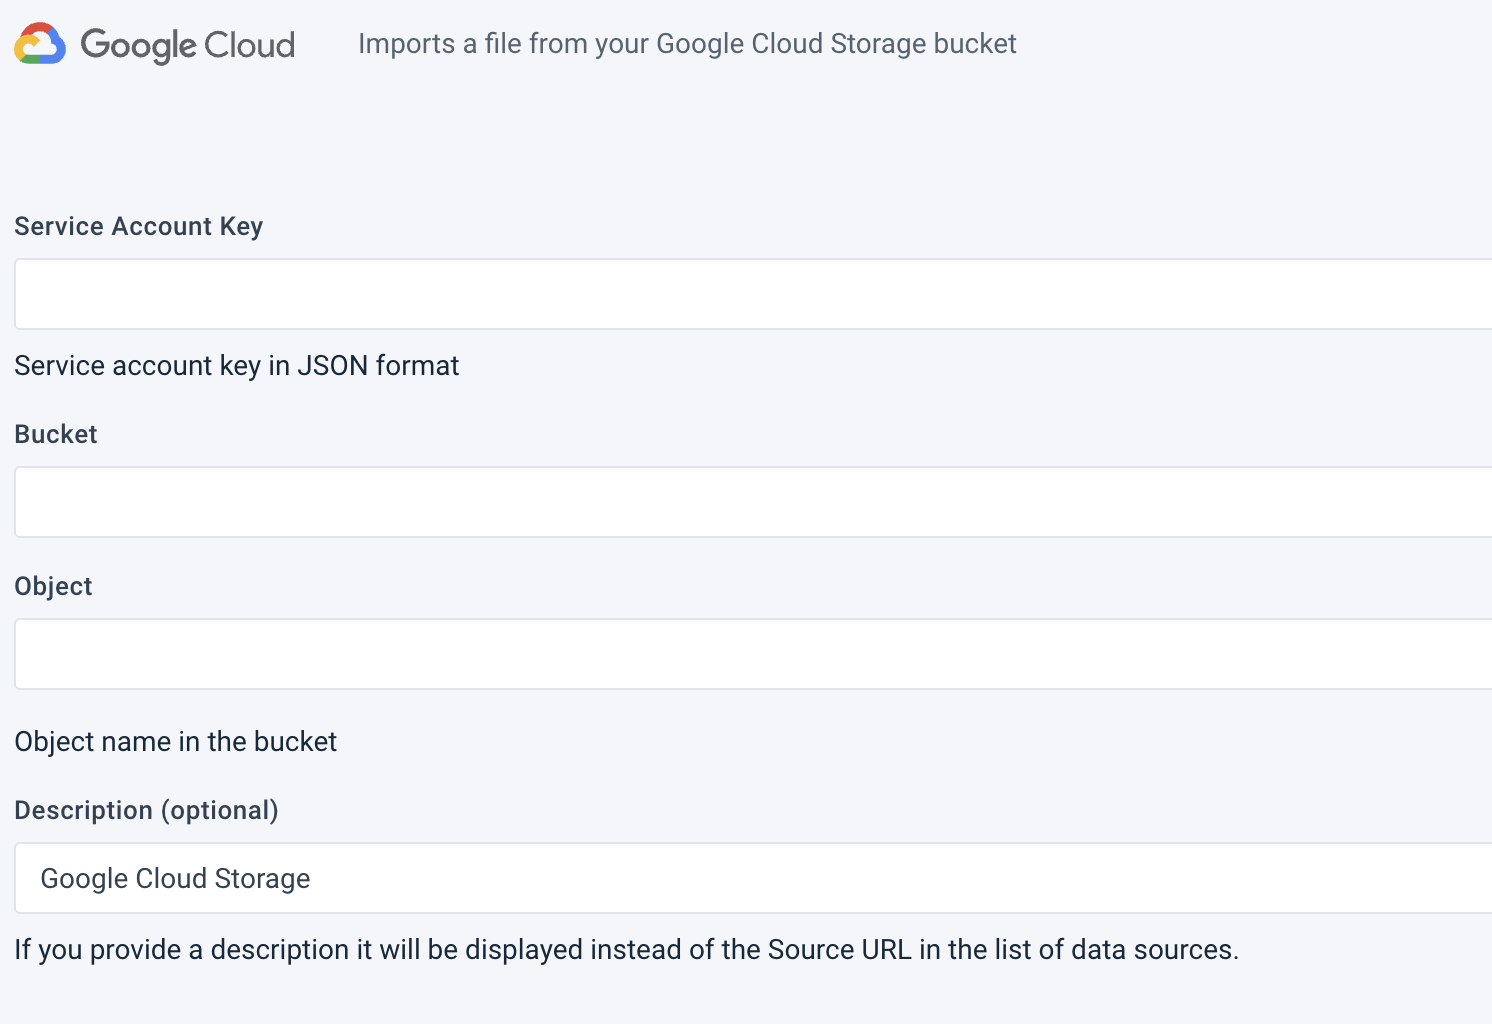
In Service Account Key, enter your service account key in JSON format. Your plain account key won't work.
Here is a sample service account key in JSON that the data source expects in this field:
{
  "type": "service_account",
  "project_id": "PROJECT_ID_111",
  "private_key_id": "PRIVATE_KEY_ID_111",
  "private_key": "-----BEGIN PRIVATE KEY-----\n000a00aabb0a0bb0000a000000aaabbb000a0bb\n-----END PRIVATE KEY-----\n",
  "client_email": "SERVICE_ACCOUNT_EMAIL",
  "client_id": "CLIENT_ID_111",
  "auth_uri": "https://accounts.google.com/o/oauth2/auth",
  "token_uri": "https://accounts.google.com/o/oauth2/token",
  "auth_provider_x509_cert_url": "https://www.googleapis.com/oauth2/v1/certs",
  "client_x509_cert_url": "https://www.googleapis.com/robot/v1/metadata/x509/SERVICE_ACCOUNT_EMAIL"
}
Enter the target bucket name in Bucket. For example:
my-test-samples02333se-9e7b-4418-a5ba-yg2970f0b77test.sample.com(sample.comrequires verification of ownership)
For more information on how to name a bucket, see Bucket naming guidelines.
In Object, enter the item filename with or without the extension. For example:
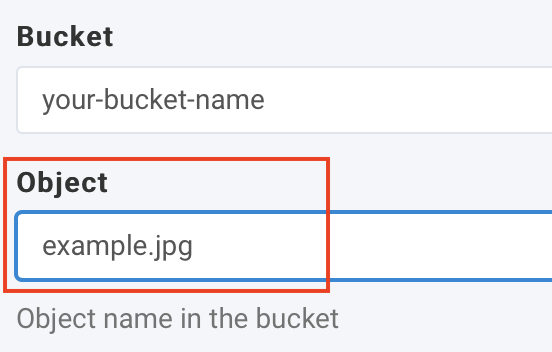
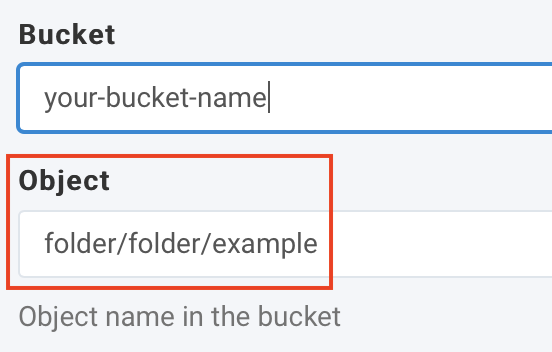
To learn more about the object name requirements, see Object naming guidelines.
Optionally, enter a custom name in Description (optional).
Select Save all settings.
Note
If you merge your main data feed with additional data information via Google Cloud Storage, the import process and merging can take a long time for a large data feed. To speed this process up, you can set up a site tag that contains the information found as an object in the bucket. See Edit site settings to learn how to add a site tag.
This setting enables the site to look only for relevant information in the Google Cloud Storage file. For example, you want your site US_tablet-case to import only the tablet cases from your Google Cloud file:
In the site Settings, add a tag for your site such as
product_type: tablet-case.In the Google Cloud Storage setup, in the field Object, enter the object name in the bucket such as
tablet-case-product_info.csv. The site now only imports and merges the relevant information.
If you want to set up multiple sites with a changing set of product_types and product information for each site, you can automate this as the data source.
You can also enable support for Twig and site tag variables by default. The Productsup Platform API lets you set up the site tags automatically and with Twig pulls in the correct data based on the site tag from Google Cloud Storage.
Import files from Microsoft Azure Blob Storage
To import files hosted by Microsoft Azure Blob Storage, perform the following steps:
Go to Data Sources from the site's main menu and select ADD DATA SOURCE. Then choose Microsoft Azure Blob Storage and select Add.
Give your data source a custom name if desired, then select Continue. The custom name replaces the data source name on the Data Sources overview page.
In Authentication Type, select Access Key or SAS Token:
If you selected Access Key, enter your Microsoft Azure Blob Storage account information in Account Name and Access Key.
If you selected SAS Token, enter your shared access signature in SAS Token and SAS Blob Endpoint.
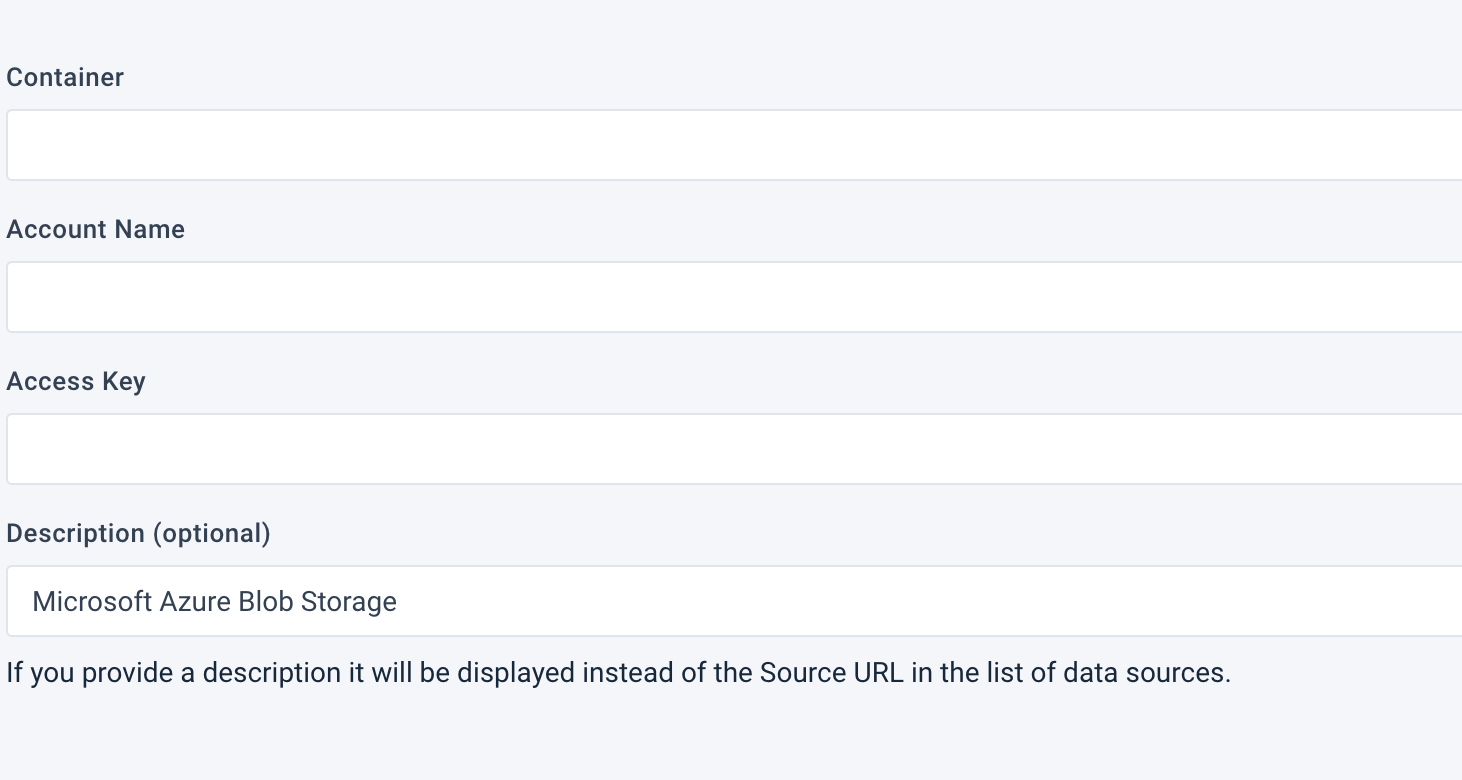
In Container, enter the full URL to the hosted file.
Optionally, change the data source name in Description (optional).
Scroll down and select Save all settings.