Map multiple images to an attribute
Map multiple images to an attribute in Productsup.
Introduction
To view several images in a single attribute in Data View, map multiple images to your attribute(s) in Dataflow. This lets you view images in a carousel, eliminating the need to create several attributes to show several images.
Tip
Instead of mapping images, you can also map several items to a single attribute following this document. For more information on mapping, see Use Dataflow to map your attributes from import to export.
Map image
In Dataflow, you can map or connect matching attributes between stages. You must connect your desired image to its matching image attribute, so the platform can create a feed that contains the image(s) during an export. To map an image:
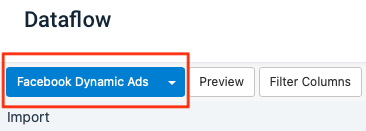
Go to Dataflow from your site's main menu. Now select your desired export feed from the top ribbon drop-down menu.
Note
You can only work in one (1) export feed source at a time.
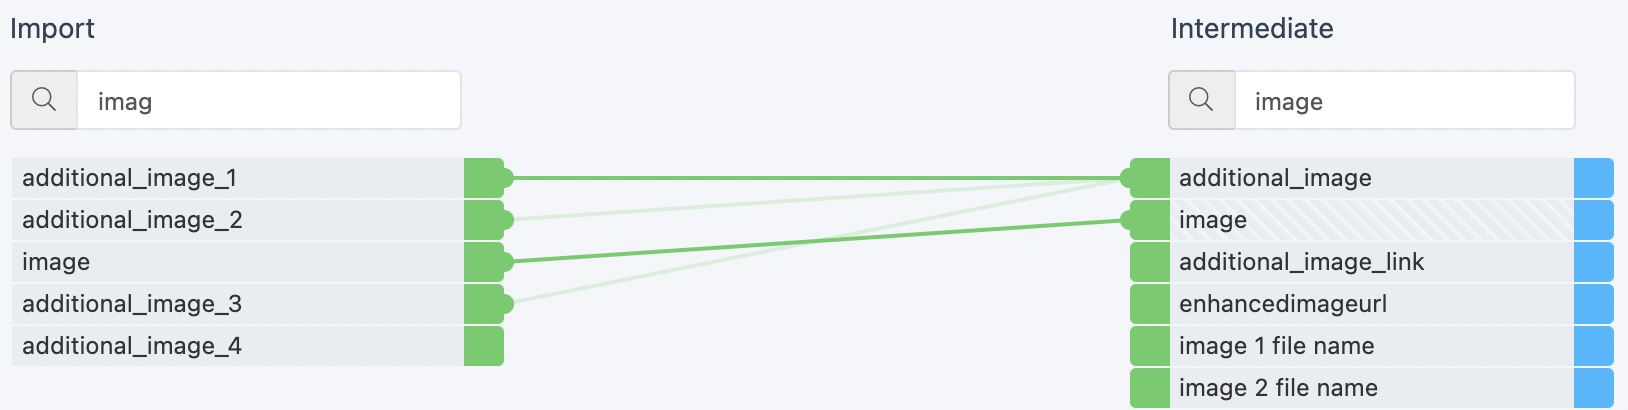
Find your image attributes or apply a column filter to quickly locate them by selecting Filter Columns. Enter a search term to quickly locate your attribute in either the import, intermediate, or export.
Once you've located your image, map the image attribute by dragging a connector node from one image to another matching image attribute located in a different column. You can only map an image from the import to intermediate, then to export.
Tip
You can also connect two nodes by selecting one and then the other. This lets you quickly map matching nodes without having to drag them from one end to another.
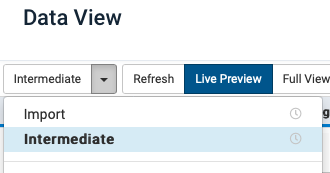
You can preview your changes to mapped images in Data View. Go to Data View and select the affected column, Import or Intermediate.
Confirm that you can now see your changes, for example,
imageoradditional_image_1, etc.Tip
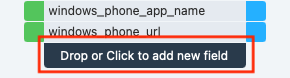
You can add new fields in Data View for the Intermediate and [export] columns by selecting the Drop or Click to add new field box. You can locate the box at the bottom of both the intermediate and export stages.
Map multiple images to a matching attribute
You can map several images to one matching attribute, which creates an image carousel in Data View. For example, you can match additional_image_1, additional_image_2, additional_image_3 to additional_image.
Go to Dataflow from your site's main menu. Now select your desired export feed from the top ribbon drop-down menu.
Note
You can only work in one (1) export feed source at a time.
Find your image attributes or apply a column filter to quickly locate them by selecting Filter Columns. Enter a search term to quickly locate your attribute in either the import, intermediate, or export stages.
Once you've located your images, map multiple image attributes by dragging the connector nodes from each image to another matching image attribute located in a different column. You can only map images from the import to intermediate, then to the export.
Tip
You can also connect two nodes by selecting one and then the other. This lets you quickly map matching nodes without having to drag them from one end to another.
A pop-up message asking if you want to append or replace prompts after you map an additional image to a previously mapped image attribute. Select Append to add the image without replacing it.
You can preview your changes to mapped images in Data View. Go to Data View and select the affected stage, import or intermediate.
Confirm that you can now see your changes, for example,
additional_image_1,additional_image_2,andadditional_image_3connected toadditional_image.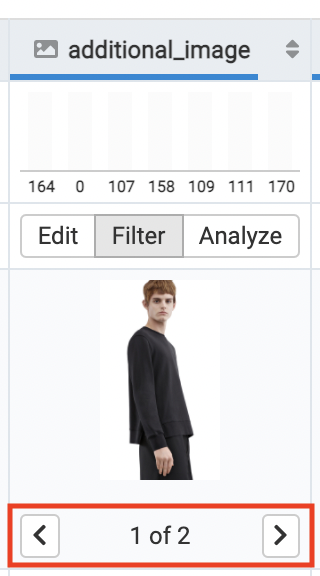
Add comma-separated values for Facebook Dynamic Ads exports
Facebook Dynamic Ads export channels require comma-separated values to correctly identify your images as individual items. To add the appropriate value, take the following steps:
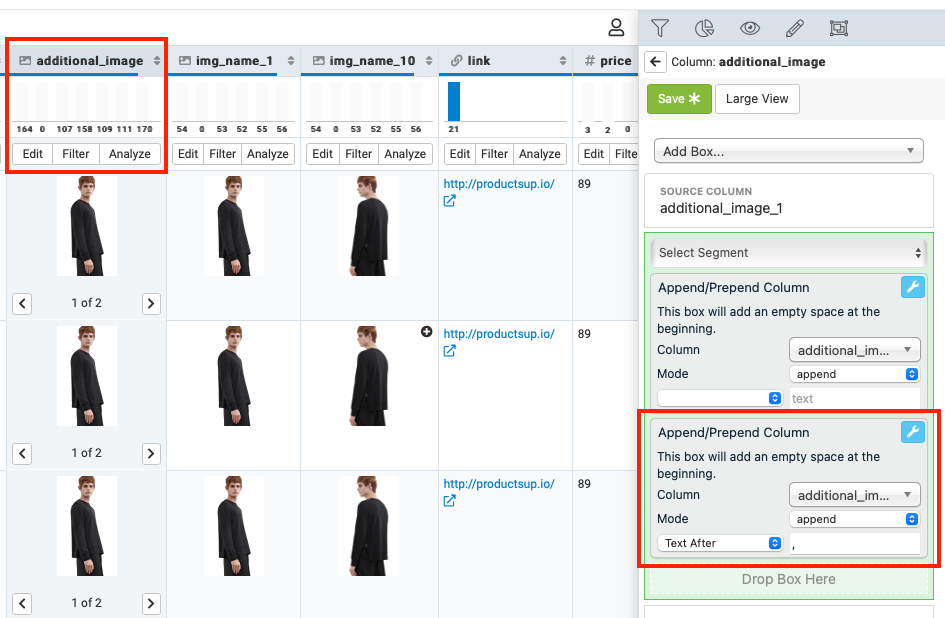
Go to Data View, locate your additional image attribute, and select Edit.
Note
When you map your images in Dataflow, you can see the
Append/Prepend Columnrule box added to the affected attribute.In the rule box, select Text After from the drop-down option and enter a comma (
,) in the text field.In Mode, select append, and enter a comma (
,) in the text field.To activate your changes, select Export or Run from the top banner menu.