Set up ETIM xChange export
ETIM xChange: set up the export in Productsup to transform your data to comply with the ETIM standards.
ETIM xChange is an international format for product data exchange. The ETIM xChange format uses JSON, a popular human- and machine-friendly data format. JSON Schema lets you define the structure and rules of JSON data making a strong alternative to XML. You can use widely JSON itself for web applications, configuration, and storage and with JSON Schema you can validate that JSON data follows specific standards.
The ETIM xChange format structure includes:
Catalogue data
Supplier data
Product data
Trade item data
The format has a minimum of mandatory attributes. Only essential attributes are mandatory. For example, you must have at least one unique identifier to list a product.
Download the complete ETIM xChange documentation from ETIM International.
Prerequisites
Before setting up the ETIM xChange export, you need to:
Import your data to Productsup. See Add a main data source to import your products.
Add and set up the ETIM xChange export
Go to Exports from your site's main menu and select ADD EXPORT.
Search for ETIM xChange and select Add.

Select the export's name link.
Select Add Destination and choose ETIMxChange Delta Export. Give it a name as desired and select Save.
In the Upload type, select SFTP or Productsup Server. See Find the most suitable export destination.
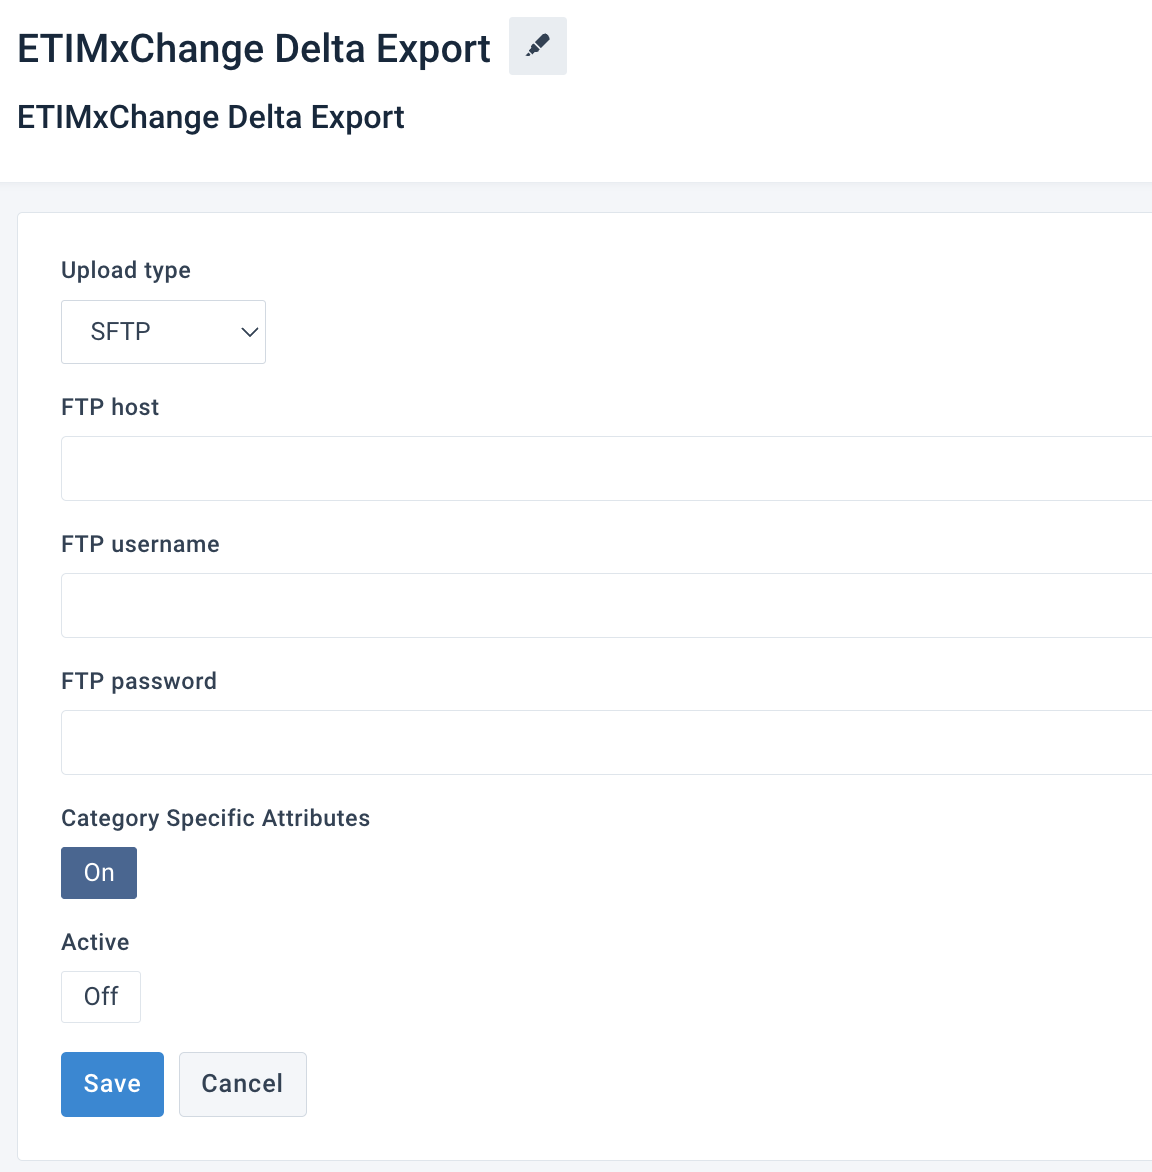
Enter the FTP host, username, and password in the corresponding fields.
Note
The platform creates a JSON file and exports it to the selected destination where you can access it.
Toggle Active to On to activate the destination.
Select Save.
Add the data service ETIM xChange trade item multiplication
After setting up your export, you need to add a data service to get all the necessary JSON nodes in your final file.
Go to Data Services from your site's main menu and select ADD SERVICE.
Search for ETIM xChange trade item multiplication, select Add, and give it a desired name and attribute prefix.
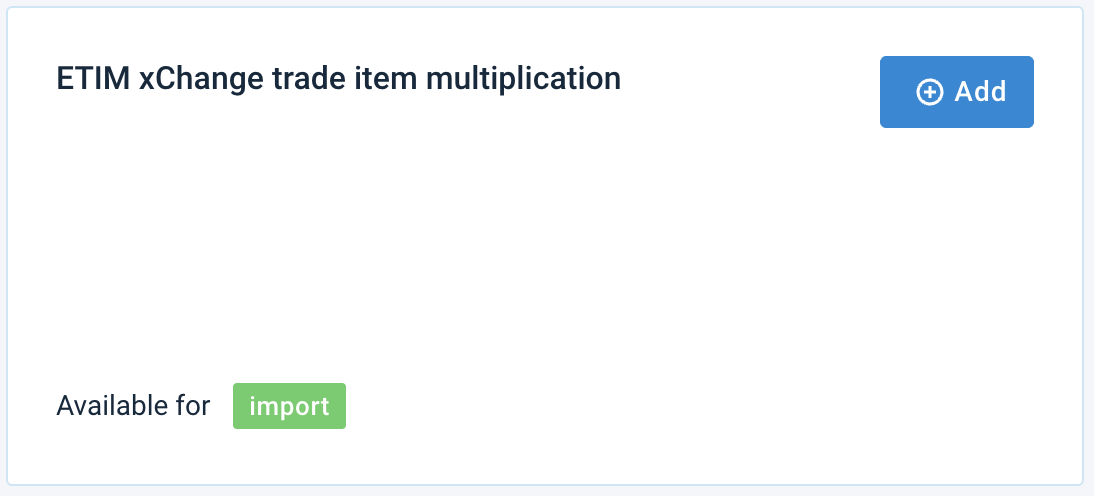
By default,
___prefixis in the Column prefix, but you can change it to another name.Note
The platform will add this prefix at the beginning of an attribute name generated by the data service. The attribute names generated by the data service always start with three underscores (
___), which means the platform doesn't send such attributes to your export channels.
In the Nodes field, enter the JSON node names using a comma (
,) without spaces as a separator. For example, Product Attachments,Product Details,Product Relationships,Supplier Attachments,Trade Item Details,Trade Item Logistics Details.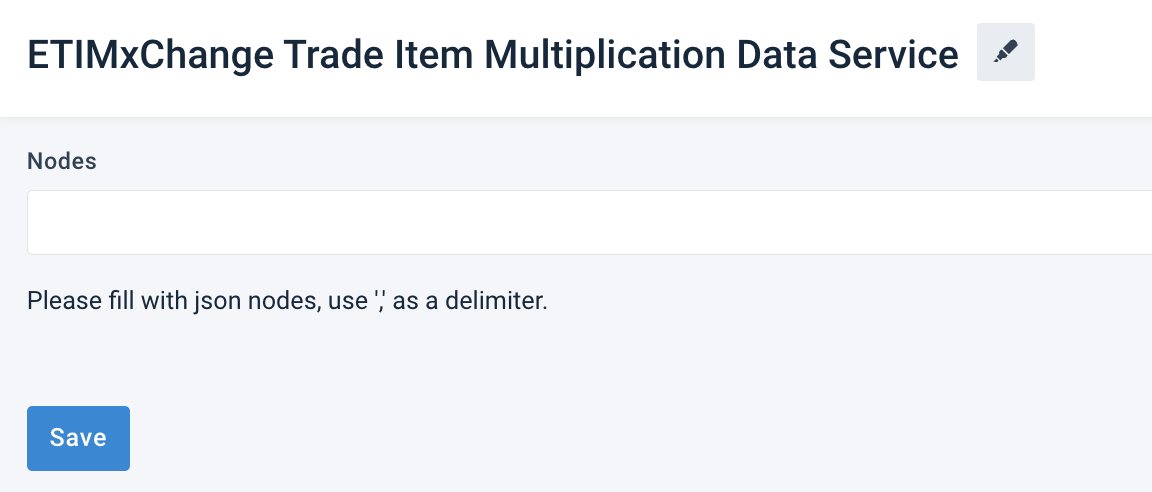
Select Save.
For the platform to process a new data service, select Run in the top-right corner of your site's view.
Note
If you can't see your new data in Data View, ensure the platform hasn't hidden it:
Go to Data View from your site's main menu and choose the relevant stage or export in the dropdown on your left.
Select the menu icon
 on the right and then select the eye icon
  .
.Find the attributes in the list that use the custom prefix
___prefixand select the eye icon next to each attribute you want Data View to display.
Close the pop-up.
Map imported product categories to ETIM with Lists
Note
Skip this step if the ETIM codes are already in your imported data feed.
Go to Lists from your site's main menu.
Select ADD LIST.
In Choose a list type, choose Classification Mapping and select Continue.
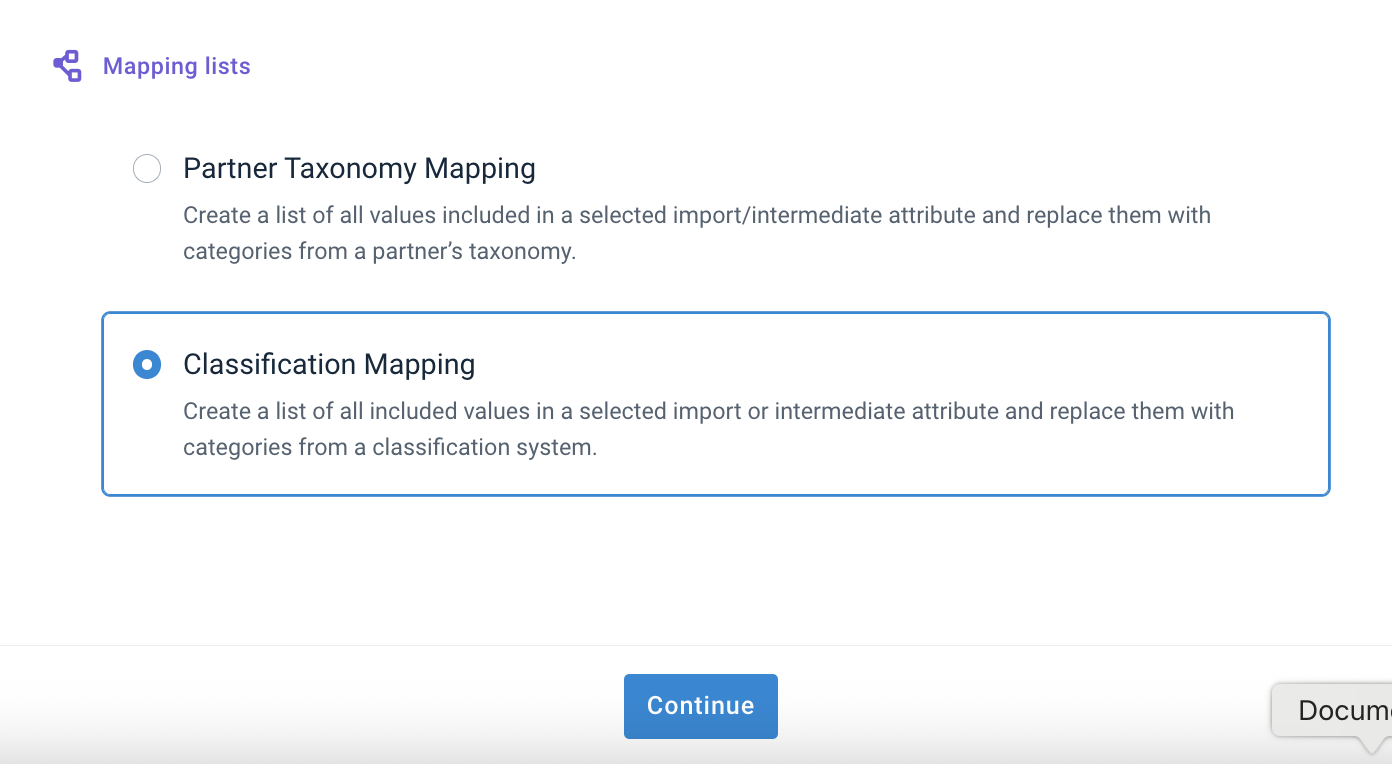
In Configure the Classification Mapping list, do the following:
In Name, give your list a desired name.
In Classification, choose the ETIM xChange classification standard.
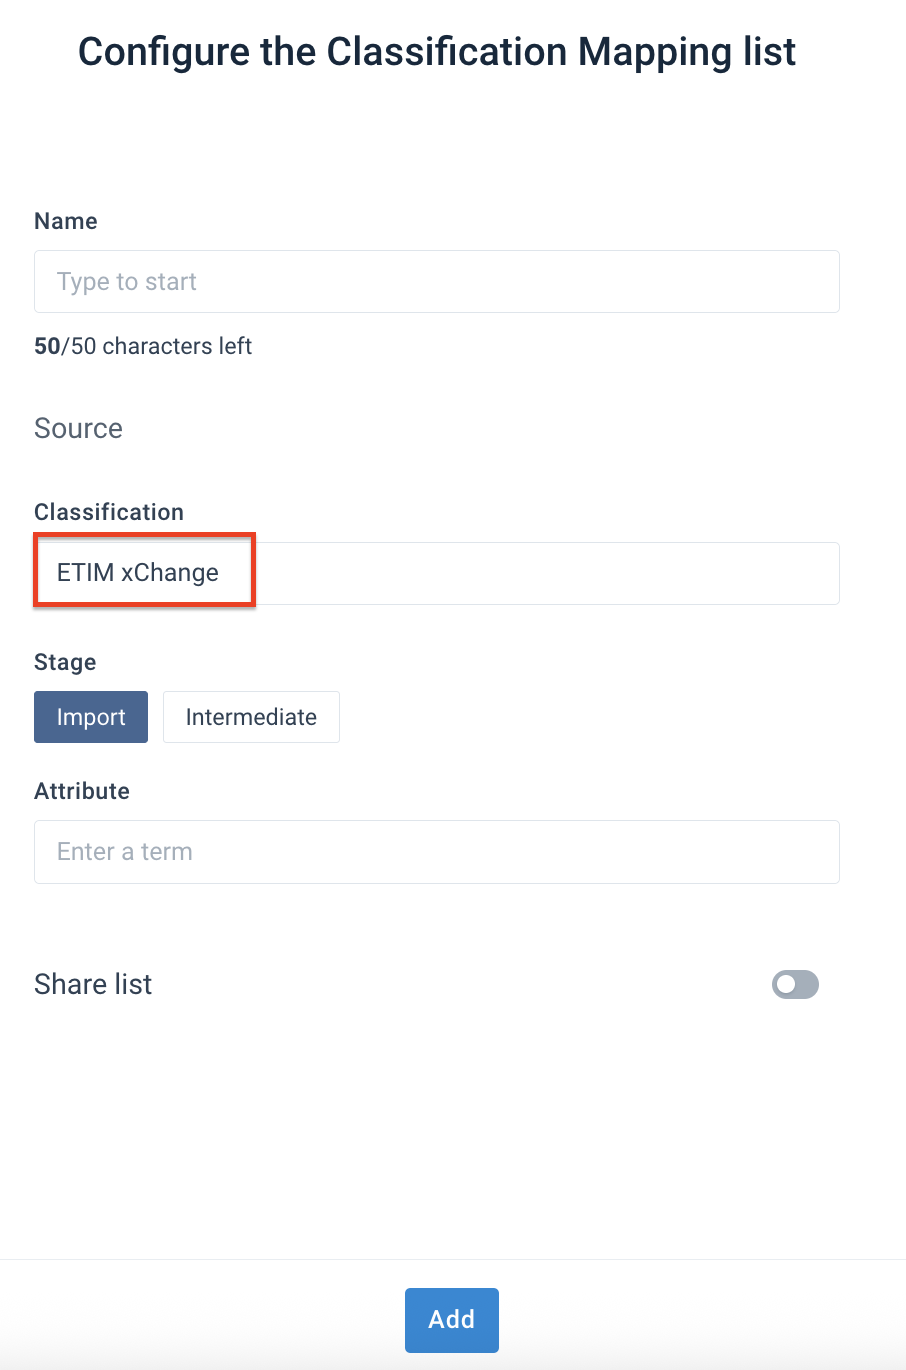
In Stage, select Import.
In Attribute, select __additionalNodes.
Optionally, toggle Share list if you want to share the list within the organization or project.
Select Add.
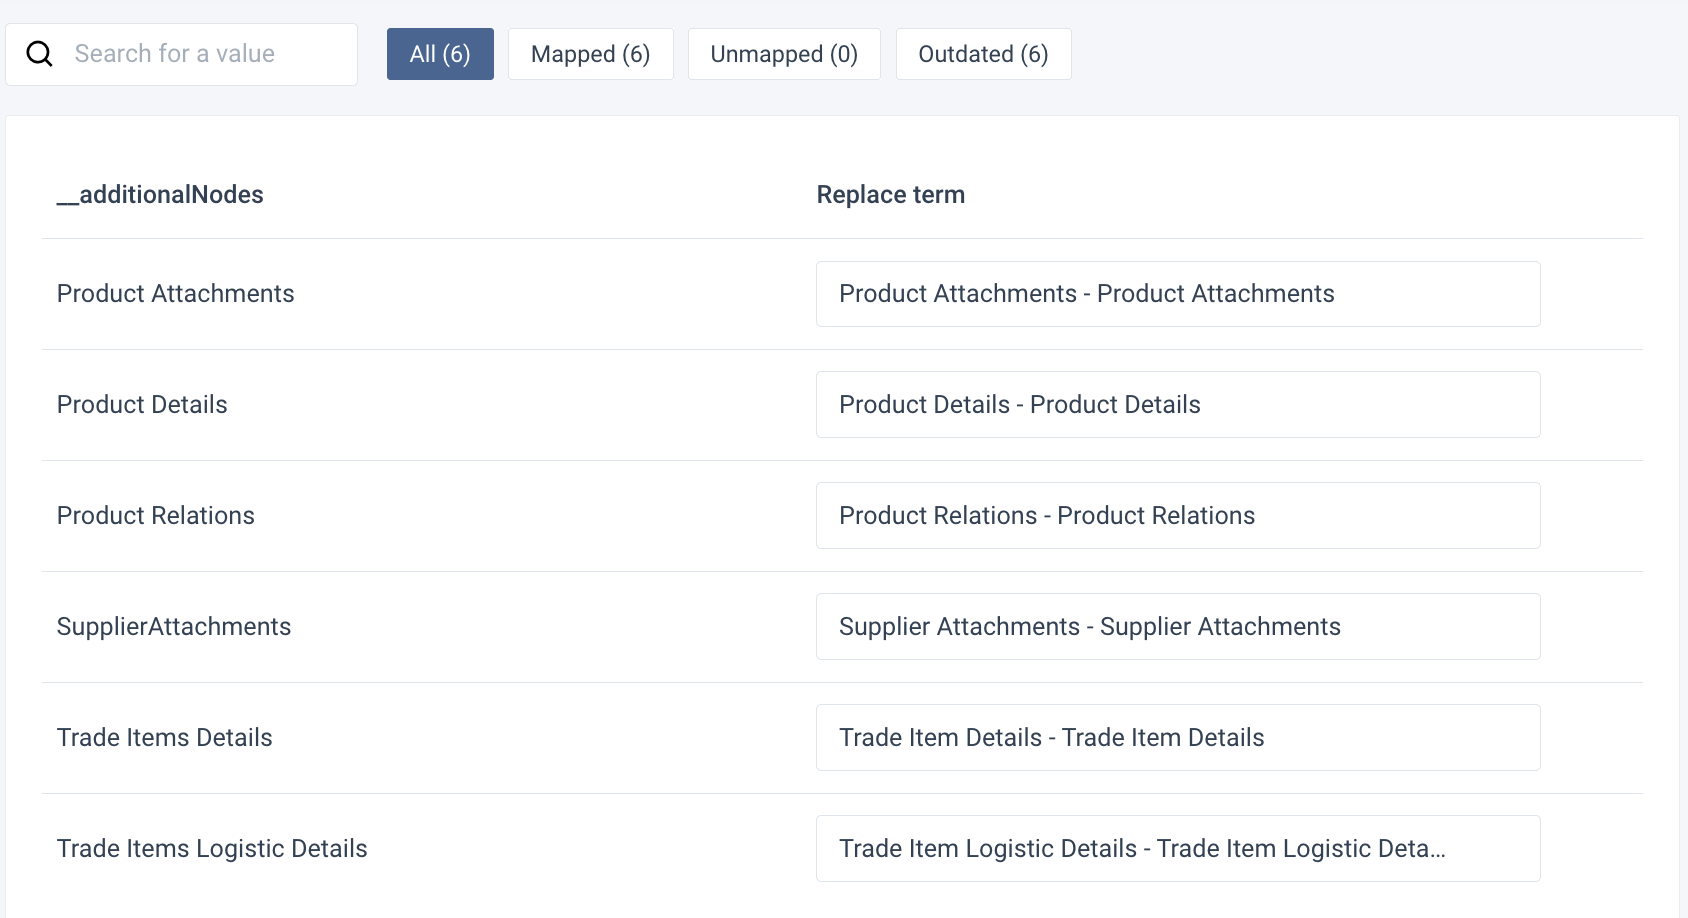
Assign the appropriate replacement term to your values by choosing from the Replace term dropdown.
Map your attributes and apply the Classification Mapping list
Map the corresponding attributes from import to export in Dataflow:
Go to Dataflow from your site's main menu.
Select your ETIM xChange export from the dropdown on the left in the top toolbar.
Map the attributes from the intermediate to the export stage.
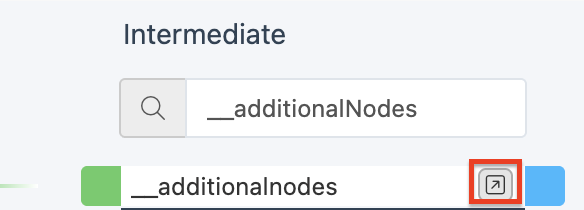
Hover over the __additionalnodes attribute in the intermediate stage and select the arrow icon on the right.
Search for the Classification Mapping rule box and drag it to the green area.
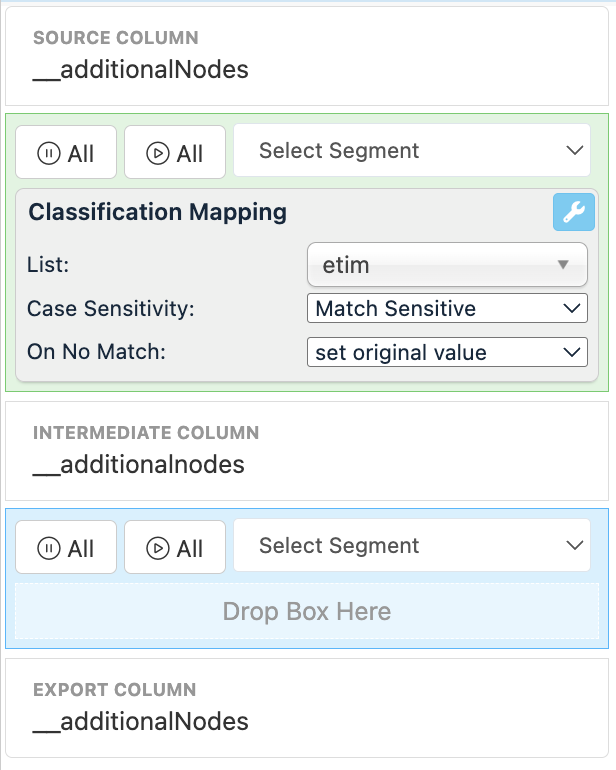
In the List dropdown, select the Classification Mapping list you set up.
Select Save.
Select Run in the top-right corner to import the ETIM classification attributes.
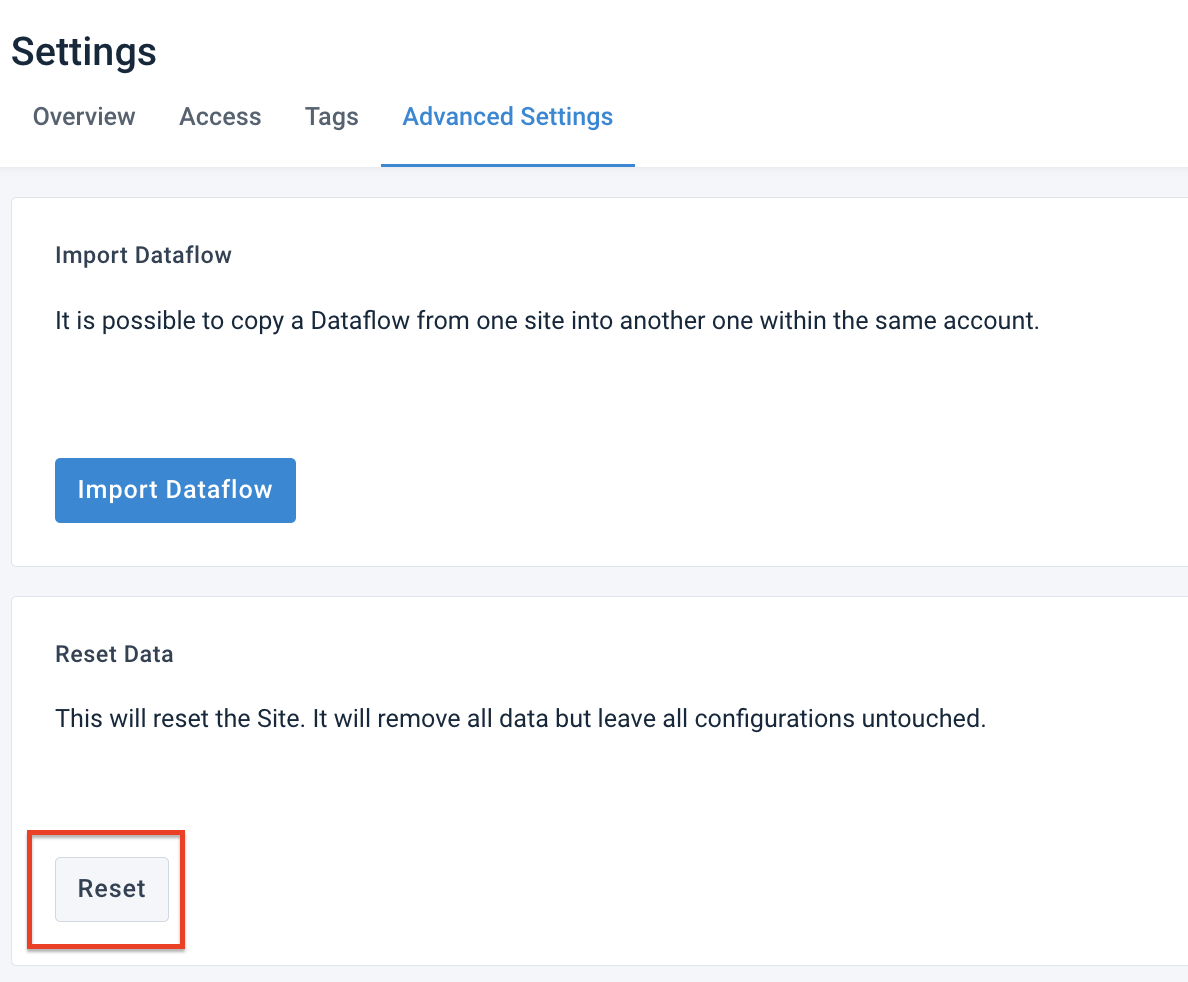
Wait for the run to finish and go to Settings from your site's main menu and select Advanced Settings. Select Reset in the Reset Data section.
The Classification dropdown now appears in the top toolbar of Dataflow. If you open it, you can see the ETIM xChange JSON nodes in your data feed.

Map JSON nodes for ETIM xChange
In Dataflow, select a JSON node you want to map in the Classifications dropdown. The platform refreshes the view and shows the JSON nodes in the export stage.
Map the attributes for the selected JSON node to the intermediate stage. Repeat the same steps in all ETIM xChange JSON nodes from the drop-down menu.
Check and edit ETIM values
To check if all the values are present in your feed:
Go to Data View from your site.
Select your export from the dropdown on the left in the top toolbar.
Select the JSON node you want to check from the Classification dropdown.
Select the Analyze button for the attribute you want to check.
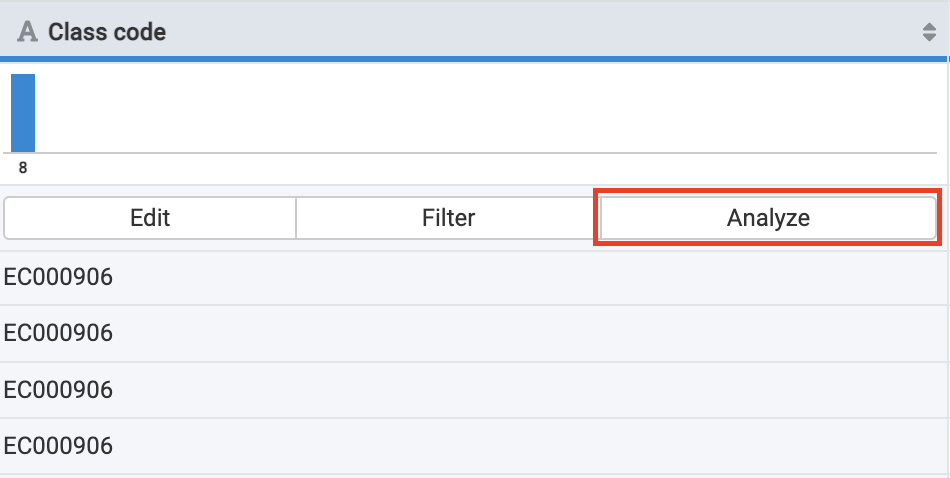
The side panel opens showing whether your attribute contains valid ETIM values or suggesting possible actions to correct them. See Analyzer for more information on the Analyzer feature.
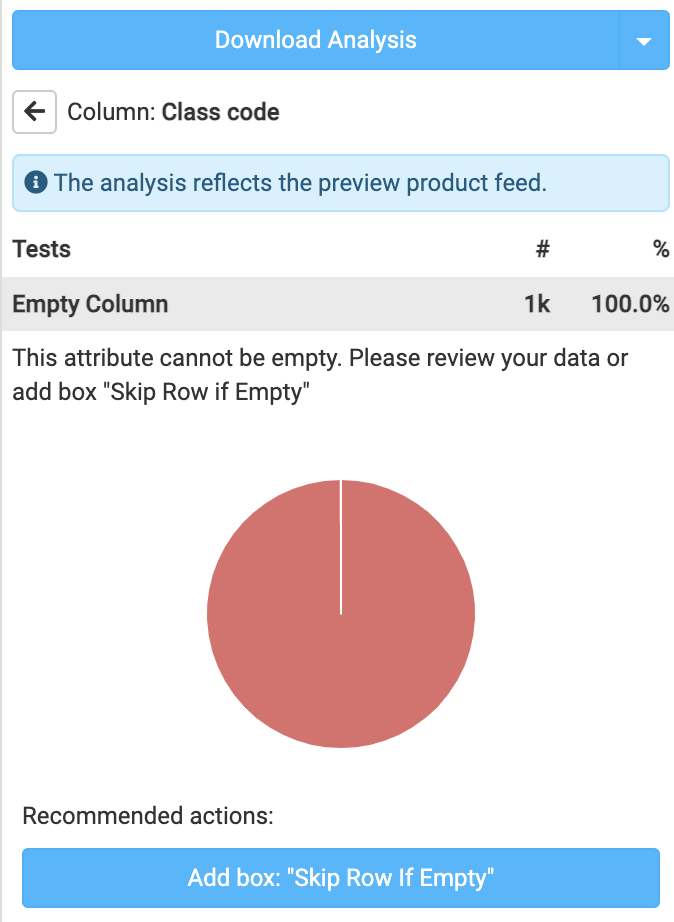
Use rule boxes to edit the values if necessary.