Set up scheduling and triggering processes in Scheduling
Use the Scheduling feature in Productsup to let your sites run automatically based on your desired schedules and triggers.
Introduction
The Scheduling feature in Productsup enables you to create schedules and trigger events to let your sites run automatically based on the desired conditions.
Watch a short video about Site Scheduling or find detailed guidance in the sections below:
In Scheduling, there are 2 tabs:
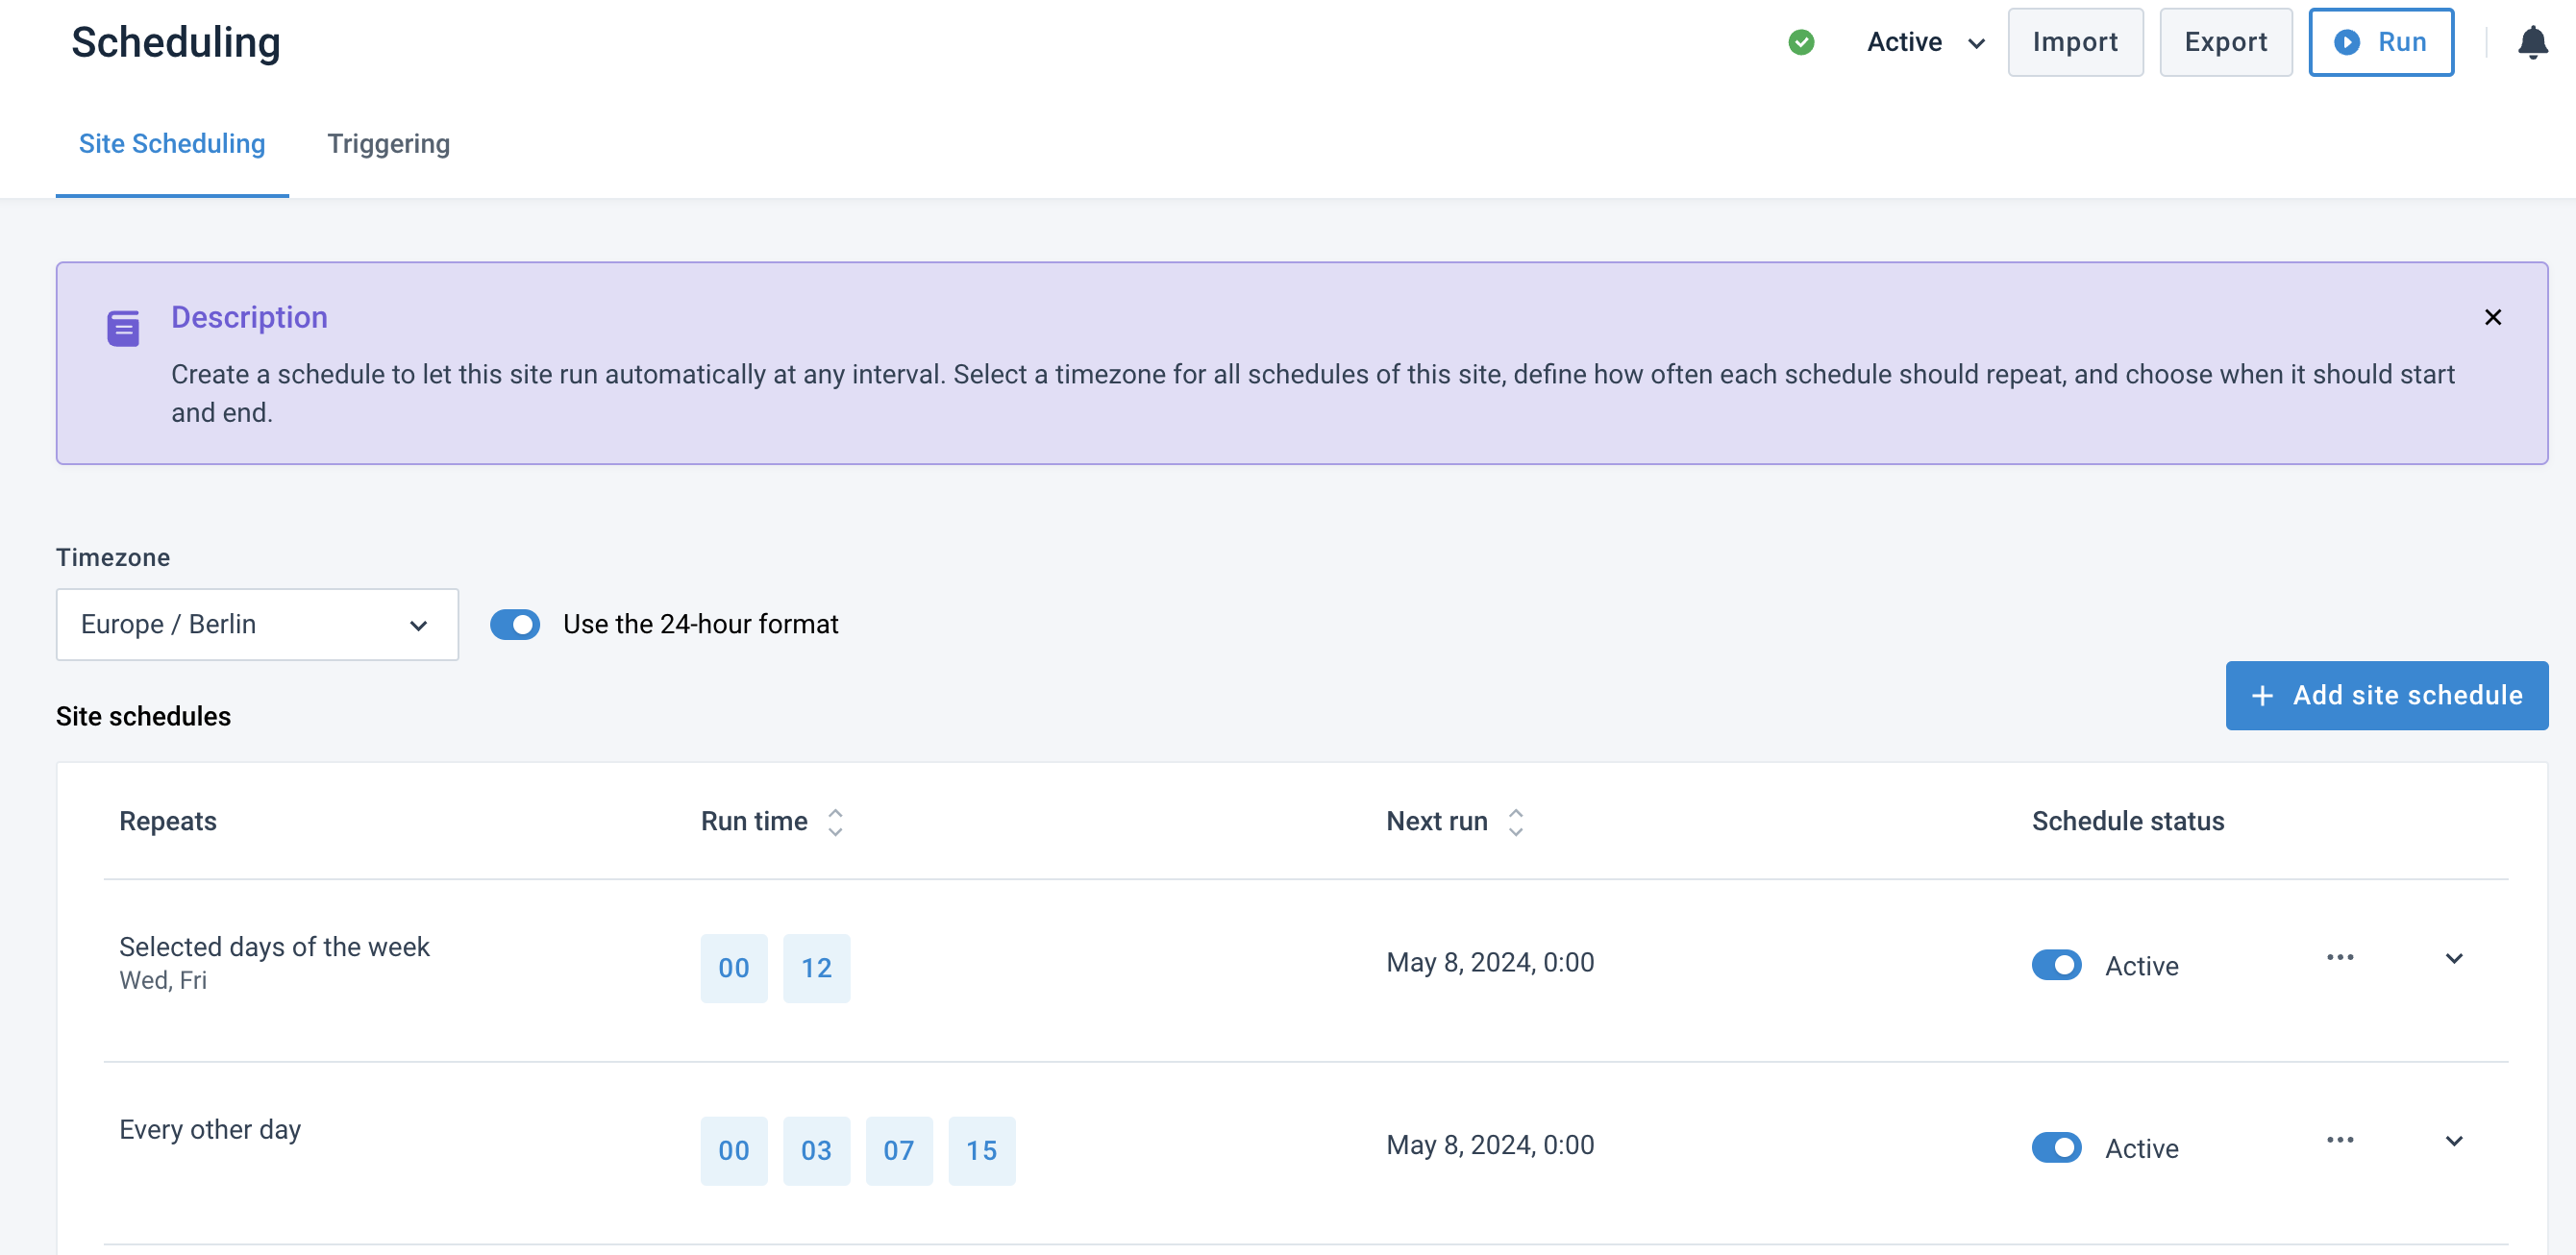
Site Scheduling - Create schedules to choose when your site should run.
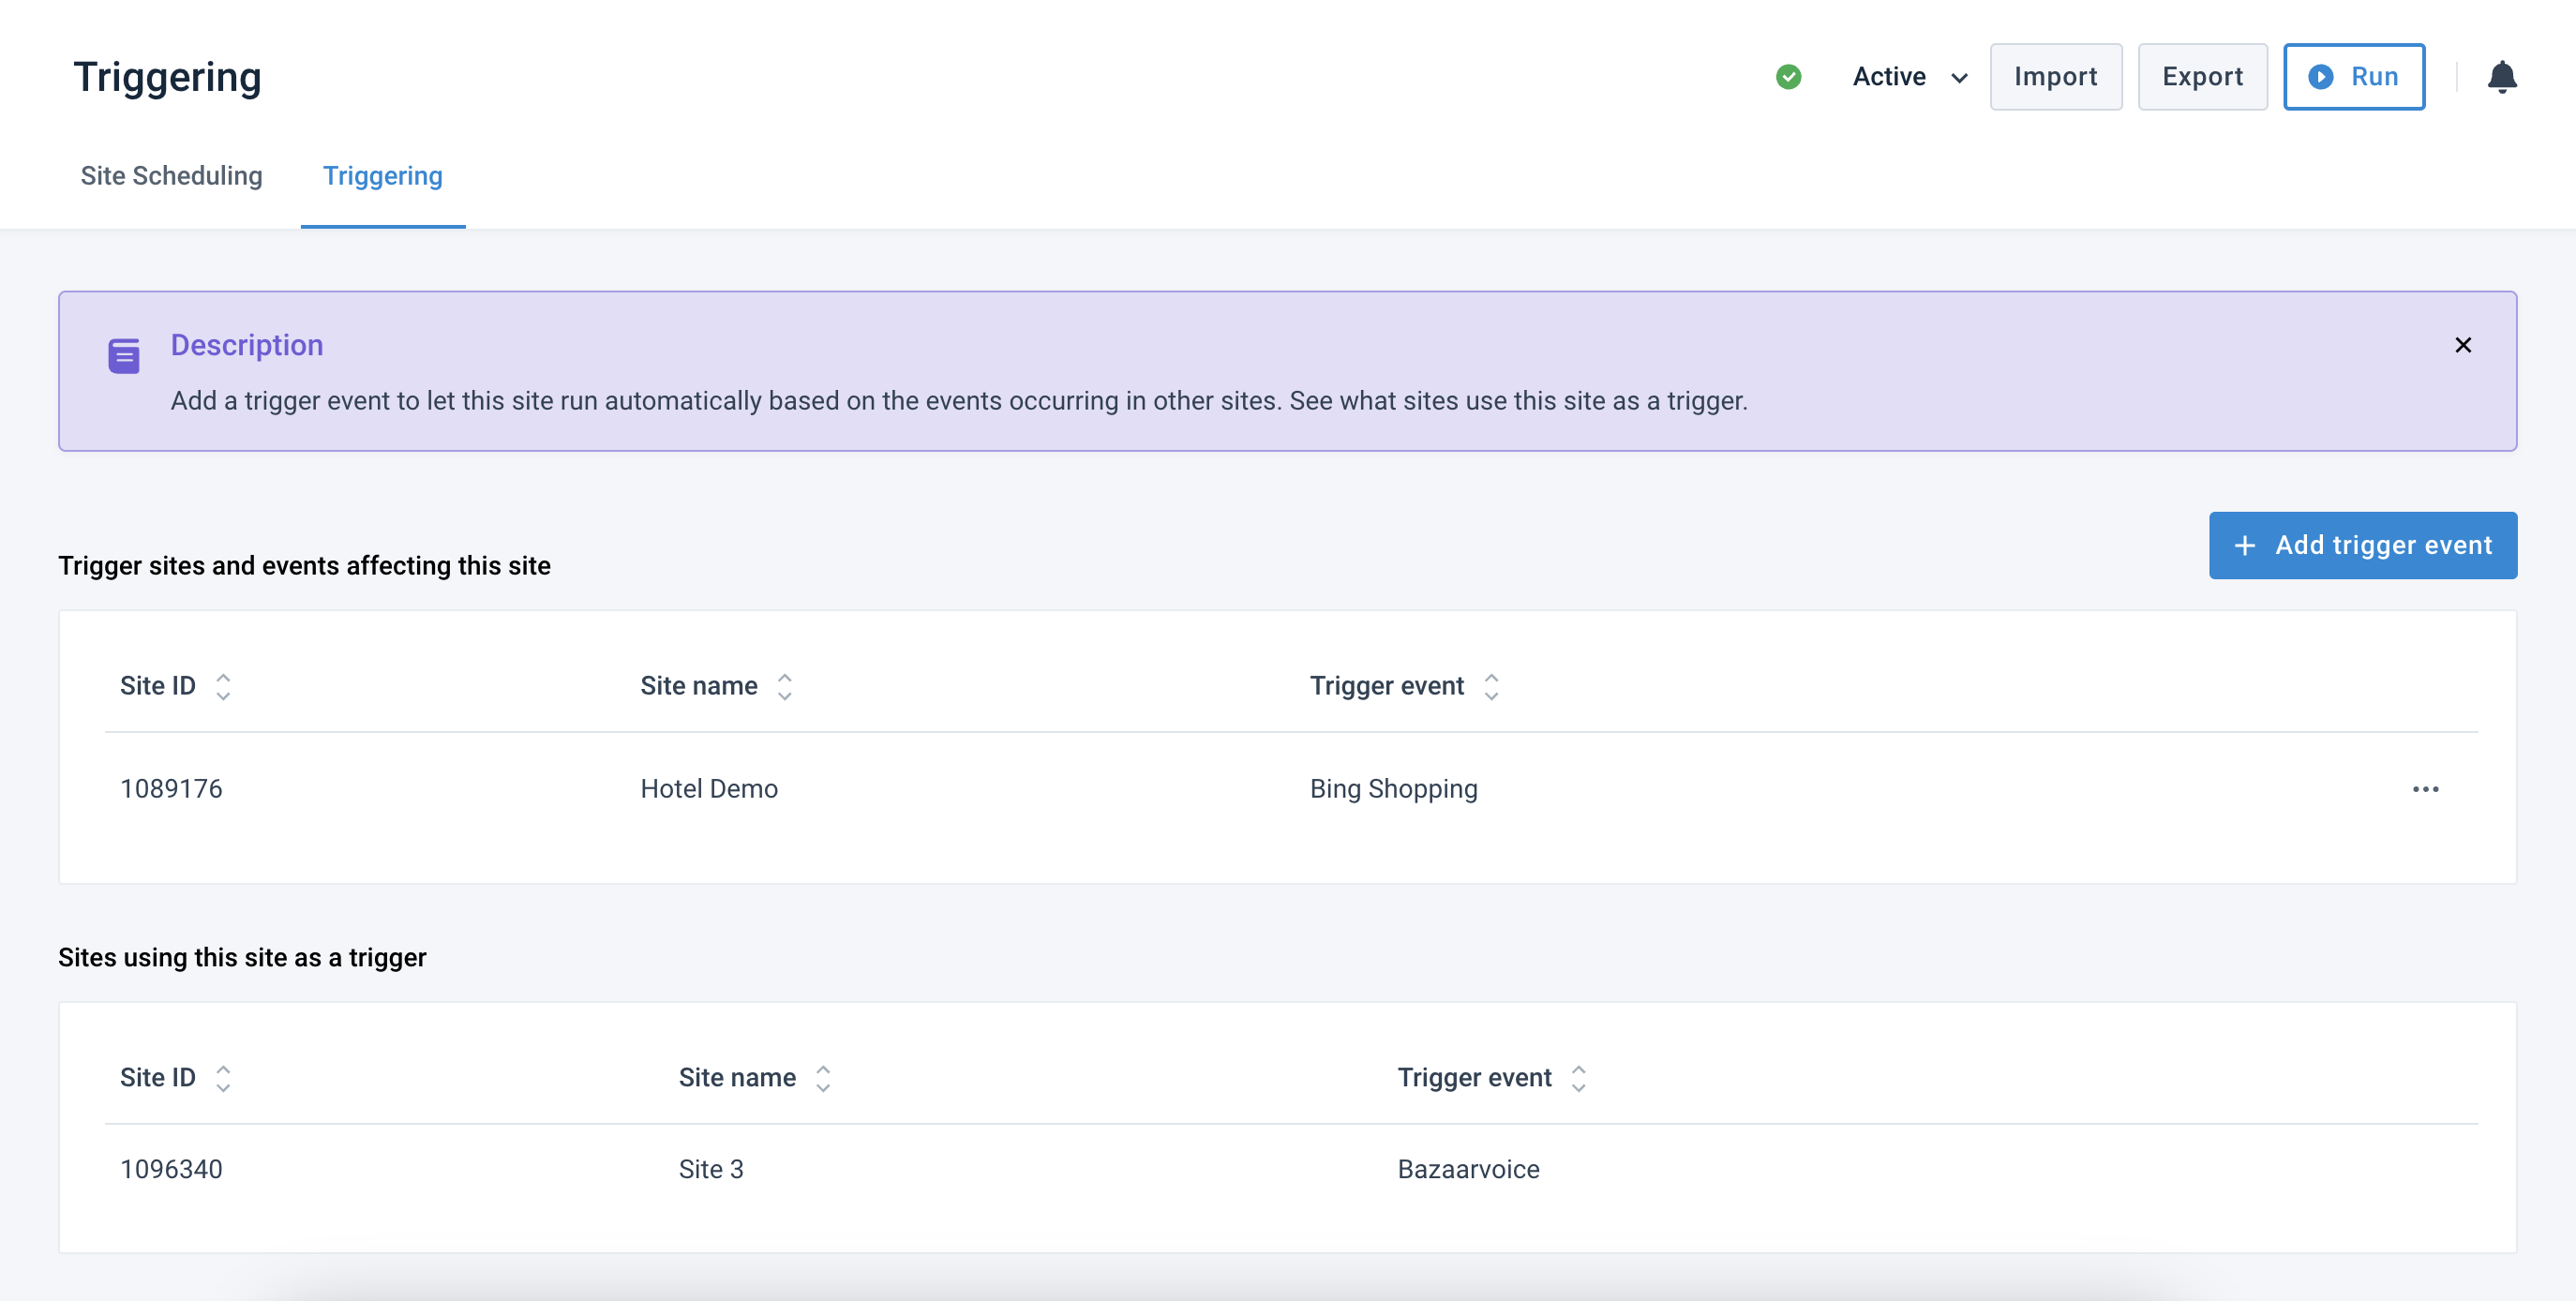
Triggering - Choose which events in other sites should trigger the runs of your current site.
Both trigger events and schedules always start a full site run. A full run imports data from your data sources, optimizes, processes, and sends it to your export channels.
Caution
You can't set up schedules and trigger events for separate data sources or exports. All scheduling and triggering options always start a full site run.
A site can never have 2 simultaneous runs. If you schedule a site or set up a trigger event to make a site run while it is already running, the new run request goes into a queue. Once the current run is over, the next one can begin.
Tip
Leave enough room between your scheduled site runs to let a site finish its run before starting the next one.
Find the Scheduling feature
To locate the Scheduling feature, do the following:
Go to a desired site in your Productsup organization.
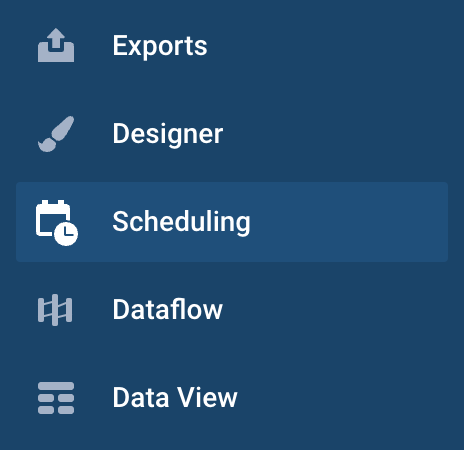
Open the site's main menu on the left.
Select Scheduling.
Schedule your site runs in Site Scheduling
Create a schedule
Go to Scheduling from your site's main menu and select Add site schedule.
The following ADD SCHEDULE menu pops up on your screen:
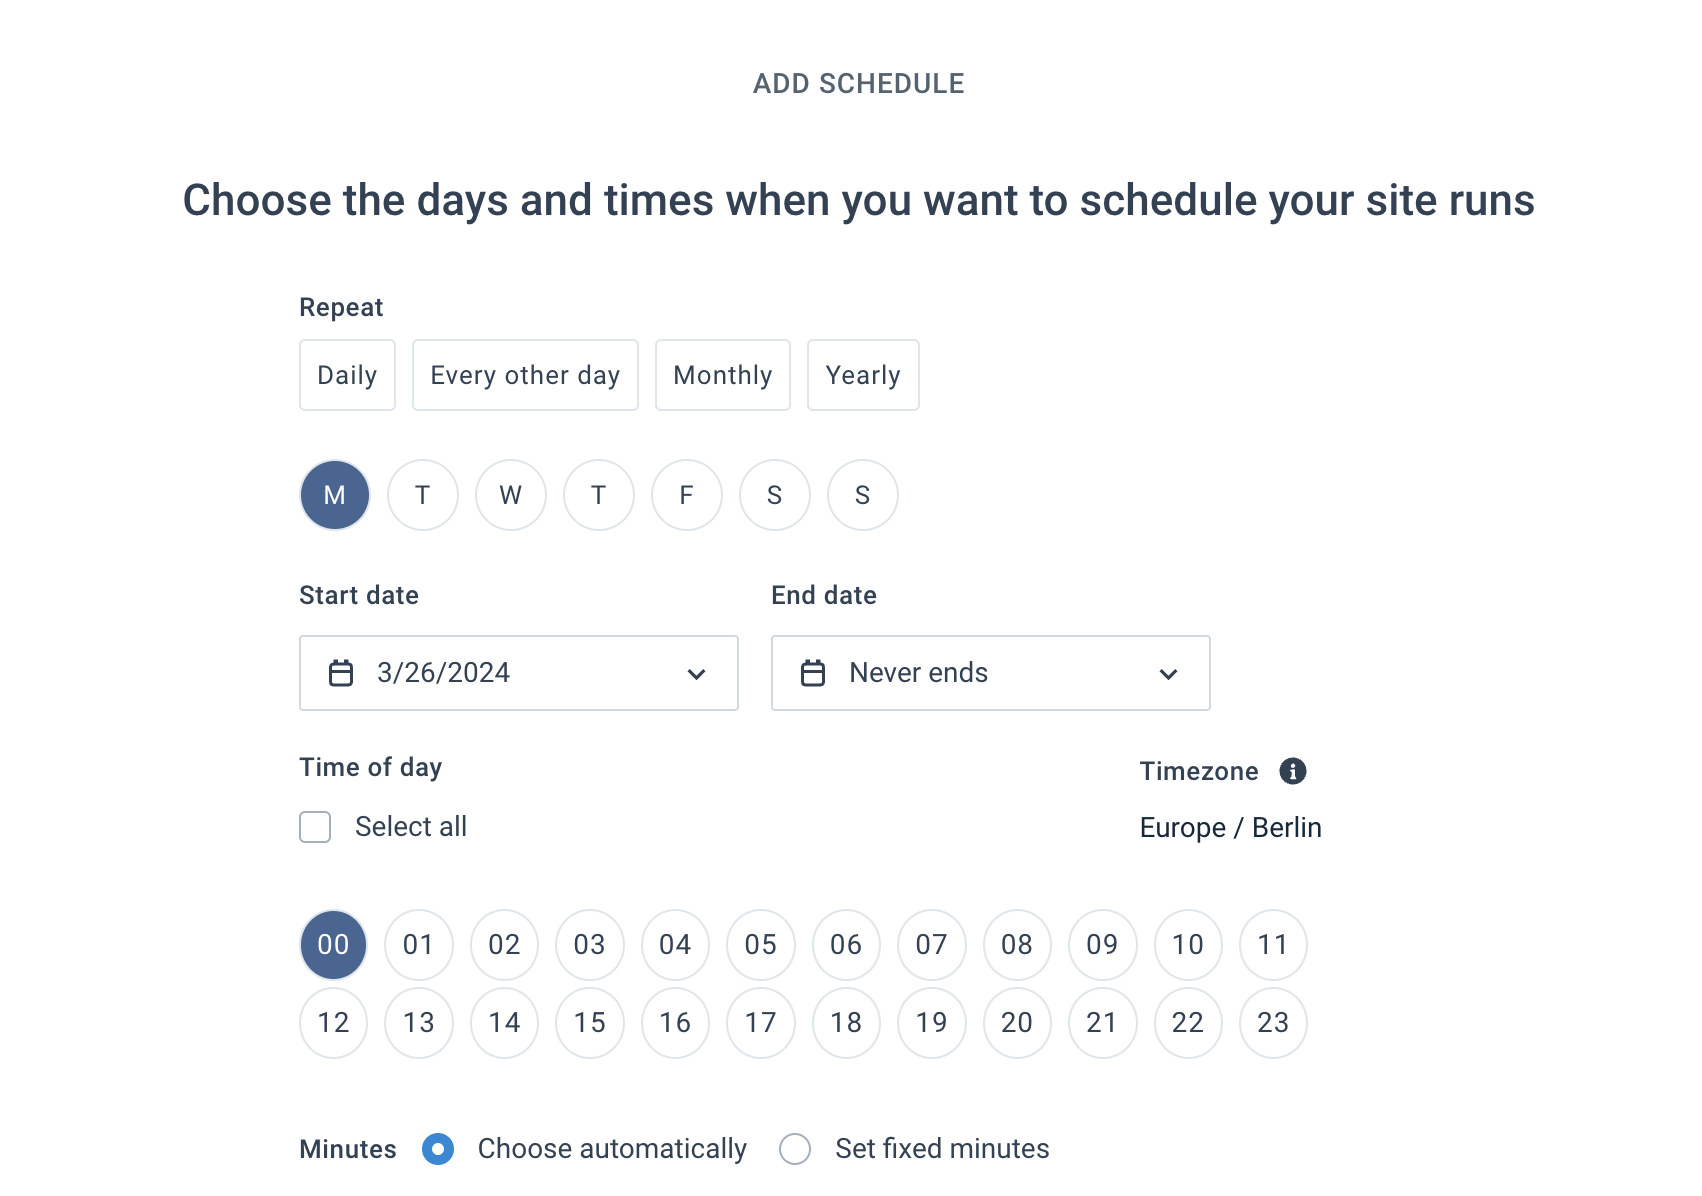
Use the Repeat section to choose whether you want your schedule to run on a daily, weekly, monthly, or yearly basis:
Select Daily to let the site run every day.
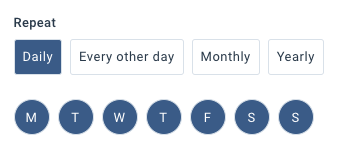
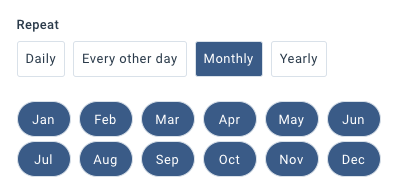
Select Monthly to let the site run once every month.
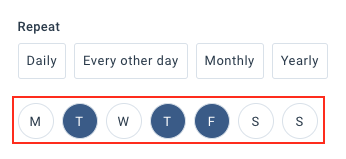
Select and then deselect Daily to use the day selection field and let the site run on the needed days of the week.
Select and then deselect Monthly to use the month selection field and let the site run on the needed months.
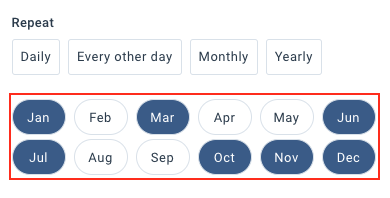
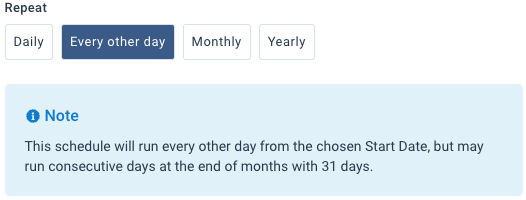
Select Every other day to let the site run on all odd-numbered days of the month.
Select Yearly to let the site run once every year. You can later select a specific date.

Note
Occasionally, the option Every other day may cause the site to run on two consecutive days at the end of a month with 31 days. This means that the site runs on the 31st day of the month and then on the first day of the following month. After that, it runs every other day as expected.
Select a start date for your schedule based on the chosen cadence:
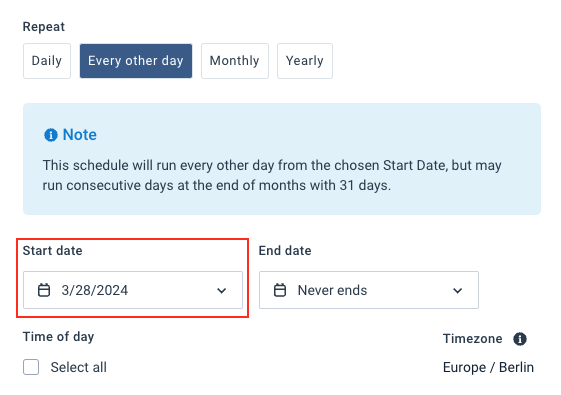
For a daily or weekly cadence, select when your schedule should start running in Start date.
Example: it's Friday, March 10, and you want your site to run every hour on Mondays but not on the coming Monday, March 13. In this case, you can set your start date for Monday, March 20.
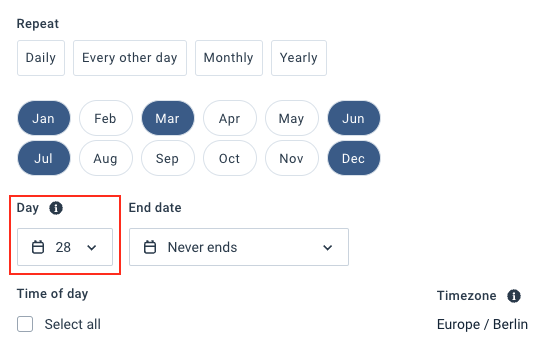
For a monthly cadence, select the day of the month when your schedule should run in Day.
For a yearly cadence, select the day and month when your schedule should run in Run date.
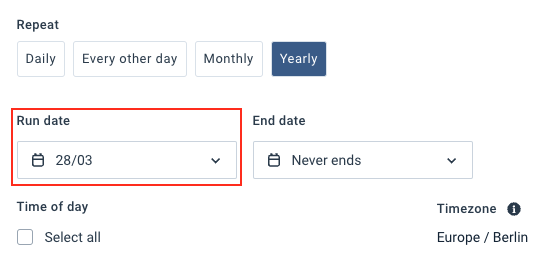
Optionally, you can choose the date when a schedule should stop running your site. Open the End date calendar, uncheck the box Never ends, and select the desired date. By default, schedules don't have an end date.
In the Time of day section, select the hour or hours of the day when the schedule should start a site run. If you want the schedule to run the site every hour, check the box Select all.
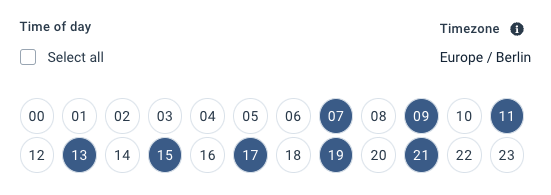
If you need the site to run at a specific minute within the hour, find the Minutes section, select Set fixed minutes, and enter a number from
0to59.Warning
Due to the technicalities of site processing and load balancing, your site may not run at the specific minute entered in this field. Sometimes, the site may run up to five minutes earlier or later than the desired minute.
Select Save. Above the button, you can see a summary of your schedule.
Tip
If you need a more elaborate system of schedules to run your sites, you can split the desired site run plan into parts and set up multiple schedules to fulfill your planning needs.
See schedule details in Site Scheduling
When you have at least one schedule in the Site Scheduling tab, you can select the downward arrow (˅) at the end of every schedule row to expand the information and check the schedule details.
You can see the following details:
Cadence
Hours and minutes of the runs on a scheduled day
Date and time of the next scheduled run
Schedule status
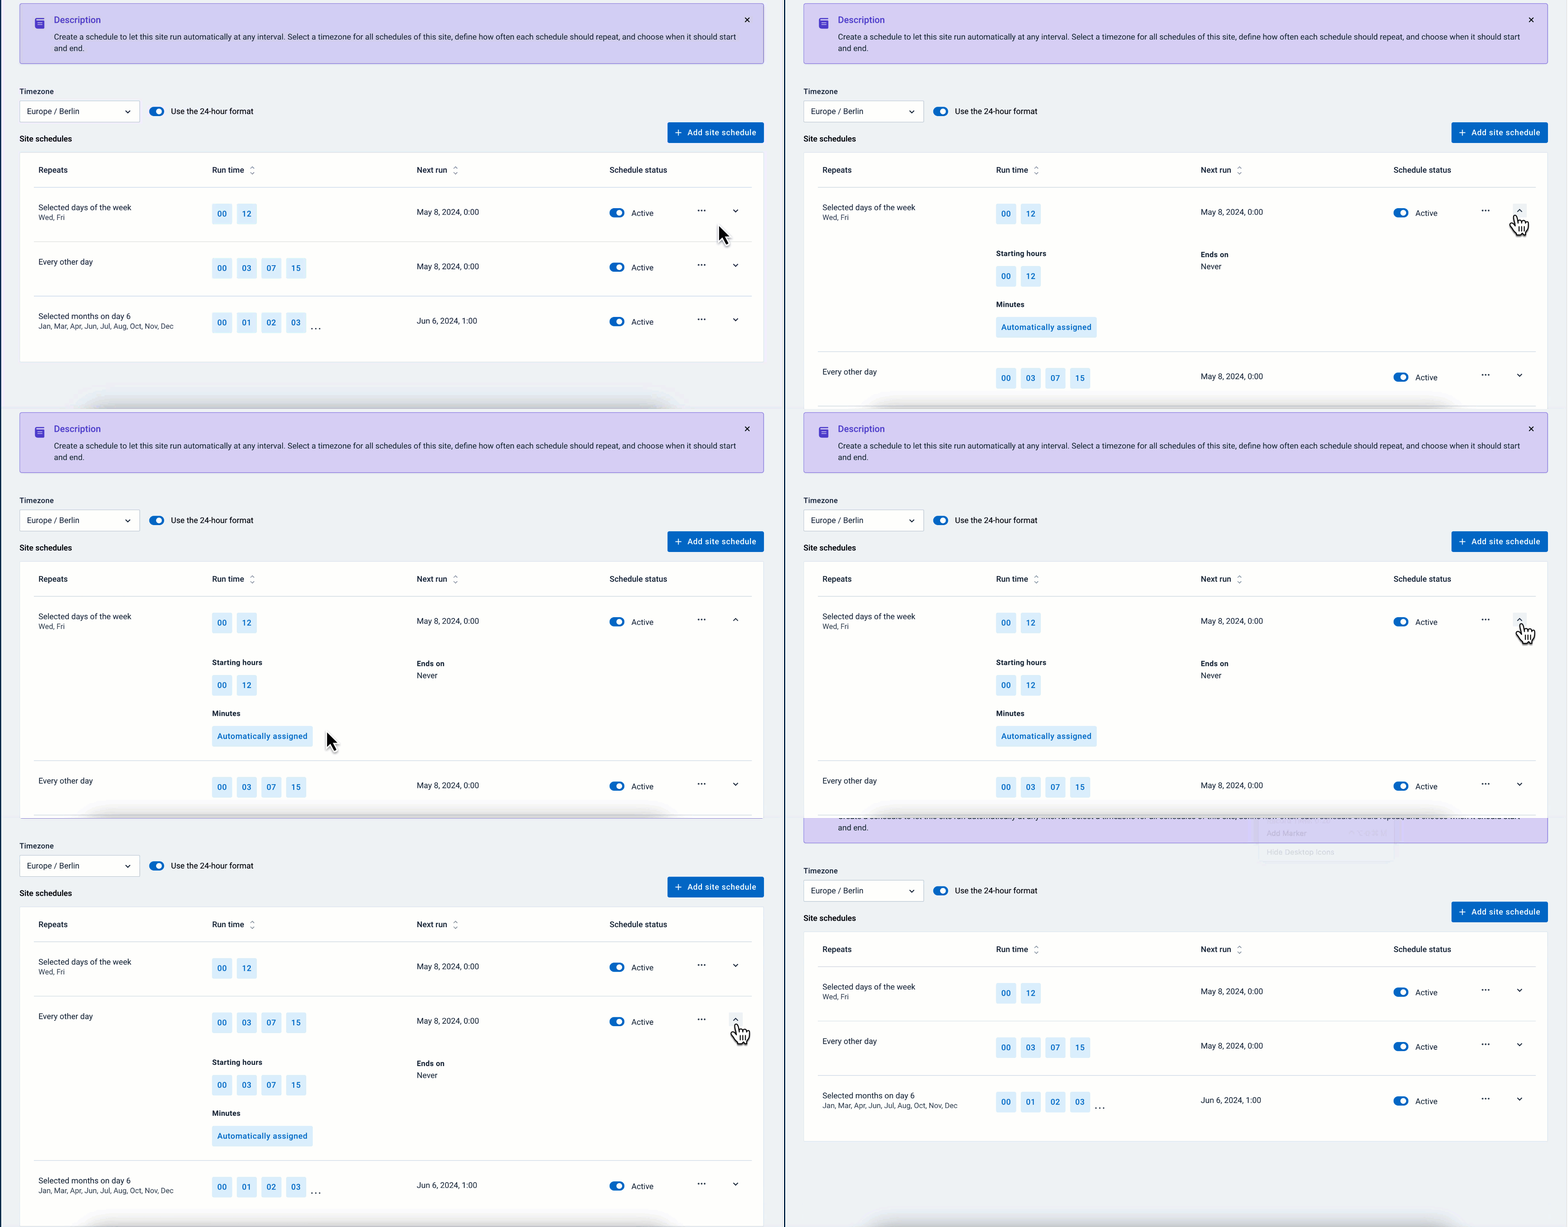
Set the timezone and time format
When your site has at least one schedule, you can select the timezone and time format for all schedules of this site. All schedules of one site use the same timezone.
To change the timezone, use the Timezone drop-down list at the top of the Site schedules table.
To change the time format to the 12-hour clock, toggle Use the 24-hour format to Off.

Edit a schedule
Go to Scheduling from your site's main menu.
If you want to pause a schedule, toggle Schedule status to Inactive.
If you want to change the settings of a schedule, select the ellipsis icon (...) next to the needed schedule and choose Edit. Once finished with the new settings, select Save.
Delete a schedule
Go to Scheduling from your site's main menu.
If you want to change the settings of a schedule, select the ellipsis icon (...) next to the needed schedule and choose Edit. Once finished with the new settings, select Save.
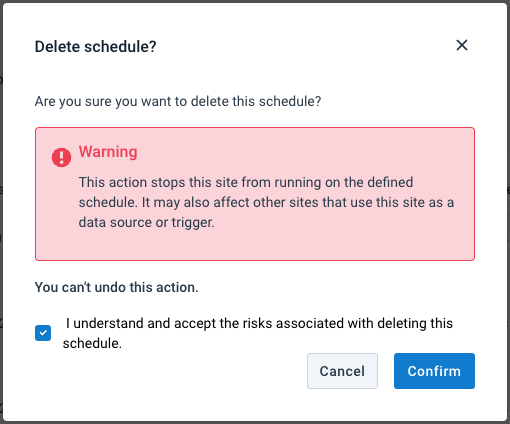
Select Delete.
Check the box I understand and accept the risks associated with deleting this schedule. and select Confirm.
Let other sites trigger your site's runs in Triggering
In the Triggering tab, you can see the following tables:
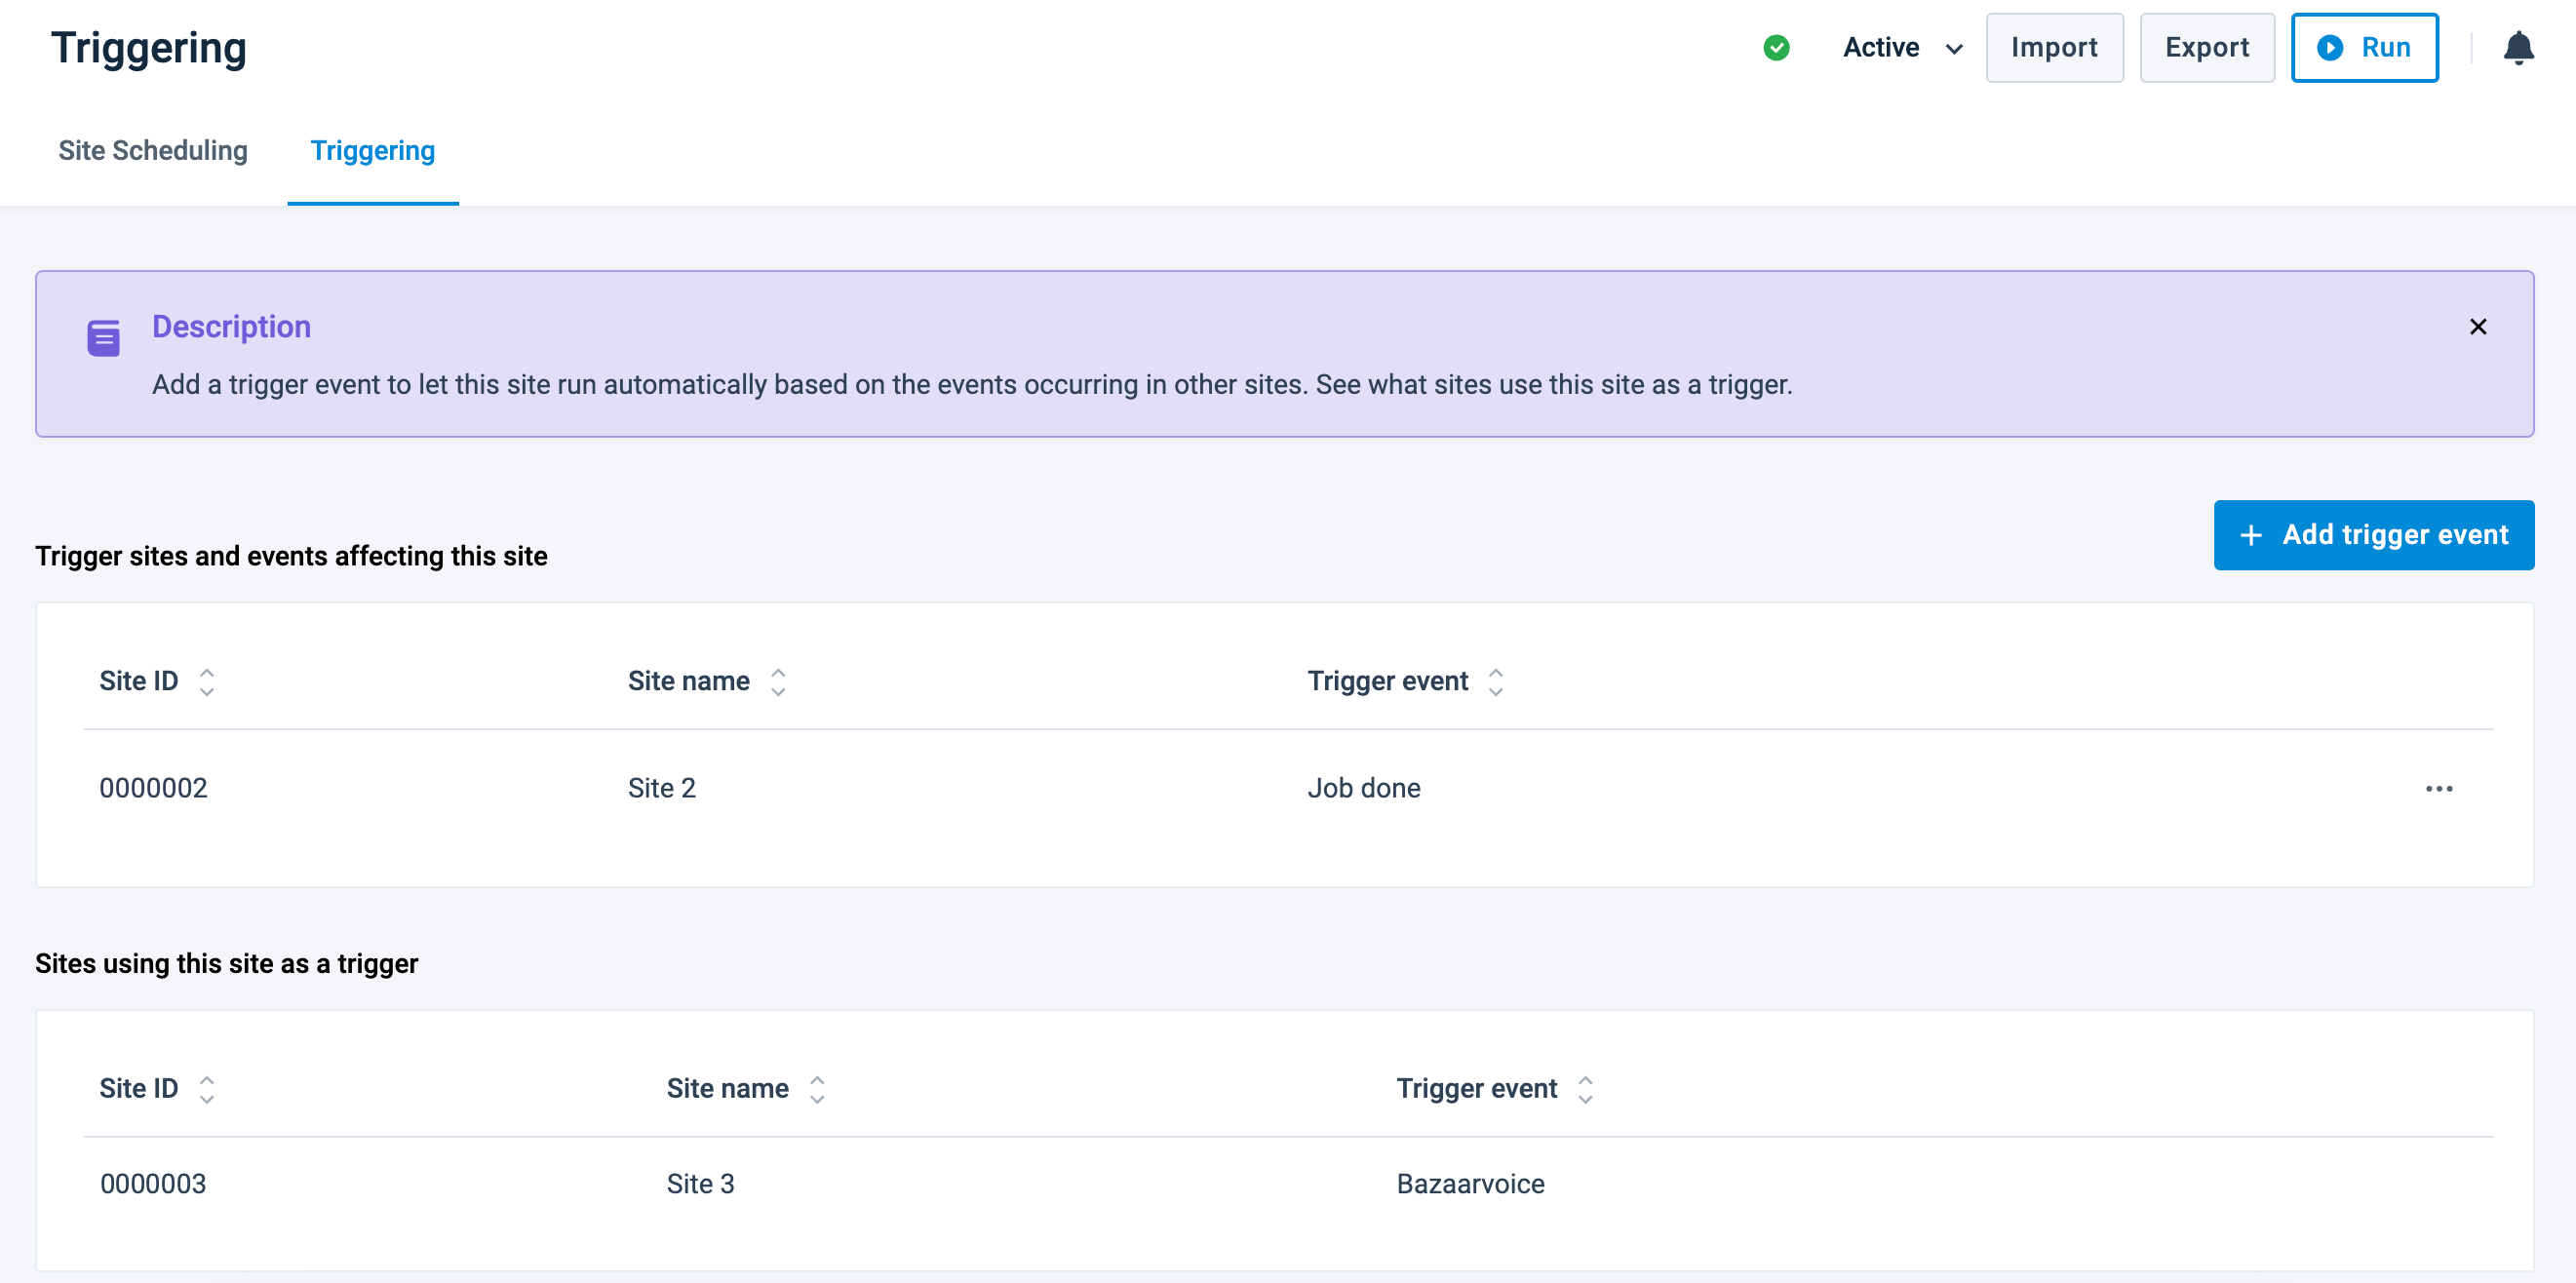
Trigger sites and events affecting this site - This is a table with a list of trigger events that your current site uses to start its runs.
Sites using this site as a trigger - This is a table with a list of trigger events that other sites use to start their runs based on the actions in your current site.
Tip
To see both tables, you need to create at least one trigger event in two (2) different sites.
In the Triggering tab, you can add, edit, and delete a trigger event for your current site. You can't edit or delete other sites' trigger events that depend on your current site's actions.
Warning
The triggered site run counts as syndication and adds to the total sum of the syndication frequency count. Keep it in mind when setting the triggering to escape the syndication frequency overages. See Syndication frequency overages for more information.
Create a trigger event
To let your site run whenever a particular event occurs in a different site, set up a trigger event by following these steps:
Go to Scheduling from your site's main menu.
Open the Triggering tab and select Add trigger event.
The following ADD TRIGGER EVENT menu pops up on your screen:
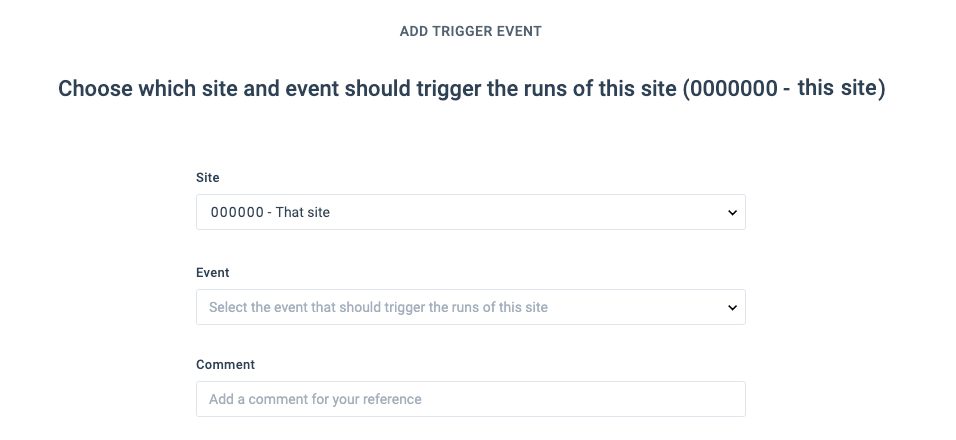
In Site, choose a site where the platform should wait for a trigger event to start a run in your current site.
Note
You can't select your current site in the Site drop-down menu. A trigger event must occur in any site apart from your current one.
In Event, choose the action that should occur in your trigger site to start a run in your current site. The possible trigger events are:
Job done - A run finished in your trigger site.
Export {export name} Done - A particular export in your trigger site finished sending data to its destination.
In Comment, you can add a note explaining the logic behind this trigger event for your and other users' reference.
Select Save.
Edit a trigger event
Go to Scheduling from your site's main menu.
Open the Triggering tab and select the ellipsis icon (...) next to the needed trigger event to open a context menu.
Select Edit.
Once finished with the new settings, select Save.
Delete a trigger event
Go to Scheduling from your site's main menu.
Open the Triggering tab and select the ellipsis icon (...) next to the needed trigger event to open a context menu.
Select Delete.
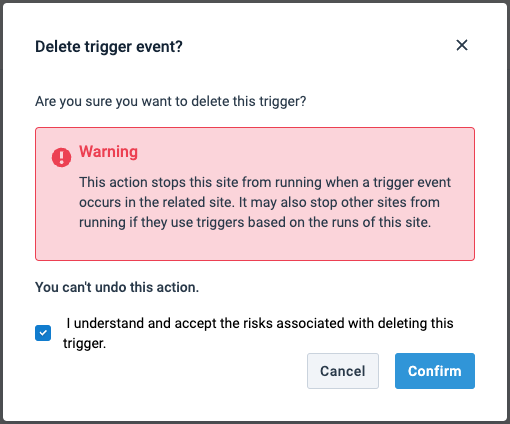
Check the box I understand and accept the risks associated with deleting this trigger. and select Confirm.
