Shorten, lengthen, or create text from attributes with AI data services
Shorten, lengthen, or create text from attributes with AI data services in Productsup.
Introduction
If you need to quickly change the text in your data feed, for example, to make product descriptions shorter or longer, or create new text using the information from other attributes, you can use the following AI-based data services:
Shorten Text lets you shorten the text to fit a needed character limit while keeping its main point.
Lengthen Text lets you extend the text to fit a needed character limit by adding phrases that support the main point.
Create Text From Attributes lets you generate text based on the data from the selected attributes and a needed character limit. The service also lets you translate the generated text into the needed language.
Note
These data services are available only for the import and intermediate stages.
These data services use the capabilities of OpenAI by connecting to their public API, which is why you must read and accept OpenAI's Terms of Service before adding any of these data services to your site. You can do so during the setup.
Productsup caches the AI-generated texts for each product and doesn't send the request to Open API with each run unless you decide to clear the cache and generate new texts. Caching the data improves the platform's performance and guarantees the texts don't change with every consecutive run saving you money for the OpenAI services.
Warning
While Productsup offers integration with OpenAI for text generation at no cost, the actual text generation process is handled by OpenAI, which may involve fees for their services. Before using our AI-based data services, ensure you're familiar with OpenAI's pricing that we use in our data services. See Pricing for more information.
Prerequisites
To use the Shorten Text, Lengthen Text, and Create Text From Attributes data services, you need:
An OpenAI account. See Account setup.
A unique item identifier. See Set a unique item identifier for more information.
Add the Shorten Text or Lengthen Text data service
Go to Data Services from your site's main menu and select ADD SERVICE.
Search for Shorten Text, select Add, and give it a desired name and column prefix.
By default,
___service_ai_shorten_textfor Shorten Text and___service_ai_lengthen_textfor Lengthen Text are the column prefixes.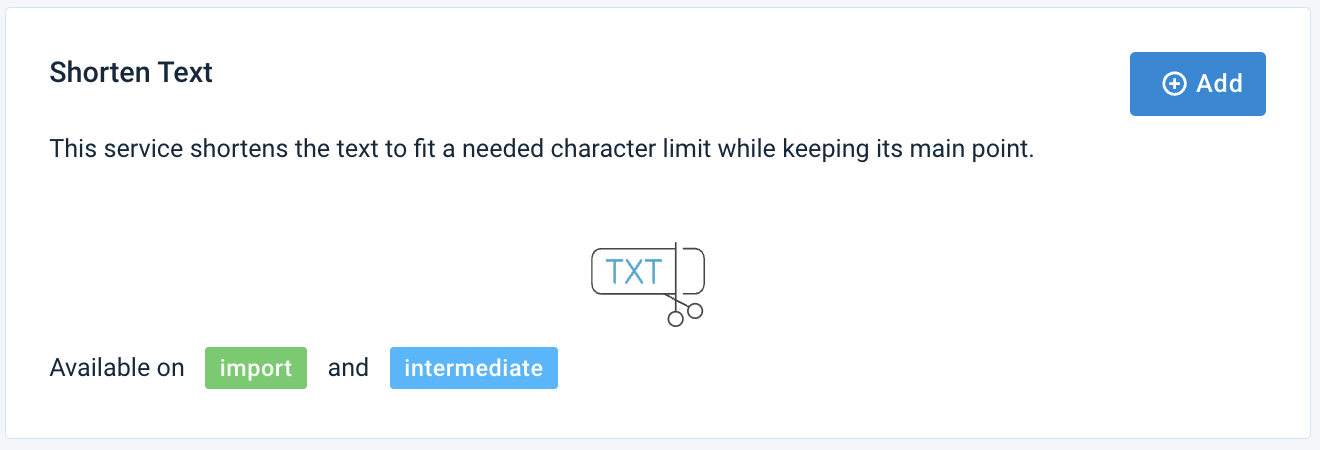

Choose the stage where you have the attributes that need text changes in Service Data Level.
Check the Open AI terms checkbox to confirm that you have read and accept OpenAI's Terms of Service. You can't add the data service without selecting this checkbox.
Select Add.
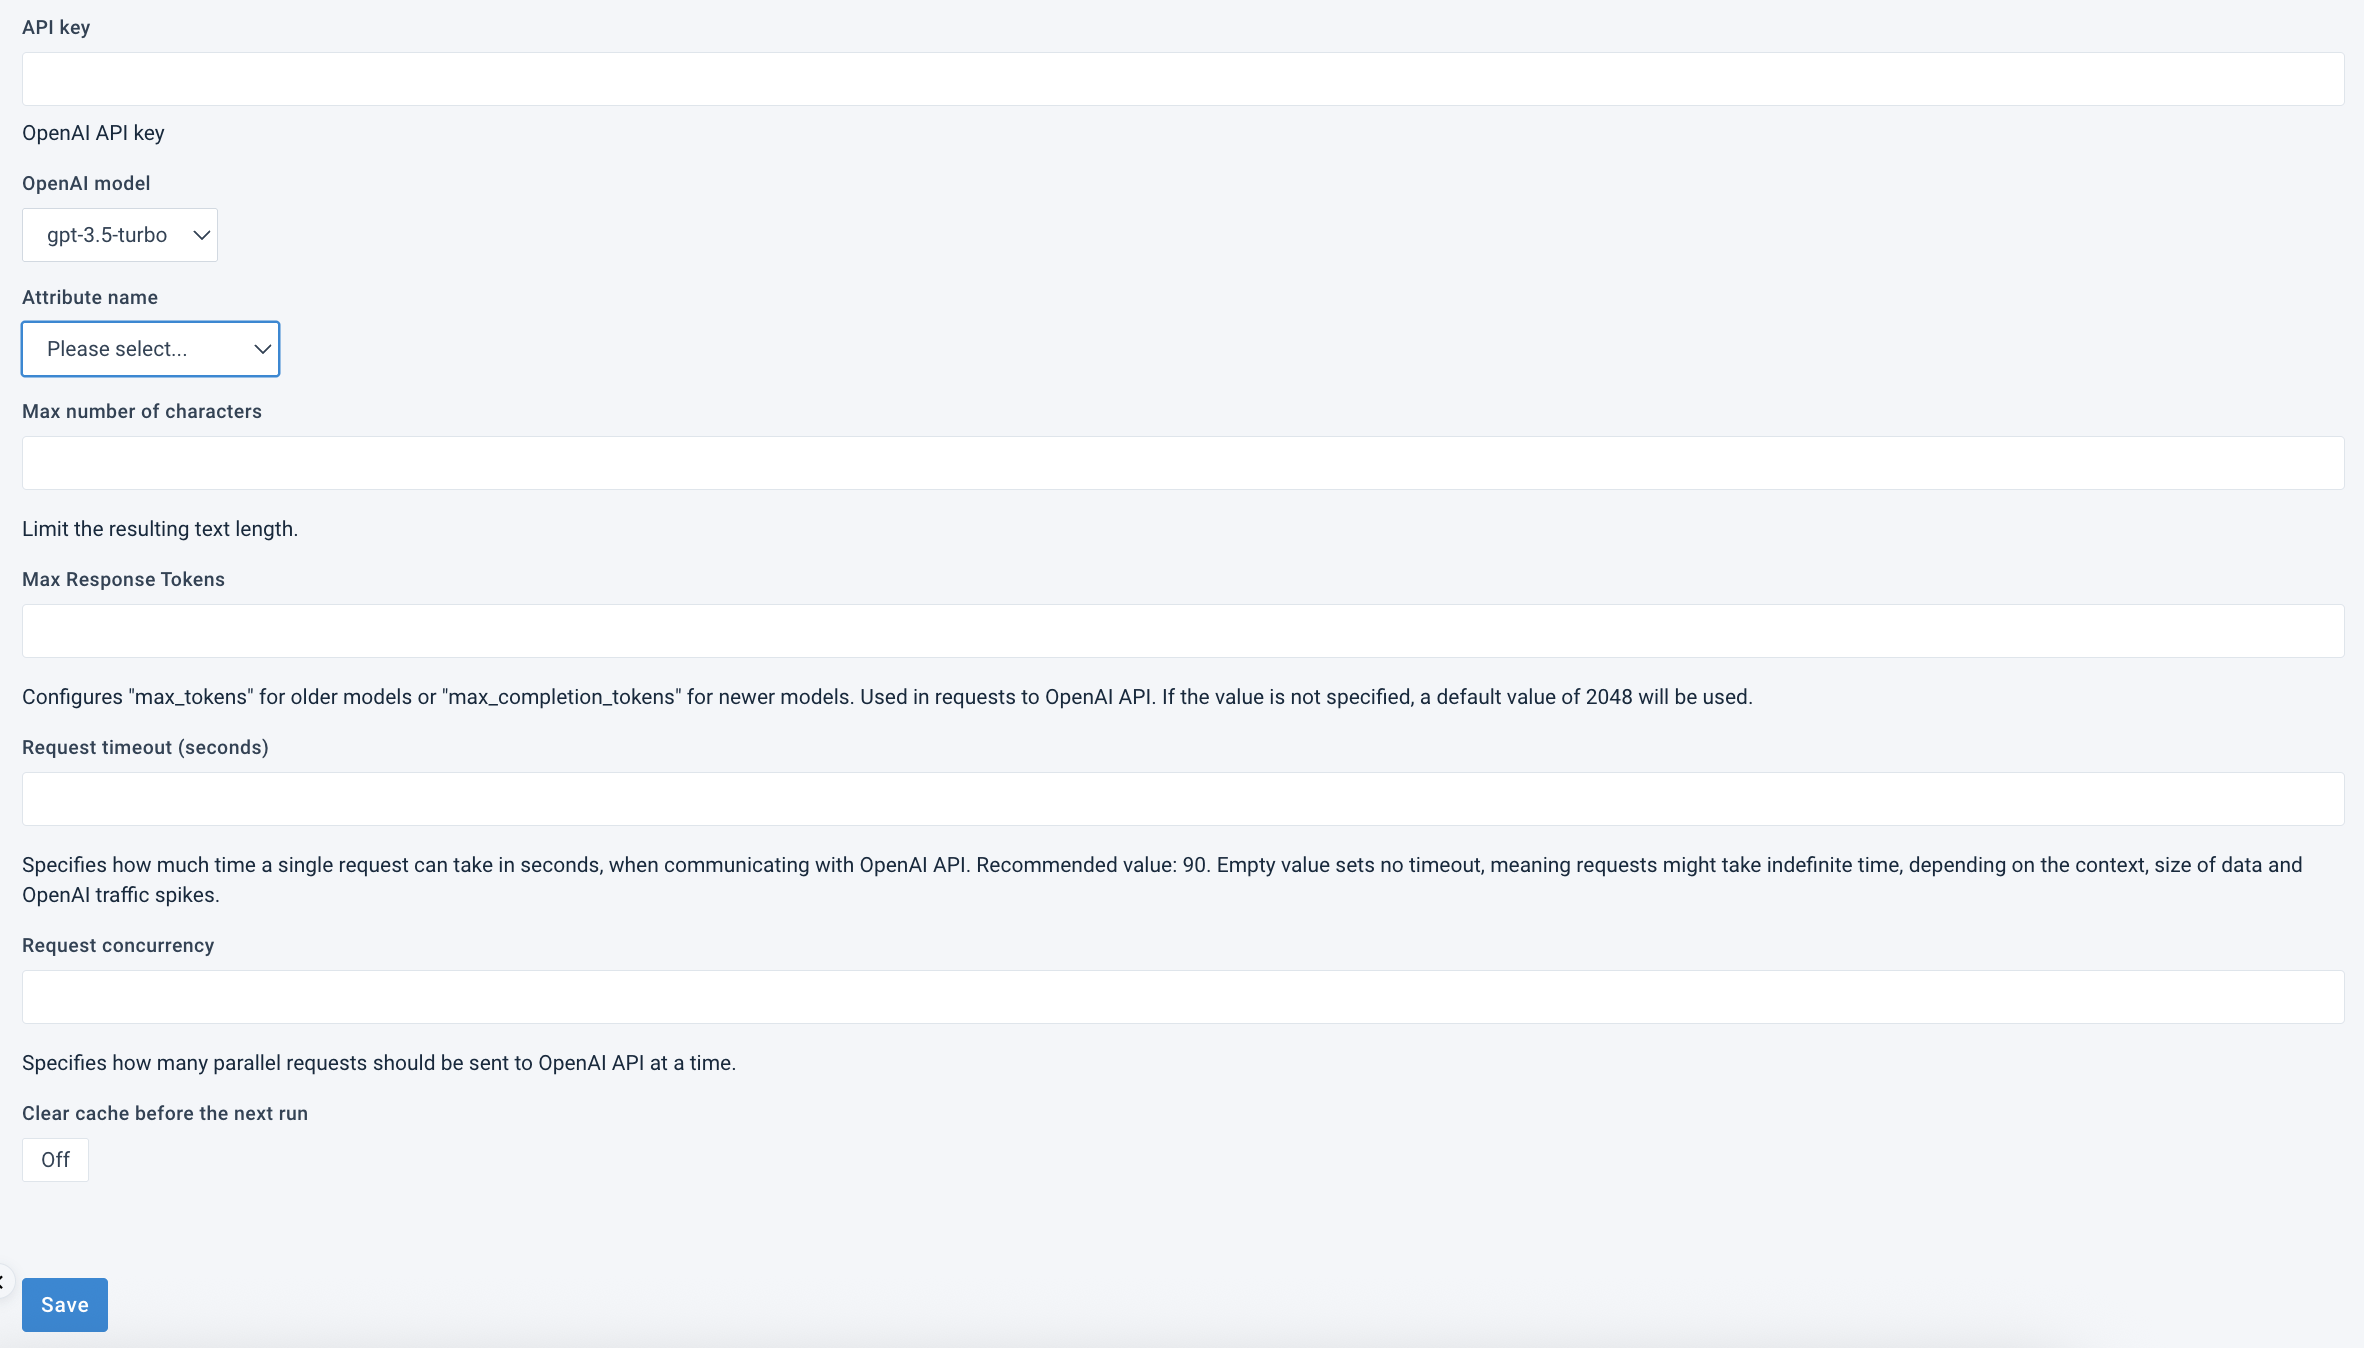
Add your OpenAI API key in API Key.
In OpenAI model, choose the AI model for your specific use case, whether you need faster responses, more advanced reasoning, or compliance with internal AI usage guidelines.
Choose the attribute in your feed that contains the text you need to change in Attribute name.
Note
The list of attributes depends on the stage that you've chosen in Service Data Level.
Set the desired length of your text in Max number of characters. The length of the AI-suggested text can still be a bit more than specified as OpenAI isn't strict on this.
In Max Response Tokens, set the maximum number of tokens in the AI’s response. It configures max tokens for older models or max completion tokens for newer models. If you leave the field empty, the platform uses a default value of 2048.
See What are tokens and how to count them? for more information.
In Request timeout (seconds), define the waiting time for a response before the data service stops the attempts. Recommended time is 90 seconds. An empty value sets no timeout. This means that requests might take an indefinite time depending on the context, size of data, and OpenAI traffic spikes.
In Request concurrency, specify the number of parallel requests to OpenAI. This feature speeds up processing for large datasets. Maximum concurrency depends on your Open AI subscription terms.
If you want the platform to clear the cache for all products, turn on Clear cache before the next run. After the next run, it returns to the Off state, and you need to activate it again whenever you want to clear the cache and generate new texts.
Select Save.
For the platform to process a new data service, select Run in the top-right corner of your site's view.
Note
If you can't see your new texts in Data View, ensure the platform hasn't hidden it:
Go to Data View from your site's main menu and choose the relevant stage or export in the dropdown on your left.
Select the menu icon on the right and then select the eye icon.
Find the attributes in the list that use the data service prefix and select the eye icon next to each attribute you want Data View to display.
Close the pop-up.
The naming of the attributes created by the data service depends on the column prefix you choose in Step 2. The attribute names the data service generates always start with three underscores (
___), which means the platform doesn't send such attributes to your export channels.
Add the Create Text From Attributes data service
Go to Data Services from your site's main menu and select ADD SERVICE.
Search for Create Text From Attributes, select Add, and give it a desired name and column prefix.
By default,
___service_ai_create_text_from_attributesis the column prefix.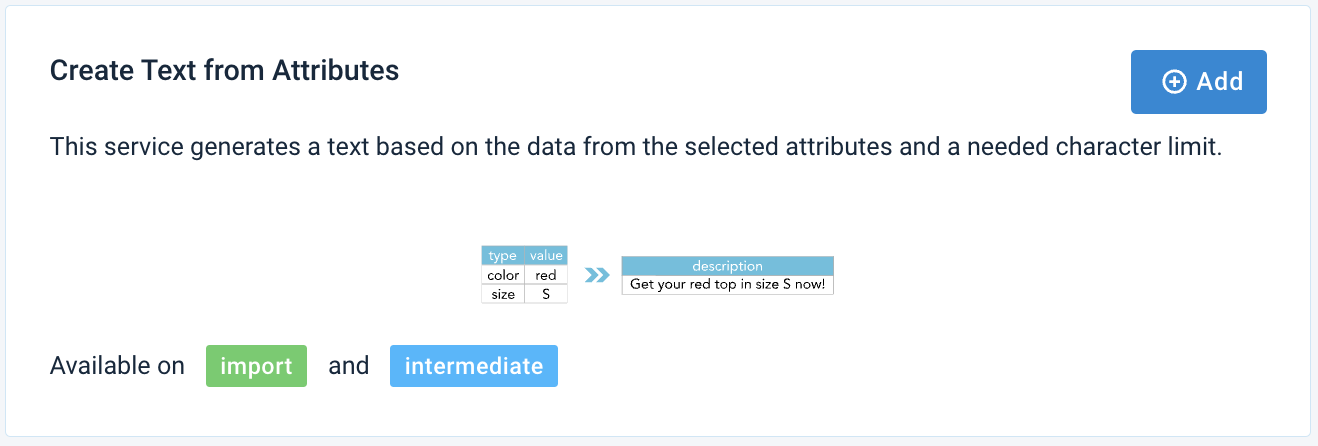
In Service Data Level, choose the stage where you have attributes with the data needed for text generation.
Check the Open AI terms checkbox to confirm that you have read and accept OpenAI's Terms of Service. You can't add the data service without selecting this checkbox.
Select Add.
Add your OpenAI API key in API Key.
In OpenAI model, choose the AI model for your specific use case, whether you need faster responses, more advanced reasoning, or compliance with internal AI usage guidelines.
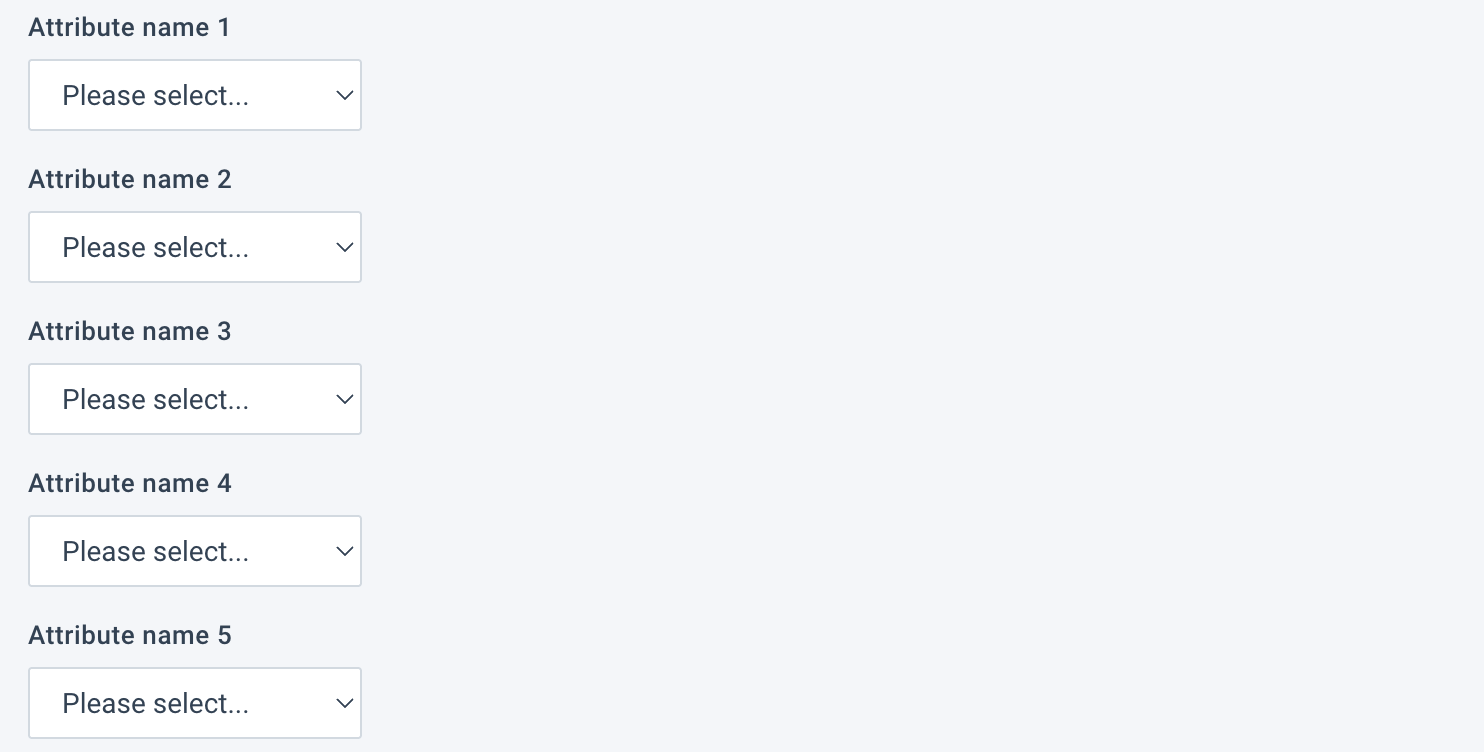
Choose up to five (5) attributes in your feed that contain the text that you want to use to generate new text in the dropdowns from Attribute name 1 to Attribute name 5.
Note
The quality of the generated text depends on the content of the selected attributes. For example, if the attributes are empty, there is no content to create text.
Note
The list of attributes depends on the stage that you've chosen in Service Data Level.
Select the language of the original text in the attributes in Source language.
In Target language, select the language in which the service should create new text or select the same language as the source one.
Set the desired length of your text in Max number of characters. The length of the AI-suggested text can still be a bit more than specified as OpenAI isn't strict on this.
In Max Response Tokens, set the maximum number of tokens in the AI’s response. It configures max tokens for older models or max completion tokens for newer models. If you leave the field empty, the platform uses a default value of 2048.
See What are tokens and how to count them? for more information.
In Request timeout (seconds), define the waiting time for a response before the data service stops the attempts. Recommended time is 90 seconds. An empty value sets no timeout. This means that requests might take an indefinite time depending on the context, size of data, and OpenAI traffic spikes.
In Request concurrency, specify the number of parallel requests to OpenAI. This feature speeds up processing for large datasets. Maximum concurrency depends on your Open AI subscription terms.
If you want the platform to clear the cache for all products, turn on Clear cache before the next run. After the next run, it returns to the Off state, and you need to activate it again whenever you want to clear the cache and generate new texts.
Select Save.
For the platform to process a new data service, select Run in the top-right corner of your site's view.
Note
If you can't see your new texts in Data View, ensure the platform hasn't hidden it:
Go to Data View from your site's main menu and choose the relevant stage or export in the dropdown on your left.
Select the menu icon on the right and then select the eye icon.
Find the attributes in the list that use the data service prefix and select the eye icon next to each attribute you want Data View to display.
Close the pop-up.
The naming of the attributes created by the data service depends on the column prefix you choose in Step 2. The attribute names the data service generates always start with three underscores (
___), which means the platform doesn't send such attributes to your export channels.
Edit a data service
Go to Data Services from your site's main menu.
Change the settings of the needed data service:
To deactivate a data service, choose the pause icon next to the desired data service.
Select the cogwheel icon (⚙) next to the desired data service to edit other settings and select Save.
Delete a data service
Go to Data Services from your site's main menu.
Tip
To stop a data service from affecting your feed without deleting the data service itself, you can choose the pause icon next to the desired data service.
Select the cogwheel icon
 next to the desired data service.
In the Danger Area panel, select Remove this service.
Select Yes.