Build your exports from scratch
Manually create an export with all needed attributes in Productsup.
Build exports from scratch using a blank export if existing export templates don't suit your needs. Blank export is a blank canvas that you can customize as you need.
There are four types of blank export templates in Productsup:
Blank Export (empty). This blank export template lets you manually create a custom set of attributes in the export stage of Dataflow to meet the requirements of the desired channel. See Set up Blank Export (empty) and Blank Export (with ID) for more information.
Use Blank Export (empty) in the following cases:
To create custom exports, test your exports, or use them in reports.
To create an item setup sheet. See Manually create an export template and placeholder setup sheet for more information.
To download a feed with more than 10,000 items. See Download more than 10,000 products for more information.
Blank Export (with ID). This blank export template is similar to Blank Export (empty) but has the id attribute pre-defined as a mandatory attribute in the export stage in Dataflow. See Set up Blank Export (empty) and Blank Export (with ID) for more information.
Delta Blank Export. This blank export template lets you work with delta updates. The most popular use case for Delta Blank Export involves exporting only new, changed, and removed items to your channels without exporting items with unchanged data. Delta updates reduce transport time and data volume for big feeds requiring few updates. See Set up Delta Blank Export for more information.
Export2Datasource Blank. This blank export template lets you compile data from different sites within one organization into a single bucket and use this bucket as a data source in another data-accumulating site. See Set up Export2Datasource Blank for more information.
Note
There are no analyzer tests for blank exports.
Add a blank export
To add a blank export to your site, take the following steps:
Go to Exports from your site's main menu.
Select Add export.
Select the necessary blank export in the gray banner under the search field.

In Exports, you can see the added export. See the next sections for further setup steps based on the chosen blank export template.
Set up Blank Export (empty) and Blank Export (with ID)
Blank Export (empty) and Blank Export (with ID) let you create custom exports if none of the ready-made export templates fit your needs. These export templates are blank canvases where you can manually add and map the desired attributes in Dataflow.
The process of setting up the exports Blank Export (empty) and Blank Export (with ID) is similar:
Take the steps from Add a blank export to add Blank Export (empty) or Blank Export (with ID).
Go to Dataflow from the site's main menu and select your blank export from the dropdown on the left of the top toolbar.
Map the needed attributes from intermediate to export by dragging a connection from an attribute in the intermediate stage to Drop or Click to add new field in the export stage.

Note
For Blank Export (with ID), the id attribute is the only mandatory attribute. You must connect it with a corresponding attribute in the intermediate stage.
Go to Exports, find your blank export in the list of exports, and toggle its status in the Status column to Active.
Select the name of your blank export in the Export name column.
On the export setup page, select Add Destination.
Select the needed destination option from the Destination dropdown, and choose Save. See Find the most suitable export destination to choose a destination.
Set up your destination, and toggle Active to On to activate it. Select Save when done.
Select Export this export in the top-right corner of the page to send your data to the destination. Alternatively, the platform exports the data during the next scheduled run.
Set up Delta Blank Export
When you work with extensive data feeds, data processing in the platform may take a long time. With the help of Delta Blank Export, which uses delta updates, you can send only updated data to the needed channel.
Delta updates are a way of storing or transmitting data in the form of differences, called deltas, rather than complete data sets. With delta updates, the platform doesn't export unchanged items, which allows it to reduce transport time and data volume for large feeds.
The platform uses a unique item identifier, such as an ID, GTIN, or variant ID, to identify each item and compare its current data to its data from the previous run. The platform generates up to four (4) types of files for delta updates, depending on the data changes:
New: items new to the feed.
Changed: items that have been in the feed before, but the data has changed.
Deleted: items that aren't in the feed anymore because of skip rules or deletions.
Unchanged: items that have been in the feed before and haven't changed.
Use Delta Blank Export in the following cases:
If you don't expect your entire data feed to change frequently.
If your target channel requires you to export your data feed as delta updates due to technical requirements on their side.
Tip
Apart from Delta Blank Export, several partner-specific export templates have similar delta update features. For example, Salesforce Commerce Cloud B2C: Inventory (Delta) or Facebook Dynamic Ads (Delta Upload). If you need support exploring your optimal solution, reach out to your Customer Success Manager or contact support@productsup.com.
To set up your Delta Blank Export, take the following steps:
Take the steps from Add a blank export to add Delta Blank Export.
Go to Dataflow from the site's main menu and select your blank export from the dropdown on the left of the top toolbar.
Map the needed attributes from intermediate to export by dragging a connection from an attribute in the intermediate stage to Drop or Click to add new field in the export stage.

Note
The export stage already has the id attribute. You must connect it with a corresponding attribute in the intermediate stage.
Go to Exports, find your blank export in the list of exports, and toggle its status in the Status column to Active.
Select the name of your blank export in the Export name column.
On the export setup page, select Add Destination.
Select the needed destination option from the Destination dropdown, and choose Save. See Find the most suitable export destination to choose a destination.
Set up your destination, and toggle Active to On to activate it. Select Save when done.
Some export destinations, for example, Productsup Server, may automatically create a file in the Files section on the export setup page. You don't need this file for Delta Blank Export. If you see an automatically created file, select Setup next to the file, then select Delete, and then confirm the action.
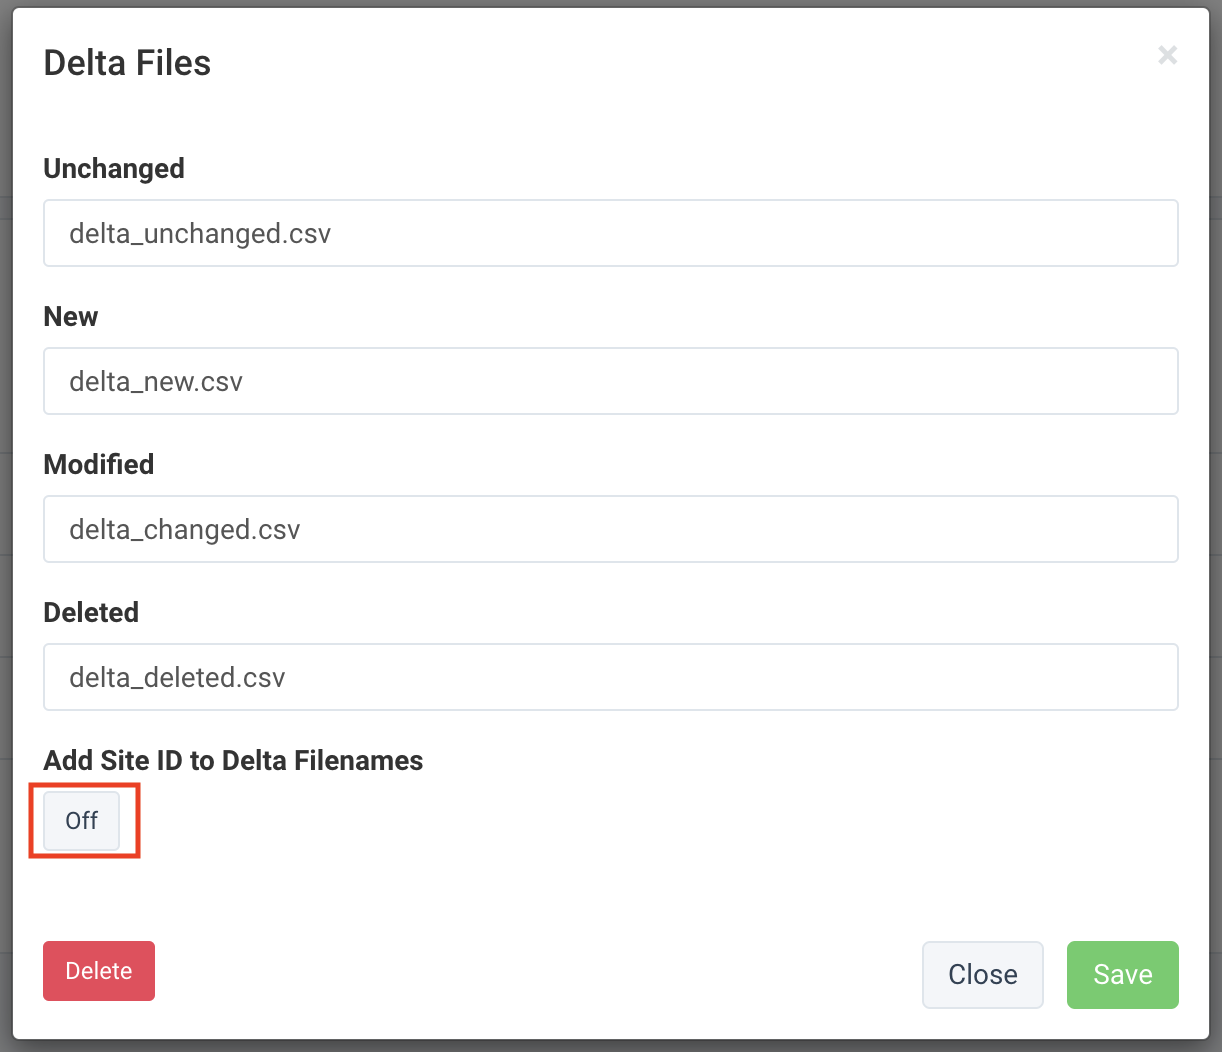
On the export setup page, select Update Files in the Delta Files section. A pop-up displays four files for delta updates: unchanged, new, modified, and deleted. Modify the file names as needed.
Note
If the pre-configured extension of the files doesn't match requirements, contact support@productsup.com.
In the Delta Files pop-up, toggle Add Site ID to Delta Filenames to On if your destination receives files with delta updates from multiple sites or systems. Enabling this option appends the site ID to the file names, allowing you to distinguish between files from different sites.
Select Save to close the Delta Files pop-up.
Select Export this export in the top-right corner of the page to send your data to the destination. Alternatively, the platform exports the data during the next scheduled run.
Tip
After each export run, you can download any file with delta updates in the Filename section at the bottom of the export setup page.
Generate empty delta files
You may want the platform to generate files with delta updates for deleted or new items, even if such files are empty. It is necessary if your destination or target channel always expects to have four files (new, changed, deleted, and unchanged) with every export run. Otherwise, your destination or channel might ingest files from previous runs, which can cause ID conflict issues and item duplicates.
To enable the generation of empty files, follow the steps:
Note
Your target channel or destination settings must also allow empty files. They may discard these empty files if they interpret them as obsolete or unchanged.
Go to Exports and select your Delta Blank Export.
Go to the Settings tab.
Check the box Allow empty files (0 products), and select Save at the bottom of the page.

If you use the \Export\Json plugin to export data in JSON files, the platform ignores whether you have checked the box Allow empty files (0 products) and always creates empty delta files for each export run. If you want to both export your data in the JSON format and avoid creating empty delta files, you should take these steps:
On the export setup page, go to the Settings tab, remove
\Export\Jsonin Export-Plugin, and select Save.Open the tab Labels, Tags & Sorting, find the section Export Tags, and enter the following under Add new tag:
In Key, enter
custom_csv_writer_class.In Value, enter
ProductsUp_Csv_File_Writer_Json.
Select Add tag to save it.

Check your Delta Blank Export history
Go to Exports from your site's main menu.
Go to the Export history tab.
Activate the option Show delta file changes to view the export history with a breakdown of all types of delta updates.
Set up Export2Datasource Blank
Export2Datasource Blank lets you compile data from different sites within an organization into one bucket and use this bucket as a data source in another data-accumulating site.

For example, you run a marketplace and, in the Productsup platform, you have hundreds of sites exporting your separate product feeds to the designated Google Merchant Center accounts. In this case, you may want a site that combines these different feeds into one main feed and exports it to price comparison channels, Facebook, or other systems. If you did it manually, you would have to create exports in each site, send data for each export to the Productsup Server, and then add each separate Productsup Server link as a data source in one data-accumulating site. Instead, you can use the Export2Datasource Blank export and export all your separate feeds into a bucket. Later, you can use this bucket as a single data source.
Note
Contact support@productsup.com if you want to use this feature. Since it's an advanced tool, you may need assistance with the initial setup.
Prerequisites
To be able to export to and import from buckets, your Productsup organization should meet the following requirements:
All sites from which you want to send data to the same bucket should have the export Export2Datasource Blank with the same bucket name.
Tip
You can create a copy of the export if you plan to use it multiple times without starting from scratch. See ??? for more information.
If you have several buckets in your organization, each should have a unique name. Otherwise, the platform can't distinguish which bucket it should send data to.
All sites that send data to the same bucket should have feeds with the same structure.
Export2Datasource Blank setup steps
Take the steps from Add a blank export to add Export2Datasource Blank.
Go to Dataflow from the site's main menu and select your blank export from the dropdown on the left of the top toolbar.
Map the needed attributes from intermediate to export by dragging a connection from an attribute in the intermediate stage to Drop or Click to add new field in the export stage.

Note
The export stage already has the id attribute. You must connect it with a corresponding attribute in the intermediate stage.
Go to Exports, find your blank export in the list of exports, and toggle its status in the Status column to Active.
Select the name of your blank export in the Export name column.
On the export setup page, select Add Destination.
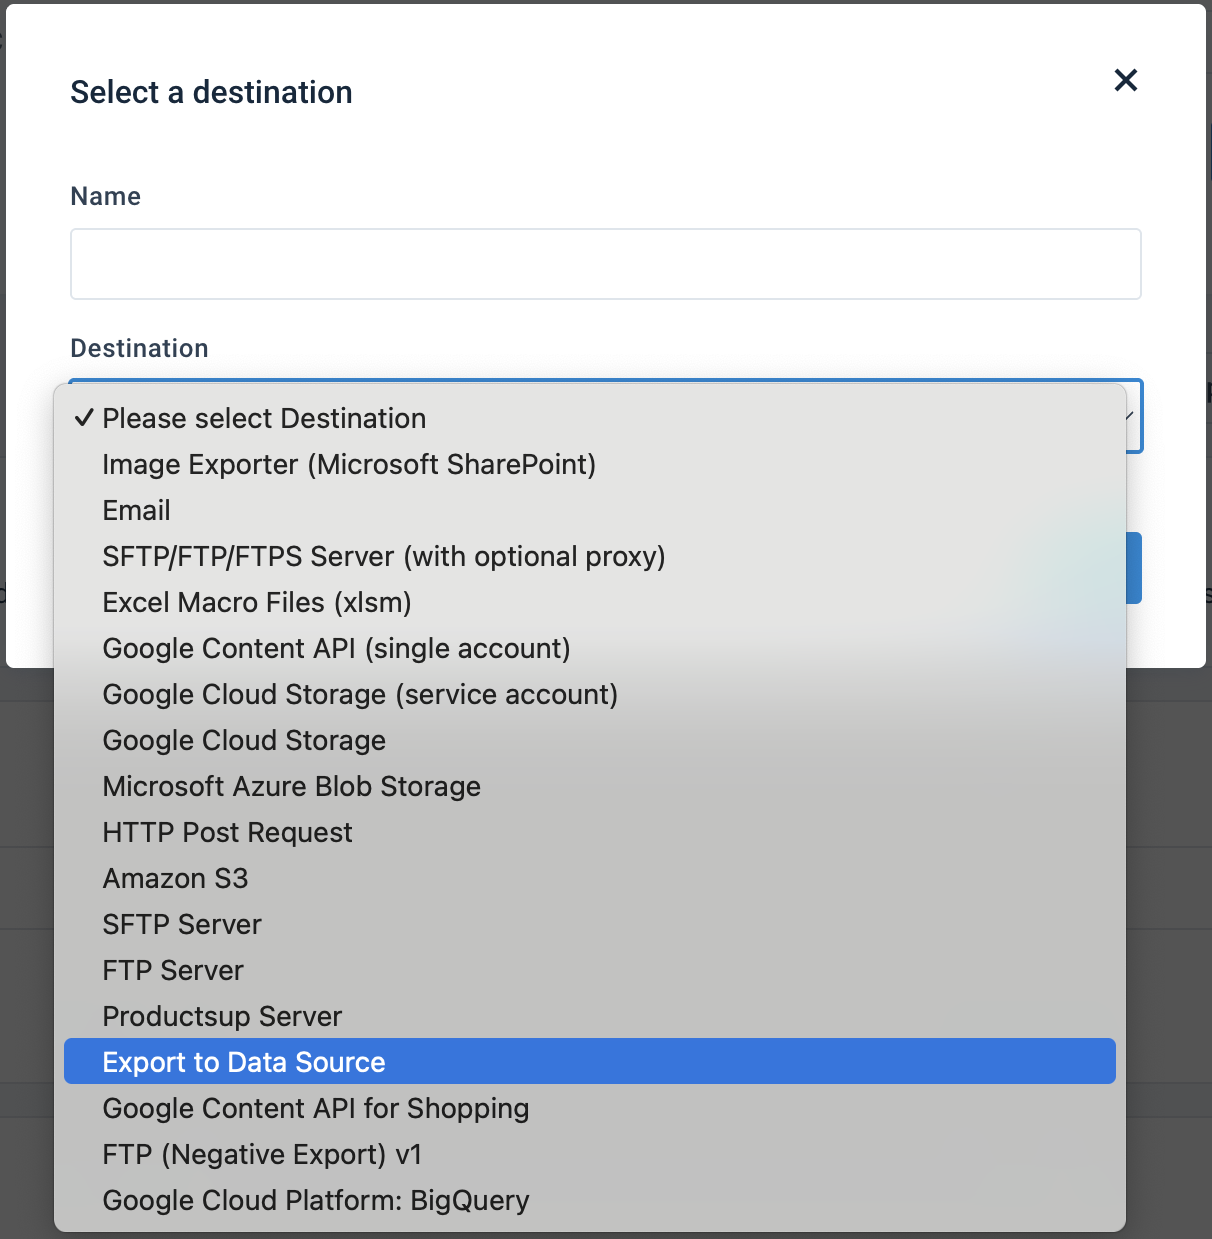
Select Export to Data Source from the Destination dropdown and select Save.
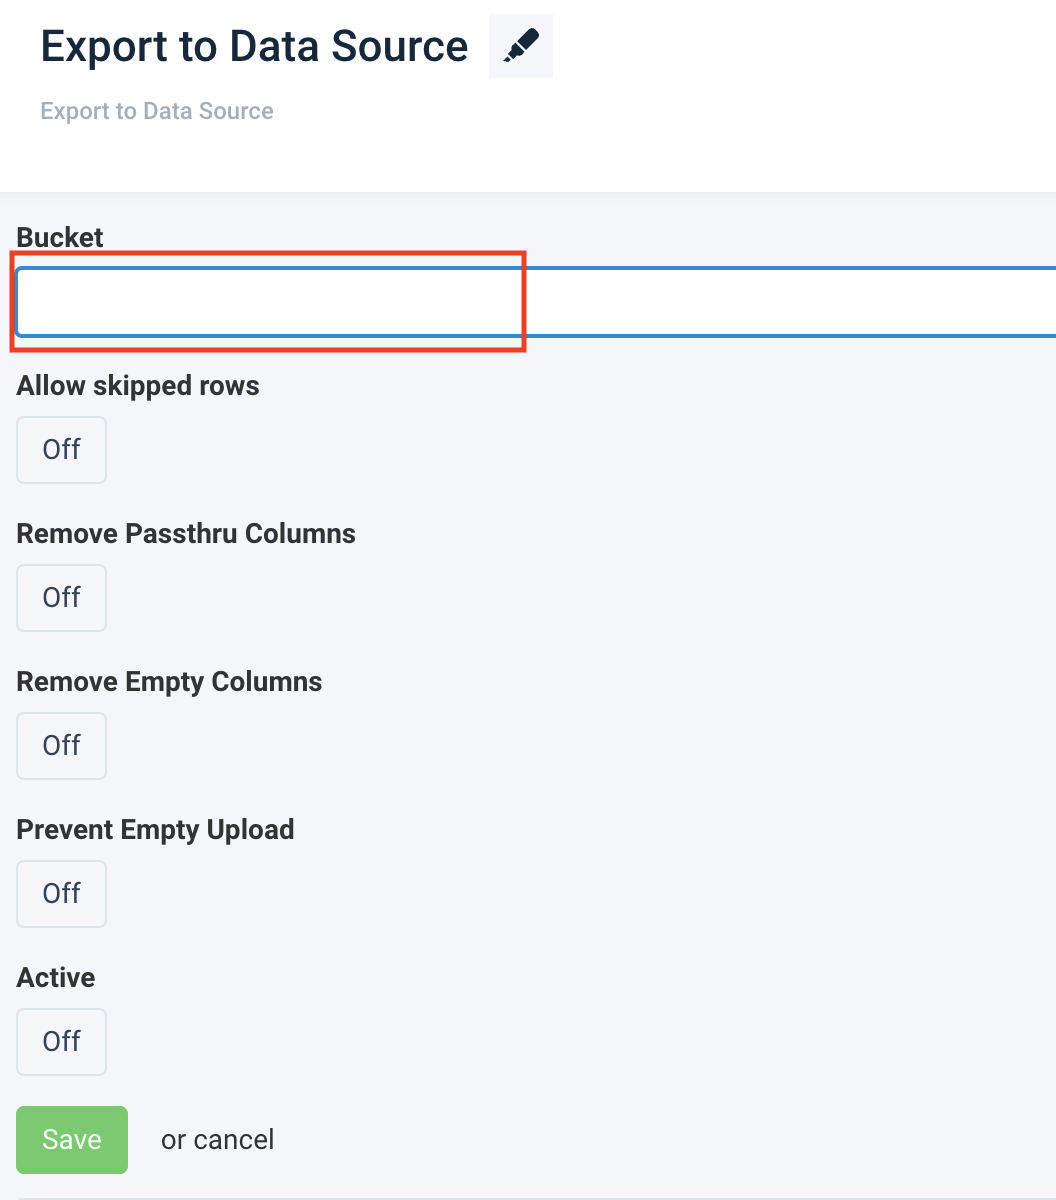
On the destination setup page, add a unique bucket name in Bucket.
Important
You can't choose an already-created bucket in this field. If you want to send your data to an existing bucket, you must manually enter the existing bucket name. The field is case-sensitive.
By default, the destination doesn't export skipped items. To include skipped items in the export, toggle Allow skipped rows to On.
By default, the destination includes platform-generated attributes, for example, created by a data service, into the export and sends them to the bucket. This allows you to use these attributes in other sites without needing to apply the same data services or other features again. If you don't want to export these attributes to the bucket, toggle Remove Passthru Columns to On.
By default, the destination sends empty attributes to the bucket. To avoid sending empty attributes to the bucket, toggle Remove Empty Columns to On.
By default, the destination sends the export output file to the bucket regardless of whether it contains any data. To avoid exporting files without data, toggle Prevent Empty Upload to On.
Toggle Active to On to activate the destination.
Select Save.
Select Export this export in the top-right corner of the page to send your data to the destination. Alternatively, the platform exports the data during the next scheduled run.
Note
Export to Data Source is a destination and not a file format. As a result, you can't edit file settings, such as file name, item limit, sorting actions, or item count.
Import data from a bucket via the data source Export to Data Source
To import data from a bucket into a data-accumulating site, take the following steps to set up the data source Export to Data Source:
Go to Data Sources from the site's main menu, and select Add data source.
Search for Export to Data Source, select Add, give it a name as desired, and then select Continue.
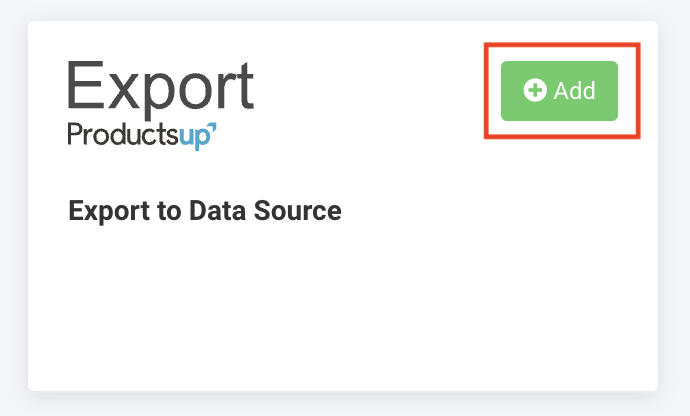
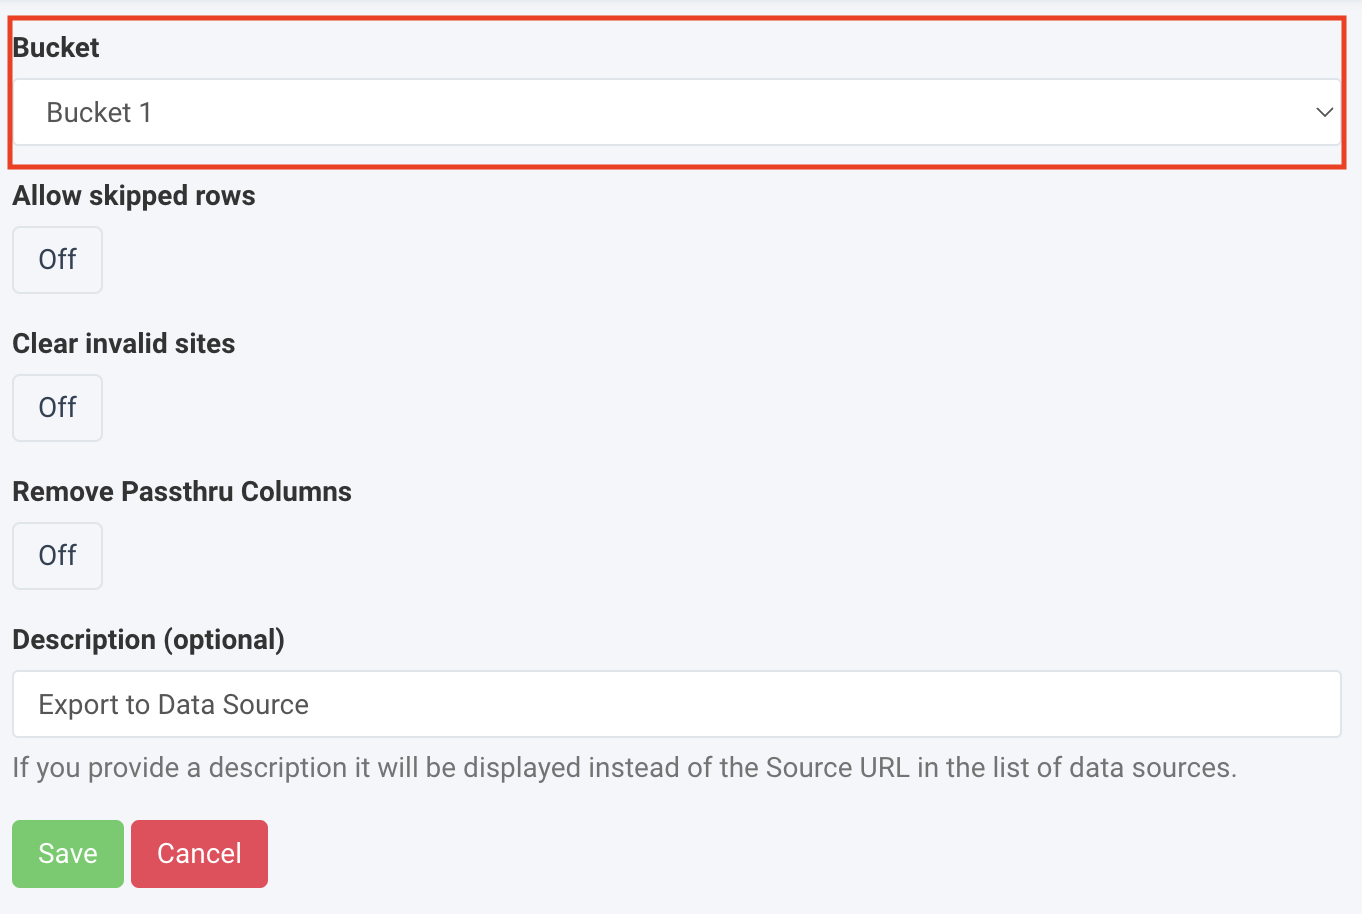
Select a necessary bucket from Bucket. If you don't see a list of existing buckets and haven't set one up in Exports, see Set up a bucket destination.
To include skipped items in the import, toggle Allow skipped rows to On.
To skip importing data that came from invalid sites, toggle Clear invalid sites to On.
To remove platform-generated attributes from the import, toggle Remove Passthru Columns to On.
In Description (optional), add a description for your data source. It substitutes the data source name in the Overview tab in Data Sources.
Select Save and select Import in the top-right corner of the page.