Use Dataflow to map your attributes from import to export
Dataflow: An overview of connecting attributes from import to export in Productsup.
Dataflow is a feature in Productsup that lets you map attributes from your import data to the attributes needed for your exports. To allow room for data transformations, Dataflow has three stages:
The import stage contains attributes uploaded to the platform from your data source. You can't make any changes to the data in your import stage. To do so, you need to connect your import-stage attributes to the intermediate stage.
The intermediate stage contains duplicates of all attributes from all exports added in your site. This is where you can apply data transformations relevant to all exports.
The export stage contains attributes specific to one export. You can apply data transformations relevant to each specific export at this stage. The name of the relevant export appears at the top of the export stage. If your site has multiple exports, you can choose the needed export in the export selection dropdown on the left.
In Dataflow, you can see different types of attributes highlighted with different colors or naming patterns:
The export stage has mandatory and optional attributes. Mandatory attributes are blue, while optional attributes are gray.
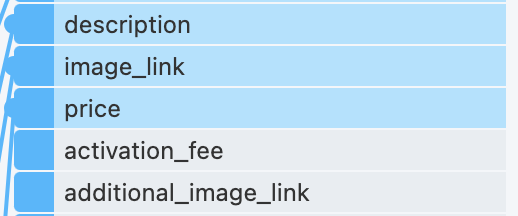
User-generated attributes created in the intermediate or export stage are striped in gray and white.

Platform-generated attributes can be present at every stage in Dataflow. They always start with three underscores (
___), which means the platform doesn't export them. These attributes can appear in your site when you use different features in a site, such as data services, segments, or unique item identifiers.
This document covers the basics of attribute mapping in Dataflow. See Work with the Dataflow toolbar for more details on changing your view in Dataflow, automapping connections, etc.
Prerequisites
Before you can use Dataflow to map attributes from import to export, you must complete the following steps:
Create a site.
Add a data source in Data Sources, and select Import in the top-right corner of the page to let the platform import your data to the site.
Add at least one export in Exports.
Meaning of various attribute icons in Dataflow
If you hover over an attribute in Dataflow, you can see different icons in each attribute. Some of the icons may also be visible without hovering over the attributes.
All attributes have these two icons visible on a hover:
If you select the target icon
 , Dataflow hides all attributes from the view except for the chosen attribute and all attributes it is connected to. To revert the view change, select the icon again.
If you select the up-right arrow icon
 , Dataflow opens the side menu where you can apply rule boxes to the connections of this attribute.
Some import-stage attributes can display the following icons:
The branch icon
 indicates that the attribute appeared as a result of applying a data service.
The three dots icon
 shows that the attribute comes from an additional data source. Hover over it to see the exact import file it comes from.
The red warning icon
 indicates that the connected attribute is missing in the data source or that a required attribute used in a rule box is absent.
The flag icon
 indicates the site's unique item identifier attributes selected in the Settings tab in Data Sources.
Map attributes from import to export
Go to Dataflow from your site's main menu.
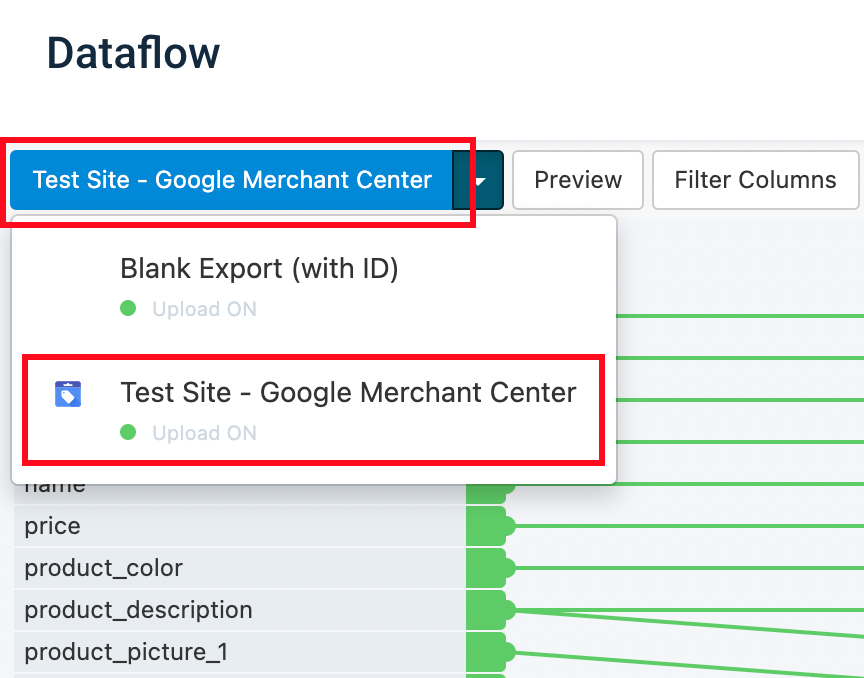
Select which export you want to map. This example uses Test Site - Google Merchant Center.
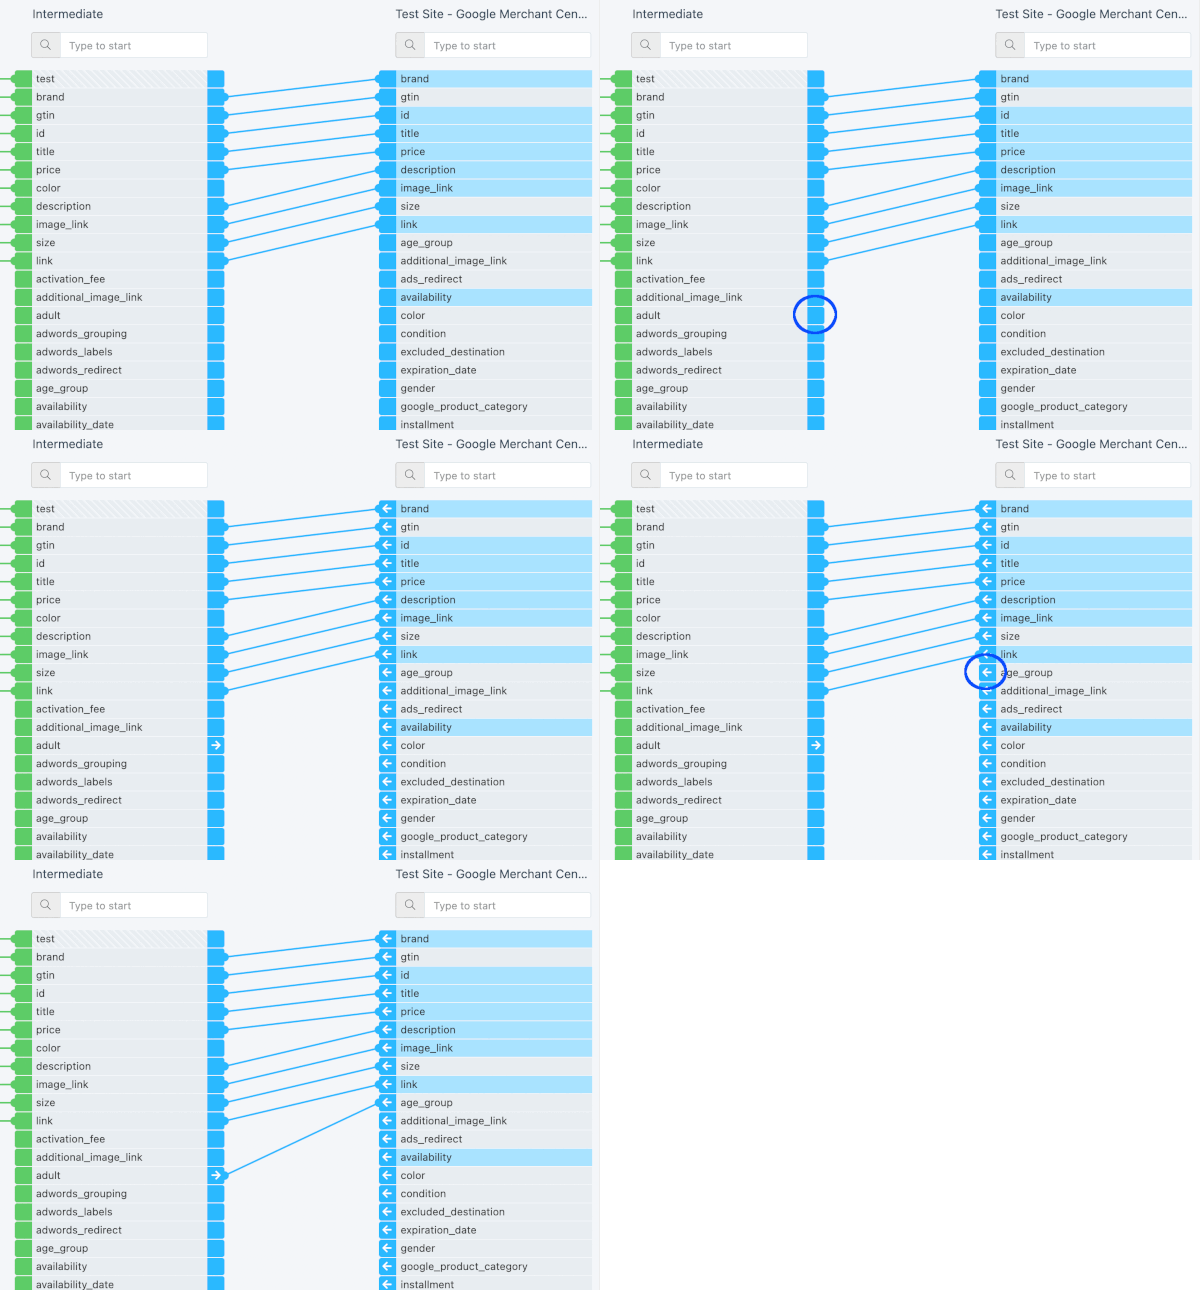
Map attributes between the import and intermediate stages:
Select a node on an attribute in the import stage.
Select a node on the relevant attribute in the intermediate stage.
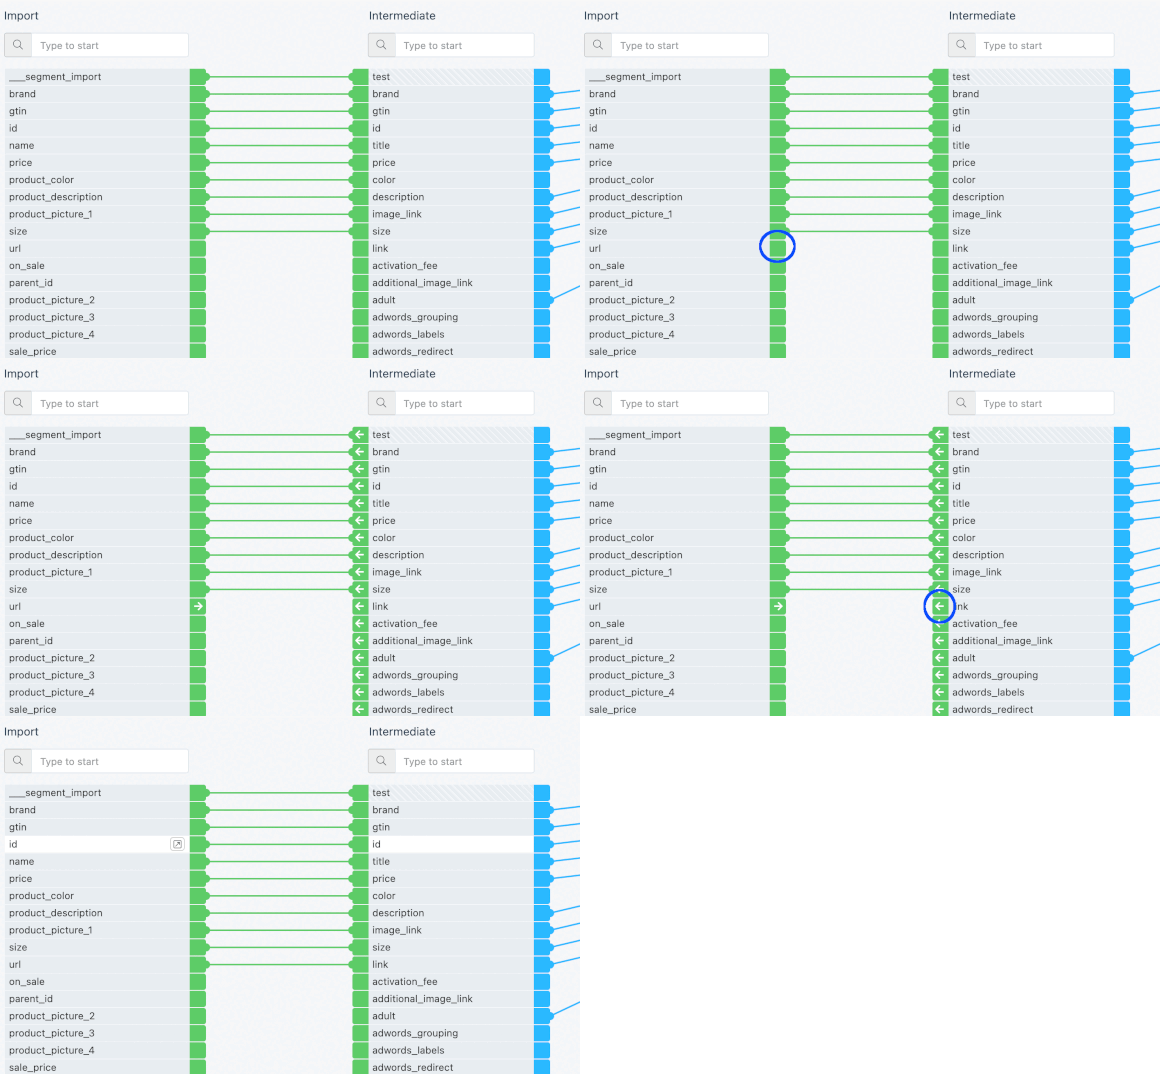
Map intermediate attributes to export following the same steps.
Tip
Alternatively, you can map an attribute by selecting its node and dragging a connection to another attribute in the following stage.
Delete attribute connections
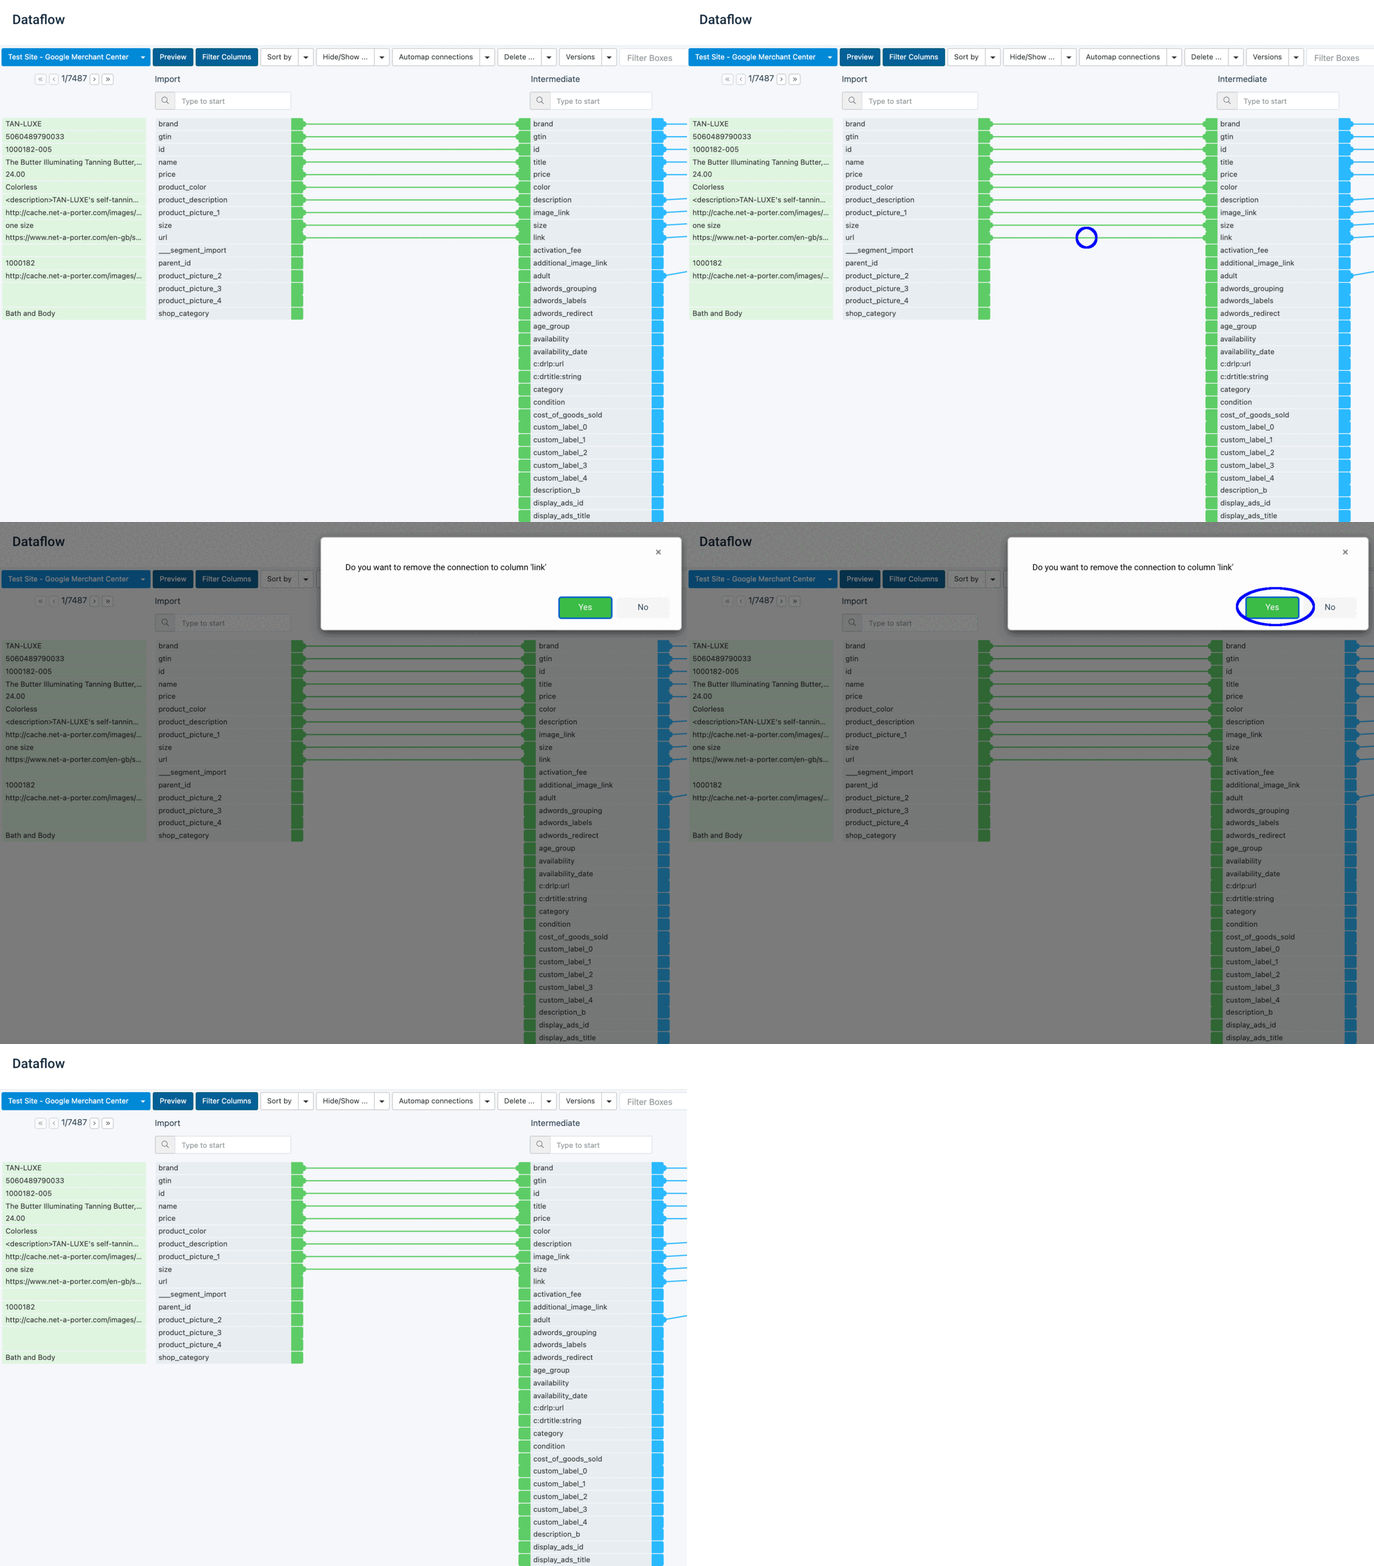
You can delete connections between attributes as follows:
Select the connection.
Select Yes in the pop-up.
Create new user-generated attributes
You can create user-generated attributes in the intermediate and export stages. A user-generated attribute can start with three underscores (___) but doesn't have to.
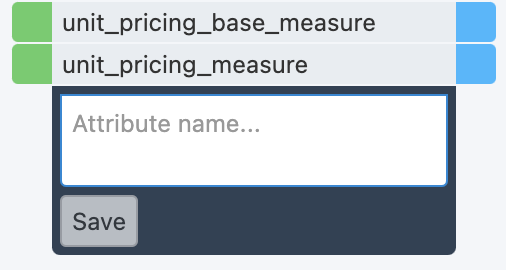
Scroll to the bottom of the intermediate or export stage to select Drop or Click to add new attribute.
In the Attribute name field, enter a name for the attribute. Start each attribute name from a new line to create multiple attributes at once.

You can use the following characters in attribute names:
Latin letters from
AtoZ. You can use both upper- and lowercase letters while entering attribute names, but the platform saves attribute names only in lowercase letters.Digits from
0to9.Spaces. The platform replaces multiple consecutive spaces with one space character and removes spaces at the beginning and end of attribute names.
Punctuation and other special characters, such as
!,?,#,$,%,&,',(,),*,+,,,-,.,/,\,:,;,<,=,>,@,[,],^,_,{,},|, and~.
Tip
If you create a new user-generated attribute in the export stage but don't want the platform to export it to your destination and channel, you can start the attribute name with three underscores (
___).Select Save.
You have created a new attribute. Dataflow displays it in gray-and-white stripes. You can now map your new user-generated attribute to attributes in other stages.
You can create user-generated attributes if an export doesn't contain all the mandatory or optional attributes you want to send to the channel.
Alternatively, you may create user-generated attributes for non-standard cases. For example, you need to skip all items during export if they are relevant for the winter season (coats, sweaters, and scarves).
You can use one of the skip rule boxes, such as Skip Row If Value In, in the attribute containing season information, but you don't want the season information to appear in the exported data. You can't add a rule box between import and intermediate stages, as this will affect all exports, and you need to skip the items only for one particular export.
To achieve the result, do the following:
Create a new user-generated attribute in the export stage with three underscores (
___) in front of the attribute's name, such as ___season.Connect ___season with the attribute containing the season data in the intermediate stage.
Add a rule box that excludes products, such as Skip Row If Value In, to the ___season attribute. See Skip Row If Value In.
The platform applies the rule box to the values in ___season and excludes the corresponding items during export. The platform doesn't export the ___season attribute.
Delete user-generated attributes
You can't delete attributes that are a part of your added exports, the import stage, or generated by data services and other features in the platform.
To delete any user-generated attributes:
Make sure the attribute you want to delete isn't connected to any other attributes. If it is, see Delete attribute connections to remove the connection.
Hover over the user-generated attribute you want to delete.
Select the
 icon.
icon.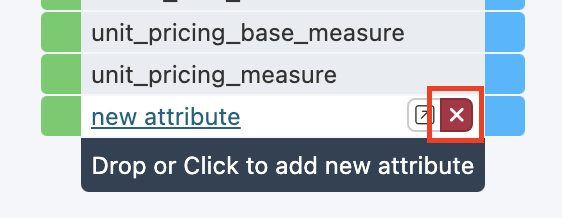
Confirm you want to delete this attribute by selecting Delete.
Map attributes across multiple sites in bulk
If you need to create connections between the same attributes in multiple sites, you can use the Bulk Option feature to save time.
Note
You must have the same attribute names across the sites where you want to use a bulk action that adds a connection in Dataflow.
Go to the organization or project level and select Bulk Option.

Choose the sites where you want to create connections and select Next Step.
Choose Add Dataflow Connection and select Next Step.
In the Dataflow drop-down list, choose whether the platform should add connections between the import and intermediate stages or the intermediate and export stages.
If you select Intermediate - Export, you need to additionally choose a relevant export in the Export dropdown.
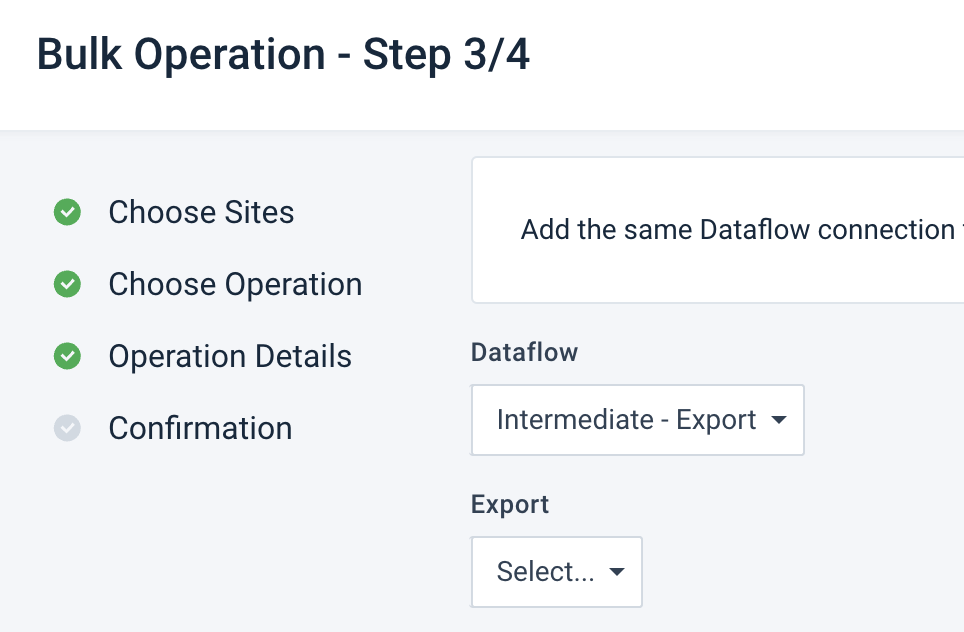
Enter the names of the attributes you want to map. A list with all available attributes appears as you type.
If you choose Import - Intermediate, enter the name of the import-stage attribute in Source column and the name of the intermediate-stage attribute in Intermediate Column.
If you choose Intermediate - Export, enter the name of the intermediate-stage attribute in Intermediate Column and the name of the export-stage attribute in Export Column.
Select Execute.
A final confirmation screen shows whether the bulk action was successful.
You can leave this screen by selecting Return to organization page. You can also go to one of the sites where you performed the changes by selecting the name of the needed site.

Export your data
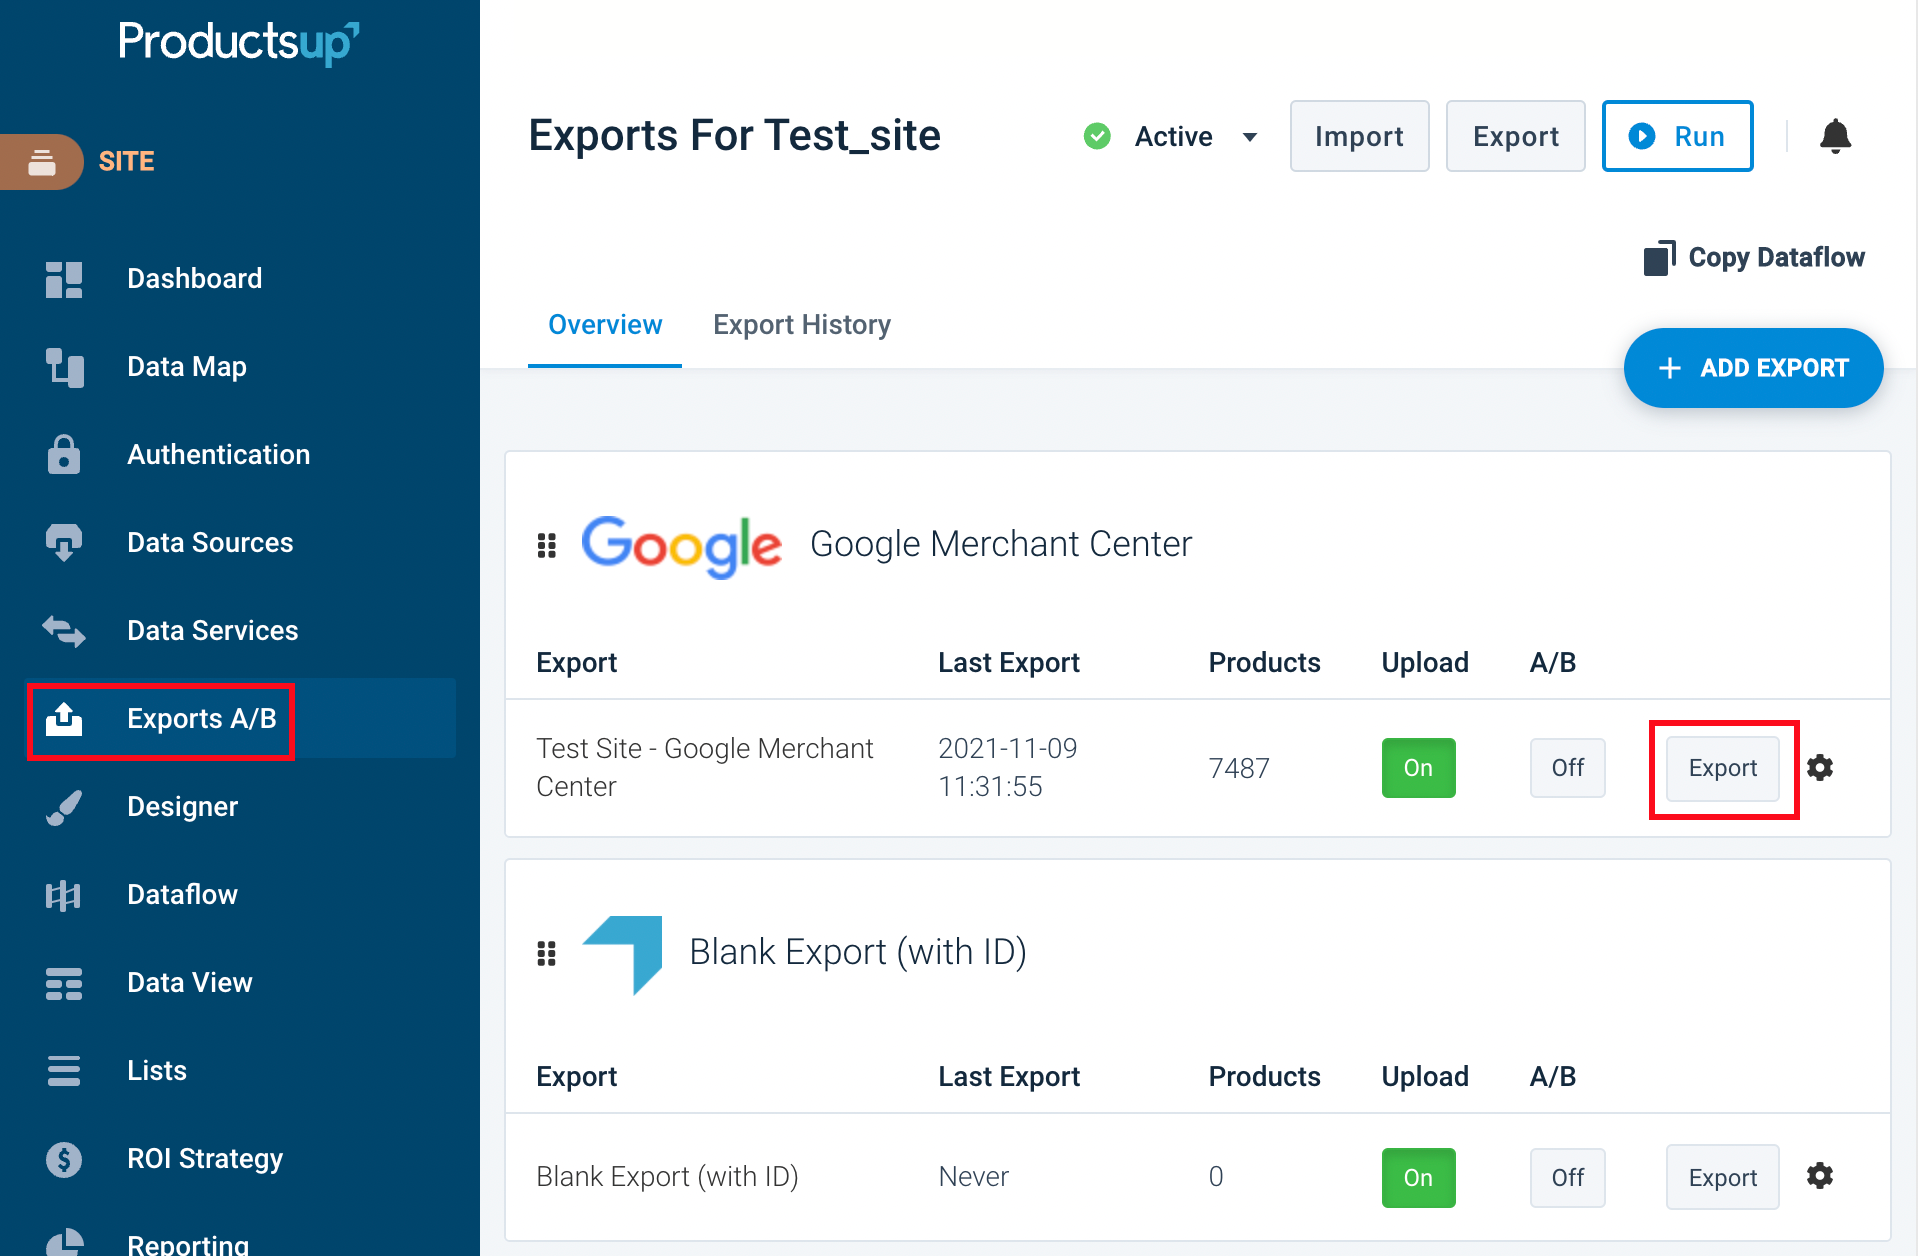
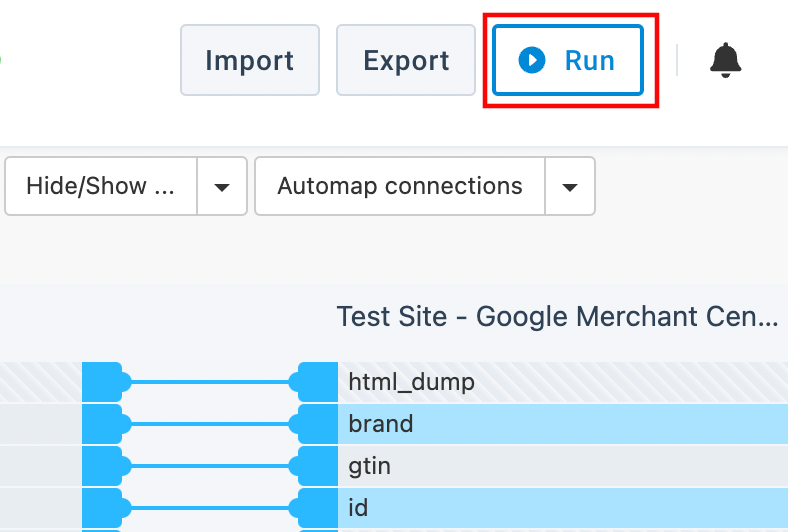
There are many ways to export data in Productsup. If you want to initiate a full run, from import to export, select the Run button.
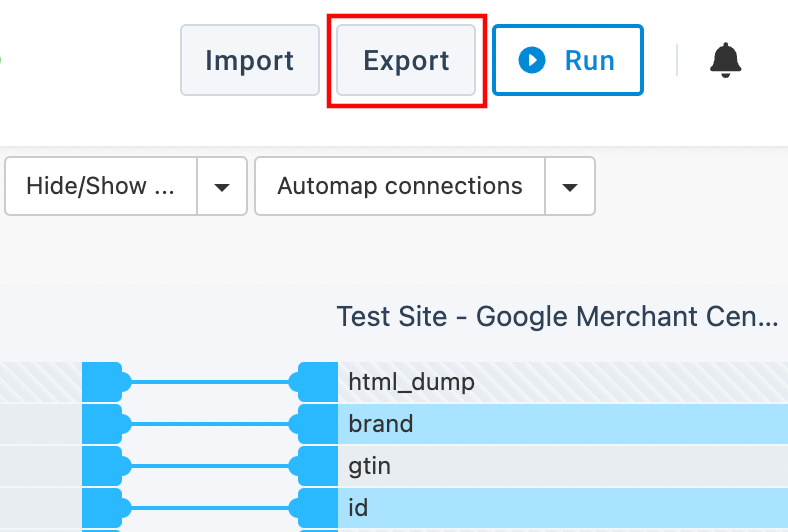
If you want to export current imported data to all exports without re-importing data from your data sources, select the Export button.
If you want to export existing data to only one export:
Go to Exports from your site's main menu.
Select the Export button for a specific export. Alternatively, you can select the needed export and choose Export this export on the setup page of that export.
