Add export
Add and set up an export template in Productsup to distribute your data to popular channels.
Select from a variety of export templates to add exports or set up your custom exports using blank export templates.
Choose you export template from the following categories:
Search engines
Comparison shopping
Shop systems
Marketing and advertising
Marketplaces
Social media
Retailers and distributors
PIM systems
Classification standards
Custom-built
Data pools and product databases
Order sync
Other
If the export template you are looking for isn't on the list, contact your Customer Success Manager or support@productsup.com to request it.
Add export
To add a new export:
Go to Exports from your site’s main menu.
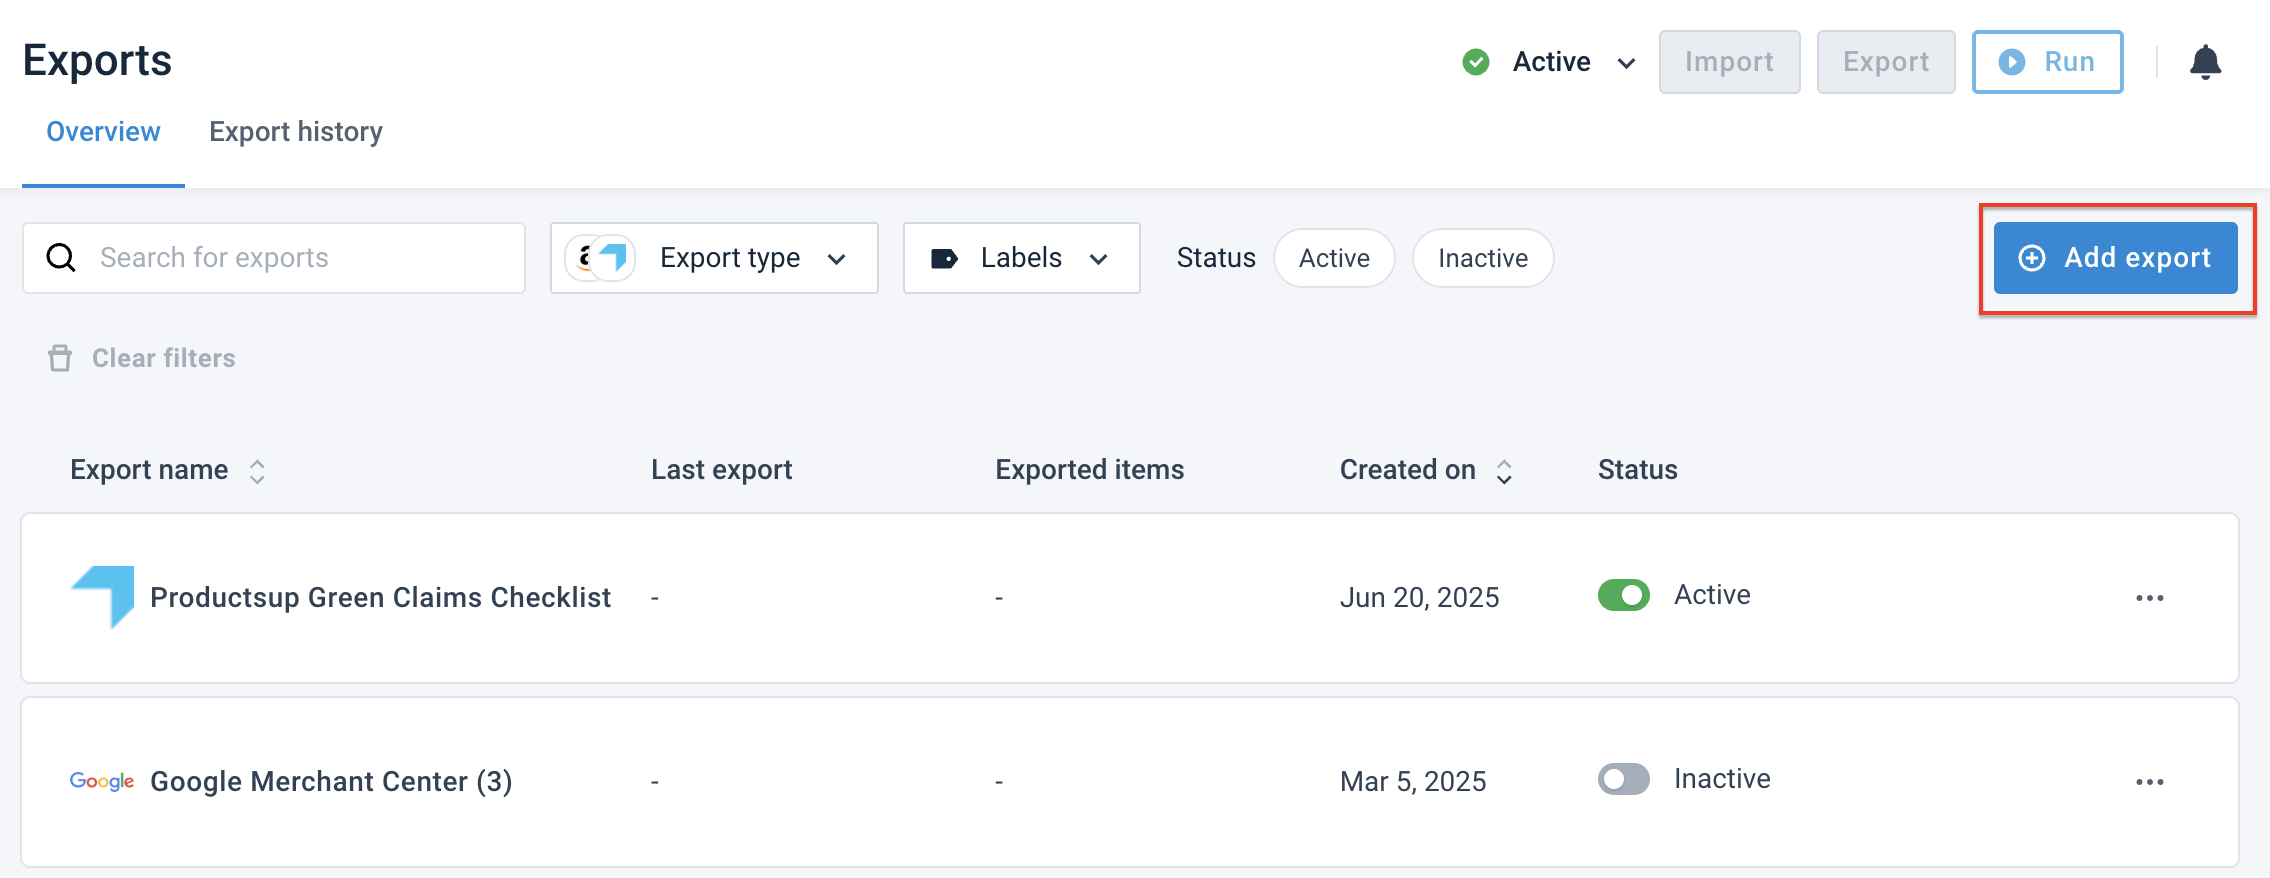
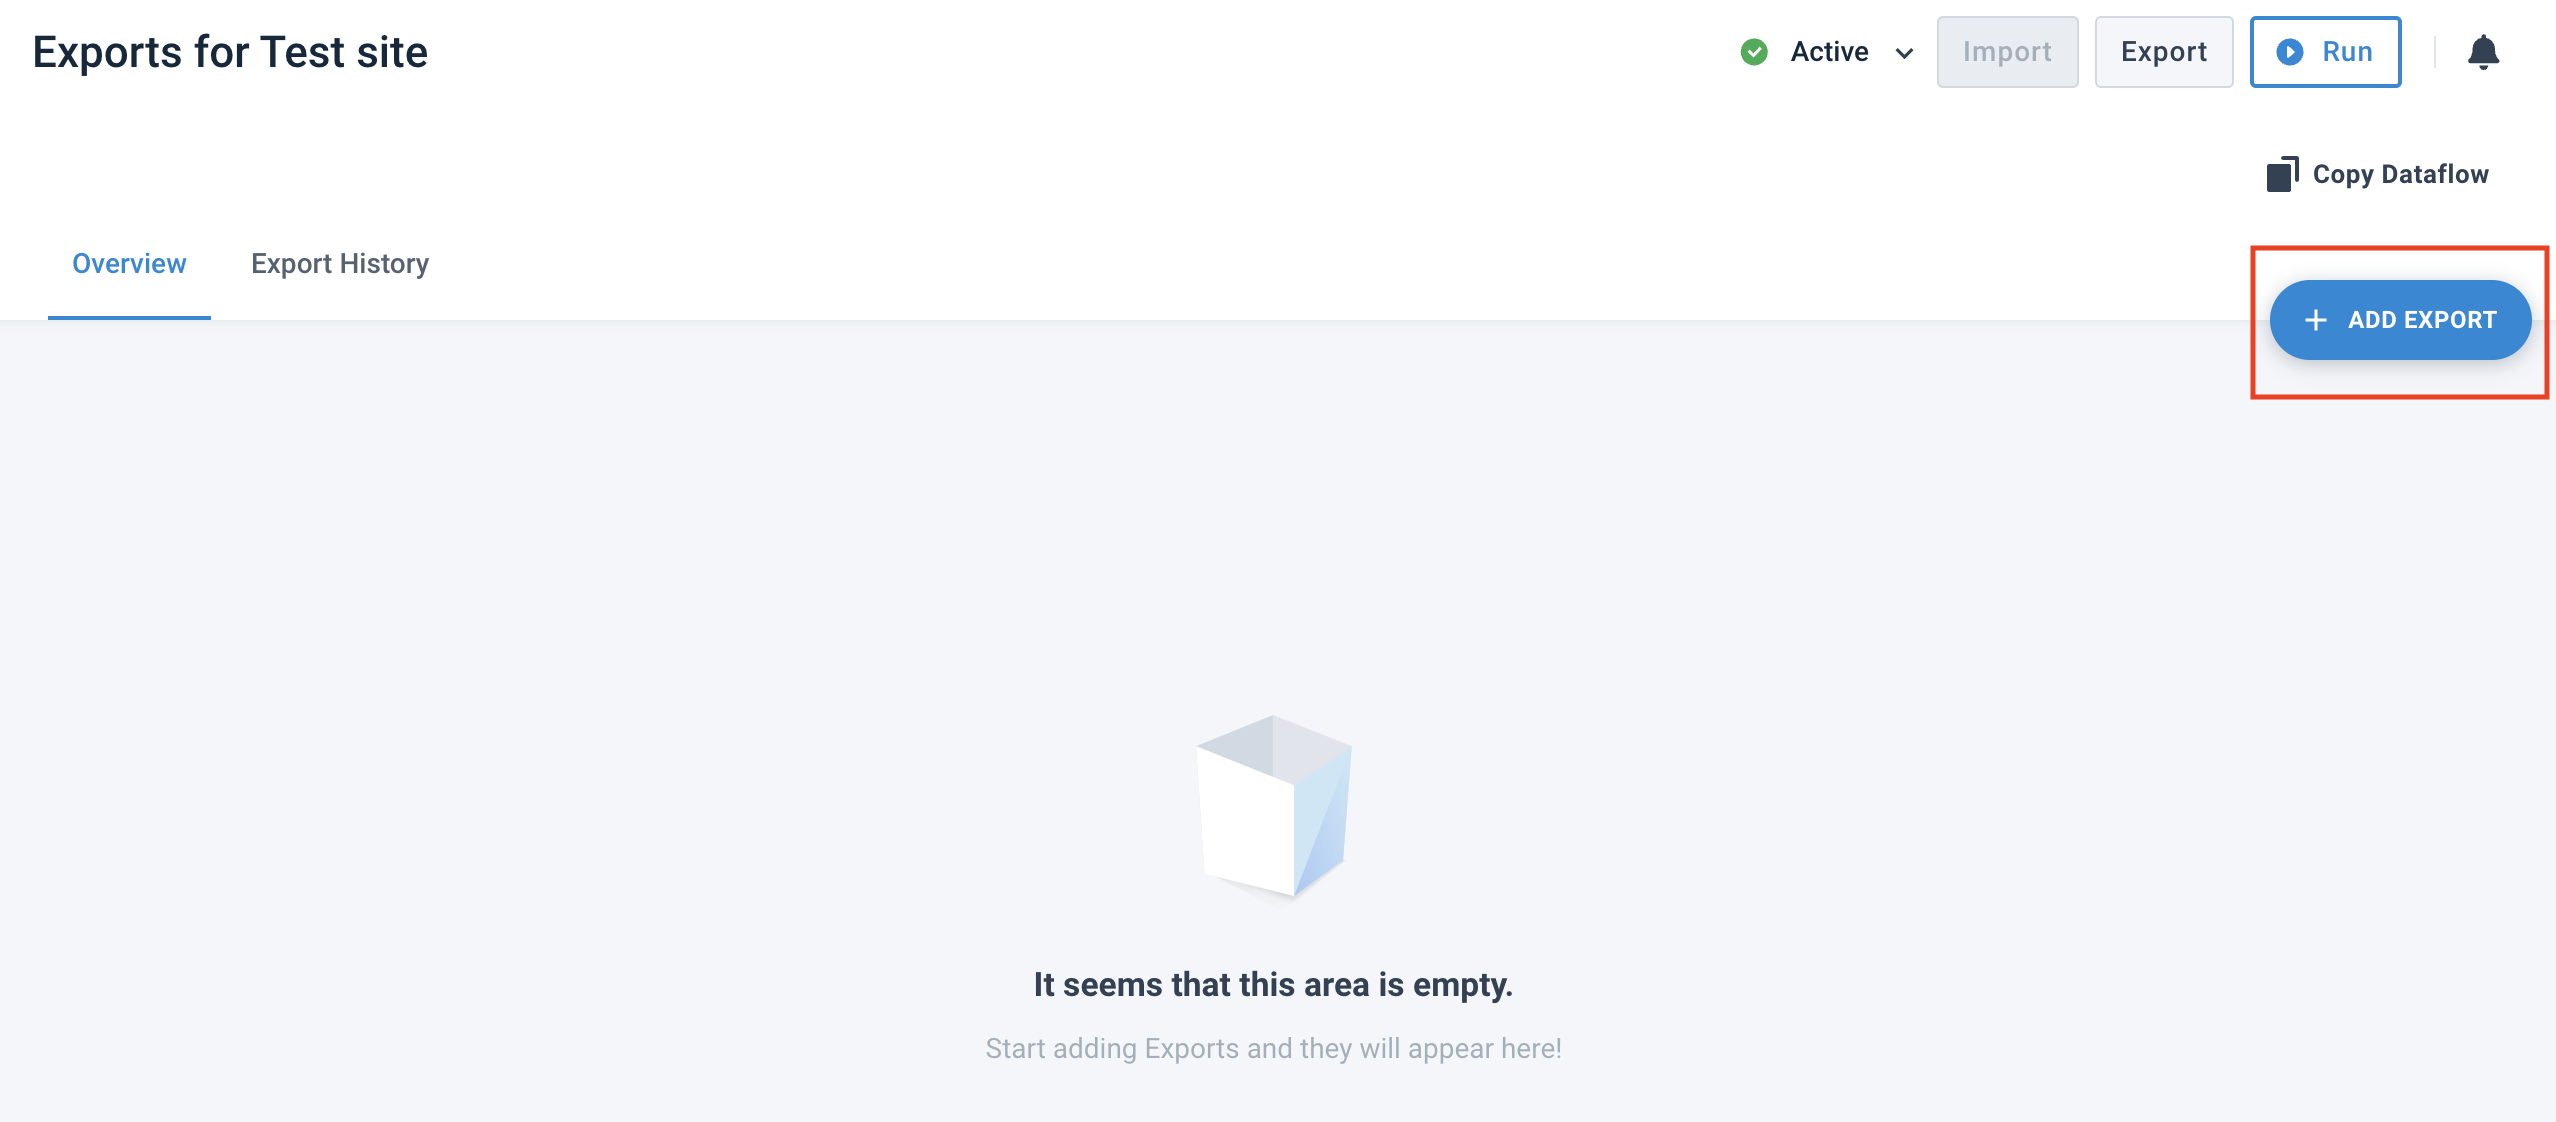
Select Add export in the top right corner. If you add your first export, select ADD EXPORT in the middle of the page.
Tip
Select the close icon X in the top right corner to return to the Exports page without saving any changes.
Search for the export template name in the search field or choose your export template category from the list on the left.

Tip
Select See all to unfold a complete list of export templates.
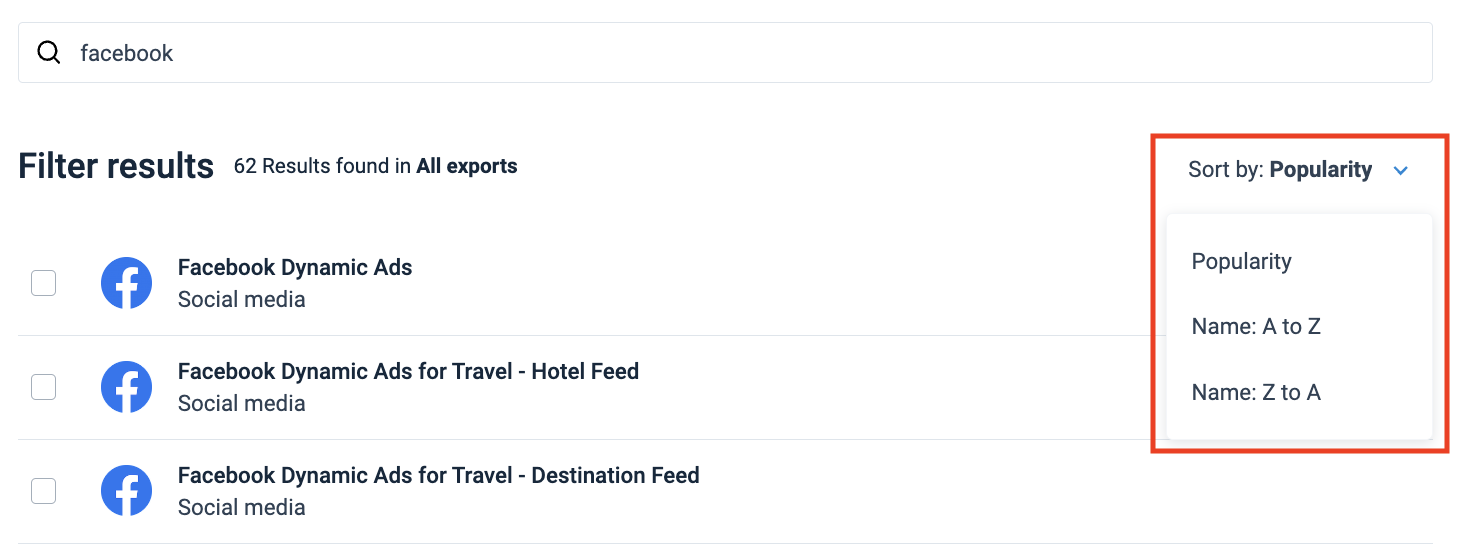
If necessary, sort the results by popularity or alphabet. For that, select See all on the right and choose a sorting option from the Sort by dropdown.
Select a necessary export template name in the list to open its description.

Note
Not all export templates have descriptions yet. The Productsup team is working on adding them.
You can select one or several export templates:
To select one (1) export, hover over the necessary export template and select Add.

To select several export templates, select the corresponding checkboxes next to their names. Confirm the choice by selecting Add exports at the bottom of the page.
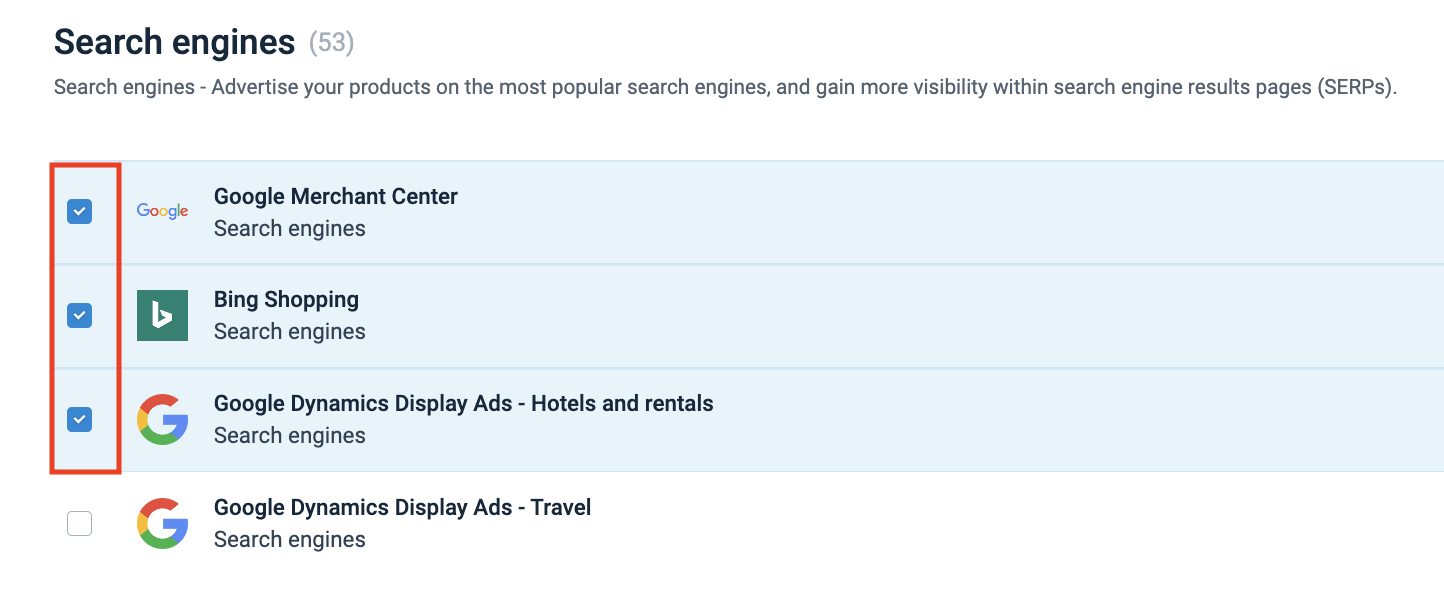
Tip
If you don't want to proceed with the chosen export templates, uncheck the box for the number of selected exports or select the trash bin icon.
The Export Overview page opens with your export templates already added. Now, you can set up your exports.
Set up your export
When you add one or more exports, the platform automatically returns you to the Exports page, where you can view the list of all added export templates and set them up individually.
Every export's setup page consists of four (4) tabs:
Overview
Settings
Labels, Tags & Sorting
Pricing
In most cases, you only need to set up the destination in the Overview tab.
Overview tab
In the export's Overview tab, you can view your export dashboard and add destinations and files.
The export dashboard gives you an overview of your export runs:

Last Export shows the date and time of the previously run export.
Next Export shows the date and time of the next scheduled export if you have set it up .
Items shows the quantity of exported items.
Channel is the name of the export template used for the current export.
To set up your export, you must add a destination in Destinations:
Select Add Destination.

Select a destination from the dropdown and then edit its name as needed in Name.
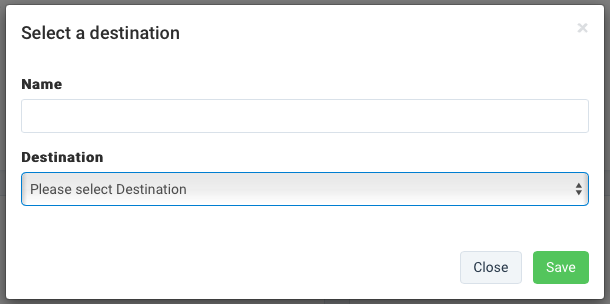
Select Save.
Note
To learn more about destinations, see Set up an export destination.
You change the file name or limit the number of items per file:
Select Setup in the Files section.

Enter the desired filename and a valid feed format extension in the Filename field. Valid feed formats are
.xml,.csv,.txt,and .tsv. If you want to compress the file, consider using extensions such as.bz2,.zip, or.gz.Enter the number of items you want to export per file in the Limit (Products per File) field. Here is some guidance:
To export all items from the file without limits, set the limit to
0. This means that the export begins with the first item, skipping the table header.Enter the target value to limit the number of items in your data feed. Limiting can be helpful in case you want to test and try out a new export. You can limit the number of items, for example, to 100, to avoid sending your entire catalog.
Select Save.
To split the data feed into several files:
Select Add File in the File section.
Enter the desired filename and a valid feed format extension in the Filename field. Valid feed formats are
.xml,.csv,.txt,and .tsv. If you want to compress the file, regard such extensions as.bz2,.zip, or.gz.Enter the number of items you want to export per file in the Limit (Products per File) field.
Select Save.
If you add a second feed, you are not exporting to the channel twice. You only split the export into two (2) feeds in equal parts. Or if you set a limit per file, the platform splits the feeds according to the set limits.
For example, if your data feed contains 1,000 items and you set up three (3) files with a 200-item limit, the platform only exports 600 items. The remaining 400 items aren't present in any file. To avoid this situation, set a limit of 0 in your last file to ensure you export all items. If the number of items is less than the sum of all file limits, the platform doesn't update unnecessary files. If you want to receive empty files instead, turn on the Allow empty files option in the Settings tab. See Settings tab.
Note
If you want to export once as a CSV and once as an XML file, you must set up two (2) separate exports for this.
You can add a dynamic filename with Twig:
Select the Setup button in the Files section.
Enter the filename in the following format:
To use the site and export names as dynamic placeholders in the filename:
{{ Site.id ~ "" ~ Export.name | replace({ "/":"" }) }}.txt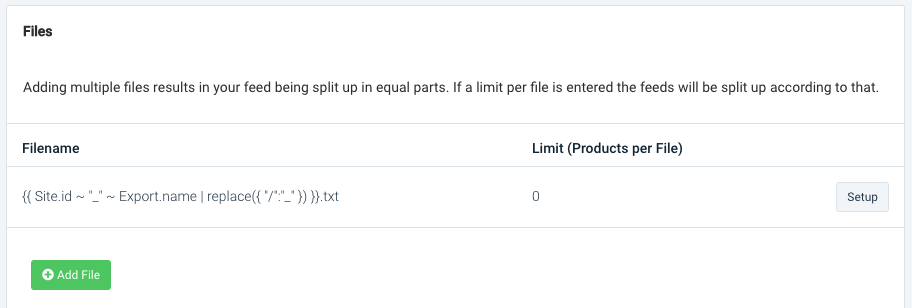
To add the export name and date, enter the following filename:
{{ Export.name | replace({ " ":"" }) ~ "" ~ "now" | date("Ymd") }}.csv
Settings tab
In the export's Settings tab, you can you can activate the following settings of your export output:
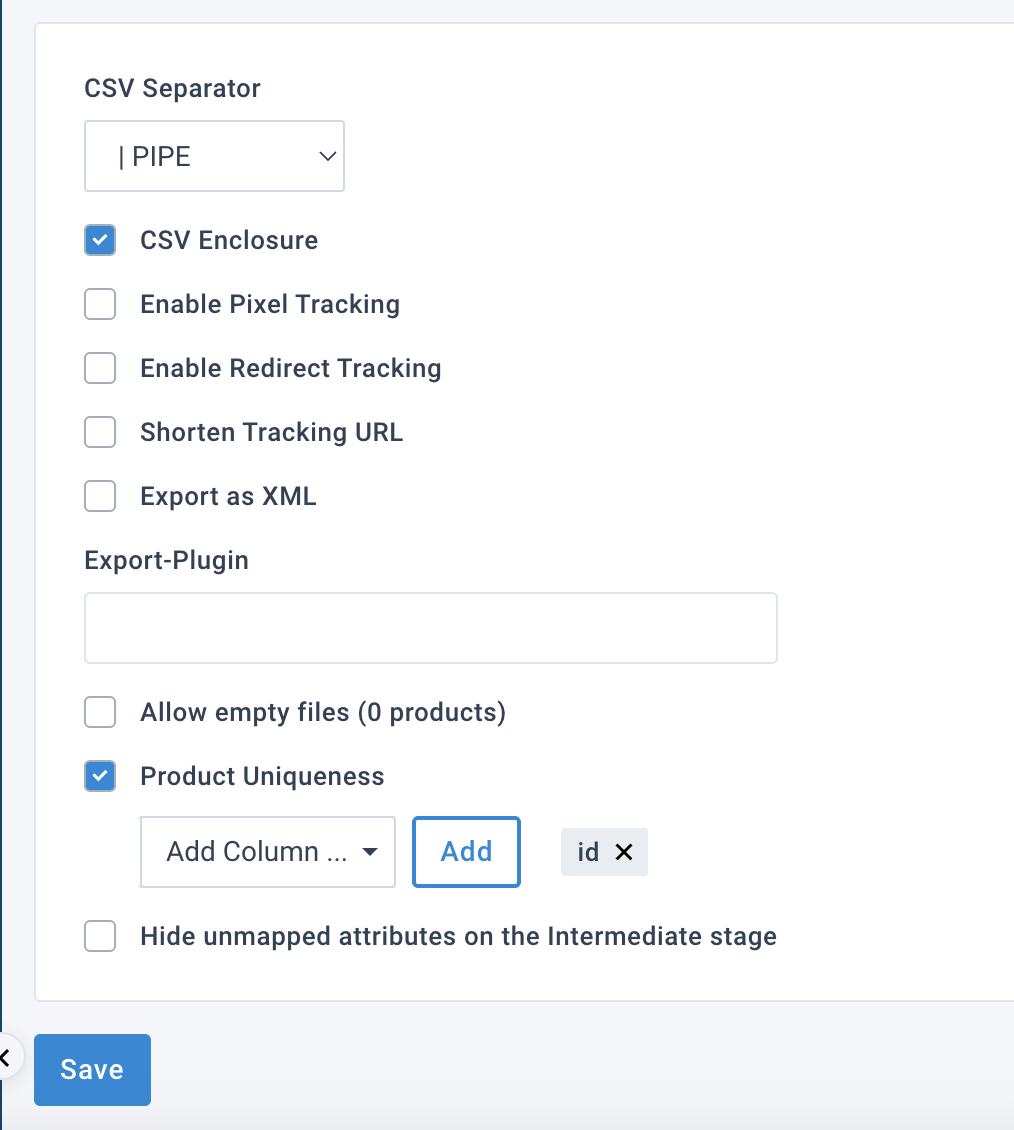
In CSV Separator, select the separator.
Leave CSV Enclosure selected if you want to enclose data in CSV files containing more than one word or number. Enclosure prevents the platform from incorrectly parsing data when it encounters a delimiter.
Select Enable Pixel Tracking to activate a tracking pixel, a small piece of code in the form of a pixel that you implement in your website code. When you select Enable Pixel Tracking, the Tracking column dropdown appears to let you choose the needed attribute.
Select Enable Redirect Tracking to activate redirect tracking, which collects your site ID, export ID, and product ID. It sets a cookie for the conversion pixel.
Select Shorten Tracking URL if your channel only accepts a limited number of characters in the tracking URL. When you select Shorten Tracking URL, the Tracking column dropdown appears to let you choose the needed attribute.
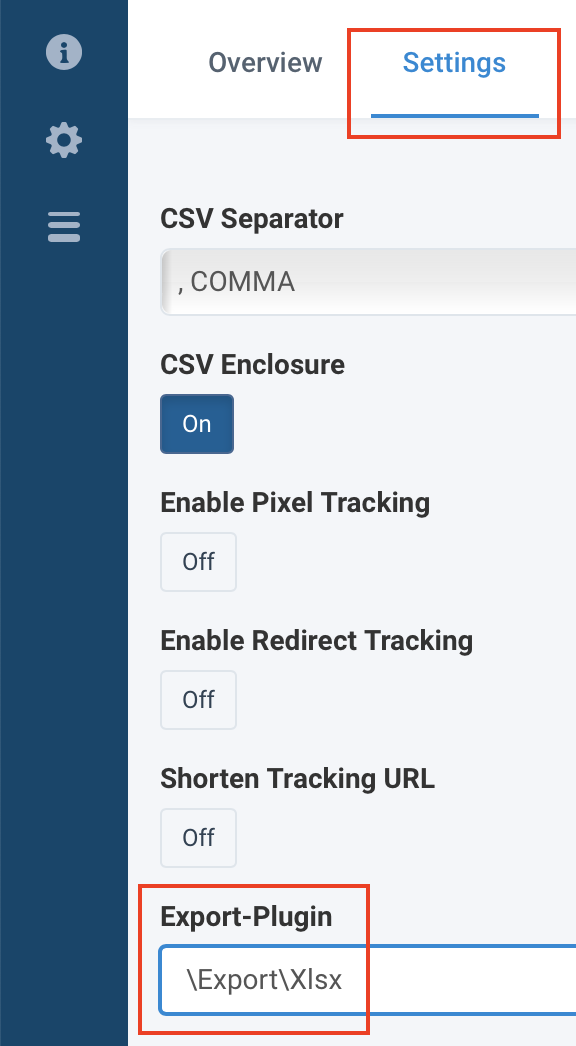
We don't support using plugins any longer but if your output file requires a specific format, such as JSON or XLSX. Take the following steps:
On the export setup page, go to the Settings tab, leave the Export-Plugin empty and select Save.
Open the tab Labels, Tags & Sorting, find the section Export Tags, and enter the following under Add new tag:
In Key, enter
custom_csv_writer_class.In Value, enter
ProductsUp_Csv_File_Writer_Json.
Select Add tag to save it.

For an Excel XLSX plugin, enter the following value in the Export-Plugin field on the export's Settings page:
\Export\Xlsx
Note
Contact support@productsup.com if you need help with a non-JSON or Excel XLSX plugin.
Select Allow empty files (0 products) to let Productsup export empty files. It can be helpful if you create internal reports. For example, you can export a file that reports image URLs that lead to a 404 page. In this case, having an empty file with headers is suitable.
In Product Uniqueness, choose the attribute in the dropdown that you consider unique for your export and select Add. The platform prevents duplicate values and exports unique items. You can see id selected by default, but you can remove it and select one or more attributes of your choice.
Select Hide unmapped attributes on the Intermediate to hide unmapped attributes on the intermediate stage.
Select Save.
In some specific exports, such as blank exports, you may find the following settings:
Select Export as XML to send your file as XML. Remember to change the filename extension to .xml.
Select XSL Template for XML Export to use an XSL template as a style sheet for your XML export.
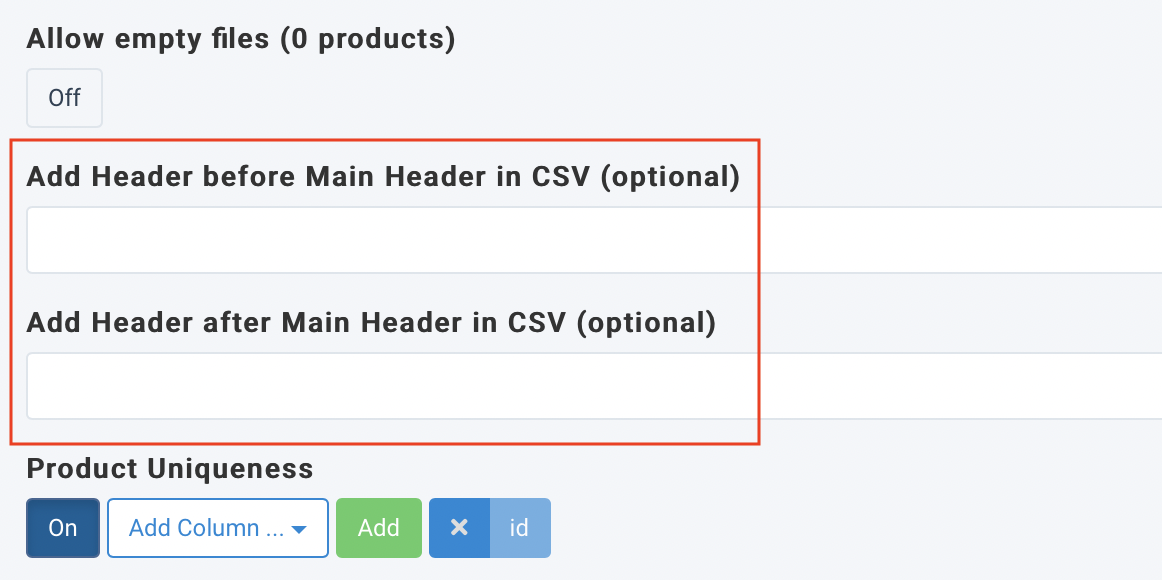
Use Add Header before Main Header in CSV (optional) and Add Header after Main Header in CSV (optional) if your channel requests additional headers before or after the CSV attribute's header name.
Note
You can use these settings in Blank Export (empty) and Blank Export (with ID).
Request the on-demand setting Replace Main Header in CSV (optional) if you need to replace the header row of your CSV export file with a header that suits your needs.
Note
Replace Main Header in CSV (optional) is available in one export only: Blank Export (with ID).
To have the Replace Main Header in CSV (optional) filed in any other export, contact support@productsup.com or your Customer Success Manager. This service is free of charge.
To replace the header row in your CSV export file:
Go to Exports from your site's main menu and select the needed export.
Select the Settings tab.
In Replace Main Header in CSV (optional), enter your new header row and separate the names of the attributes with a comma (
,). The platform omits the commas in the output file.For example, enter the string product_ID,product_title,price for the CSV export file to contain the header row
product_IDproduct_titleprice.If you enter the string product_ID, product_title, price, the platform outputs an export file with the header row
product_ID product_title price.Tip
You can use empty and dynamic attribute names in Replace Main Header in CSV (optional):
Empty attribute names.
You can enter a space character instead of the attribute's name in between commas if you need an attribute without a name. For example, enter product_ID, ,price for the CSV export file to contain the header product_ID price.
Dynamic attribute names.
If you need an attribute to contain dynamic data, such as today's date, you can enter a Twig expression instead of the attribute's name in between commas. For example, enter product_ID, {{ "now"|date("m/d/Y") }}, price for the CSV export file to contain the header product_ID 06/22/2022 price.
Select Save.
Labels, Tags & Sorting tab
In the export's Labels, Tags & Sorting tab, you can set up labels, tags, and sorting for your export.
Labels.
If you have many different exports, labels help you categorize them. You can later use these labels as filters in Exports. To add a label:
Go to Exports from your site's main menu and select the export you want to modify.
Select the Labels, Tags & Sorting tab.
Add one or more labels separated by a comma (
,) in Labels.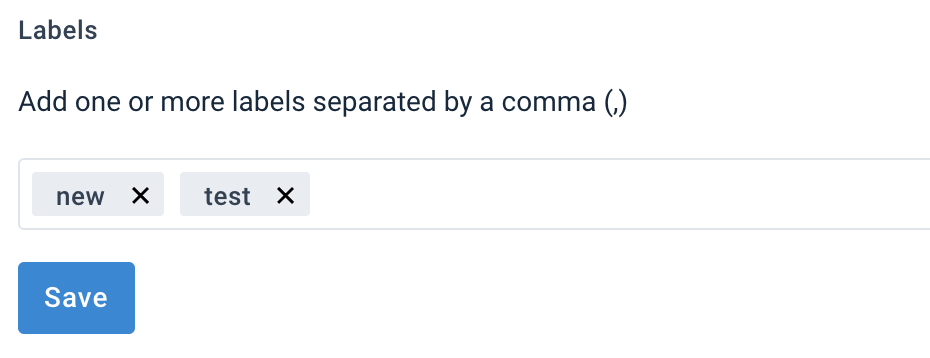
Select Save.
Once you've created a label(s), the Labels dropdown appears in the Exports page, and you can search for your exports with particular labels:
Go to Exports from your site’s main menu. If any export has a label, you can see it below the export's names.
Select Labels and choose the desired label(s) from the dropdown. Select Apply.

Export Tags.
Export Tags let you distinguish attribute titles for each exported item.
Go to Exports from your site's main menu and select the export you want to modify.
Select the Labels, Tags & Sorting tab.
In the Export Tags section, enter Key and Value.

Select Add Tag.
Note
You can also use Predefined Tags from an external system by connecting to it via the chosen authentication from the dropdown. See Add OAuth authentication to external systems to set up authentication with an external system.
Here are two examples of the key and value entries to get the desired outcome:
Desired outcome #1: BMEcat without CDATA (
<![CDATA[attribute value]]>) -Key: custom_xml_writer_class
Value: ProductsUp_Xml_File_Writer_BMEcatWithoutCDATA
Output result:
Here is the value from the attribute
Desired outcome #2: Show CSV output with enclosures (
‘’ or ““ or ||) -Key: custom_csv_writer_class
Value: ProductsUp_Csv_File_Writer_AllEnclosured
Output result:
‘row1’;’row2’;’size’;’price’;’product_id’
Sorting.
Sorting lets you define the order of items in the export based on a specific attribute, mode, and direction.
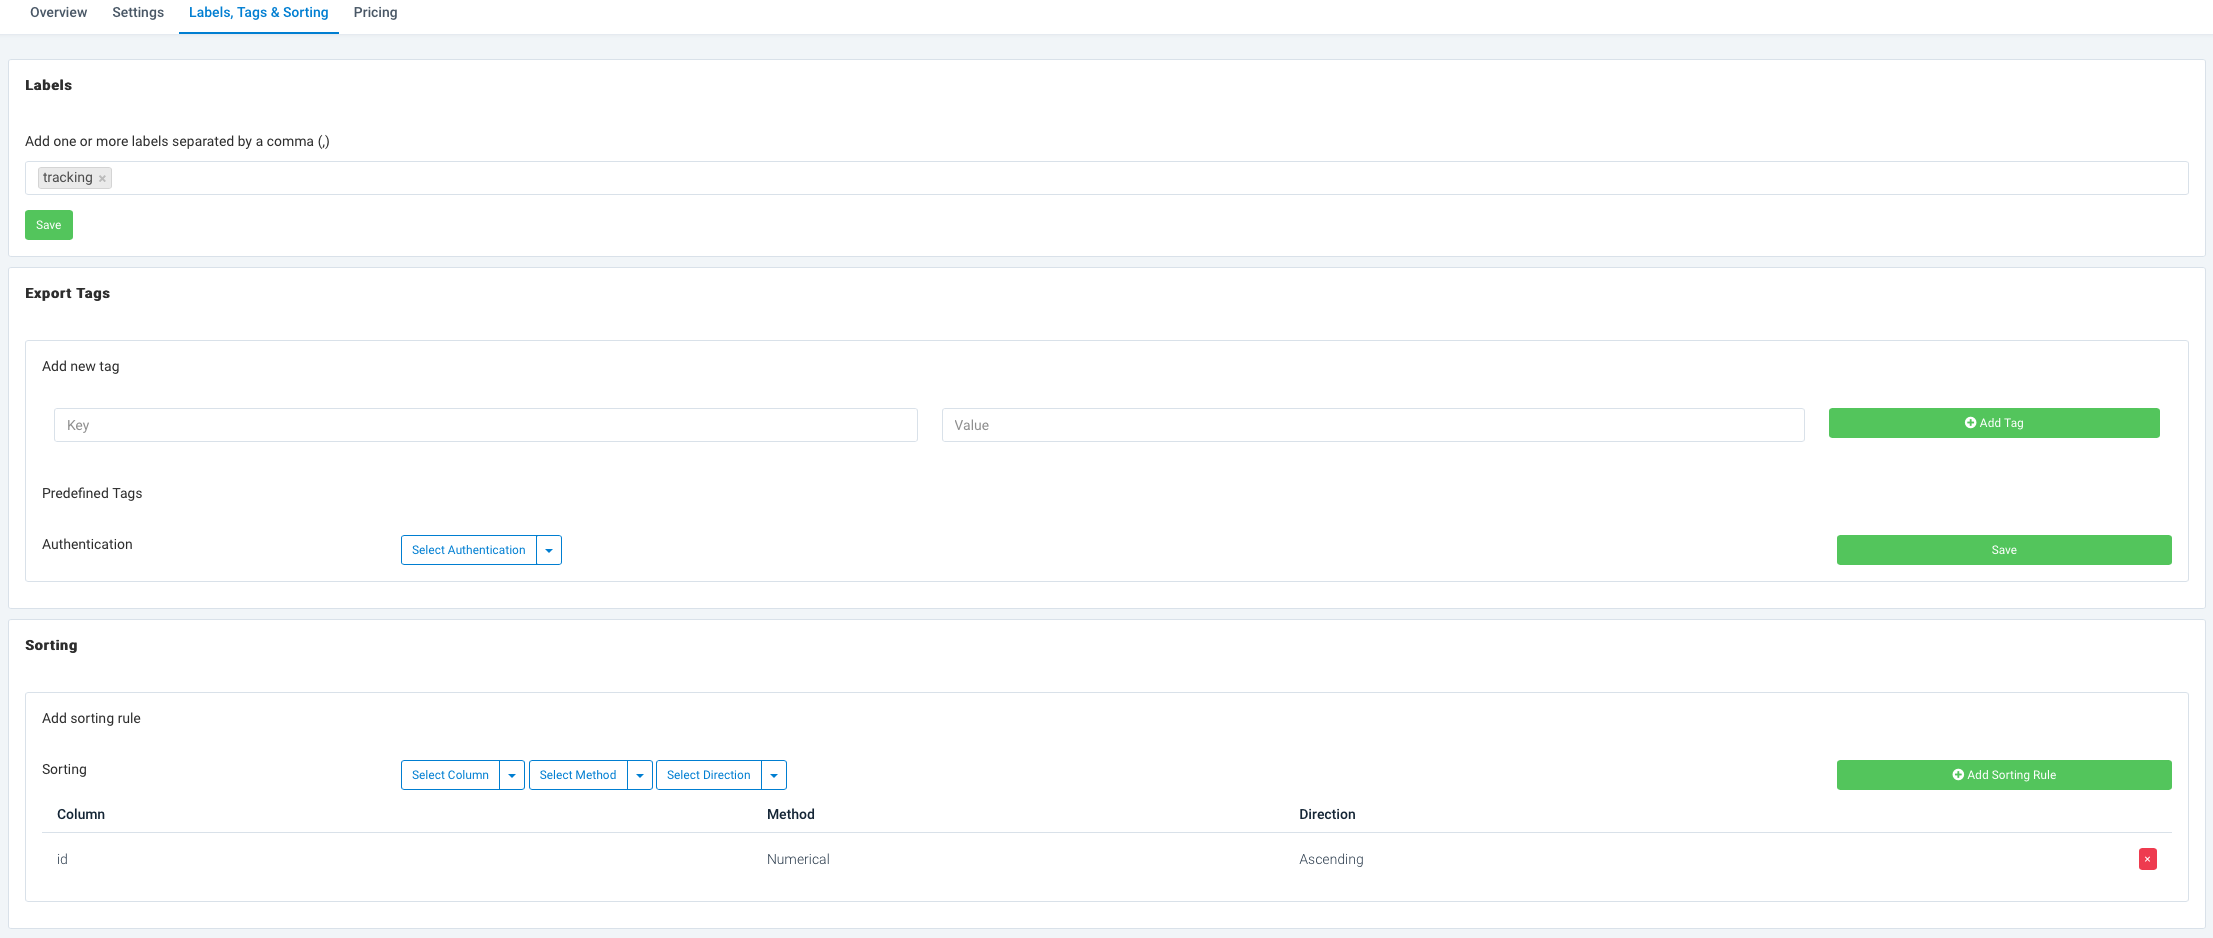
Choose an attribute in Select Column.
Choose a sorting mode in Select Mode, which can be Alphabetical, Numerical, or Natural.
Choose a sorting order in Select Direction, which can be either Ascending or Descending.
Select Add Sorting Rule.
Pricing tab
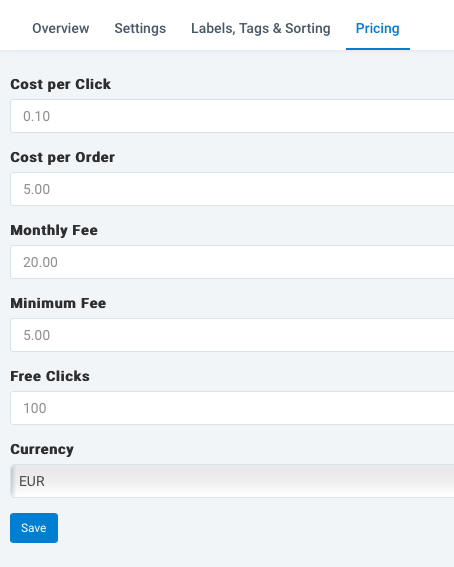
Add a pricing model for your export to calculate costs in the Reporting page.
Build your export from scratch
In some cases, the existing export templates may not cover your needs. Then, you can build an export from scratch using blank exports. There are four (4) types of blank exports: Blank Export (empty), Blank Export (with ID), Delta Blank Export, and Export2Datasource Blank. See Build your exports from scratch for more information.
To add a new blank export:
Go to Exports from your site’s main menu and select Add export.
Select the necessary blank export template in the gray banner under the search field.

After adding a blank export template, you need to set it up. Each blank export has its setup peculiarities. See Build your exports from scratch for more information.
Edit an export name
You can modify the export's name. This is helpful when you use the same export template for different exports. For example, you can differentiate Google Merchant Center, Google Merchant Center (clothes only), etc.
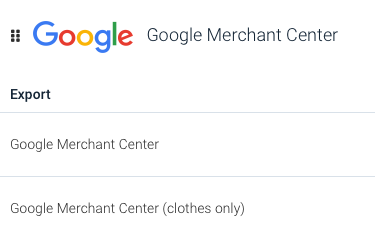
To modify an export's name:
Go to Exports from your site's main menu and select the cogwheel icon (⚙) next to the export you want to modify.
Select the Edit icon next to the export's name.

Modify the export's name and add a short description.
Select the checkmark icon to save your modifications.
View the export run status and reorder the export attributes
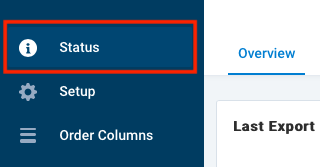
When you are in any export setup page, you can see a specific main menu on the left from where you can go to the Status or Order Columns pages, or return to the Setup page.
Status page
The Status page becomes available in the main menu when you are in any export setup page.
The Status page lets you see the following information about all past export runs:
Export Started shows the data and time when the export run started.
Export Finished shows the data and time when the export run completed.
Number of exported Products shows the number of items exported during the export run.

Order Columns page
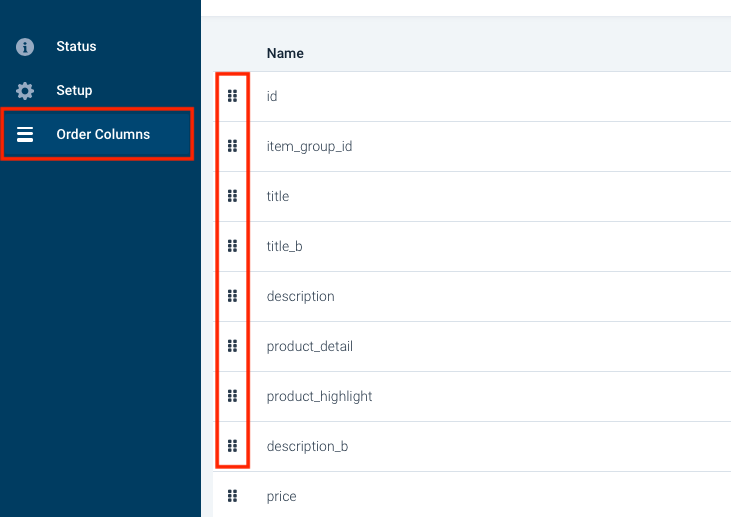
The Order Columns page becomes available in the main menu when you are in any export setup page. You can change the order of attributes in your final output feed by selecting and dragging them up and down as needed.
If you export the attributes once in their set order, they turn green. If the order changes and you have not exported them, they turn black.
To reset the order to its original state, select Reset column order to initial state.
