Get emails with exported products and images to view and share export files
Check the Productsup best practices for viewing and sharing your exported products and images via email.
Best practice
Whenever your Productsup site runs a specific export successfully, you can let it pick up a link to that export's output file and send it to a desired email address. This way, you can access your export output file from your inbox and share it with third parties who don't have access to your Productsup account.
Emails containing links to your export output files can look like this:

To get these emails in your inbox, we recommend using the Email destination.
Note
This feature isn't globally available on the platform yet. Contact your Customer Success Manager to discuss adding it to your account.
What features to use
To let the platform send export file emails to the desired email addresses, you need to use the following features:
Any export added in Exports. See Add export.
Email destination. You can use it only in combination with the following export destinations:
Productsup Server
FTP Server
Image Exporter (FTP or SFTP)
Excel Macro Files (xlsm)
When one of these destinations receives a new export output file, the Email destination picks up a link to that file, compiles an email with the link, and sends the email to a desired email address. This process doesn't work if the Email destination is the only one added to an export or if it doesn't support your added destinations.
If you want to use an FTP server to share export output files with third parties via links in an email, make sure the email recipients have access to the needed server.
Warning
The Email destination doesn't send an email if the export fails.
How to set up output file emails
The steps you need to take to set up the emails depend on the kind of data your export produces:
See Set up emails with exported products and other data if your export produces a variety of product data types.
See Set up emails with exported images if your export produces image data only.
Set up emails with exported products and other data
Once you have added a needed export in your site and set up one of the destinations compatible with the Email destination, follow these steps:
Go to Exports from your site's main menu and select the cogwheel icon (⚙) next to the desired export.
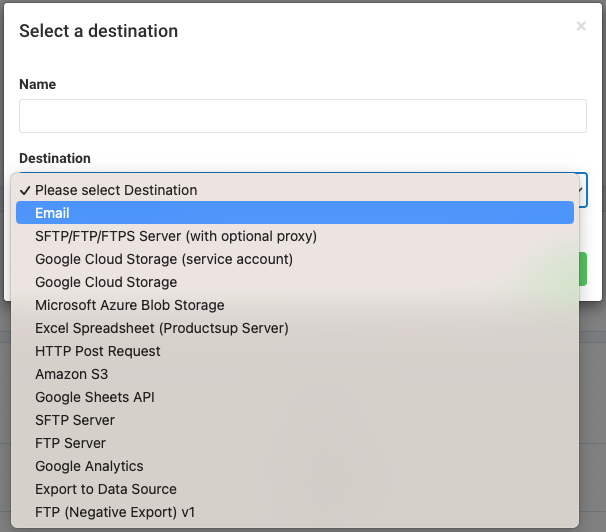
Select Add Destination and choose the Email destination from the drop-down list, give it a name as desired, and select Save.
On the destination setup page, enter the email addresses that should receive output file links in Recipients.
If you need to enter multiple email addresses, separate them with a comma (
,). For example,email1@example.com,email2@example.com.To add carbon copy and blind carbon copy recipients, you can enter their email addresses in CC and BCC. Separate the addresses with a comma (
,) if necessary.Warning
If you have only one email in Recipients and add the same email in BCC, the destination fails.
In Subject, enter the subject line of your email.
You can use Twig to create dynamic subject lines. For example,
Productsup - {{ Export.name }}is the default field value that adds the name of this destination's export to the subject line. See Twig - The flexible, fast, and secure PHP template engine.In Reply to, add an address where your recipients can send a reply to the auto-generated email. Otherwise, they send it directly to support@productsup.com.
In Custom Body Addition, you can enter the text you want the platform to add to the email body. The platform adds this text at the bottom of the email above the signature.
In Time Format, choose a time format the platform should use to add a timestamp to your email.
Toggle the Active button to On to activate the destination.
Select Save.
Select Run or Export in the top-right corner of your view to let the site run the export.
Set up emails with exported images
To send an email with a link to your image output file, you have to use the Email destination and the Image Explorer export. Add and set up both by following these steps:
Go to Exports from your site's main menu and select ADD EXPORT.
Search for Image Exporter, hover over this export, and select Add.

On the Exports page, select the name of the added export to set it up.
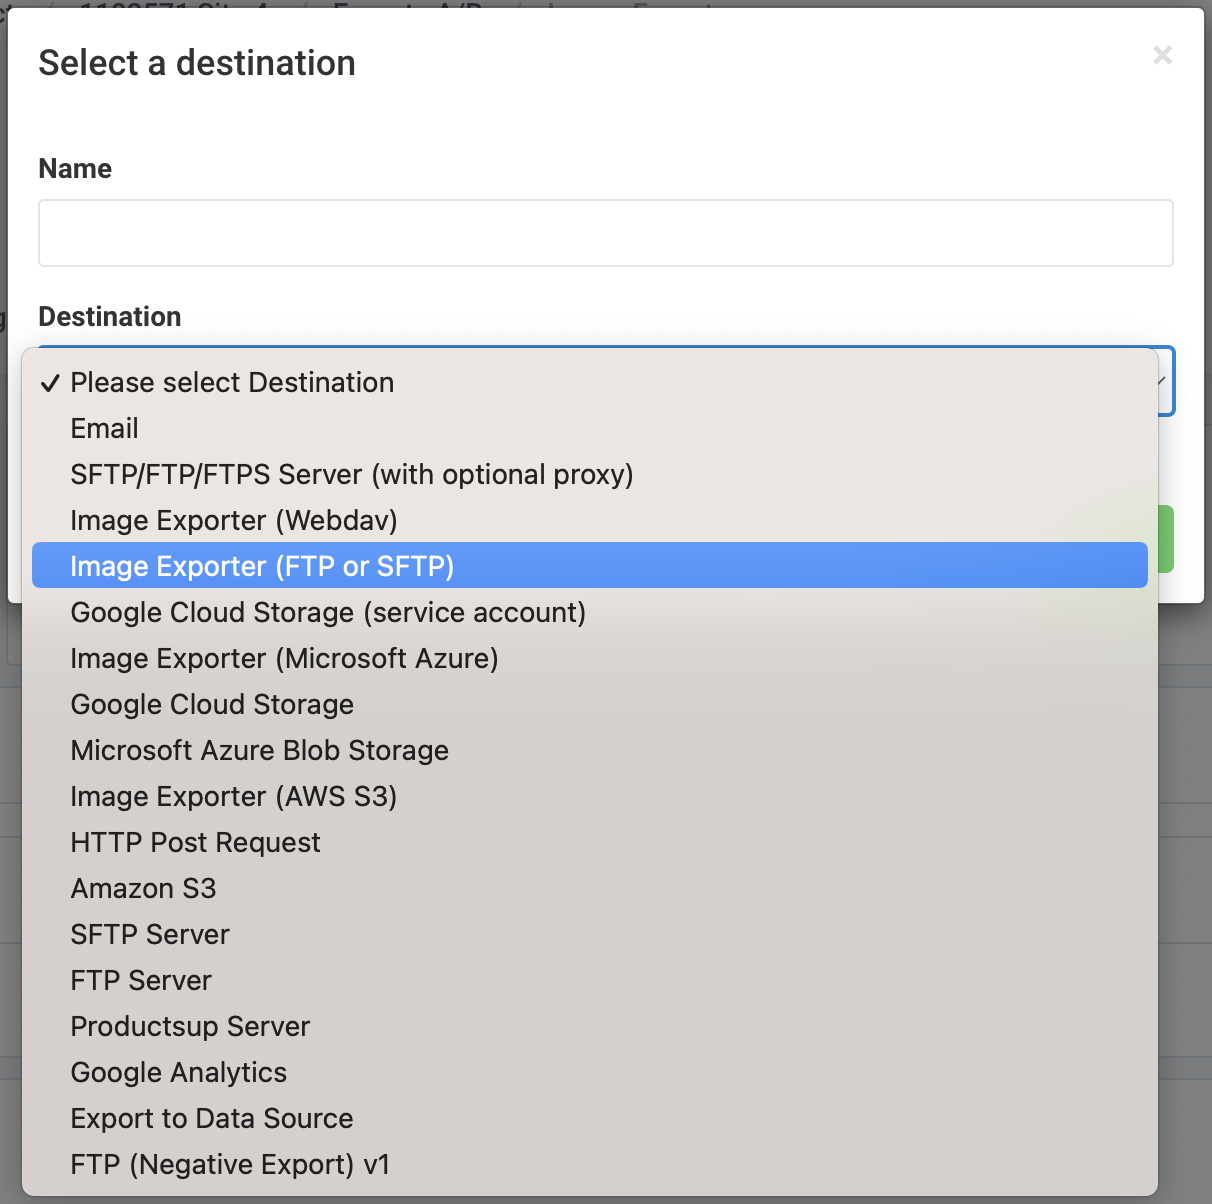
Select Add Destination, choose Image Exporter (FTP or SFTP) from the drop-down list, give it a name as desired, and select Save.
In the destination setup, enter your connection data in FTP Hostname, FTP Username, and FTP Password. The hostname should include a prefix, such as
ftp://your.example-hostname.com.Note
The hostname has to start with
ftp://orsftp://.In Base path, you can enter a path to the server folder where you want to store the images.
In Concurrency, you can enter how many images the export should simultaneously download and send to your server. The expected input format is a digit.
If you have a lot of products in your site, the number in this field shouldn't be high.
In Download Progress Notification Interval, you can enter how many images the platform should send to the server before notifying you of the export's progress. The expected input format is a number.
The destination sends your images to the server as separate image files. To let the destination send your images to the server in a .zip file, give that file a desired name in Zipfile (optional).
The platform uses the input you provide in this field and adds
_0001as a postfix to create the full name of the .zip file. For example, the full name of your exported file can be name-example_0001.zip.If you provide a desired name for your .zip file in Step 9, you can also use the Zip Size Limit field to specify a maximum file size in bytes. The expected input format is a number.
If the size of the .zip file with all your exported images exceeds this limit, the destination sends the images to the server in multiple .zip files. Each .zip file has its number specified in a postfix that the platform adds to its name. For example, if the platform splits all your images into three (3) files, their names can be name-example_0001.zip, name-example_0002.zip, and name-example_0003.zip.
Note
If you enter
0in this field, the destination sends all images to one .zip file on your server without restricting its size or amending its name with a postfix.Toggle the Skip failures button to On to let the destination ignore image download failures and export the rest of the images.
Toggle the Active button to On to activate the destination.
Select Save.
Go to Dataflow, select Image Exporter in the drop-down menu on the left, and map all the needed attributes from import to export.
Test the destination by selecting Run or Export in the top-right corner of your view to let the site run the export.
Caution
The Image Exporter export sends only new and changed images to your destination. If your destination doesn't receive any images, you may have to change your image data, such as image links or names, to make images eligible for export.
Set up the Email destination by following the steps in Set up emails with exported products and other data starting with Step 2.
What if you receive no email
If you set everything up and run your export, but the recipients don't get an email, do the following:
Open the Notifications panel in the top-right corner of your view.
If you see the notification Destination Failed highlighted in red, go to Error Log to check what destination failed during the last run:
If the Email destination failed, go to the settings of the needed export and check if:
The spelling of the added email addresses is correct.
The Active field is On.
The same email isn't both in Recipients and BCC.
If your main destination failed, such as FTP server or Image Exporter (FTP or SFTP), use these suggestions:
Go to the setup page of the needed export and check the settings of the main destination, such as credentials or file paths.
Contact support@productsup.com if you need assistance.
Note
The Image Exporter export sends only new and changed images to your destination. If your Image Exporter (FTP or SFTP) destination doesn't receive any images, you may have to change your image data, such as links or names, to make images eligible for export. For example, add a rule box to one of the image attributes.