Add a new image to your image template
Add an image to your image template in Image Designer in Productsup.
Introduction
In Image Designer, you can apply images over your existing product image using one (1) of the following ways:
Upload a static image file to the platform image library and use it for all templates within the site where you uploaded it. See Add a static image.
Add an image via the URL of the storage that contains the image. See Add an image via the URL.
Add a dynamic image from a selected column in your feed. See Add a dynamic image.
Add a static image
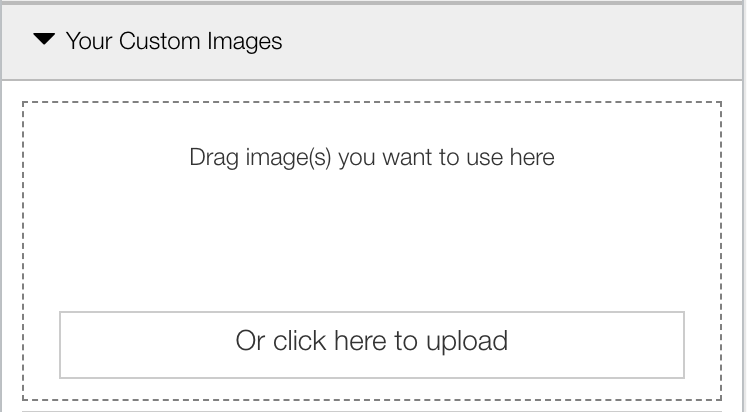
You can upload images from your computer and use them for all templates within the site where you uploaded them. You can find all uploaded images in the Your Custom Images section of the Insert tab. To add an image:
Go to Designer from your site's main menu.
Open the Insert tab.
Scroll down to the section Your Custom Images.
Upload images by dragging them into the upload area or selecting Or click here to upload.
Tip
To see the uploaded image details, select Show Upload Details.
Drag the uploaded image to the image preview area.
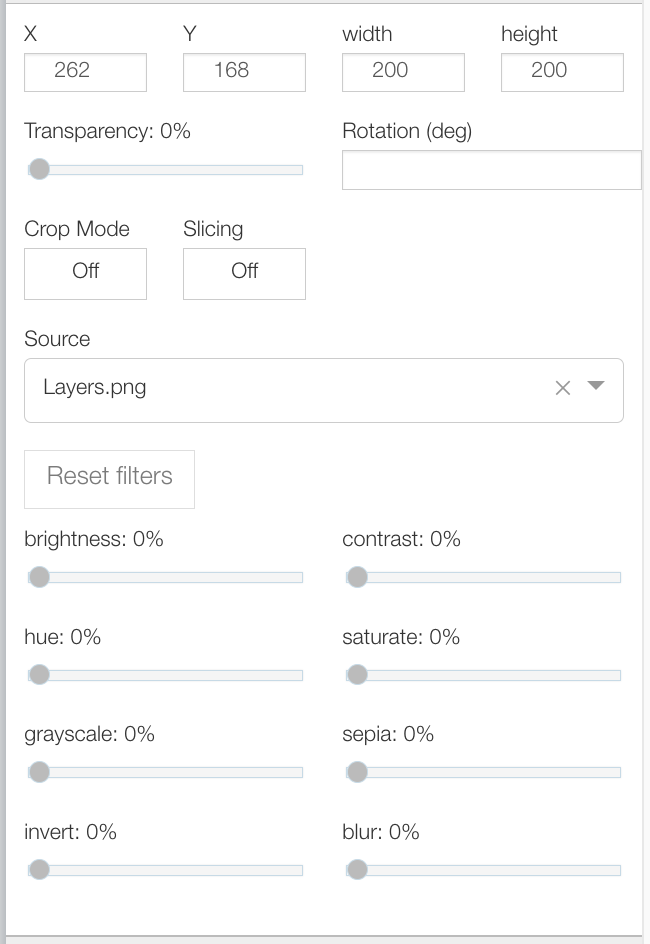
Customize the corresponding custom image layer in the Layers tab. See Set up an image layer.
Select the floppy disk icon in the upper toolbar to save the changes.
Add an image via the URL
You can upload images via the URL of the storage that keeps them.
Go to Designer from your site's main menu.
Open the Insert tab.
Open the Elements section.
Drag the Image from URL element into the image preview area.
Enter the image URL in the pop-up window and select Add.
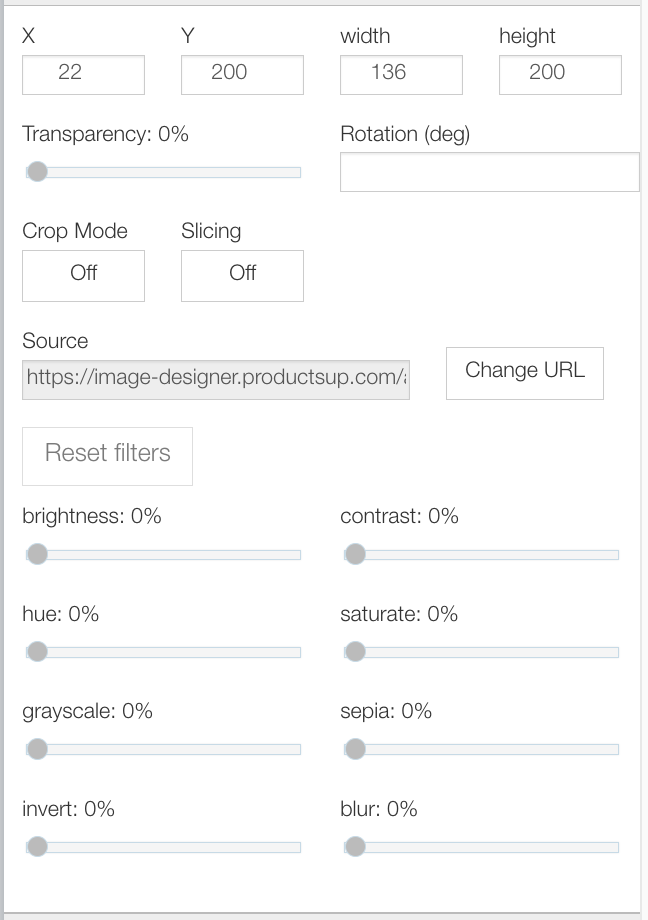
Customize the corresponding image layer in the Layers tab as desired. See Set up an image layer.
Select the floppy disk icon in the upper toolbar to save the changes.
Add a dynamic image
You can add an image from a selected column in your feed.
Go to Designer from your site's main menu.
Open the Insert tab.
Open the Elements section.
Drag the Dynamic Image element into the image preview area.
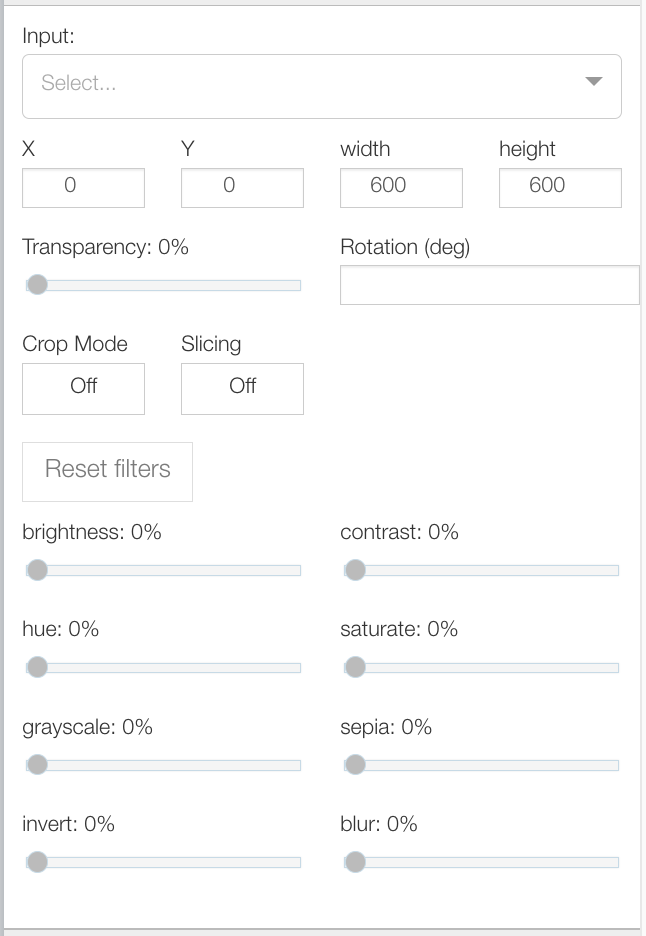
Customize the corresponding Image layer in the Layers tab as desired. See Set up an image layer.
Select the floppy disk icon in the upper toolbar to save the changes.
Set up an image layer
Whenever you add an image to the image template, the platform creates a new layer and gives it a name according to its type and order. To locate a necessary layer, go to the Layers tab and select one of the following:
For a static image, select the corresponding layer named such as
CustomImage: Layer-XX.For an image added via URL, select the corresponding layer named such as
Image: Layer-XX.For a dynamic image, select the corresponding layer named such as
DynamicImage: Layer-XX.
To edit your image layer, set up the following:
Note
The settings of all image types are almost the same. The difference is only in the Input and Source fields.
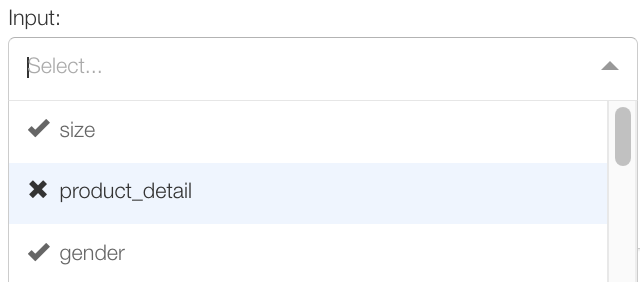
(For Dynamic Image layer only) Input: Select the attribute that contains the value you want to use as a dynamic image.
Note
If the attribute has an ex (✘) before its name, the product you are currently editing in Image Designer has no image.
If the attribute has a checkmark (✔) before its name, the product has a relevant image in the attribute.
X and Y: Set image coordinates to place your image on the template. You can also drag the layer in the image preview area to achieve the same result.
width: Define the width of the image. You can also change the image size right in the image preview area.
height: Define the height of the image. You can also change the image size right in the image preview area.
Transparency: Set the transparency of the image on a scale from 0% to 100%, where 0% means no transparency and 100% means a fully transparent image.
Rotation (deg): Define the rotation degree of the image.
Crop Mode: Cut off the sides, top, and bottom of the image.
Slicing: Slice the image into pieces.
Source: To change the image, do one (1) of the following actions depending on the image layer type:
For CustomImage layers, choose the needed image from the drop-down menu to change an image.
For Image layers, select the Change URL button and enter the URL of a new image.
Reset filters: Reset all your filter settings for this layer.
brightness: Increase the image brightness.
hue: Change the image coloring.
grayscale: Convert your image to black and white.
invert: Invert the colors.
contrast: Increase the image shades.
saturate: Increase the image saturation.
sepia: Add a sepia filter to the image.
blur: Blur the image.