Add the Microsoft Azure Blob Storage destination
Learn how to set up the Microsoft Azure Blog Storage destination in Productsup.
All exports in Productsup have the option of sending data to Microsoft Azure Blob Storage using the destination Microsoft Azure Blob Storage. Using this destination, you can export your data to a data lake for analysis or backup.
Prerequisites
To set up the destination Microsoft Azure Blob Storage, you need:
The name of the Microsoft Azure Blob Storage account where you need to send data.
The storage account key to let Productsup authenticate in the needed Azure storage account. See Authorize with Shared Key.
The name of the container in the relevant storage account.
Set up the destination Microsoft Azure Blob Storage
Go to Exports from your site's main menu and select an export from the list to open the export setup page. If your site doesn't have the needed export yet, select ADD EXPORT to find and add an export.
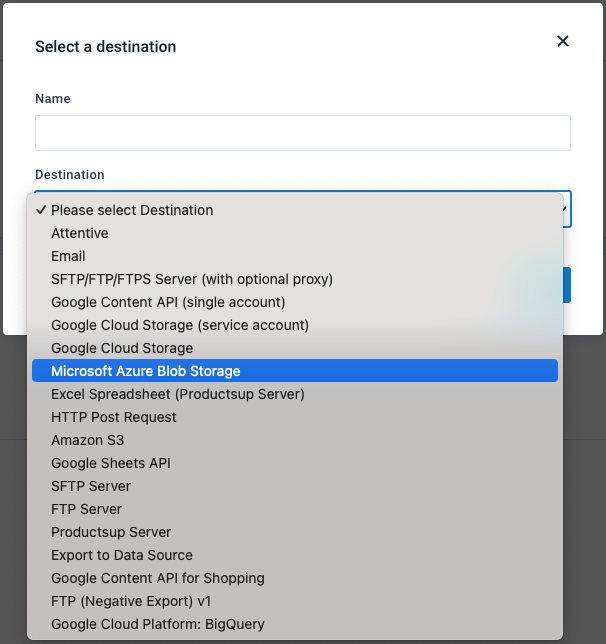
On the export setup page, select Add Destination, choose Microsoft Azure Blob Storage from the drop-down list, give it a name, and then select Save.
In Authentication Type, select Access Key or SAS Token:
If you selected Access Key, enter your Microsoft Azure Blob Storage account information in Storage account name and Access key.
If you selected SAS Token, enter your shared access signature in SAS Token and SAS Blob Endpoint.
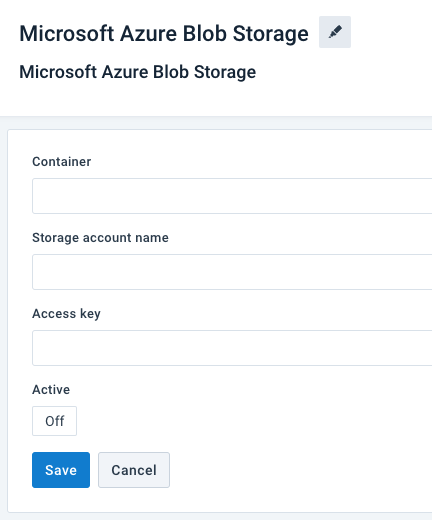
In Container, enter the full URL to the hosted file.
Optionally, in Bath Path, define a filepath and create new subfolders.
Toggle Active to On to activate the destination.
Select Save.
When your data is ready for export, select Run in the top-right corner of your page to let the platform import, process, and send your data to the destinations of all active exports in your site.
If you want to run only the export where you added your Azure storage destination, you should:
Select Import to let the site import and process your data.
Go to Exports, select the needed export, and choose Export this export.

Once the site finishes the export, you can go to your Azure container to check the uploaded data. If everything is as expected, you can let your export channel system start an import from the container.