Add Google Merchant Center export
Google Merchant Center and Google Shopping: Learn how to use the Productsup platform to export your product data to GMC.
Google Shopping shows your products as search results in the Shopping tab of Google Search.
Google Shopping ads are product advertisements visible across the entire Google ecosystem. Although possible locations of your Google Shopping ads depend on your chosen type of Google Shopping campaign, your product ads can generally appear in Google Shopping, Google Search, Google Images, Google Maps, etc.
In Productsup, you can use multiple exports to send your data to Google Merchant Center (GMC), which lets you post your products in Google Shopping and advertise them with Google Shopping ads.
You can send different types of data to Google Merchant Center from Productsup using different exports:
Type of data | Exports in Productsup that send this data to GMC |
|---|---|
General product data (titles, images, prices, descriptions, brands, stock levels, etc.) | Google Merchant Center, Google Content API for Shopping, or Google Content API for Shopping (multi). See the following sections in this document for the setup of these exports. |
Promotion data and promo text for ads | Google Merchant Promotions or Google Merchant Center - Promotions (API). |
Star-based product ratings, overall number of product reviews, and other reviews data | Google Product Ratings or Google Products Reviews |
When done with the setup, watch this short video to learn 5 tips to get your product data ready for Google Merchant Center:
Choose how you want to send data to GMC
The Productsup platform lets you export your product feed to Google Merchant Center. The specific way of setting up the export in the platform depends on how you want GMC to ingest your product data:
Via URL generated by Productsup.
Via SFTP server provided by Google Merchant Center.
Note
Google stopped supporting FTP in Merchant Center. See End of support for FTP in Merchant Center for more information.
Via API integration between Productsup and GMC that lets you automate and schedule data uploads.
You can choose any option based on the number of products you have and the rate of their data changeability:
If your feed contains few products and the data doesn't change often, consider using the URL or the SFTP server.
If your feed contains many products and the data constantly updates, select API. With API, you can only send product data updates to GMC instead of entire feeds, which speeds up the export.
Prerequisites
To export your product data to Google Merchant Center via URL, you need:
A Google Merchant Center account.
Product data containing the needed product attributes. See Product data specification for information on all mandatory and optional attributes for GMC.
To export your product data to Google Merchant Center via SFTP, you need:
A Google Merchant Center account.
Relevant SFTP server credentials, such as a username and a password.
Product data containing the needed product attributes. See Product data specification for information on all mandatory and optional attributes for GMC.
To export your product data to Google Merchant Center via API, you need:
A Google Merchant Center account.
GMC authentication in your Productsup organization. See Add OAuth authentication to external systems for more information.
To add GMC authentication to your Productsup organization:
Go to Authentication from the organization's, project's, or site's menu and select ADD AUTHENTICATION.
In Type, select Google Merchant Center, give it a custom name as desired, and select Next.
Select Connect for Productsup to redirect you to a Google account page where you can give Productsup access to your Google Merchant Center account. Once ready, Google redirects you back to Productsup. Close the confirmation window to proceed.
Your Merchant ID that Google assigned to your payment profile. See Find your Merchant ID for more information.
Product data containing the needed product attributes. See Product data specification for information on all mandatory and optional attributes for GMC.
A clear strategy for migrating to the API export method:
Tip
You can skip this requirement if you have never uploaded any products to your GMC account.
If you have already uploaded product data to your Google Merchant Center account, use the same product IDs you used with your previous data upload mechanisms to avoid data conflicts and loss.
You must stop uploading product data using other mechanisms and let the API method in Productsup be the only way you send product data to your GMC account.
Upload data to Google Merchant Center via URL
To upload your product data to Google Merchant Center via URL, add the Google Merchant Center export template to your site and use the Productsup Server destination:
Go to Exports from your site's main menu and select Add export.
Search for Google Merchant Center, select Add, give it a name as desired, and again select Add.

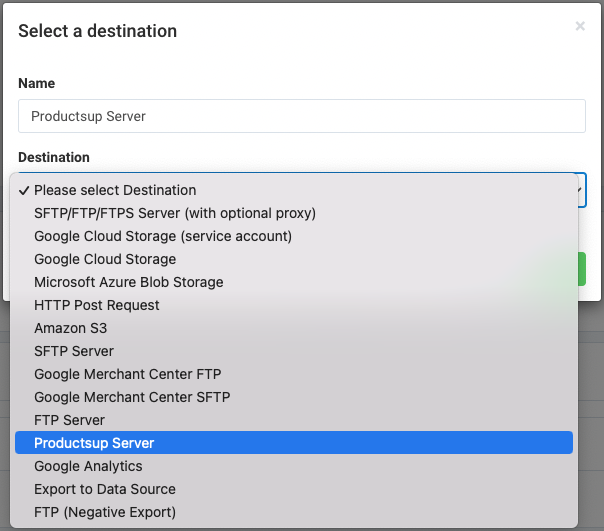
Select Add Destination, choose Productsup Server from the dropdown, give it a name as desired, and then select Save.
Go to Dataflow to locate all the attributes mandatory for Google Merchant Center and map them from import to export.
Go to Data View to optimize your data as needed. See Rule box category Google Merchant Center for more information.
Upload data to Google Merchant Center via the SFTP server
To upload your product data to GMC via the SFTP server, add the Google Merchant Center export template to your site and use the Google Merchant Center SFTP destination:
Go to Exports from your site's main menu and select Add export.
Search for Google Merchant Center, select Add, give it a name as desired, and again select Add.
Select Add Destination, choose Google Merchant Center SFTP from the dropdown, give it a name as desired, and select Save.
Set up Google Merchant Center SFTP destination:
In User, enter your SFTP server username.
In Password, enter the password for your SFTP server account.
Select On in Active to activate the destination.
Select Save.
Go to Dataflow to locate all the attributes mandatory for Google Merchant Center and map them from import to export.
Go to Data View to optimize your data as needed. See Rule box category Google Merchant Center for more information.
Upload data to Google Merchant Center via API
When you use the API option to upload your product feed to Google Merchant Center, Productsup continuously processes all changes you perform in your data and syncs only the changed parts of the data with GMC. The API uploads delta files only.
Besides automating data synchronization and helping you work with more products, uploading data to GMC via API lets Productsup receive error responses from GMC as feedback files in Data Sources. You can troubleshoot your product data optimizations using these files.
To upload your product data to GMC via API, you should use one of the following export templates:
Google Content API for Shopping. Use this option to export one product feed to one Google Merchant Center account.
Tip
If you have multiple parent GMC accounts to which you want to send your feed, add and set up multiple templates of the Google Content API for Shopping export to your site.
Google Content API for Shopping (multi). Use this option to export one product feed to multiple sub-accounts within your parent GMC account.
Tip
With the Google Content API for Shopping (multi) export, you can use multithreading to push products to GMC in parallel and speed up your exports.
Add Google Content API for Shopping export
Note
Google recommends limiting the size of the product batches you export from Productsup into GMC. The default batch size is 1,000 products. You can expect that Productsup typically sends batch sizes ranging from 100 to 1,000 products.
Go to Exports from your site's main menu and select Add export.
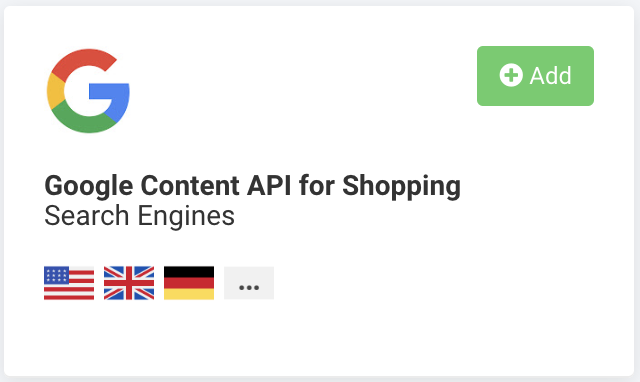
Search for Google Content API for Shopping. Select Add, give it a name as desired, and again select Add.
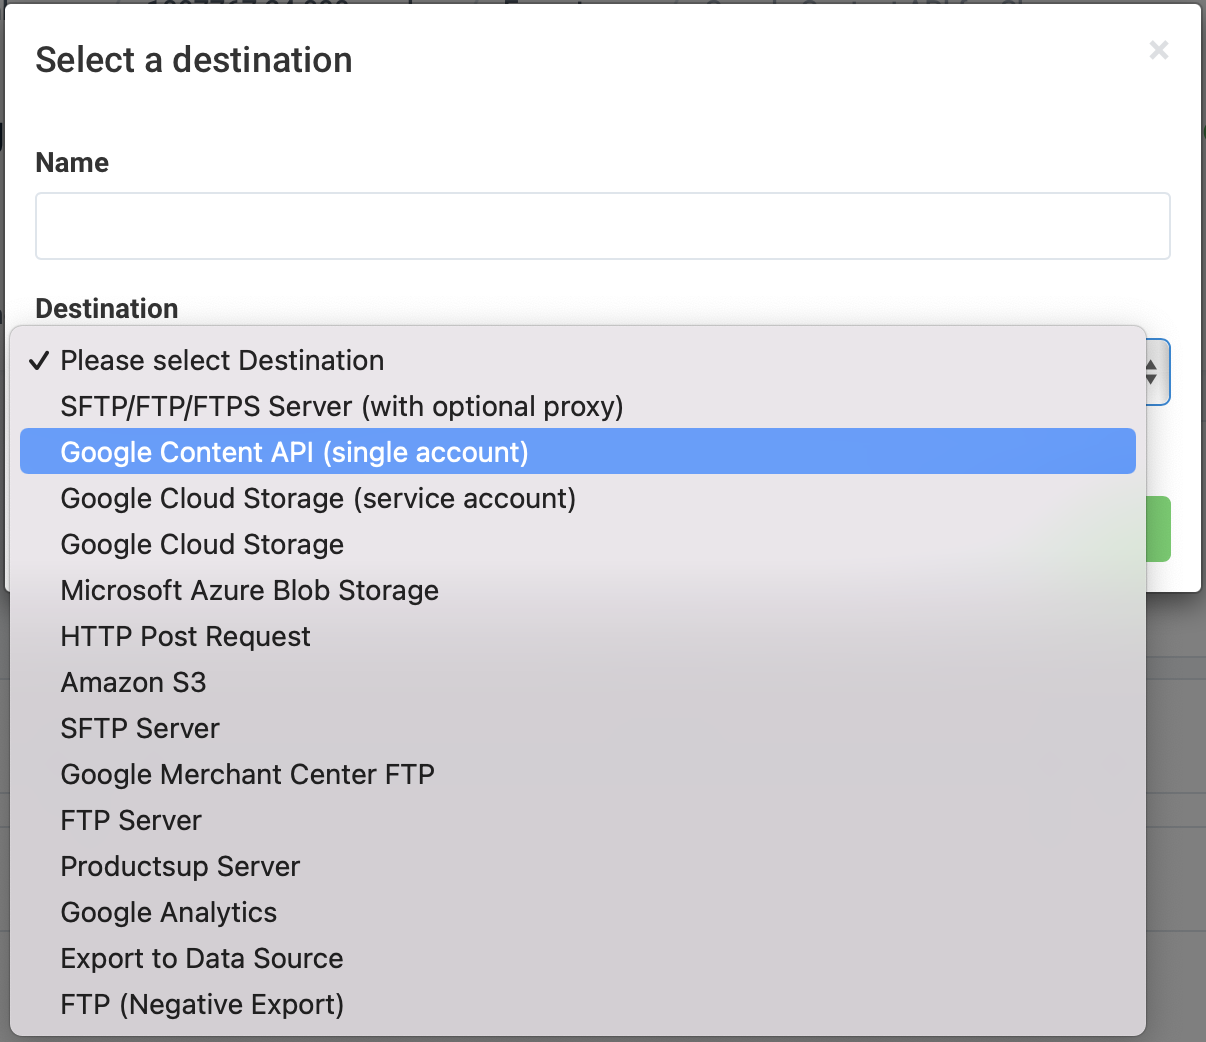
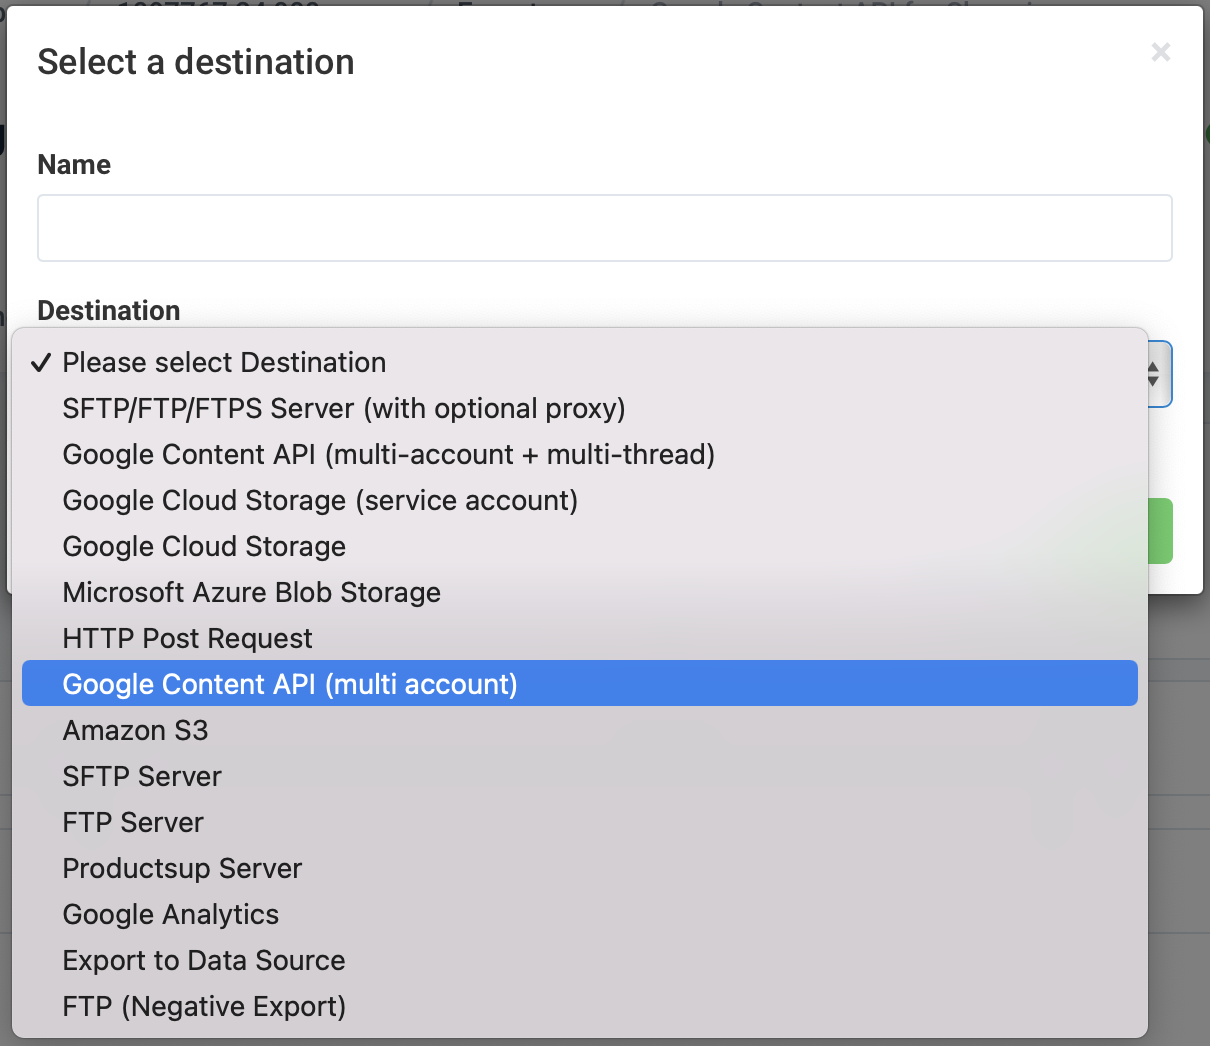
Select Add Destination and choose Google Content API (single account) from the dropdown. You can optionally customize the destination's description in Name. Select Save.
In Merchant Center ID, enter your Merchant ID. If you have a multi-client GMC, enter the Merchant ID of your sub-account.
Select the appropriate target country and language for the feed in Target Country and Target Language.
Define how often you want the platform to perform a complete product upload in Full Upload Interval (in days). To avoid product expiration, the platform exports new, deleted, changed, and unchanged products during a complete upload performed once every defined time interval.
Note
Google Merchant Center deactivates unchanged products after 30 days or sooner if a specified number of days have passed.
In Merchant Center Cleanup, choose Yes to delete products within GMC that do not originate from Productsup. By default, this option is disabled.
This setting should only be used once. You can enable it if you are migrating from other service providers to Productsup. Once the migration is over, you should disable this setting.
Caution
Keeping this setting enabled can cause unexpected product deletions. For example, during a full catalog export, the destination matches the items it exports from your site with the products already available in your GMC. If a product in your GMC isn't present in the export, the destination removes it from GMC.
Choose your GMC authentication in Authentication to use. If you haven't created the authentication in the platform yet, select Add New Authentication and create it, as previously seen in Prerequisites.
Select On in Enable Error Log File to let Productsup upload feedback files that contain export-related errors as a new data source. You can also download the zipped errors file from the Notifications window.

Tip
The ZIP folder may contain error logs spread across different files. You can search for something specific in the logs using a keyword, for example,
product ID. Some text editors let you search for a keyword across all files in a ZIP file.In Log API calls, select On for the platform to log calls to the GMC API. You can find the logs in the Notifications window.
In Log headers of API calls, select On to add response headers to the logs.
In API call logging end time, enter a date using the
YYYYMMDDorYYYY-MM-DDformat, stating when the platform should stop logging API calls.Note
Do not let this feature run indefinitely, as it generates excessive files and slows exports.
Turn on the destination by selecting On in Active.
Select Save.
Go to Dataflow to locate all the attributes mandatory for Google Merchant Center and map them from import to export.
Go to Data View to optimize your data as needed. See Rule box category Google Merchant Center for more information.
Note
The API is more restrictive than the SFTP or URL upload. If you upload an incorrect category or your feed is missing mandatory attributes, the product upload fails.
Add Google Content API for Shopping (multi) export
Note
Google recommends limiting the size of the product batches you export from Productsup into GMC. The default batch size is 1,000 products. You can expect that Productsup typically sends batch sizes ranging from 100 to 1,000 products.
Go to Exports from your site's main menu and select Add export.
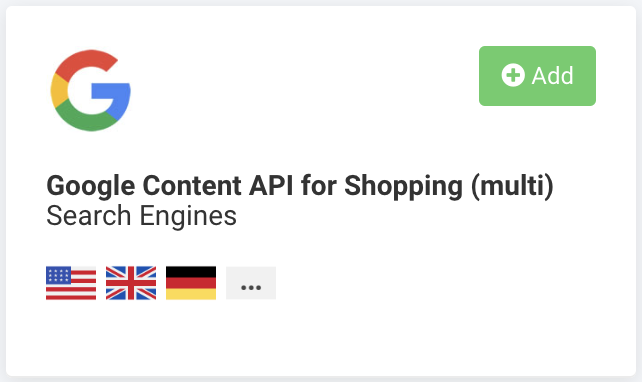
Search for Google Content API for Shopping (multi). Select Add, give it a name as desired, and again select Add.
Select Add Destination and choose Google Content API (multi account) from the dropdown. You can optionally customize the destination's description in Name. Select Save.
In Parent Merchant Center, enter the Merchant ID of your GMC sub-account.
In Merchant Reference Column, choose the attribute within your feed that contains your merchant center name, merchant center ID, or seller ID.
Select the appropriate target country and language for the feed in Target Country and Target Language.
Define how often you want the platform to perform a complete product upload in Full Upload Interval (in days). To avoid product expiration, the platform exports new, deleted, changed, and unchanged products during a complete upload performed once every defined time interval.
Note
Google Merchant Center deactivates unchanged products after 30 days or sooner if a specified number of days have passed.
Choose your GMC authentication in Authentication to use. If you haven't created the authentication in the platform yet, select Add New Authentication and create it, as previously seen in Prerequisites.
Select On in Create Merchant Centers to let the platform create new merchant centers in your GMC account. This option only works when you use the merchant center name or seller ID as your merchant reference in Merchant Reference Column. By default, this option is on.
Select On in Enable Error Log File to let Productsup upload feedback files that contain export-related errors as a new data source. You can also download the zipped errors file from the Notifications window.
Tip
The ZIP folder may contain error logs spread across different files. You can search for something specific in the logs using a keyword, for example,
product ID. Some text editors let you search for a keyword across all files in a ZIP file.In Merchant Center Cleanup, choose Yes to delete products within GMC that do not originate from Productsup. By default, this option is disabled.
This setting should only be used once. You can enable it if you are migrating from other service providers to Productsup. Once the migration is over, you should disable this setting.
Caution
Keeping this setting enabled can cause unexpected product deletions. For example, during a full catalog export, the destination matches the items it exports from your site with the products already available in your GMC. If a product in your GMC isn't present in the export, the destination removes it from GMC.
In Reference Validation (regex), leave the default value
#.+#for Productsup to check whether your products follow the data structure required by GMC. Once the platform validates your products, it can send them to Google Merchant Center.From the Merchant Reference Type drop-down list, choose one of the following options depending on what the attribute you chose in Merchant Reference Column contains:
Merchant Reference Column contains the Merchant Center Name
Merchant Reference Column contains the Merchant Center ID
Merchant Reference Column contains the Seller ID
Enter the name of each newly created merchant center account in New Merchant Account Name. This setting applies only if you use the seller ID as a merchant reference.
Select On in Remove Empty Subaccounts to remove empty sub-accounts from your Google Merchant Center before running a new export. With this option On, the API deletes empty sub-accounts every time the site runs.
In Log API calls, select On for the platform to log calls to the GMC API. You can find the logs in the Notifications window.
In Log headers of API calls, select On to add response headers to the logs.
In API call logging end time, enter a date using the
YYYYMMDDorYYYY-MM-DDformat, stating when the platform should stop logging API calls.Note
Do not let this feature run indefinitely, as it generates excessive files and slows exports.
Turn on the destination by selecting On in Active.
Select Save.
Go to Dataflow to locate all the attributes mandatory for Google Merchant Center and map them from import to export.
Go to Data View to optimize your data as needed. See Rule box category Google Merchant Center for more information.
Note
The API is more restrictive than the SFTP or URL upload. If you upload an incorrect category or your feed is missing mandatory attributes, the product upload fails.
Export your feed to GMC via API
Note
When you export to GMC via API, you can't download your export file from the Files panel in the Overview tab of your export setup.
Export your product feed by selecting Export or Run in the top-right corner of your site's view.
Note
Make sure to export unavailable products with the status
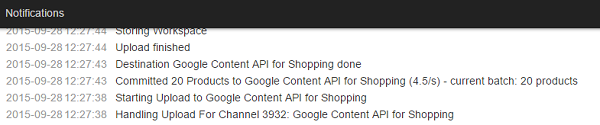
out of stock. Otherwise, they appear available in GMC.Once the run completes, you can see the result in the Notifications window. To open Notifications, select the bell icon in the top-right corner of your site's view.
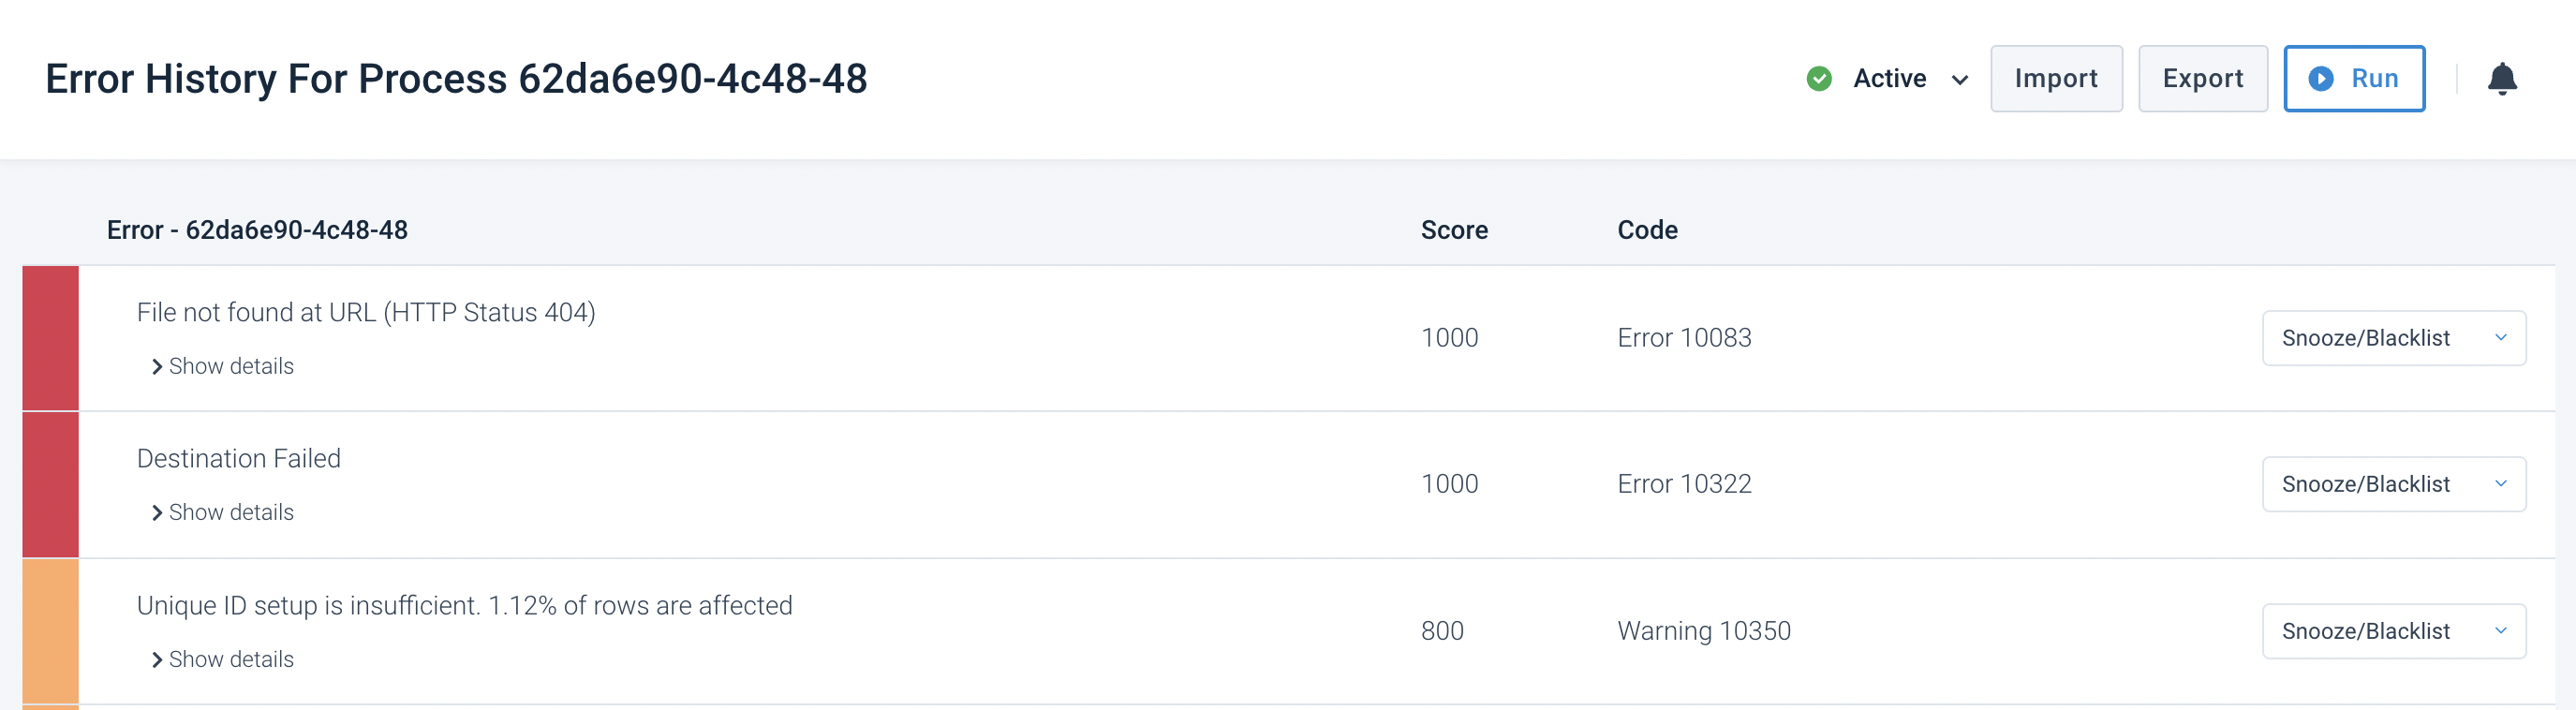
If the export fails, you can check error messages in the Notifications window provided that you have turned on the Enable Error Log File option as previously seen in Step 9 or Step 10. Otherwise, correct your feed and try again.
You can also go to Error Log and open your site's last run to see what went wrong with it.
Note
After the first upload in GMC, your products could take longer than expected to display in your organization. If you have already exported your feed to GMC via API, the process should take less time.