Whitelist feature
Get an overview of setting up and using the Whitelist feature in Productsup.
Introduction
In Productsup, you can whitelist certain values to make sure that the platform exports products containing these values even if the settings of other rule boxes require that the platform skip these products during export.
Combining whitelist rule boxes with blacklist and skip rule boxes can let you set up an intricate system of product filtering.
Note
The priority of whitelist rule boxes is higher than that of blacklist, skip, and ROI rule boxes. For example, if both a whitelist and a blacklist rule box have a priority of 10, the whitelist rule box takes priority.
In Productsup, there are 2 ways to whitelist specific terms within product values:
Using Whitelist Row If Value In and Whitelist Row If Value Not In rule boxes for a smaller list of whitelisting values.
Using Standard or Dynamic Inclusion/Exclusion lists and the Whitelist rule box for a larger list of whitelisting values.
Add small list of terms to whitelist
If you have a list of 25-30 terms to whitelist, you can use these rule boxes:
Whitelist Row If Value In lets the platform export products containing the terms you specify in this rule box.
Whitelist Row If Value Not In lets the platform export products that don't contain the terms you specify in this rule box.
Warning
Using these rule boxes for bigger lists of terms can significantly increase your site's processing times.
See Rule box category Include or exclude products to learn to set up the rule boxes Whitelist Row If Value In and Whitelist Row If Value Not In.
Add large list of terms to whitelist
If you have a list of over 25-30 terms to whitelist, you need to use a combination of lists and the whitelist rule box. To whitelist the product rows this way, take the following steps:
Create a list. See Lists feature to choose the needed list type. You have the following options:
Standard Inclusion/Exclusion list. See Set up the Standard Inclusion/Exclusion list.
Dynamic Inclusion/Exclusion list. See Set up a Dynamic Inclusion/Exclusion list.
Add the
Whitelistrule box and choose a created list in it. See Whitelist rule box.
Set up the Standard Inclusion/Exclusion list
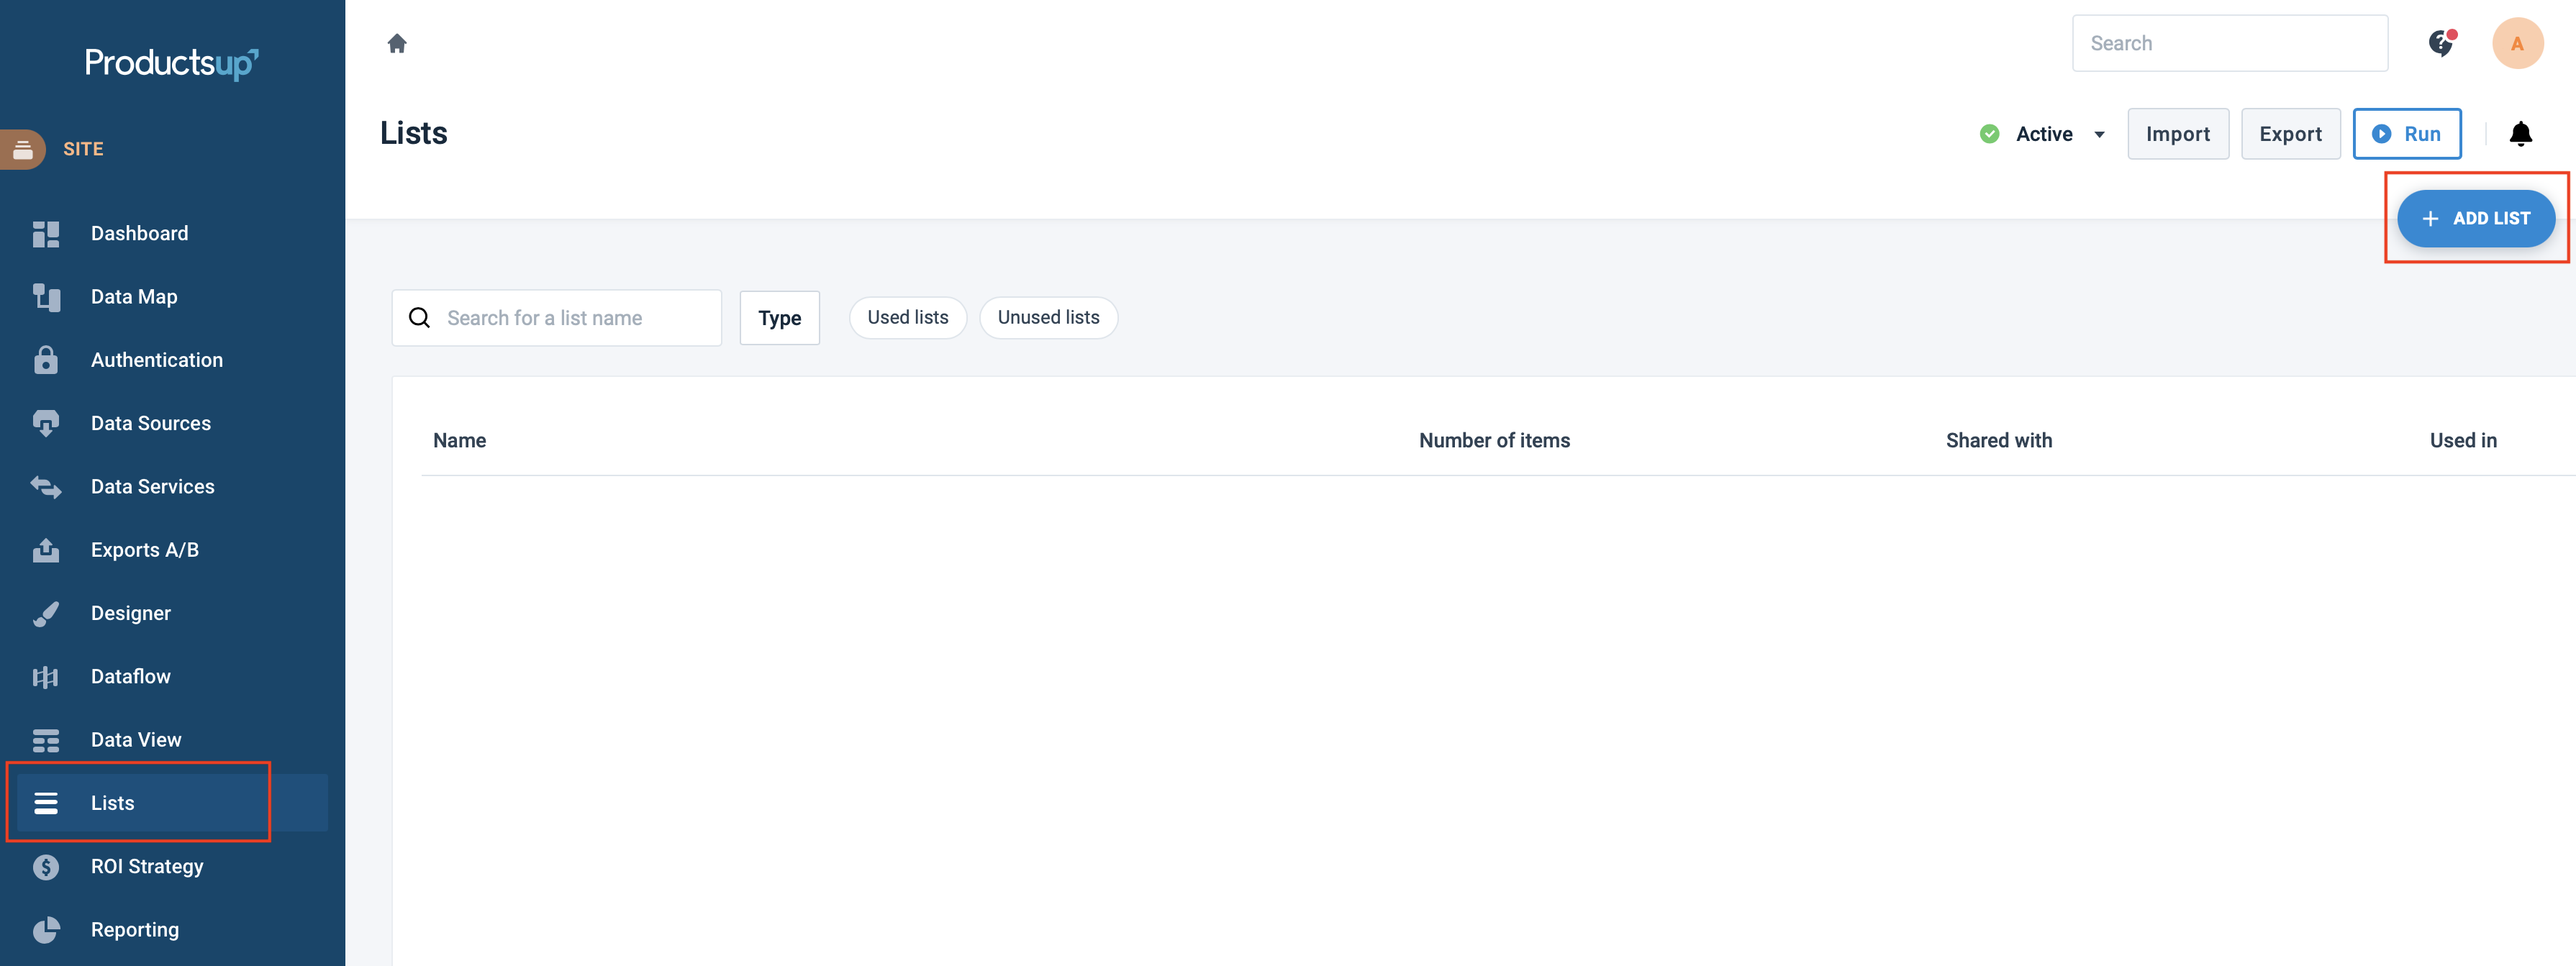
Go to Lists from your site's main menu and select ADD LIST.

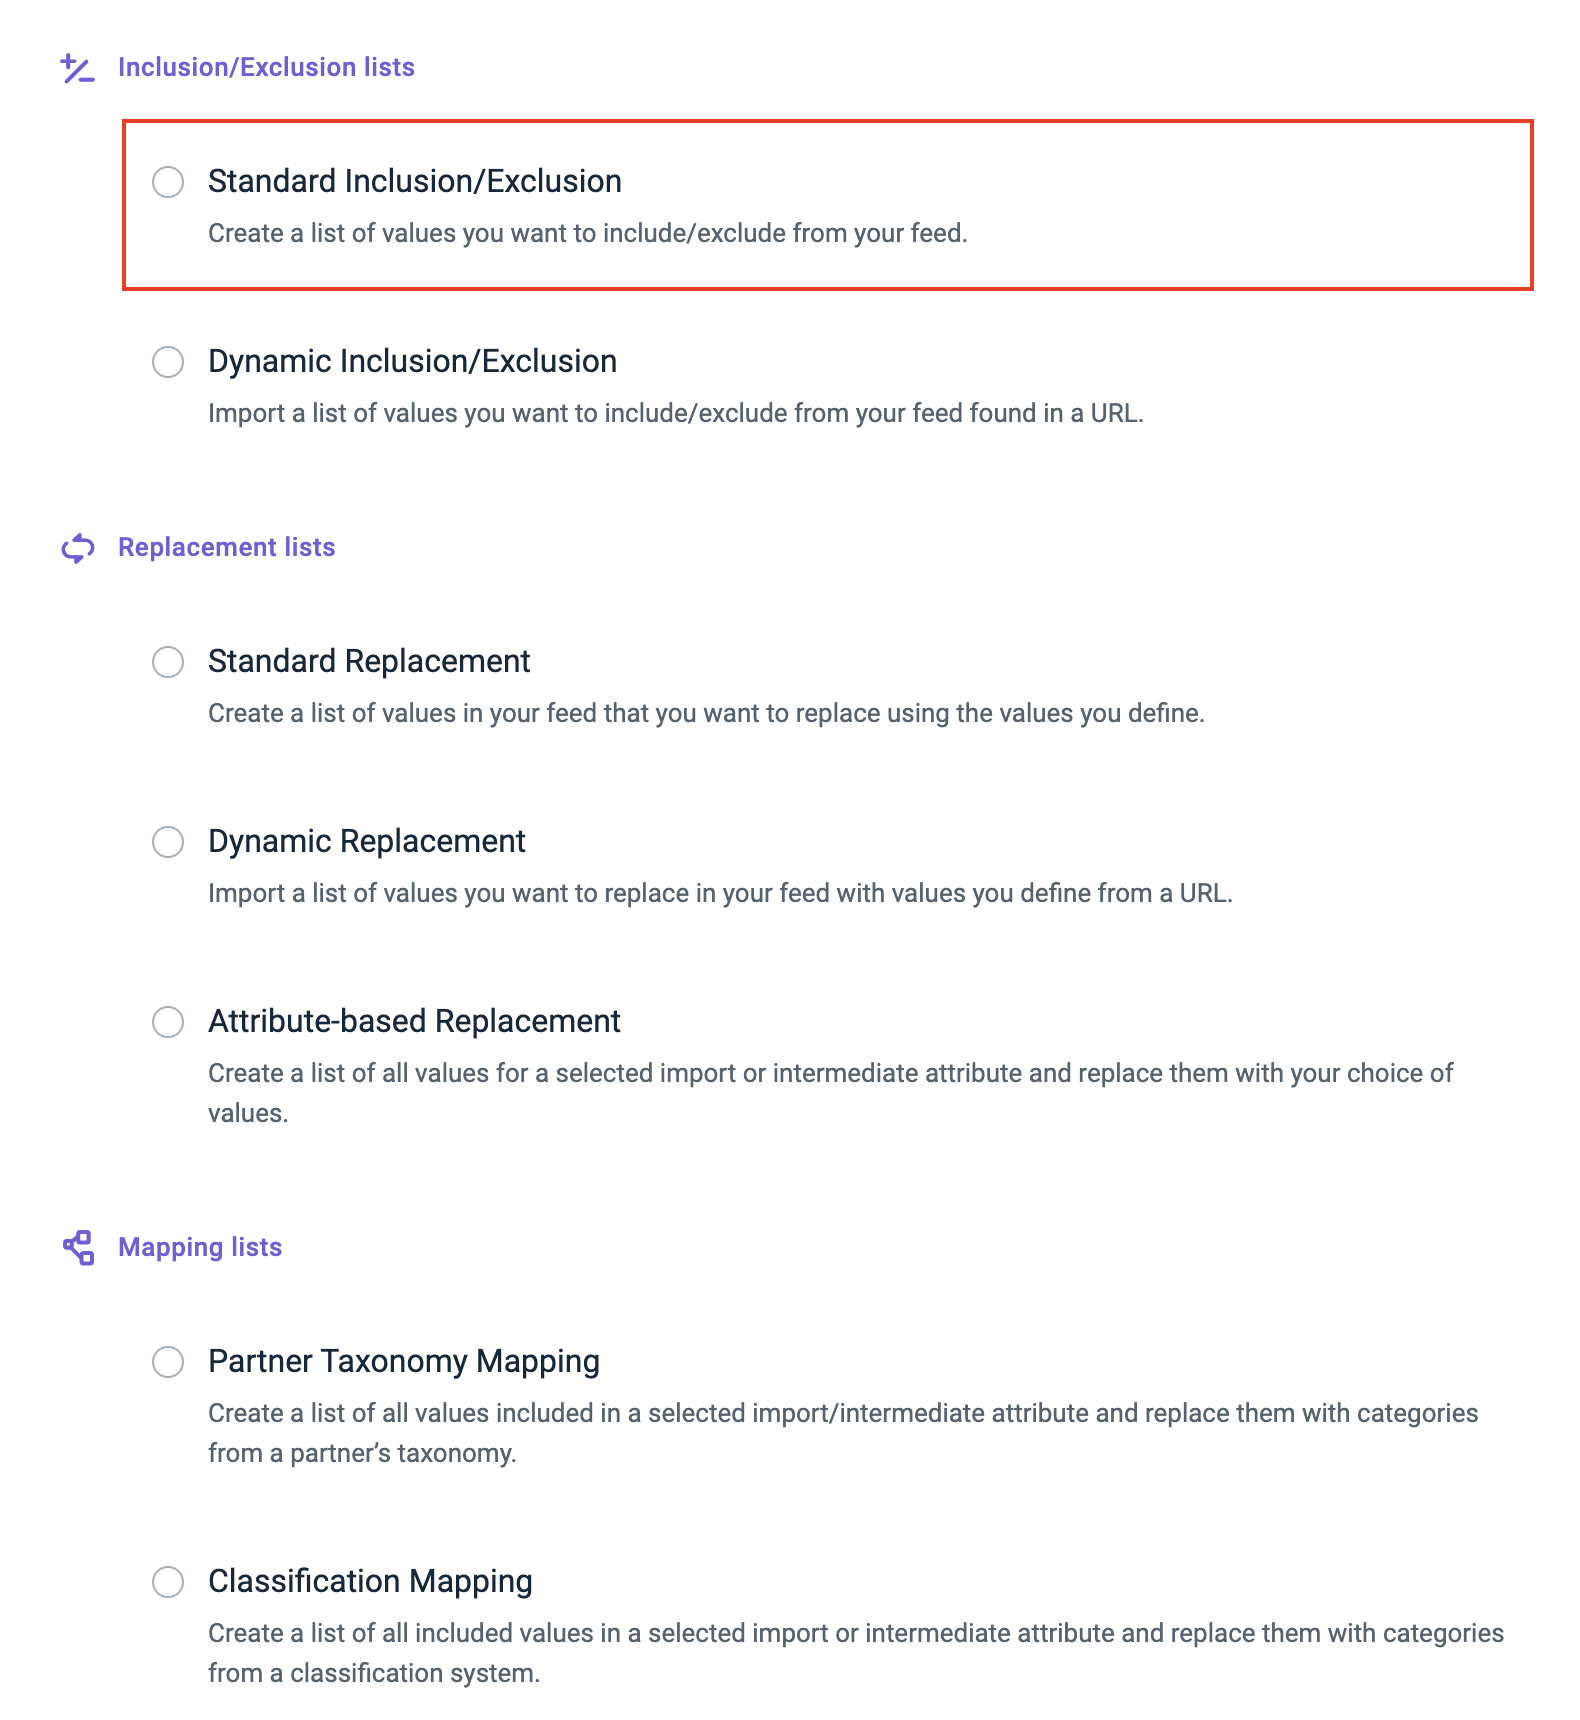
Next, choose Standard Inclusion/Exclusion and select Continue.

In Name, give your Inclusion/Exclusion List a custom name to help you identify it. You can later edit the custom name.
(Optional) Toggle on the Share list button and select one of the following:
Account level shares this list with all sites across all projects under this organization.
Project level shares this list with all sites under this project.
Note
If you share the list at the organization or project level, the platform updates the list during an import from the original site where you created the list.
Select Add.
Add values to the Standard Inclusion/Exclusion list
After creating your Standard Inclusion/Exclusion list, see the following to add values:
Within your newly-created list, enter a value you want to use for excluding a product in Search. Select Add to save your value. Repeat this step, as necessary, to continue adding values to your Standard Inclusion/Exclusion list.
If you make changes to the source file, perform an import to update the list.

Set up a Dynamic Inclusion/Exclusion list
Go to Lists from your site's main menu and select ADD LIST.

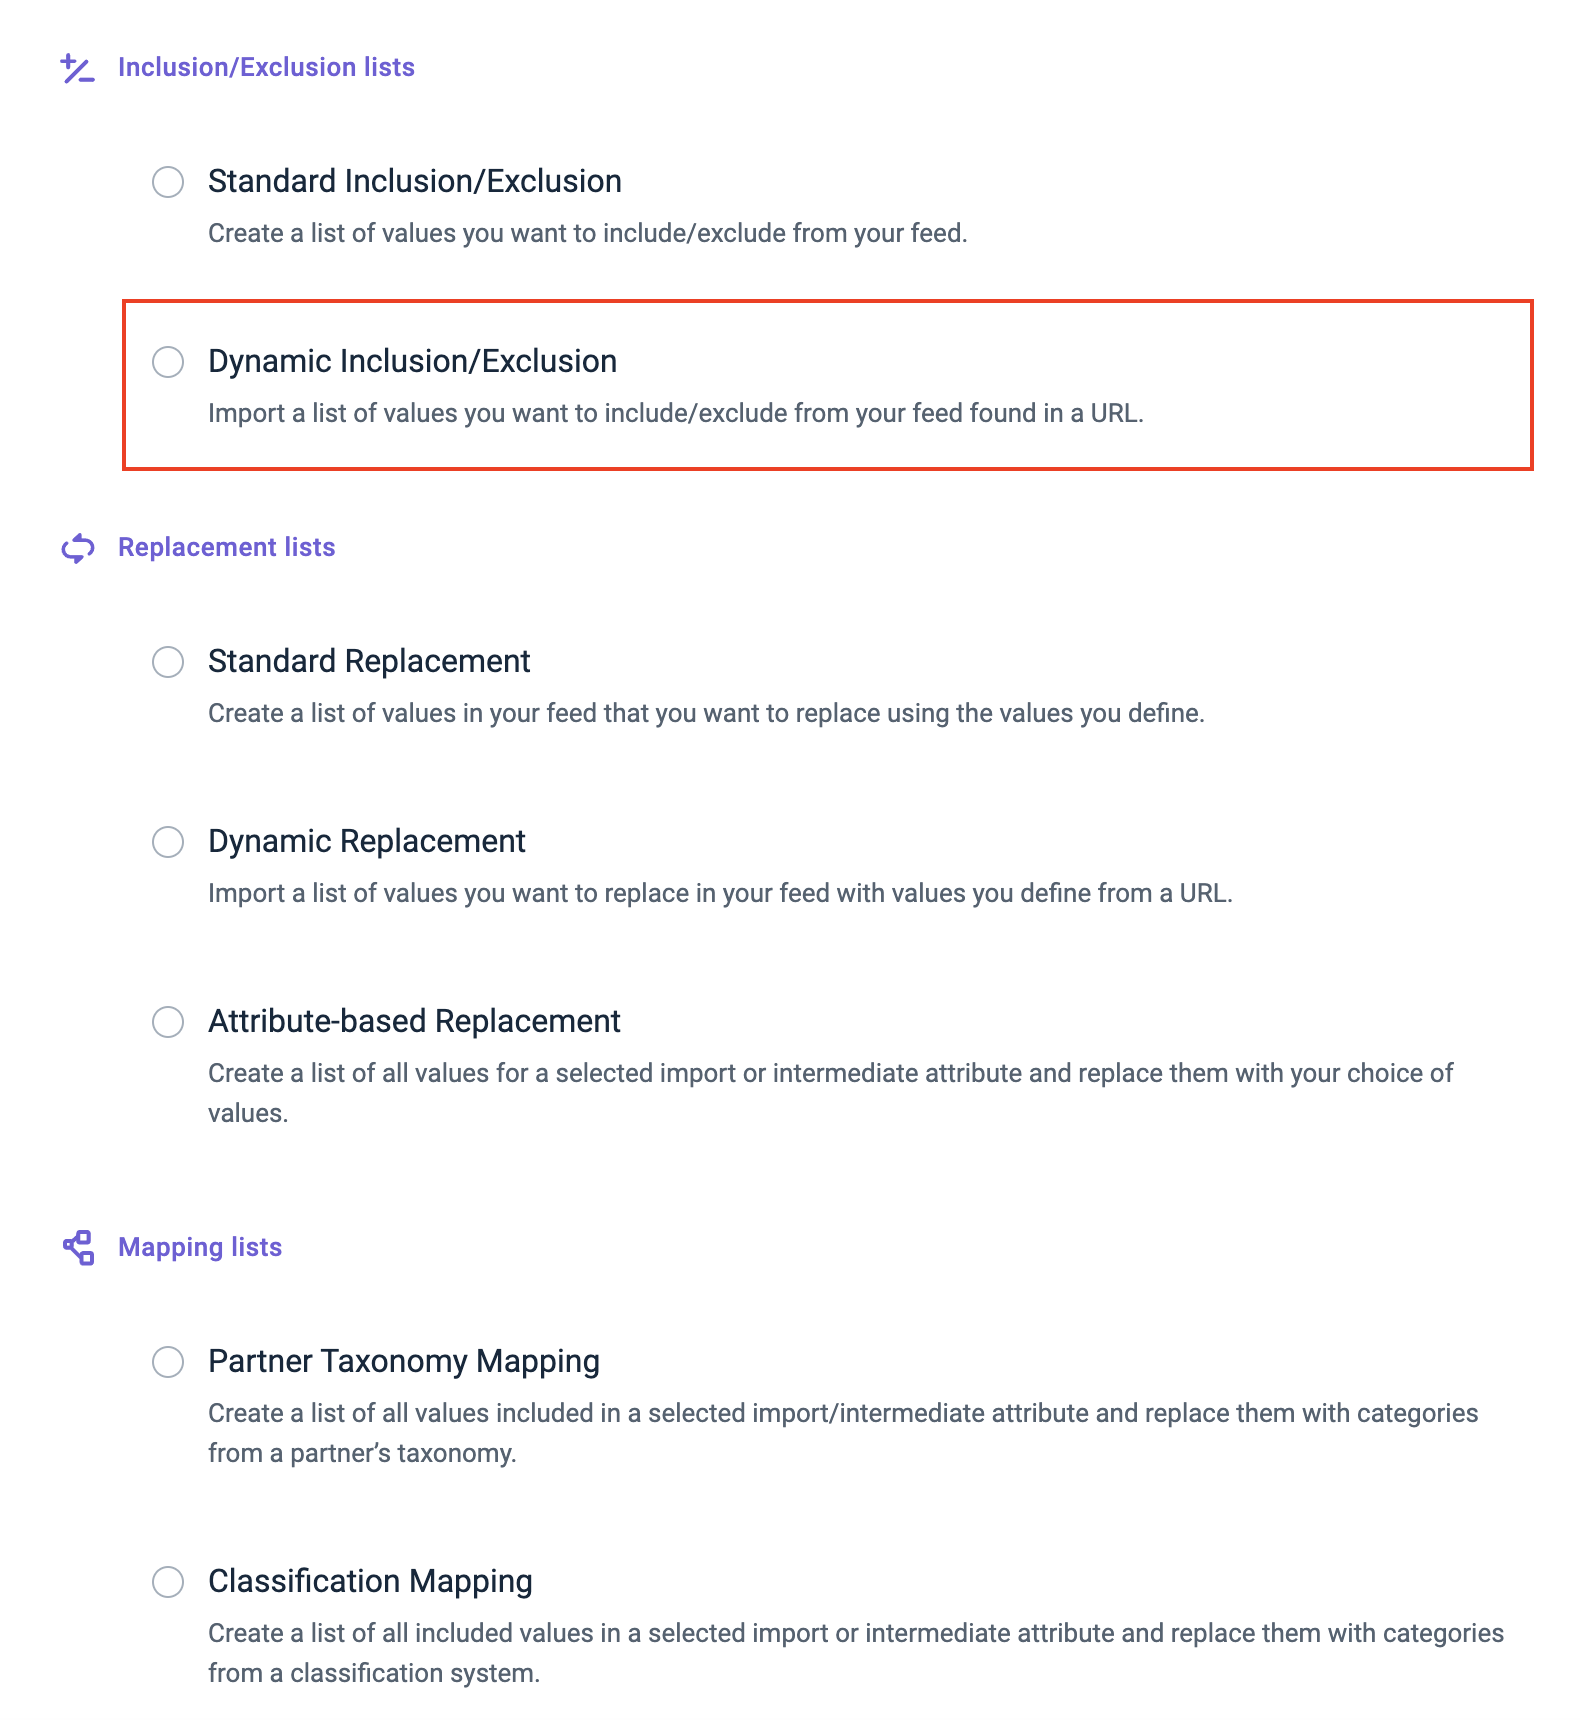
Next, choose Dynamic Inclusion/Exclusion and select Continue.

In Name, give your Inclusion/Exclusion List a custom name to help you identify it. You can later edit the custom name.
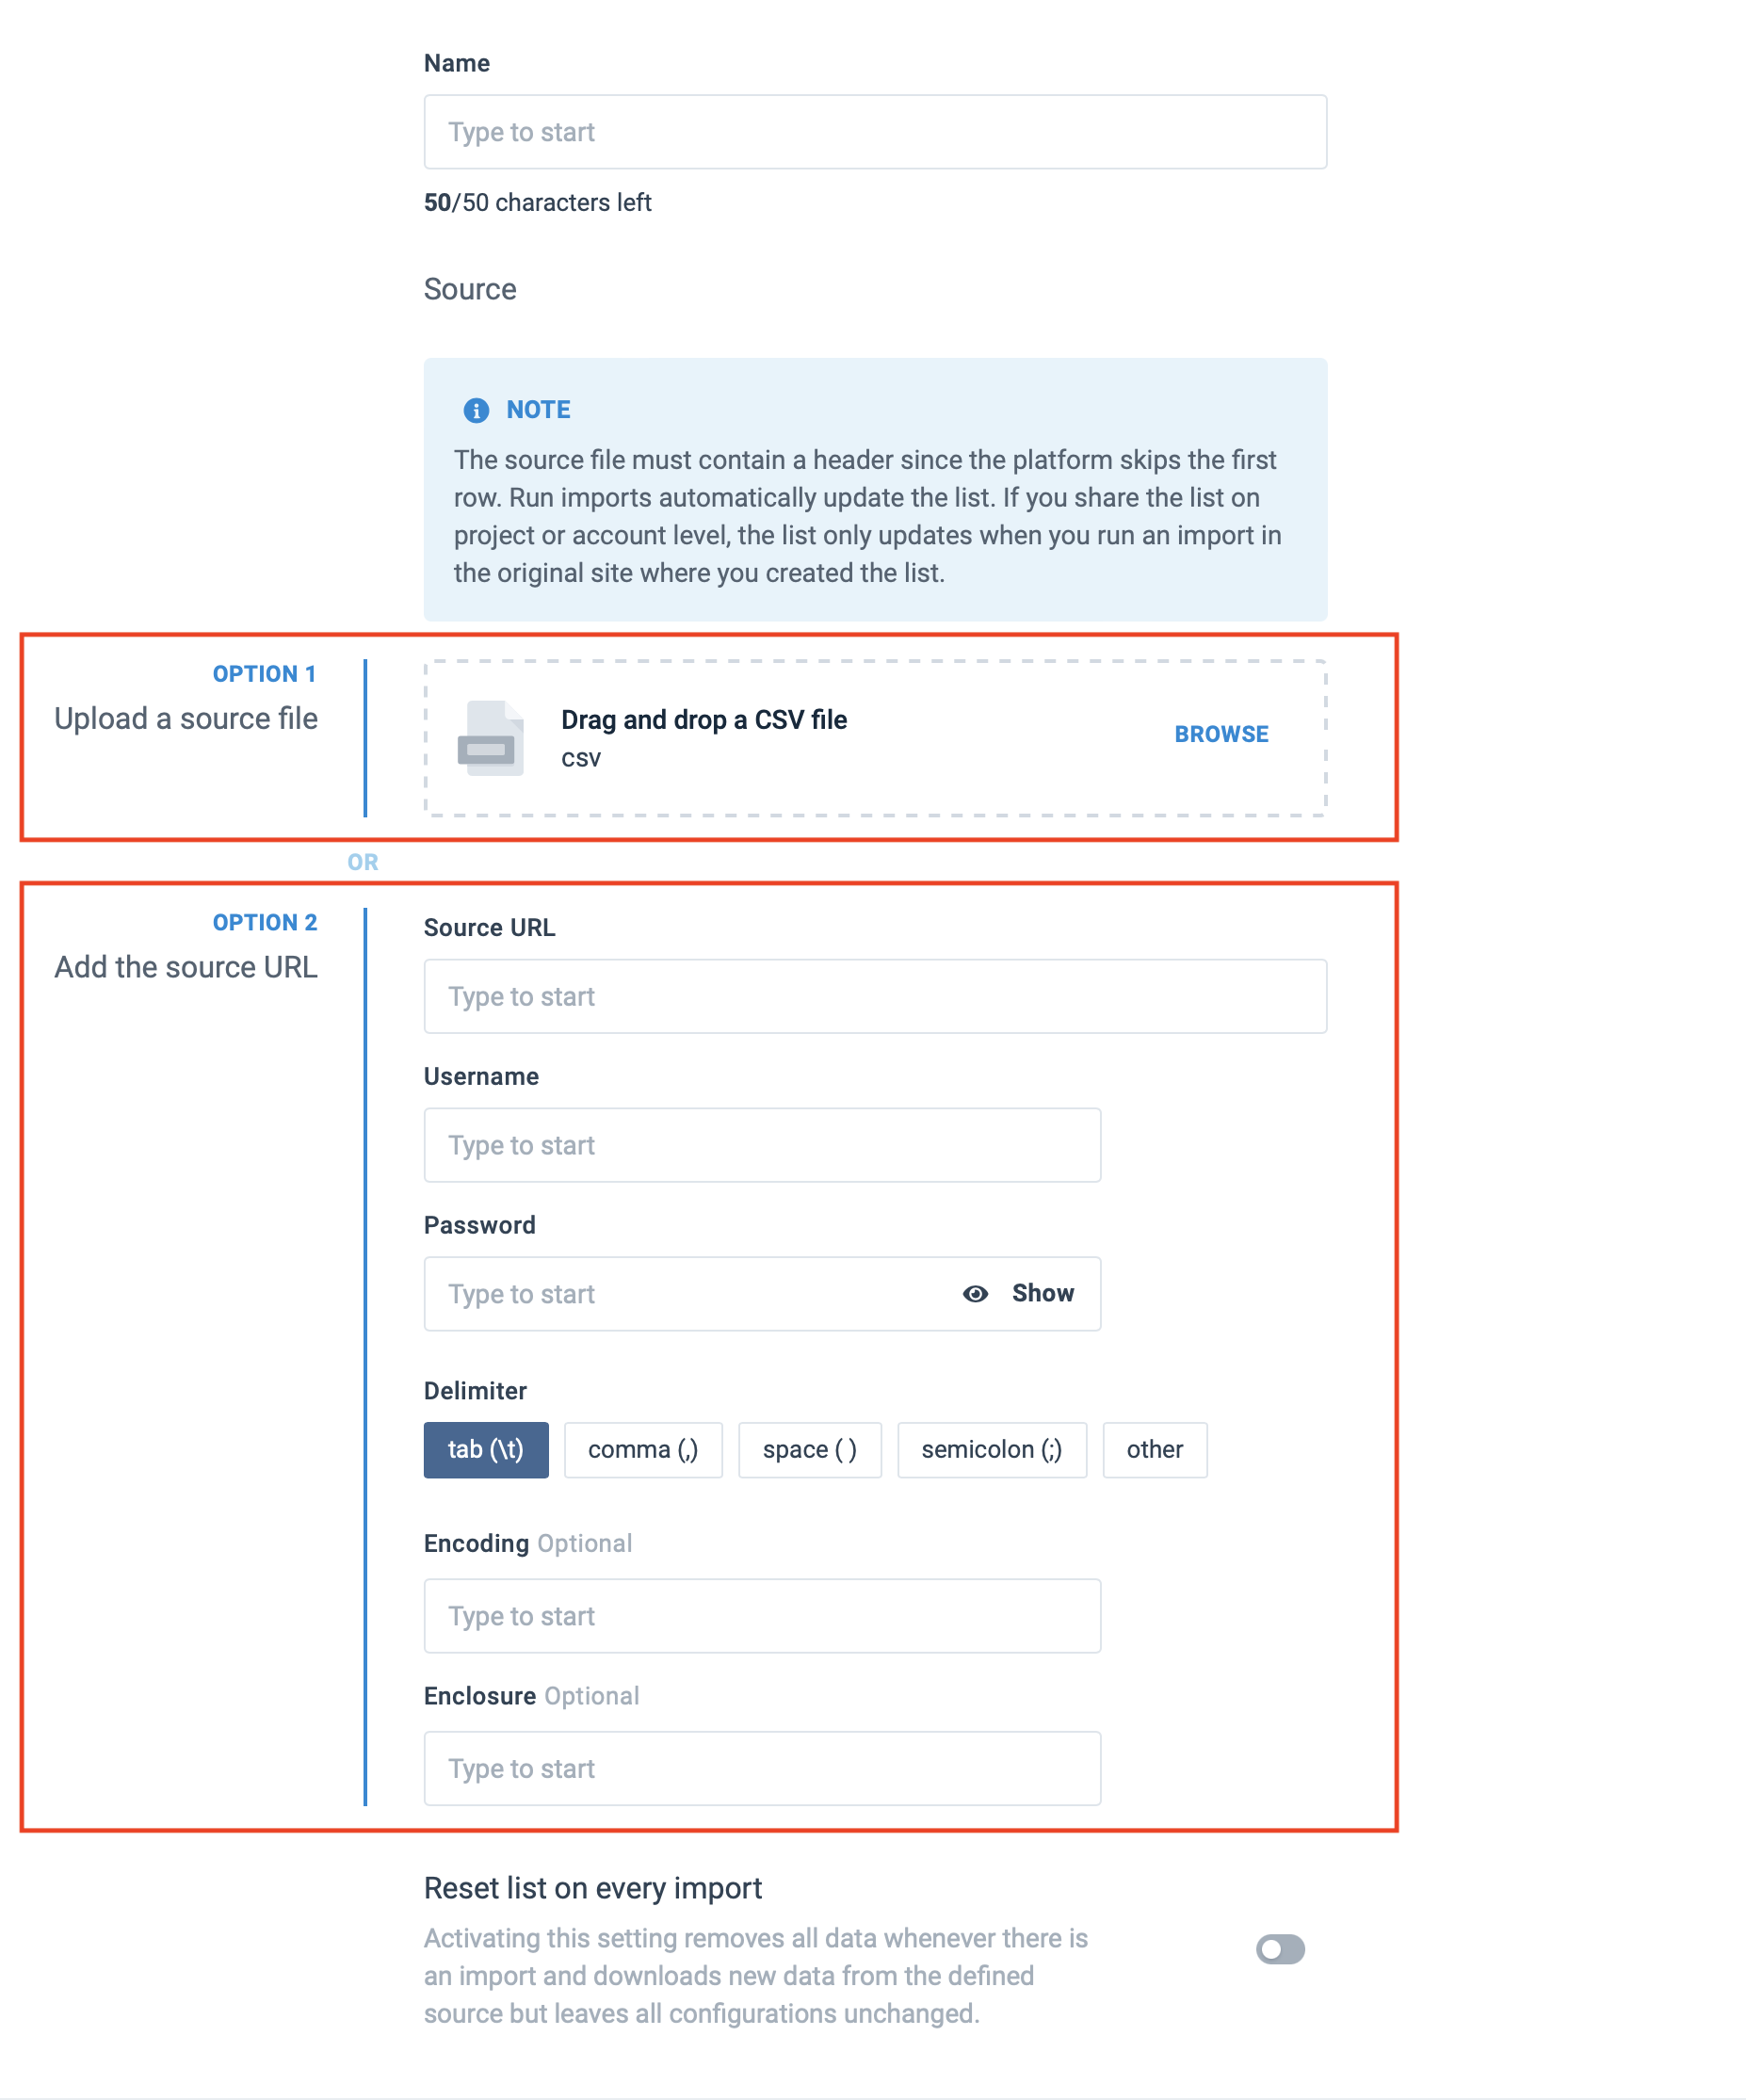
Option 1 - Upload a list source file in CSV format
Create a CSV file containing a header since the platform skips the first row. Use a structure similar to the following:

Next, move your CSV list file to the Drag and drop your CSV file field or select Browse to upload the file.
Select Add.
A message appears stating that the download is in progress.
Once your CSV file completes uploading, you can see your list of defined values under the column Term.
If you make changes to the source file, perform an import to update the list.
Select Add.
A message appears stating that the download is in progress.
Once your CSV file completes uploading, you can see your list of defined values under the column Term.
If you make changes to the source file, perform an import to update the list.
Option 2 - Upload a list source file via a URL
Enter a source file URL in Source URL. To add a Google Sheets list source file, see Add a list source file via Google Sheets and return to this section, step 2.
As necessary, enter credentials in Username and Password to access the source file.
In Delimiter, choose the delimiter. The platform selects the
tab (\t)as the default.Note
If you use a Google Sheet as a list source file, choose comma (
,) as a delimiter.(Optional) In Encoding, declare the encoding if it is not UTF-8.
(Optional) In Enclosure, choose your desired enclosure, for example, (
‘’or““or||).Toggle on Reset list on every import to remove all data whenever there is an import.
When the feature is active, the platform resets the list every run deleting all values and then re-importing them into the list.
When the feature is inactivate, the platform re-imports the list, adding only new items and ignoring changed or deleted items.
(Optional) Toggle on the Share list button and select one of the following:
Account level shares this list with all sites across all projects under this organization.
Project level shares this list with all sites under this project.
Note
If you share the list at the organization or project level, the platform updates the list during an import from the original site where you created the list.
Select Add.
A message appears stating that the download is in progress.
Once your CSV file completes uploading, you can see your list of defined values under the column Term.
If you make changes to the source file, perform an import to update the list.

Add a list source file via Google Sheets
To add a list file in Google Sheets, you must first modify the URL that leads to your list.
In the URL, replace the text
editwith:export?format=csvIf
#gidexists in the spreadsheet URL, replace it with:&gidThe modified link should look similar to the following example:
https://docs.google.com/spreadsheets/d/{key}/export?format=csv&gid={gid}In this example,
{key}and{gid}are placeholders.
Make sure the Google Sheets URL is accessible to everyone. Read-only is sufficient. Otherwise, the Productsup platform can't download the Google Sheets file.
Test the URL by opening it in a browser. If you set it up correctly, once you hit enter, a CSV download begins.
Now continue with the setup in step 2.
Add the Whitelist rule box
After creating an Inclusion/Exclusion list, you can add Whitelist rule boxes to your data flow. See Whitelist rule box to learn to add the Whitelist rule box.
Platform-generated attributes for whitelisted products
This section explains platform-generated attributes related to whitelisted products. See the definition of platform-generated attributes in ???.
When you add an export in a new site, the platform automatically adds the following attributes:
___skipped_intermediateand___whitelist_intermediateat the intermediate stage.___skipped_intermediate,___whitelist_intermediate,___skipped_export, and___whitelist_exportat the export stage.
When you add a whitelist rule box, the platform locates the corresponding ___whitelist_{stage} attribute at the intermediate and export stages to add information about the whitelist rule box that stops the platform from skipping the product during export. For example, if you add a rule box at the intermediate stage to whitelist all shoes and purses during export, the platform adds the rule box priority and the attribute name where you applied the whitelist rule box in ___whitelist_intermediate at the intermediate and export stages to all whitelisted shoes and purses in your feed.
If a product doesn't have a value in ___whitelist_{stage}, no rule boxes stop the platform from skipping this product during export at the given stage.
Tip
When you add a whitelist rule box, Data View doesn't immediately display new values in the corresponding ___whitelist_{stage} attributes. To see these values, you need to run your site by selecting Run in the top-right corner of the site.
In most cases, you don't need to use these attributes as they serve a purely technical function. But you can check their values to find out more about your whitelisted products.
See Platform-generated attributes for skipped products for more information on ___skipped_{stage} attributes.