Replace feed terms with the Standard Replacement list
Use the Standard Replacement list feature to replace existing terms in your feed in Productsup.
Introduction
The Standard Replacement list, formerly known as the Normalization List, lets you efficiently edit terms within the product feed to:
Standardize specific terms or keywords
Minimize redundancy
Replace low-volume search terms with high-volume search terms
The Standard Replacement list lets you create an extensive list of terms to replace existing words in the data feed with only one standard variation of a specific term.
Note
To replace just a few terms, you can also use the Rule box category Replace values.
You can create one Standard Replacement list for a specific feed and then use it in other feeds within the same organization.
Tip
For only upper- or lower-case replacements, use rule boxes that change word capitalization. See Capitalize Words.
Example of a replacement:
Search term | Replacement term |
|---|---|
banana | apple |
ape | gorilla |
Original text:
The ape eats bananas and grapes.
Result:
The gorilla eats apples and grapes.
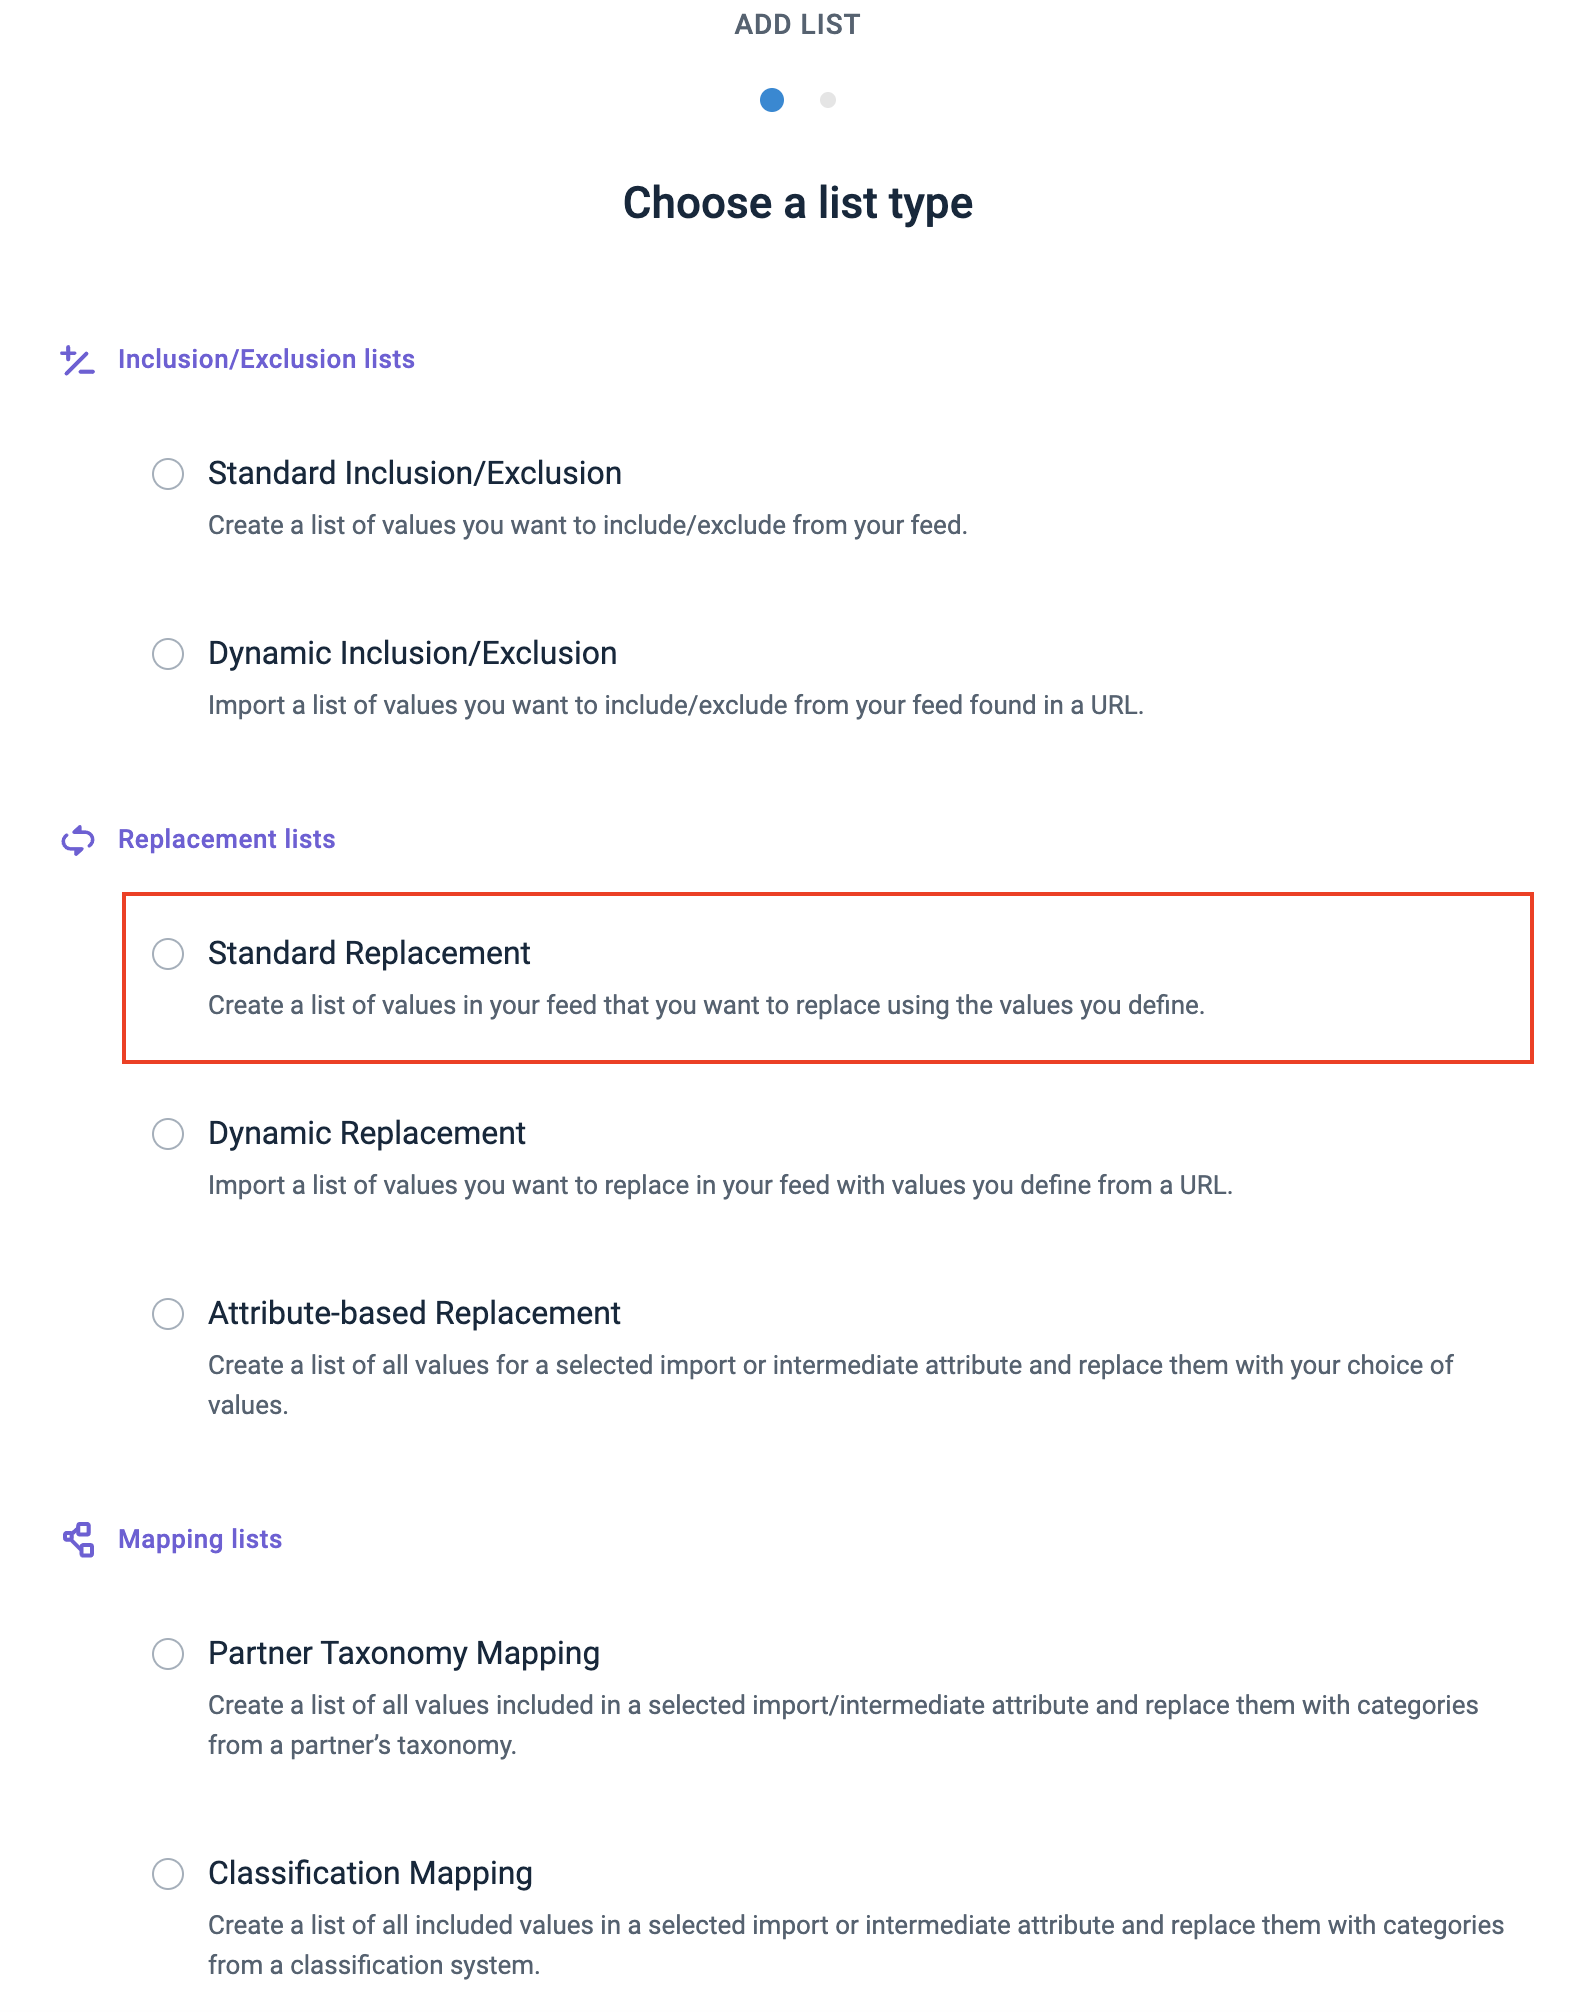
Set up a Standard Replacement list
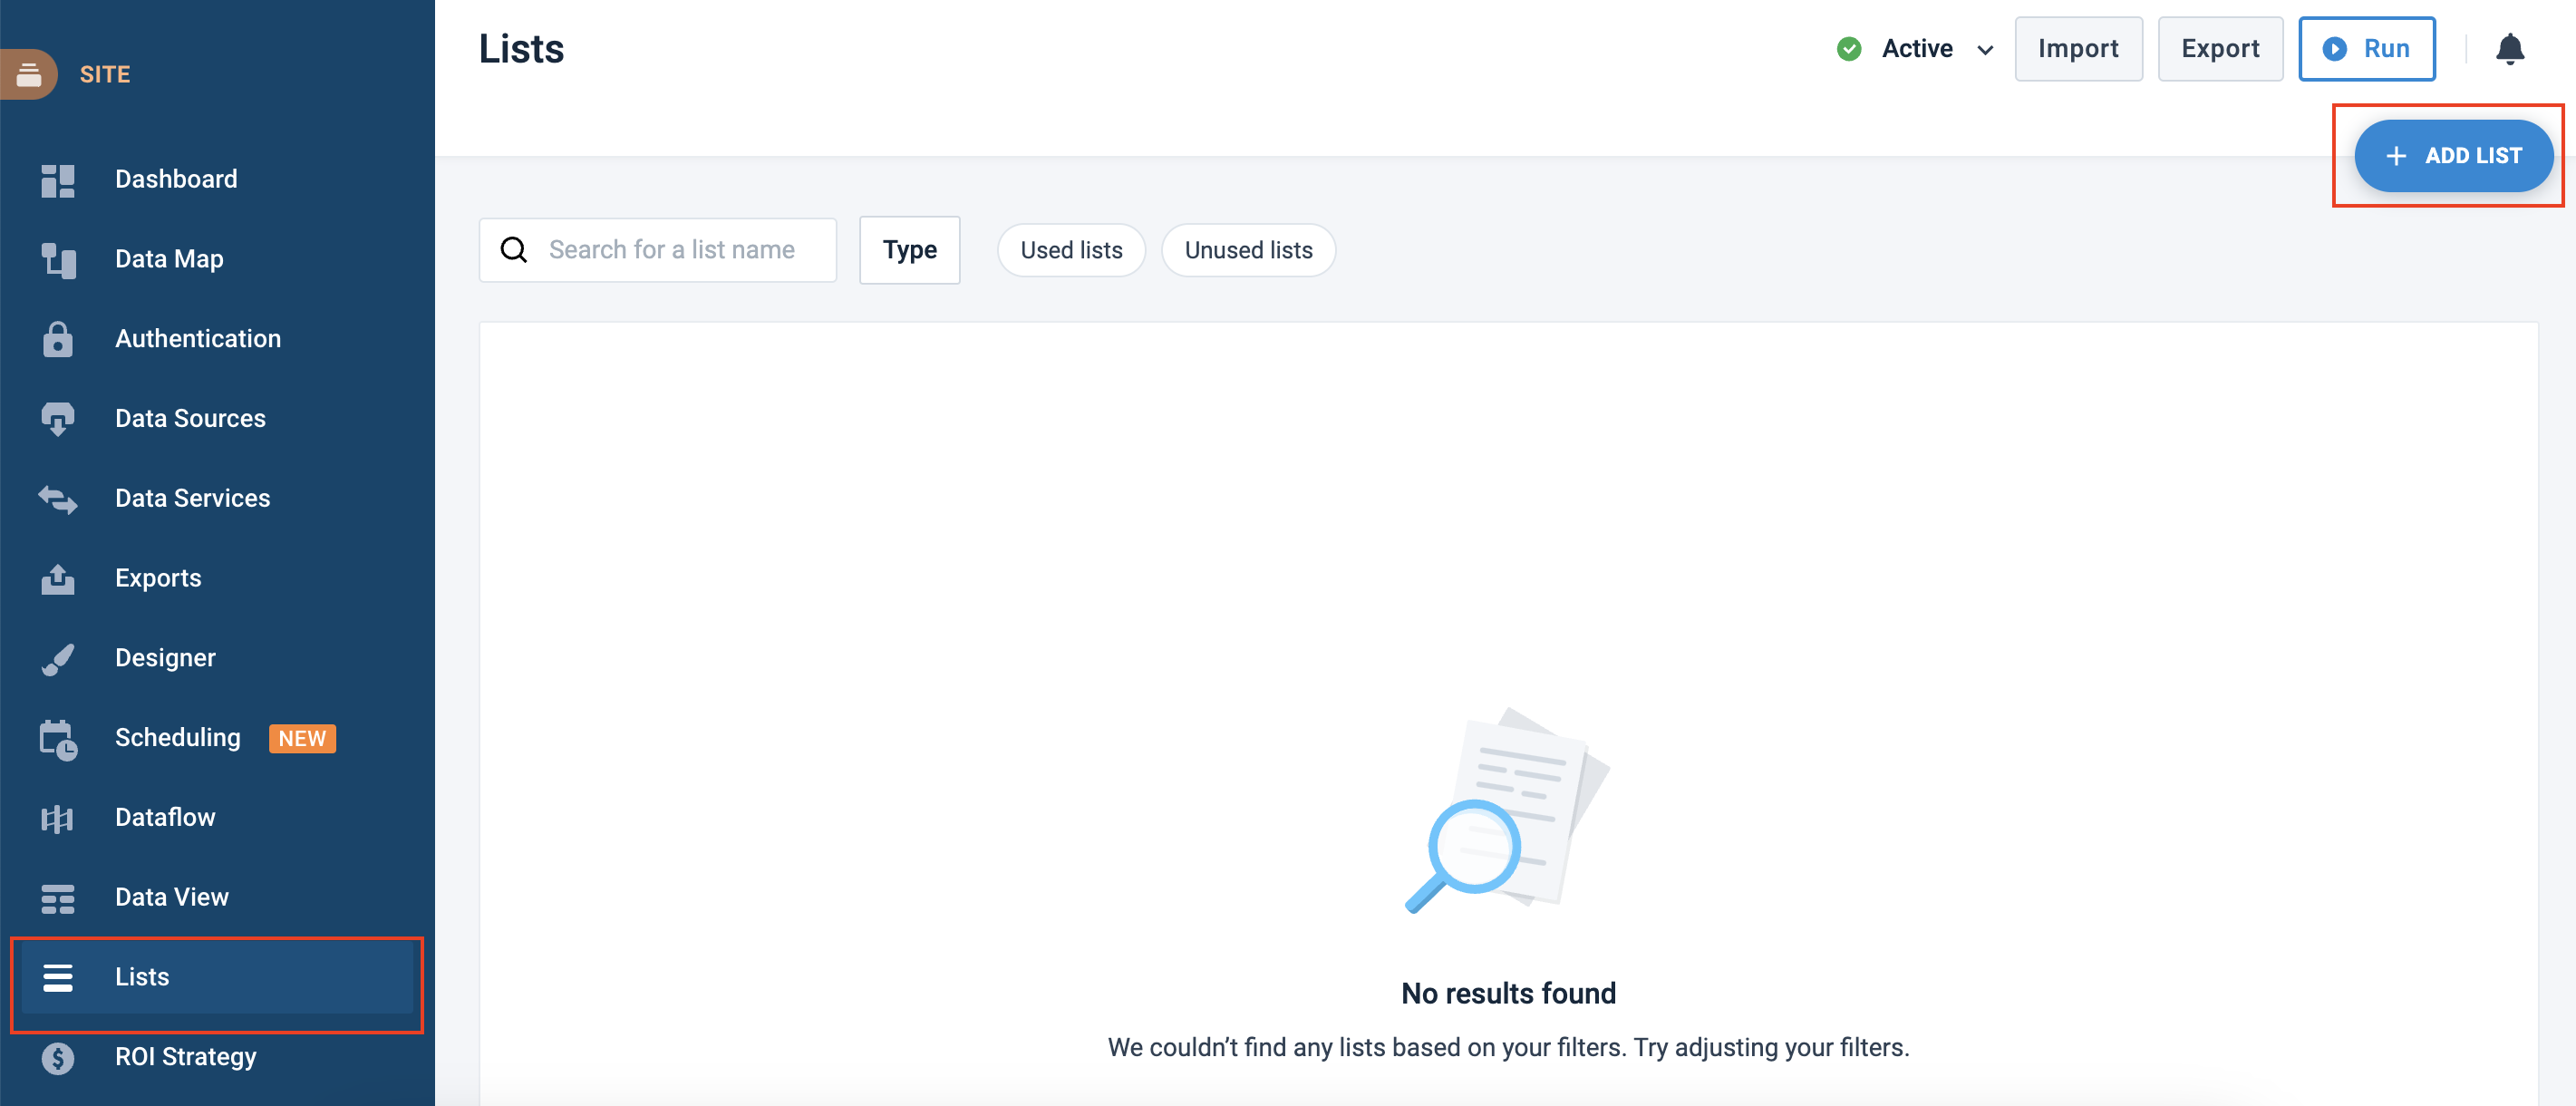
Go to Lists from your site's main menu and select ADD LIST.
Choose Standard Replacement and select Continue.
In Name, give your replacement list a custom name.
To share the list at the organization or project levels, toggle on Share list and select:
Account level shares the list with all sites across all projects under this organization.
Project level shares the list with all sites under this project.

Note
If you share the list at the organization or project level, the platform updates the list during an import from the original site where you created the list.
Select Add.
Add terms to the Standard Replacement list
Enter an existing term you want to replace in Search.
Enter a replacement term in Replace term.
Select Add to save your pair of terms.
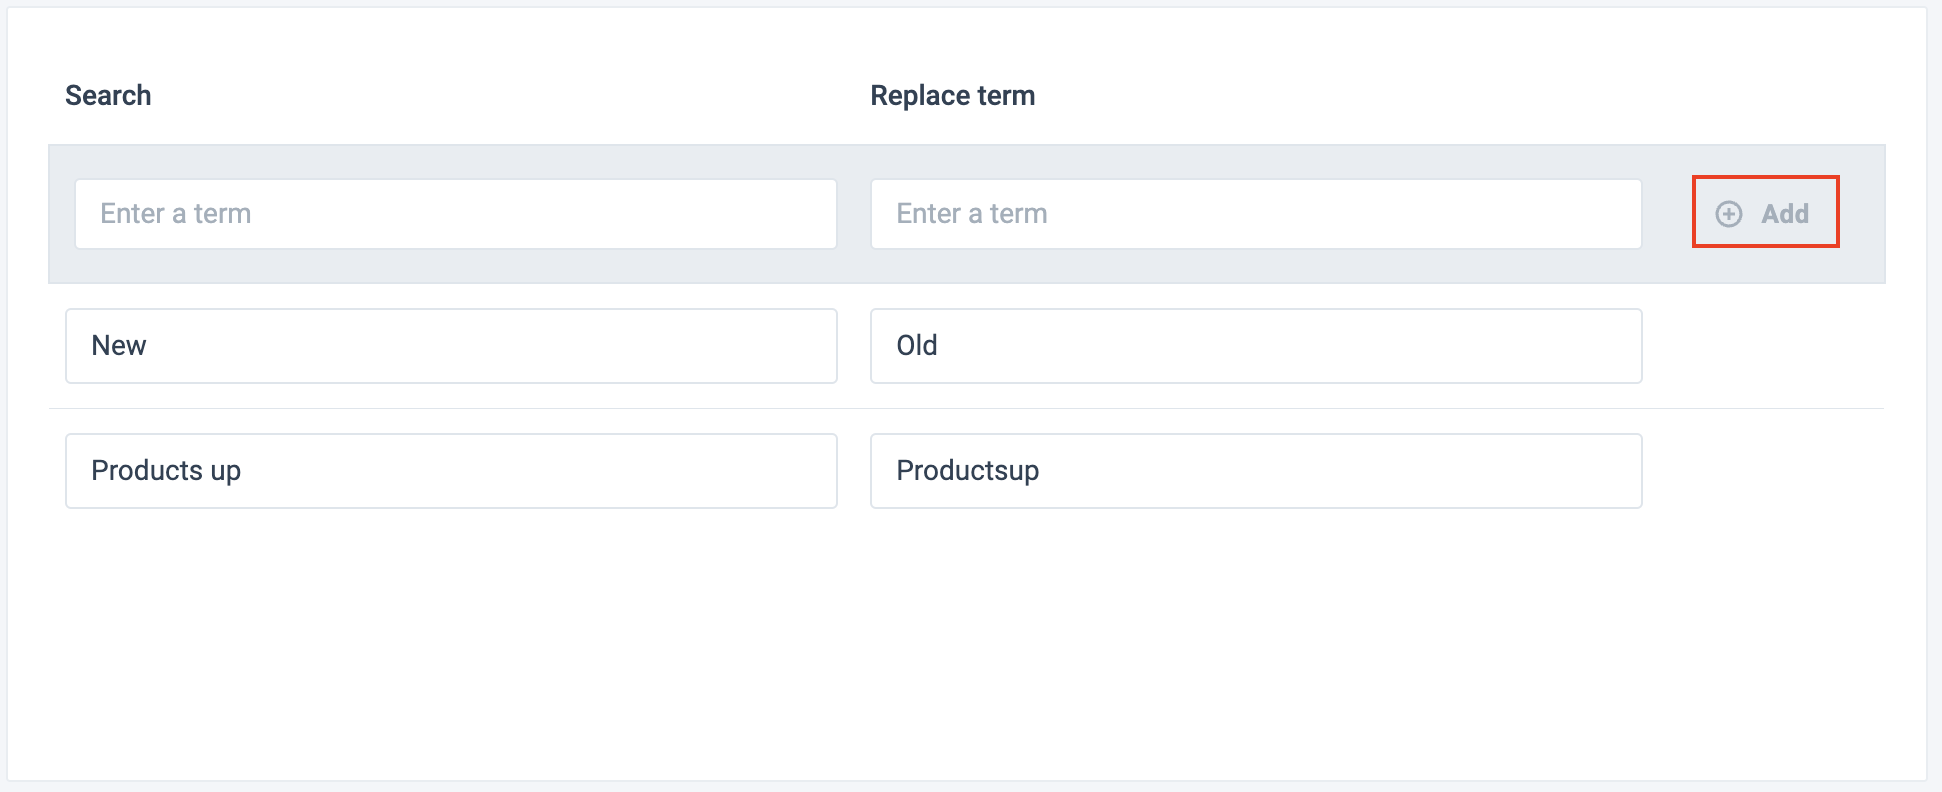
Repeat the steps to add more terms.
Select Import in the top-right corner of your site's view.
Tip
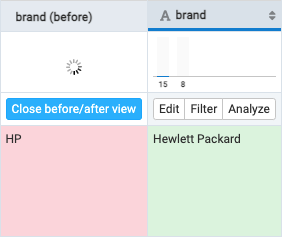
You may manage different retailing sectors, for example, electronics and fashion, where the same terms may have different meanings. To prevent replacement with the wrong term, you should create separate replacement lists for each industry. When applying the replacement list with the Replacement rule box, you can choose the appropriate list.
For example, HP stands for Hewlett Packard in the electronics industry, while HP could refer to Handley Page in the aircraft industry.
Add the Replacement rule box
To apply your Standard Replacement list to the feed, add the Replacement rule box to a feed attribute in Data View:
The Replacement rule box doesn't replace the entire string in the attribute but only changes the parts of the string that match the list terms.
To add the Replacement rule box:
Go to Data View from your site's main menu and select Intermediate or a needed export from the drop-down menu on the left side of the upper ribbon.
Select Edit for the needed attribute.
Select the Select an Option drop-down menu, search for and select the Replacement rule box.
Take steps from Replacement.