Share dataflow with other sites
Save time setting up the same dataflow and keeping it synced for multiple sites with the Shared Dataflow feature in Productsup.
The Shared Dataflow feature lets you reuse the existing intermediate and export dataflows of one site in another. The shared dataflow is either an import-intermediate or intermediate-export mapping, with all connections between stages, custom attributes, and rule boxes shared with other sites.
Note
Only users with admin rights can access the Shared Dataflow feature. But users with read-write access can still make changes in the shared dataflows.
When you share a dataflow with another site, it's not a copy but the same dataflow. If you change a shared dataflow in any site, these change applies to all sites with the same dataflow. You can change a shared dataflow as follows:
Add, edit, or delete rule boxes.
Add or delete dataflow connections.
Add, rename, or delete user-generated attributes.
Add, edit, or delete rule box conditions.
Note
If you need to copy dataflow to another site and change it independently, use the Copy Dataflow feature. See Copy dataflow between sites and exports with Import Dataflow and Copy Dataflow for more information.
Note
No matter in which site you change a shared dataflow, Activity Log only shows the changes as if you made them in the source site's dataflow. See View your Activity Log and Summary.
Shared Dataflow use cases
Shared Dataflow is helpful if you need the same dataflow structure and settings in several sites. You can use it in the following cases:
If you have several sites for different countries and/or languages that should export data to the same export channel.
If you need to set up dataflow with the same settings for several sites. The shared dataflow feature lets you do it in bulk, and then you can disconnect the dataflows to add specific rule boxes and connections to each site's dataflow.
Here is how the Shared Dataflow feature works.
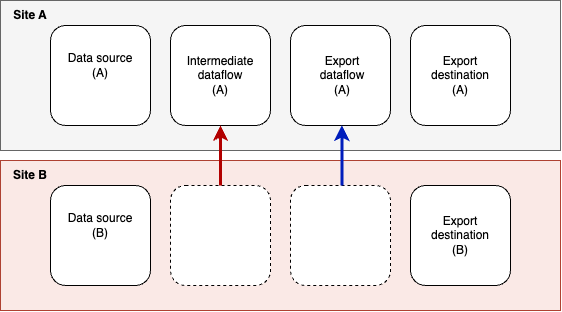
Suppose you have two (2) sites and want to share one site's dataflow with another. Site A has its import, dataflow, and export set up. Site B has only its import and export setup. If you need the same dataflow in both sites, site A can become a source of intermediate and export dataflow for site B. The following example illustrates how site A shares the dataflow with site B:
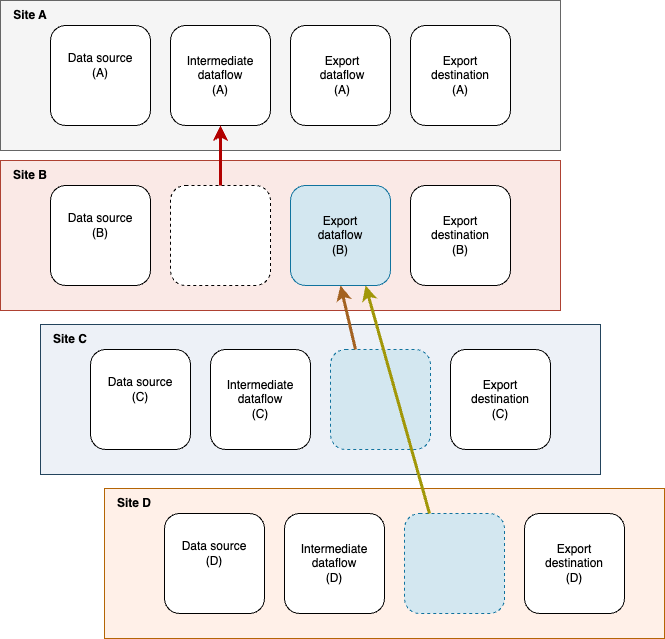
You can reuse intermediate and export stages from different sites instead of using only one site's dataflow. For example:
Site A shares the intermediate stage of the dataflow with site B.
Site B shares the export stage of the dataflow with sites C and D.
Note
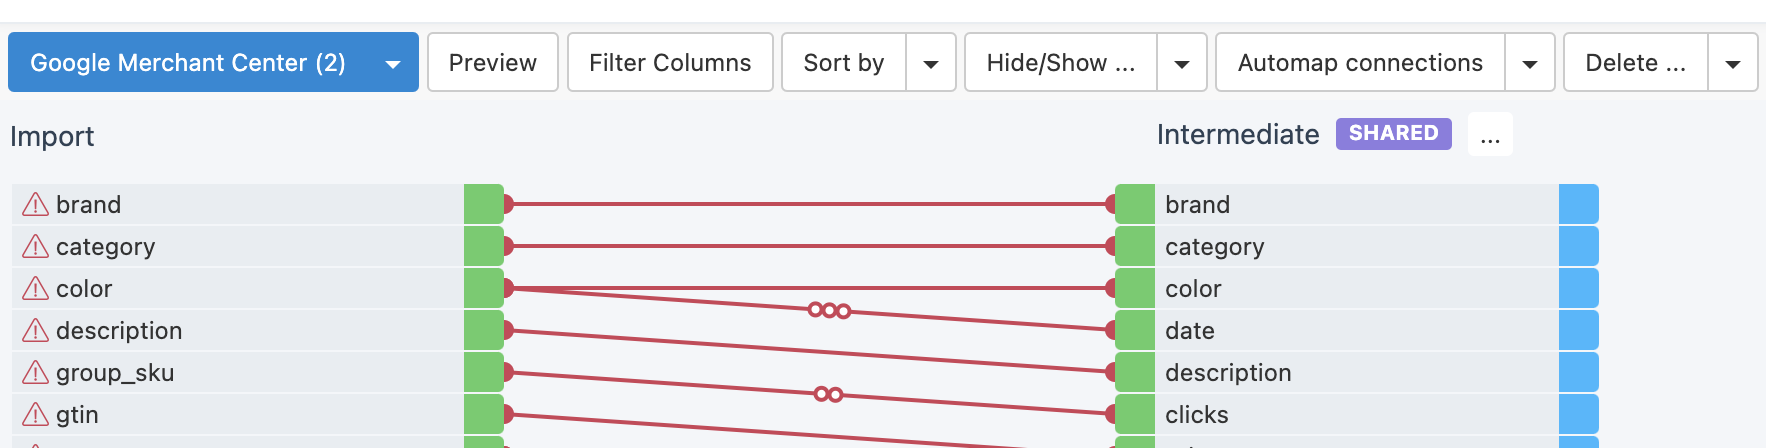
If the imported attributes of two (2) sites differ, the feature still works as explained. Still, the attributes in the import stage that don't match those of the shared intermediate stage remain disconnected between the dataflow stages. You can connect them manually.
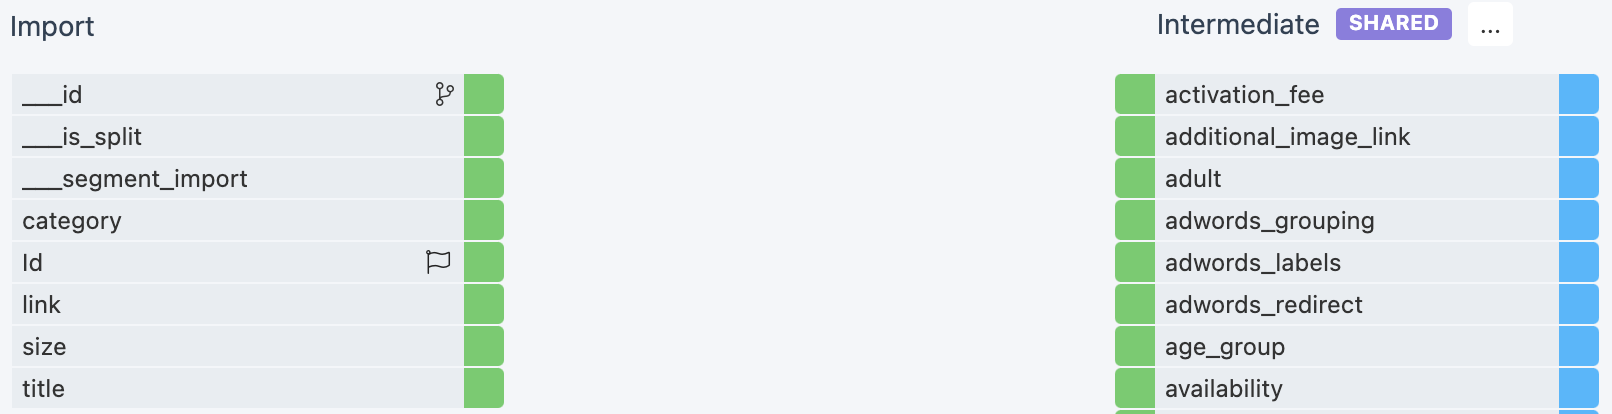
The missing shared attributes appear in the import stage with the exclamation point and red connections between the stages.
Prerequisites
Before sharing the dataflow of the source site A with the subscribing site B, take the following steps:
Create site A, add a data source, import your data feed, and add at least one export. See Add export.
Create site B, add a data source, import your data feed, and add at least one export depending on what dataflow stage you want to share:
To share the intermediate stage, the exports of sites A and B may differ.
To share the export stage, site A and site B must have the same export. For example, if Google Merchant Center is an export of site A, add Google Merchant Center export to site B.
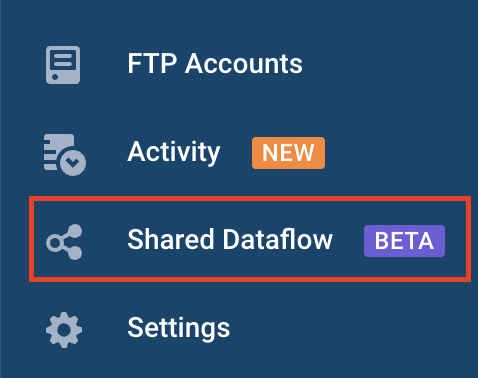
Find the Shared Dataflow feature
Go to Shared Dataflow from your organization's main menu.
See a list of all existing shared dataflows or create a new one.
Overview of Shared Dataflow
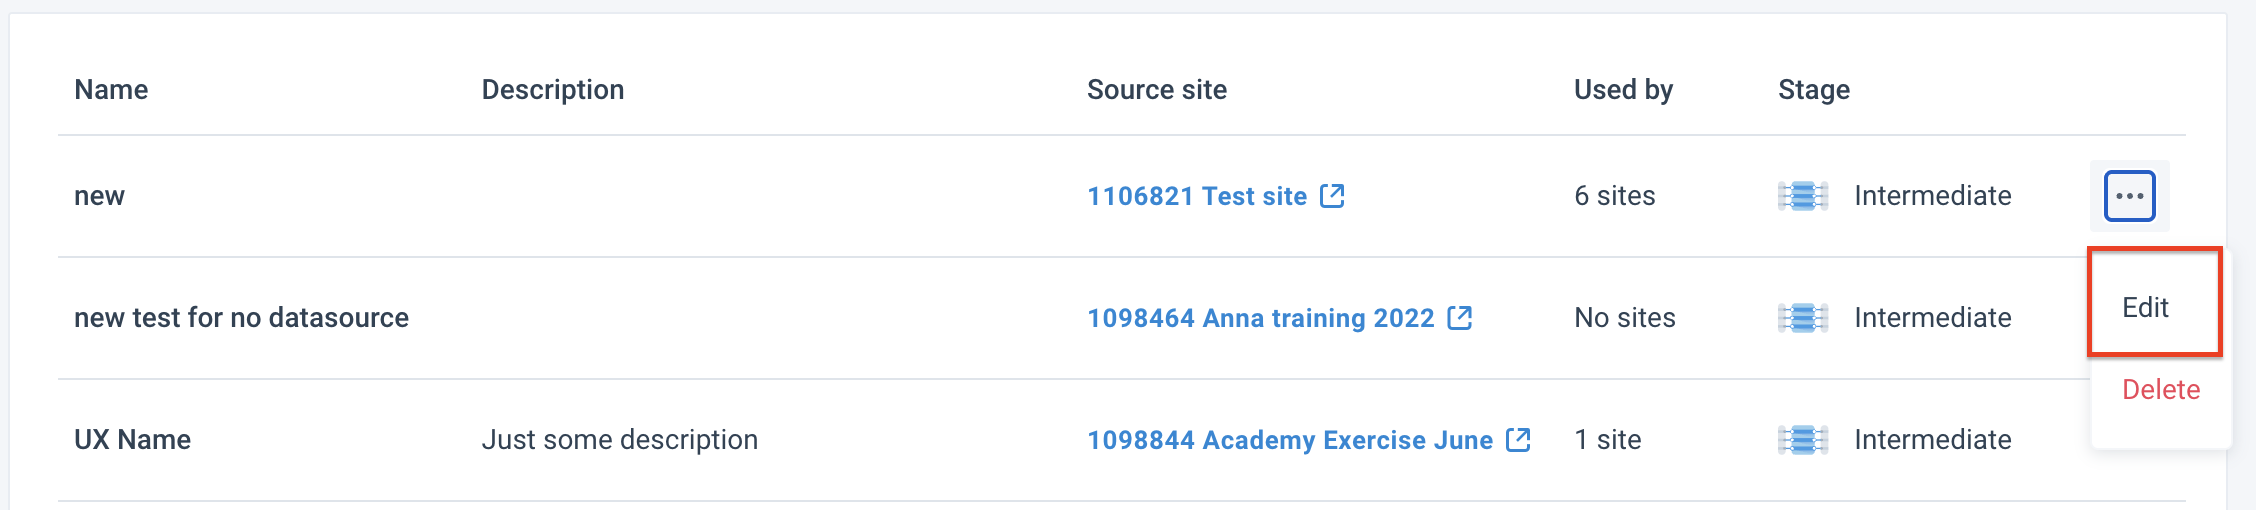
If you have at least one shared dataflow, the Shared Dataflow page displays a table with the following information:

Name shows the name of the shared dataflow.
Description shows the description of the shared dataflow.
Source site shows the ID and name of the site that is the source of the shared dataflow. Select the source site link to view its Dataflow page.
Used by shows the number of sites that share the same dataflow.
Stage shows the intermediate or export stage converted to a shared dataflow.
Three dots (...) open the dropdown with the Edit and Delete options.
To find a shared dataflow in the list, use the Search for shared dataflows field.
Create a shared dataflow
To share a needed dataflow with another site, take the following steps:
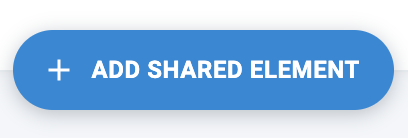
Go to Shared Dataflow from your organization's main menu.
Select Add shared datadlow in the top right corner.
Give a name to the shared dataflow in Name.
Select the site in the Source site dropdown or search for a needed site by its title or ID.
Note
When you hover over the site's name in the dropdown, the tooltip shows the site's ID and the project's name, so you can select exactly what you need.
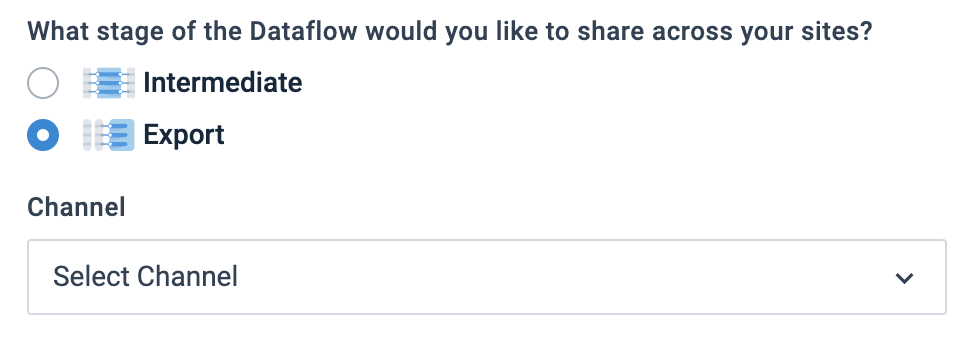
Choose either Intermediate or Export, depending on which dataflow stage you want to share:
If you select Export, the Export dropdown appears, letting you choose the export whose dataflow you want to share.
Optionally, add a description for your shared dataflow in Description.
Select Create.
Note
In this step, the shared dataflow already appears in the list of the Shared Dataflow page. You may edit it and add sites later. See Add more sites to a shared dataflow.
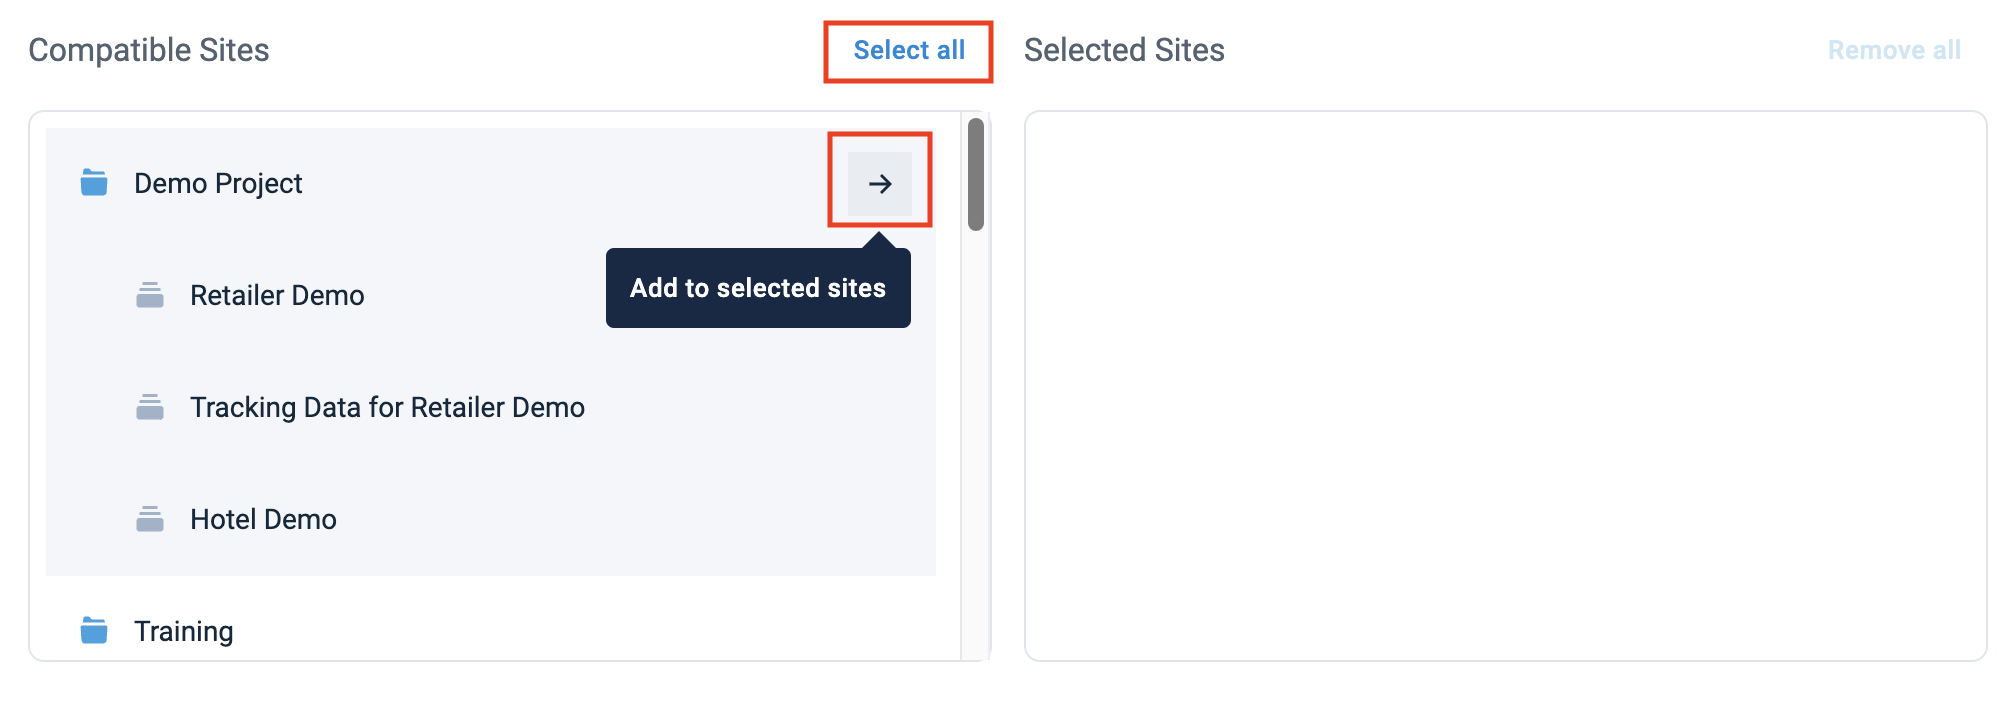
To find and select sites you want to share dataflow with, scroll through the Compatible sites list or use the Search for site IDs and titles field.
Note
Depending on what stage of the dataflow you share, the list of compatible sites differs:
If you share the intermediate stage, all sites of your organization are compatible.
If you share the export stage, you can see only the sites that have the same export.
To move sites from Compatible sites to Selected sites, select one of the following:
The arrow next to the project name to add all sites of the project.
The arrow next to the needed site to add specific sites.
The Select all link above the Compatible sites list to add all sites.
Note
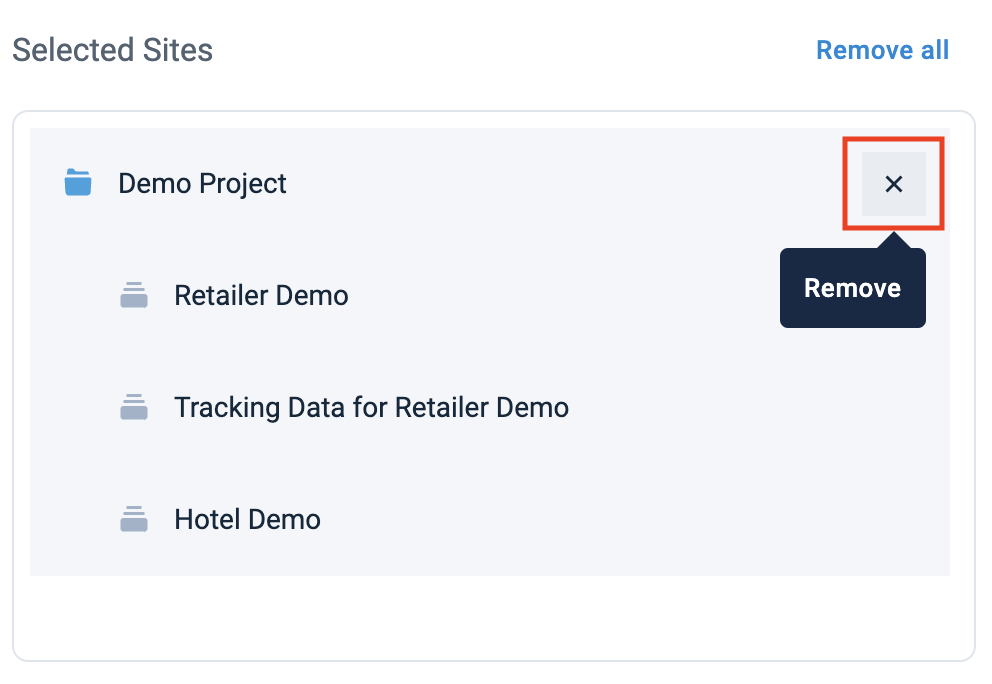
To remove the sites from the Selected sites list, select the X icon next to the needed site or project, or select Remove all above the Selected sites.
Select Apply to confirm your choice, or Skip and finish if you don't want to add any sites now. You can add sites later in the Shared Dataflow page.
Note
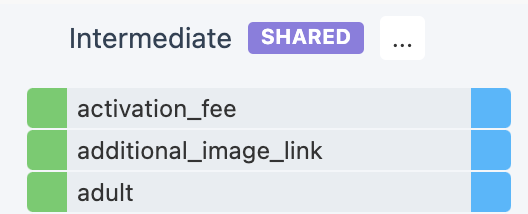
When you create a shared dataflow, the SHARED label appears next to the shared stage and in the exports dropdown in Dataflow.
Add more sites to a shared dataflow
If your shared dataflow has no sites or you want to share the same dataflow with more sites, you can add sites as follows:
Go to Shared Dataflow from your organization's main menu.
Select the three dots (...) icon next to the needed shared dataflow, then select Edit.
Select ADD SITES in the top right corner.
Search for and select the desired sites in the Compatible sites list as described in Step 8.
Select Save.
Edit a shared dataflow
To edit a name or description of your shared dataflow:
Go to Shared Dataflow from your organization's main menu.
Select the three dots (...) icon next to the needed shared dataflow, then select Edit.
Make necessary changes and select Save.
Remove a shared dataflow from a site
To stop sharing a dataflow with specific sites, first remove these sites from the shared dataflow.
Warning
If you disconnect a site's dataflow from the shared dataflow, the site's dataflow returns to its original version before it started sharing another site's dataflow.
But if you want to save the current shared dataflow version in the site, you can copy it and keep using it independently from the shared dataflow.
Go to Shared Dataflow from your organization's main menu.
Select the three dots (...) icon next to the needed shared dataflow, then select Edit.
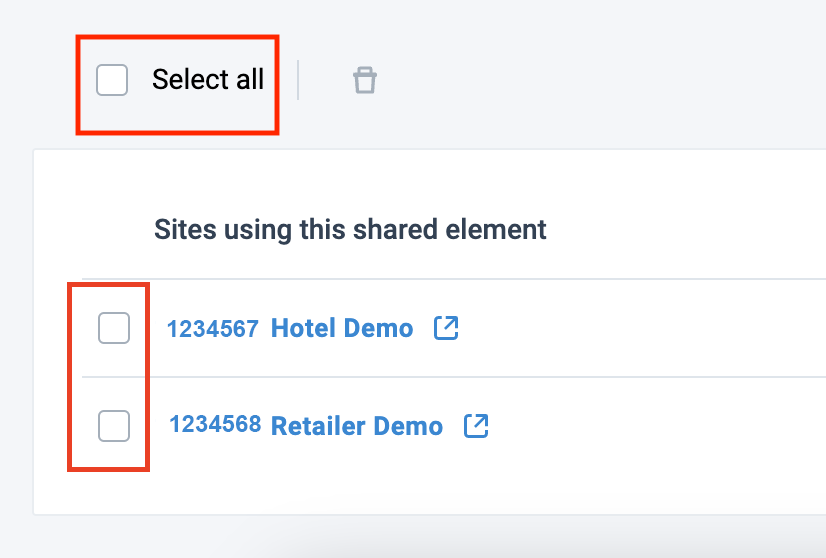
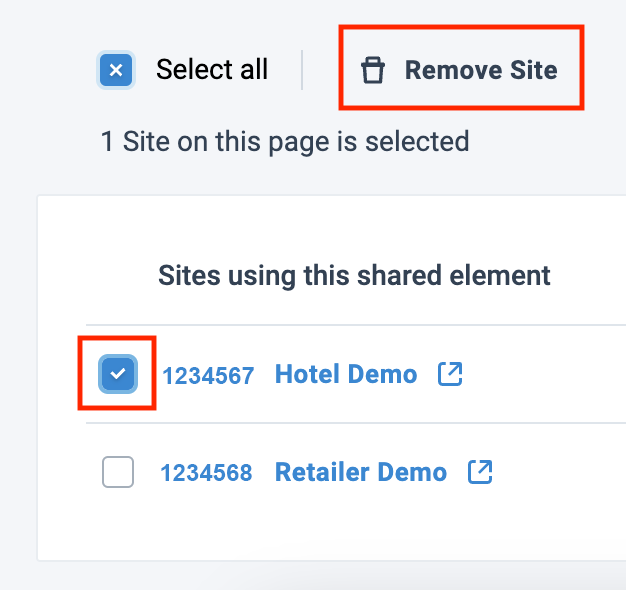
In Sites using this shared dataflow, select the sites that don't need a shared dataflow anymore, or select the Select all link if you want to remove all sites.
Select Unshare the dataflow with selected sites.
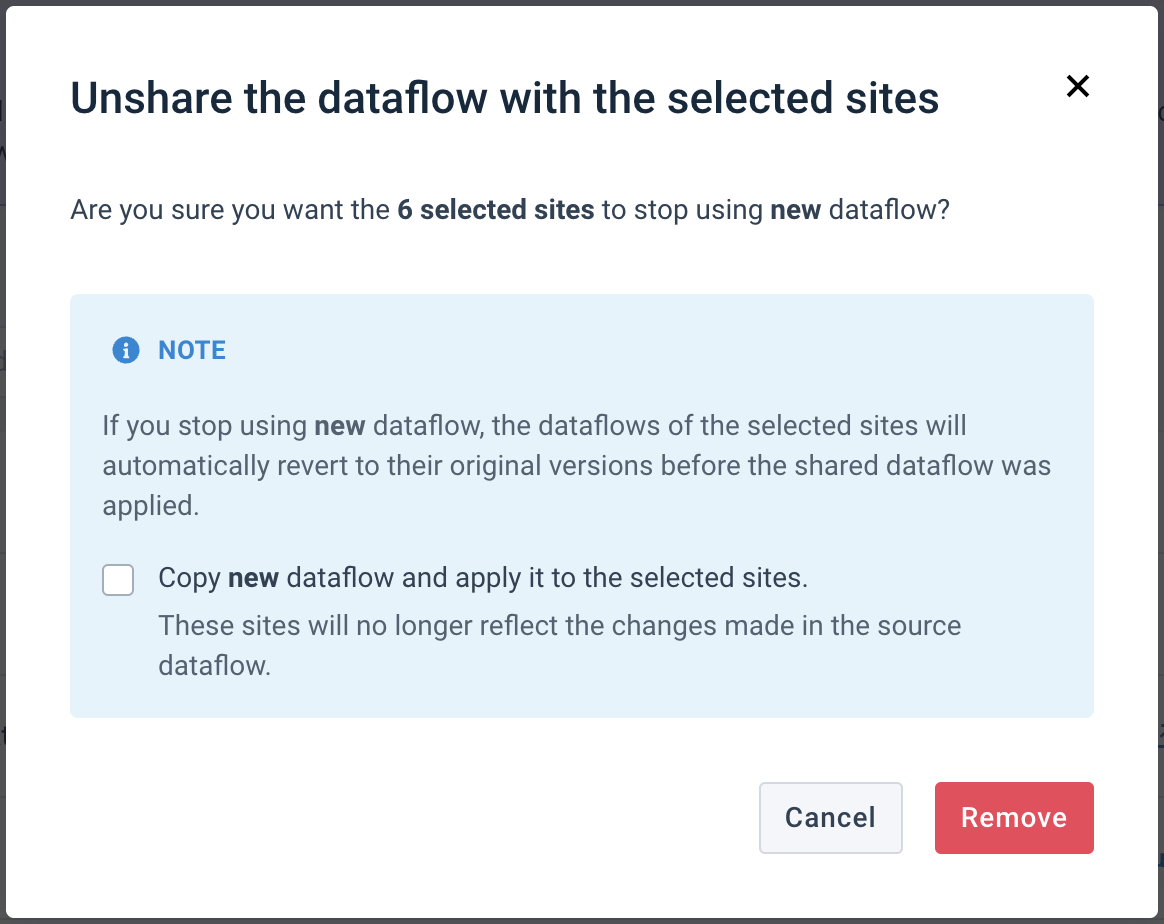
In the Unshare the dataflow with the selected sites pop-up, select the way you want to save the site's dataflow:
To roll back the site's dataflow to its original version before it started using a shared dataflow, select Remove.
To save the current dataflow version in the site and keep using and editing it independently, select the checkbox Copy {shared dataflow name} dataflow and apply it to the selected sites.
Delete a shared dataflow from Shared Dataflow
To delete a shared dataflow and disconnect all sites' dataflows:
Go to Shared Dataflow from your organization's main menu and select the three dots (...) icon next to the needed shared dataflow.

Select Delete and continue with one of the options:
If no sites share the dataflow, select Delete in the Stop sharing Dataflow pop-up.
If at least one site shares the dataflow, in the Unshare the dataflow with the selected sites pop-up, select the way you want to save the site's dataflow:
To roll back the site's dataflow to its original state before it started using a shared dataflow, select Remove.
To save the current dataflow version in the site and keep using it independently, select the checkbox Copy {shared dataflow name} dataflow and apply it to the selected sites. And then select Remove.