Edit site settings
Learn to edit site settings, give structure, and organize your data to manage your sites in Productsup.
Introduction
To structure and organize your Productsup organization, you can use various site settings. This document gives you an overview of the high-level site settings.
Change the name of a site
Go to Settings from the site's main menu.
Enter the new name in Title.
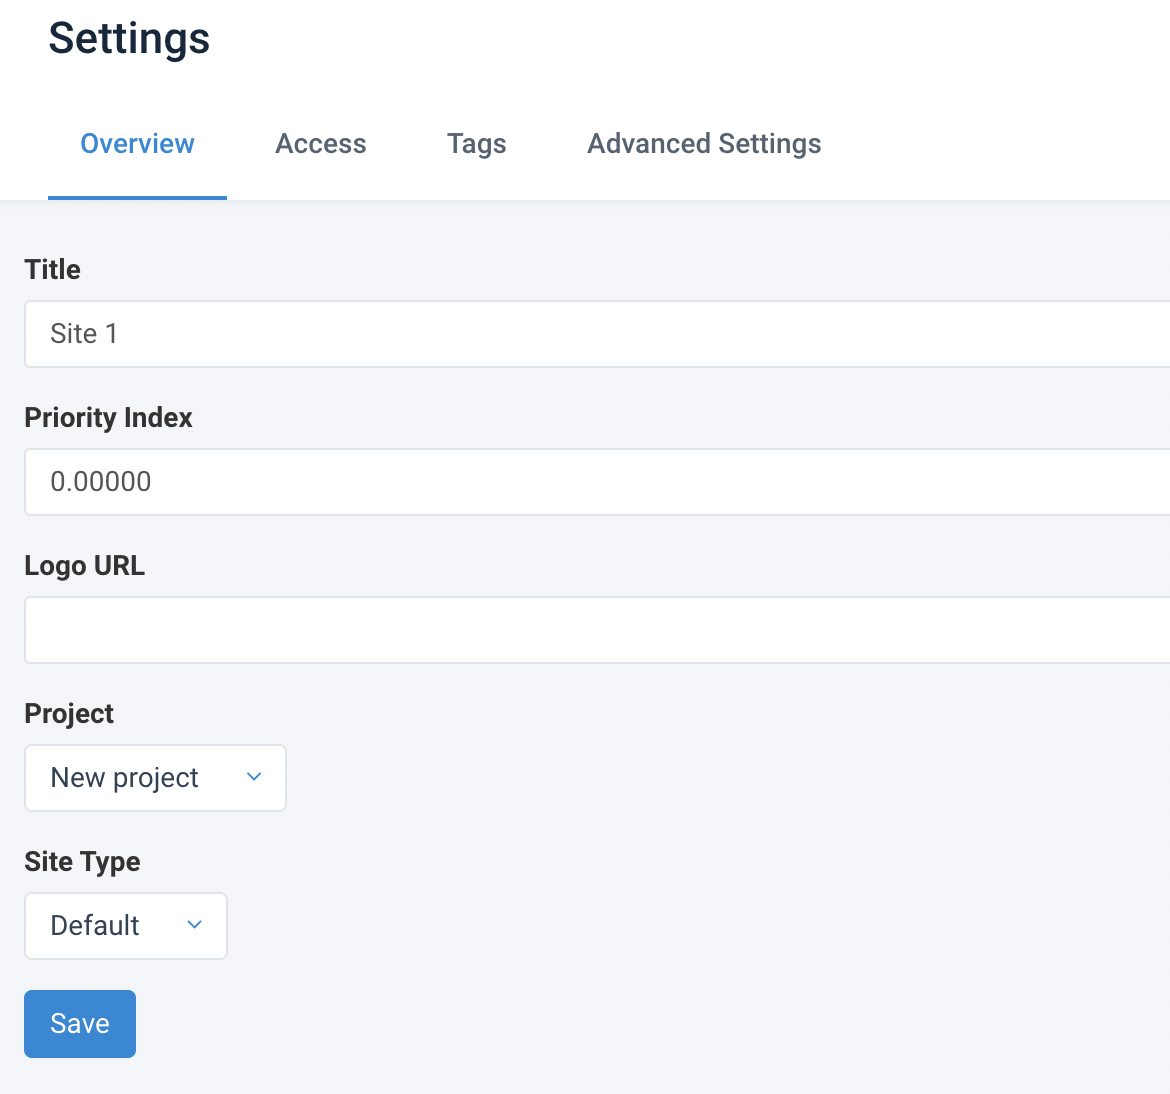
Select Save.
Add a logo to a site
You can see a site's logo between the Title and State columns of the site's row on the project and organization overview pages. In the following screenshot, the globe image is an example of a logo added to a site.

Go to Settings from the site's main menu.
Add a link to your logo in Logo URL.
Select Save.
Add a comment to a site
You can add comments to sites to keep things organized and help other users of the platform understand the purpose of each site better.
Go to either the organization or the project level.
Select the comment bubble at the end of the chosen site's row.
Enter your comment and select Save.
To see your comment, hover over the comment bubble or select it. Sites with comments have a black comment bubble, while sites with no comments have a white comment bubble.

Site's tags
Tags let you do the following actions:
Filter sites by tags on the project level in the Overview. See Use the navigation bar of the project level.

Refer to the necessary sites when using some rule boxes. See Create text template using data from other attributes and Work with site tags.
Simplify the site references when making some operations via Platform API. You can use a textual representation of a site instead of storing the site ID. In this case, the site tags must be unique within an organization.
Add tags to a site
Go to Settings from the site's main menu.
Choose the Tags tab.
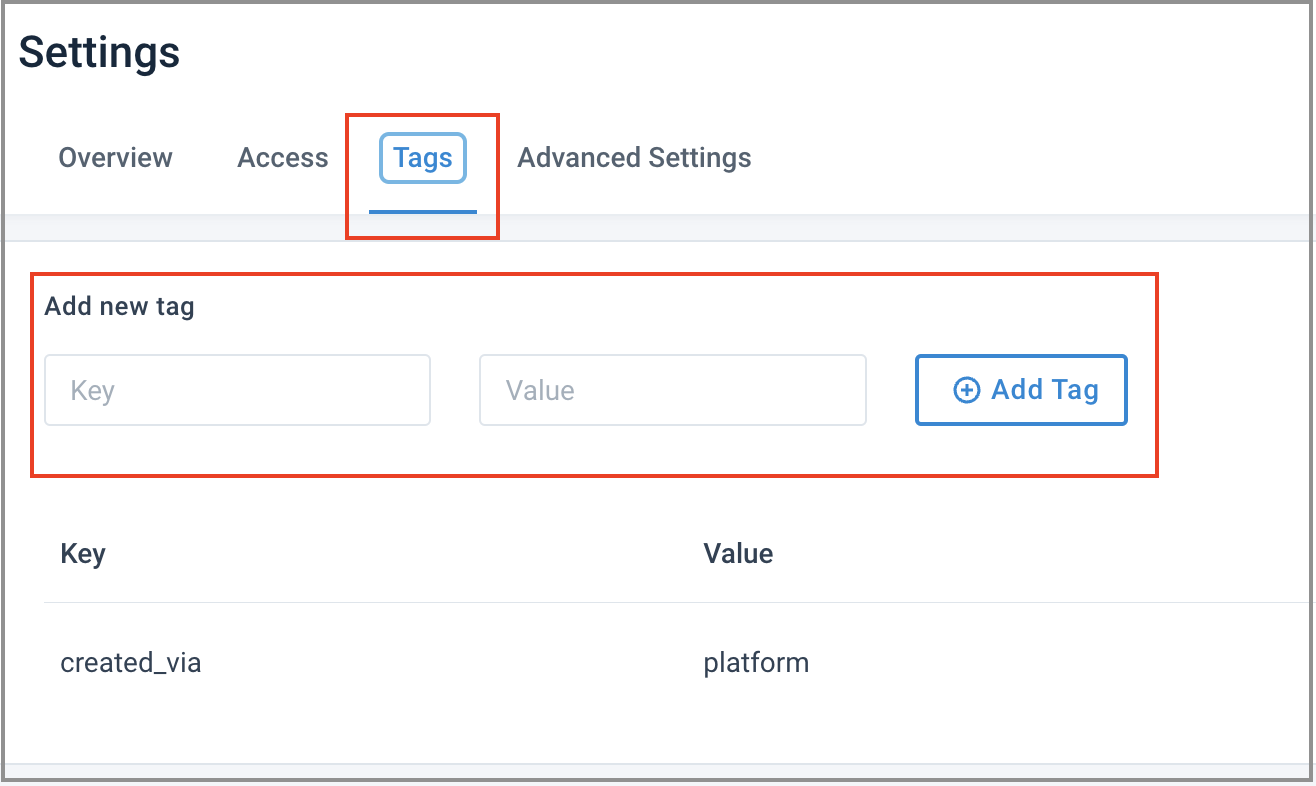
Add key and value in the Add new tag section and select Add Tag.
Edit or delete tags
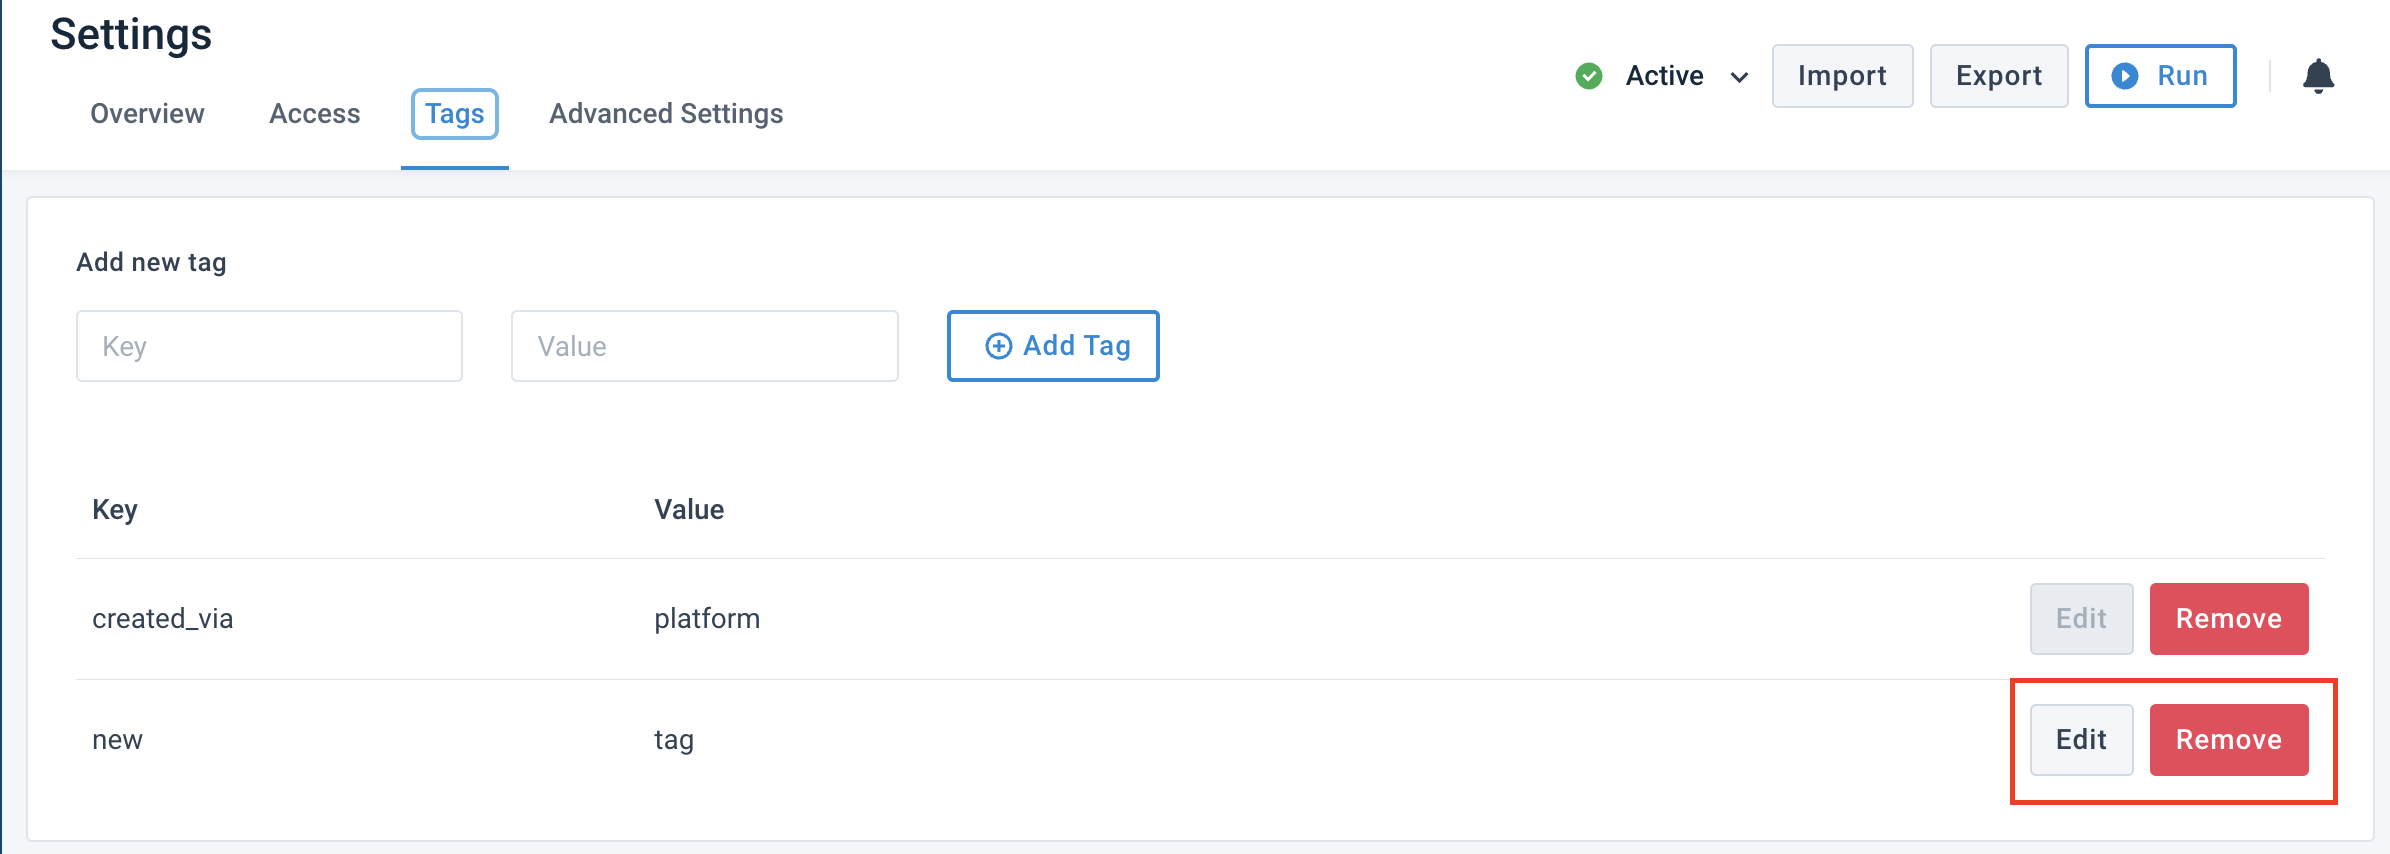
Go to Settings from the site's main menu.
Choose the Tags tab.
Next to the needed tag, select Edit to change the tag or select Remove to delete the tag.
Note
You can't edit the platform-generated tags.
Move a site to a different project
Go to Settings from the site's main menu.
From the Project drop-down menu, select the project where you want to move the site.
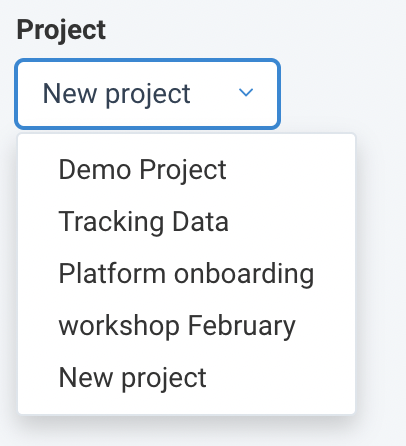
Select Save.
Move multiple sites to a different project in bulk
You can move multiple sites into a different project at once:
Go to either the organization or the project level.
Select Bulk Option in the upper ribbon.
Tick the boxes next to the sites you want to move and select Next Step.
Select Move into Project and choose Next Step.
From the Project drop-down menu, select the project where you want to move the sites.
Note
If one of the sites you are moving has lists shared on the project level, this project loses access to the lists as the lists' source site moves to a different project. The lists become available to the target project chosen in the Project drop-down menu.
Select Execute.
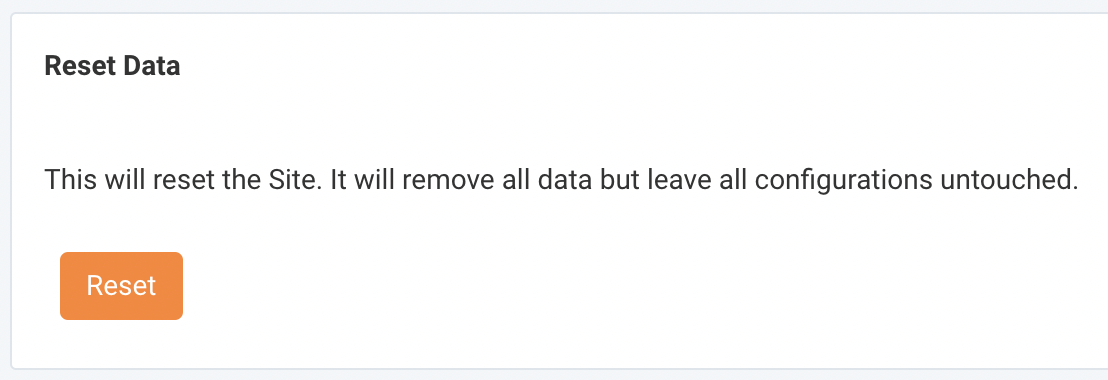
Reset data in a site
You can delete all product data from a site but preserve all site configurations, such as data sources, mapping, rule boxes, and exports. To reset the data:
Go to Settings from the site's main menu.
Choose the Advanced Settings tab.
Select Reset in the Reset Data panel.
Select Yes.
Reset data for multiple sites in bulk
You can reset data for multiple sites at once:
Go to either the organization or the project level.
Select Bulk Option in the upper ribbon.
Tick the boxes next to the sites where you want to reset data and select Next Step.
Select Reset Sites and choose Next Step.
Select Execute.
Disable or pause a site
By default, sites are always active in the platform. They import data from your data sources, process it by applying rule boxes and mapping attributes, and export it to the selected channels. If you want to deactivate a site, there are two (2) options:
Pause a site's export. In this case, the site still imports data from your data sources and processes it without exporting it to any channels.
Disable a site. In this case, the site no longer imports, processes, or exports any data. Even if the site uses scheduling or triggering settings, no run occurs.
To pause or disable a site, use one of the following procedures.
From the site level
Go to Dashboard from the site's main menu.
In the top-right corner, select the Active drop-down menu.
To pause the export of this site, select Paused. To disable this site, select Disabled.
From the organization or the project level
Go to either the organization or the project level.
Select the green play icon (▶︎) in the State column of the desired site.
To pause the export of this site, select Paused Upload. To disable this site, select Disabled.
Tip
To change the state of multiple sites in bulk, use the Bulk Option feature:
Go to the organization or the project level and select Bulk Option.
Tick the boxes next to the desired sites and select Next Step.
Select Activate/Deactivate Sites and choose Next Step.
Choose the desired state and select Execute.
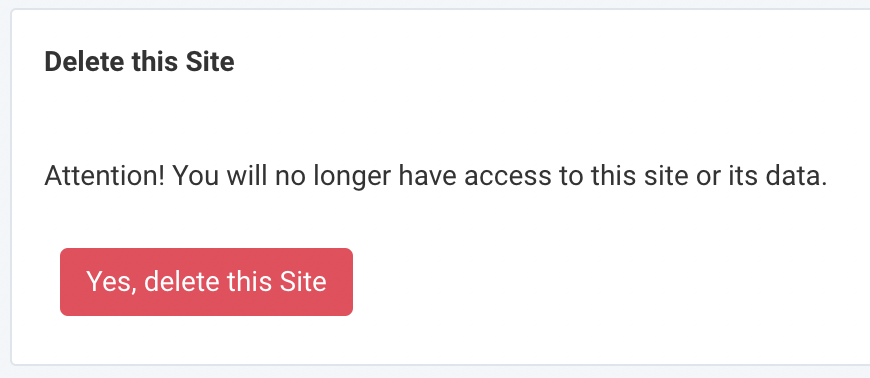
Delete a site
Go to Settings from the site's main menu.
Choose the Advanced Settings tab.
In the Delete this Site panel, select Yes, delete this Site.
Select Yes.
Delete multiple sites in bulk
Go to either the organization or the project level.
Select Bulk Option in the upper ribbon.
Tick the boxes next to the sites you want to delete and select Next Step.
Select Delete Sites and choose Next Step.
Select Execute.