Import your data into Productsup - Advanced Settings
Learn how to handle the deeper technical aspects of setting up data sources in Productsup. Discover the Advanced Settings tab of the data source setup to modify your import data, add labels to data sources, enable or disable parallel downloads and delete data sources.
Introduction
This section guides you through the advanced technicalities of setting up your data sources in Productsup.
While setting up a data source in Data Sources, you can use the Advanced Settings tab to modify your import data during the import process, add labels to your data sources, enable or disable parallel downloads, or delete data sources.
Such data source options as Feed URL have five (5) settings options in the Advanced Settings tab. Jump into the necessary section description with the following links:
Most other data source options, including Google Sheets, Productsup Platform API, and Google Merchant Center, have four (4) settings options in the Advanced Settings tab:
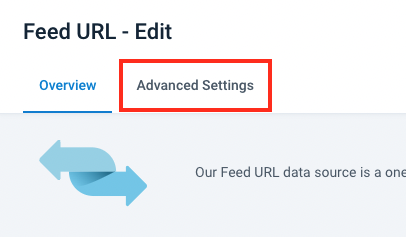
Locate the Advanced Settings tab
To access the Advanced Settings tab on the data source setup page:
Go to Data Sources from your site's main menu.
Select the cogwheel icon (⚙) next to a chosen data source.
Select Advanced Settings.
Set up data sources using Advanced Settings
Labels section
To distinguish between different data sources better, you may want to add labels to your data sources.
To add a label to a data source:
Select Labels in the Advanced Settings tab.
Give your label a name in the input field titled Add one or more labels separated by a comma (,).
To add multiple labels to a data source, separate them with a comma (,).
Select Save.
You can see your labels in the Labels column of the chosen data source in Data Sources.

Options section
To access a list of additional settings you can apply to a data source, you can use the Options section in the Advanced Settings tab.
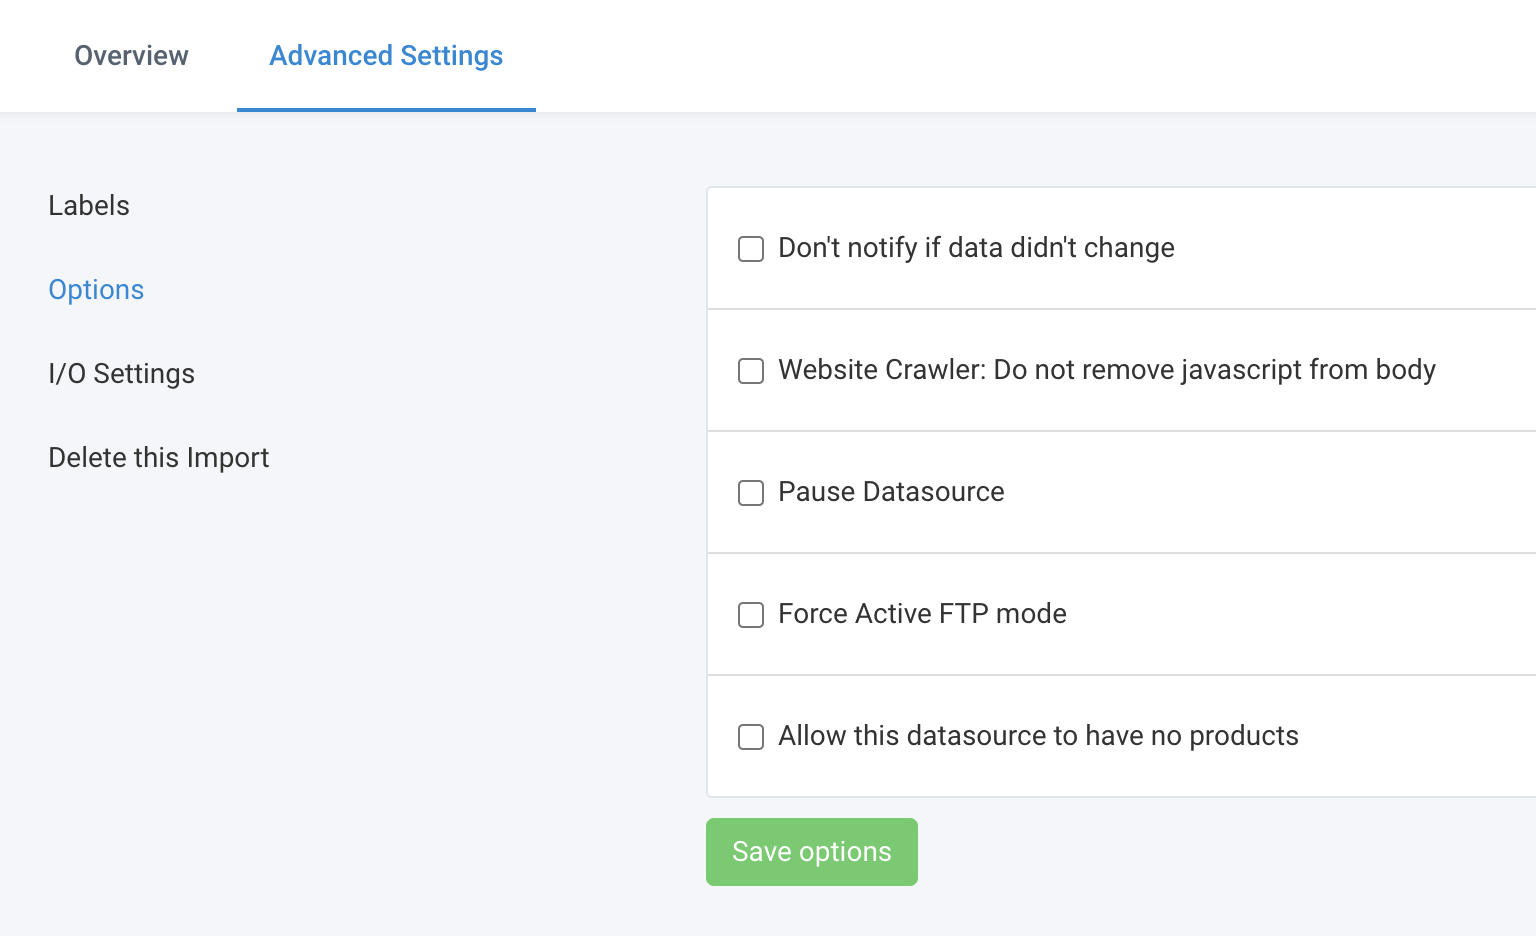
Select Options in the Advanced Settings tab.
To activate a desired data source setting, check the box next to it and select Save options:
Don't notify if data didn't change - This setting only applies to the option called Number of Imports without a change in Data Sources that you can set up in Monitor. Checking this box deactivates notifications about imports from the chosen data source with no change in the imported data. A data source with turned-off notifications has a crossed-out bell icon in Data Sources.

Website Crawler: Do not remove javascript from body - This setting applies to the Website Crawler data source option. By default, Productsup removes JavaScript from the data it gathers while crawling a website. Checking this box disables removing JavaScript from the collected data in case the structure of the crawled website requires it. See Import data by crawling your website for more information.
Pause Datasource - Checking this box pauses your data source and stops any further imports from it. This is especially helpful when searching for the causes of import errors in case of faulty data sources. Alternatively, you can pause a data source by selecting the pause icon in the State column of the chosen data source in Data Sources.

Force Active FTP mode - This setting only applies to data sources requiring an FTP connection. By default, Productsup uses the passive mode of connecting to an FTP server. Checking this option switches the mode to active, meaning that the FTP server should assign a port for Productsup to connect to.
Allow this datasource to have no products - If you need your site to have a data source that is sometimes empty and has no data to import into Productsup, checking this box allows the data source to be empty, so the platform doesn't display its imports as failed.
I/O Settings section
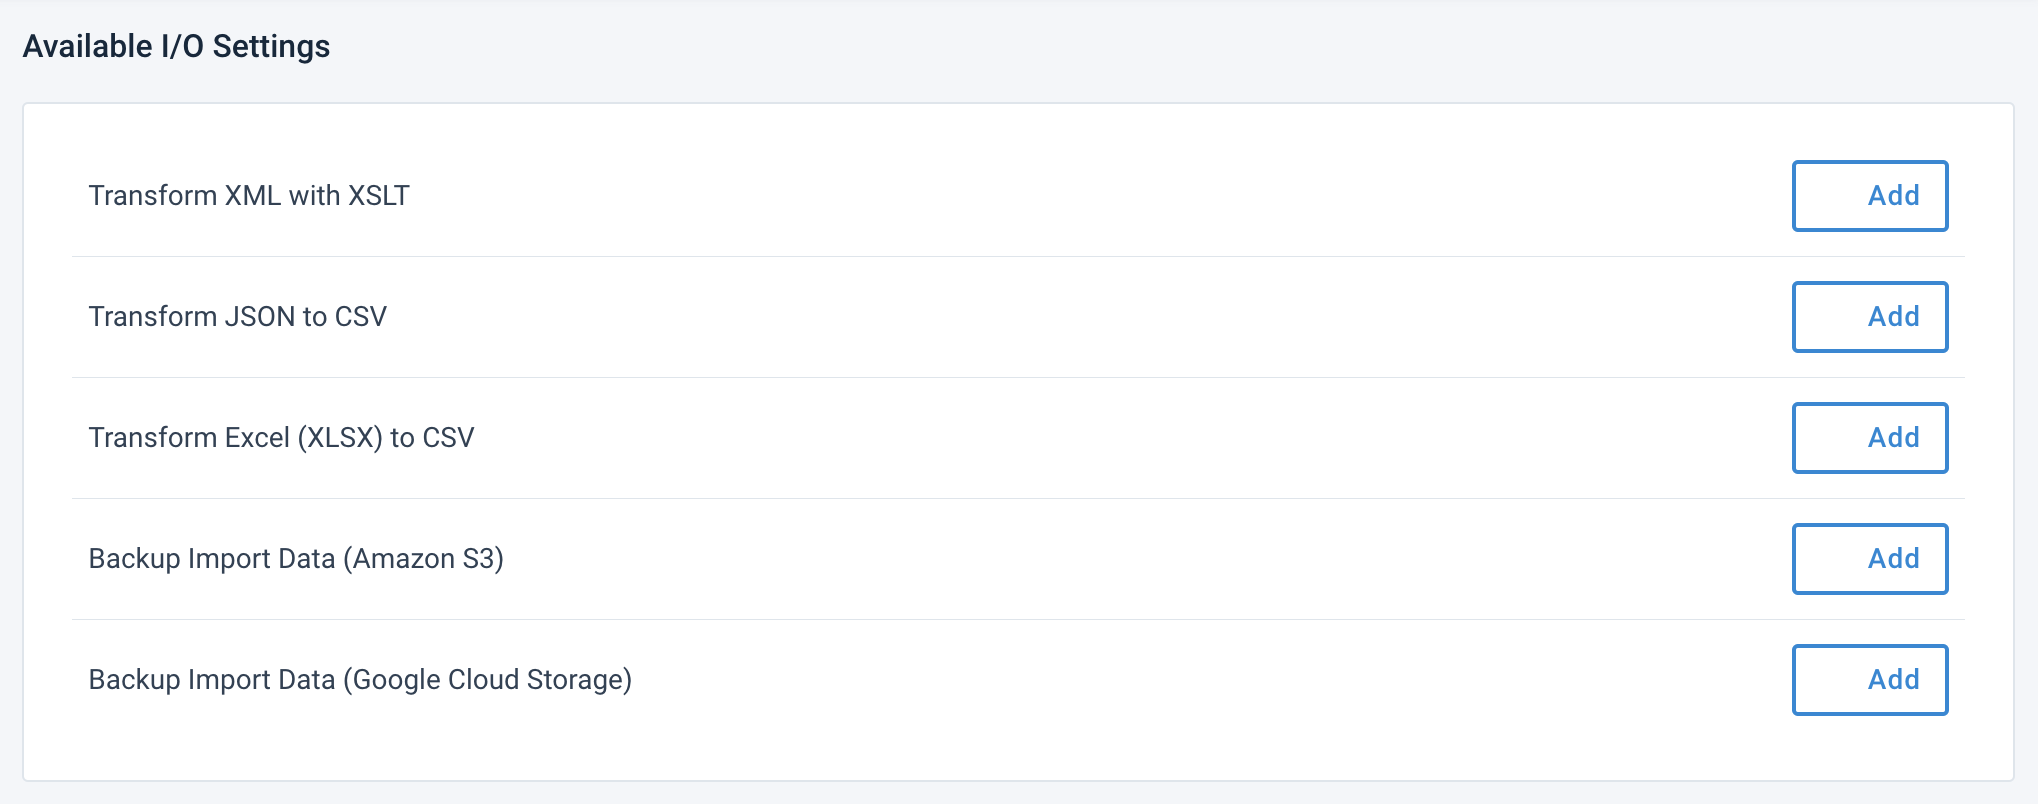
If you want to modify or backup the data imported via the Feed URL data source option, you can use the I/O Settings section in the Advanced Settings tab.
Select I/O Settings in the Advanced Settings tab.
In the Available I/O Settings panel, select Add to use one of the data transformation or backup settings.
You can see and edit all added settings in the Existing I/O Settings panel.
To delete an added setting, choose the bin icon in the panel you want to remove and select Yes.
Transform a data source
To transform an XML, JSON, or XLSX file before importing its data into Productsup, use one of the following options:
Transform XML with XSLT - You can modify your XML file with XSLT code if, for example, the structure of your XML file isn't compatible with the structure of your product feed. Add an XSLT code abstract containing your desired XML file structure in XSL Template and select Save.
Note
Currently, the platform supports XSLT versions 3.0 and older.
Transform JSON to CSV - You can transfer your data in a JSON file into a CSV file. If your file has a complex structure, you can help the platform transform it by defining its product path and object-nesting approach.
In Multiline, you can specify whether your file has multiple JSON objects and arrays:
Note
One JSON object may contain multiple products inside.
Enter
OFFif your file has only one JSON object that contains all your products.Enter
SINGLEif your file has one JSON object per line of code.Enter
MULTIif your file has multiple JSON objects per line of code nested in a JSON array.
In Product Path, you can enter the path to your file's product node in the following format:
xxx.product, wherexxxis the path to the node containing your products and.productis the mandatory ending of the input string.For a JSON file similar to the following, the input in the Product Path field should be
items.product. If your file requires mentioning multiple nodes in the product path, separate them using a dot (.).1{ 2 "items": [ 3 { 4 "id": 2744883653, 5 "title": "Test product 1", 6 "image": "https://image.com/1" 7 }, 8 { 9 "id": 2744886389, 10 "title": "Test product 2", 11 "image": "https://image.com/2" 12 }, 13 { 14 "id": 2744887310, 15 "title": "Test product 3", 16 "image": "https://image.com/3" 17 } 18 ] 19}Tip
You can leave the Product Path field empty to let the platform know that your file has no JSON object or key leading up to the JSON array that contains all your products.
Transform Excel (XSLX) to CSV - You can transfer the data from an XLSX file into a CSV file. Enter the name of the Excel sheet containing the data in Sheet Name or leave the field empty to let the platform detect the sheet automatically. Then, select Save.
Note
This setting applies to Excel files having the .xlsx extension only.
Back up a data source
Productsup lets you back up your data sources to third-party cloud service providers to help debug data sources, access archive data, etc.
Productsup offers backups to the following cloud service providers:
Using the Backup Import Data (Amazon S3) setting, you can back up your data source to Amazon S3:
Enter your S3 credentials in S3 Bucket, S3 Region, S3 Access Key, and S3 Access Secret.
Specify the prefix of your remote file's name in Prefix Remote Filename and choose the format of your S3 folders from the S3 Folders Format drop-down menu as needed.
Select Save.
Using the Backup Import Data (Google Cloud Storage) setting, you can back up your data source to Google Cloud Storage:
Enter your Google Cloud Storage bucket in Google Storage Bucket.
If you already have a Google Storage authentication in your Productsup organization, choose it from the Google Storage Authentication drop-down menu.
If not, go to Authentication from your site's main menu, select ADD AUTHENTICATION, choose Google Storage Authentication in Type, give it a custom name as desired, and select Next. Then, choose Connect to let the platform redirect you to a Google Account page, where you can give Productsup access to your Google Storage account. Once finished, Google redirects you back to Productsup. Close the confirmation window to proceed and go back to the I/O Settings section of the Advanced Settings tab in the setup of the data source you want to back up.
Specify the prefix of your remote file's name in Prefix Remote Filename and choose the format of your Google Cloud Storage folders from the Google Storage Folders Format drop-down menu as needed.
Select Save.
Parallel downloads section
If you have sites with multiple data sources, you can enable parallel downloads to reduce the time of data processing and speed up the import.
The Parallel downloads feature allows the platform to process multiple data sources in parallel and, as a result, increase performance.
You should enable parallel downloads for each data source individually.
Note
Enabling this feature leads to an increase in the number of API calls to your source of data. Ensure that your data source can manage this increased number of requests from the Productsup platform.
To enable or disable parallel downloads for each data source, take the following actions:
Select Parallel downloads in the Advanced Settings tab of the required data source.

Select Disabled or Enabled.
Select Save.
Delete this Import section
If you no longer need a data source, you can use the Delete this Import section in the Advanced Settings tab to remove the data source from your site and ensure the site doesn't receive imports from this data source anymore.
Select Delete this Import in the Advanced Settings tab.
Select Delete and then select Yes.