Create or copy a site
Learn to create or copy a site in Productsup and automatically transfer your items, unique item identifier settings, export destinations, and more to a new site.
A site is the smallest structural entity in the platform. Your Productsup organization can have multiple projects where you can add multiple sites. A site contains your imported data, the optimizations you apply to it, and the exports where you can send your data. Sites are usually your main workspace in the Productsup platform.
Similar to projects, you can organize your sites per country, brand, language, export, etc.
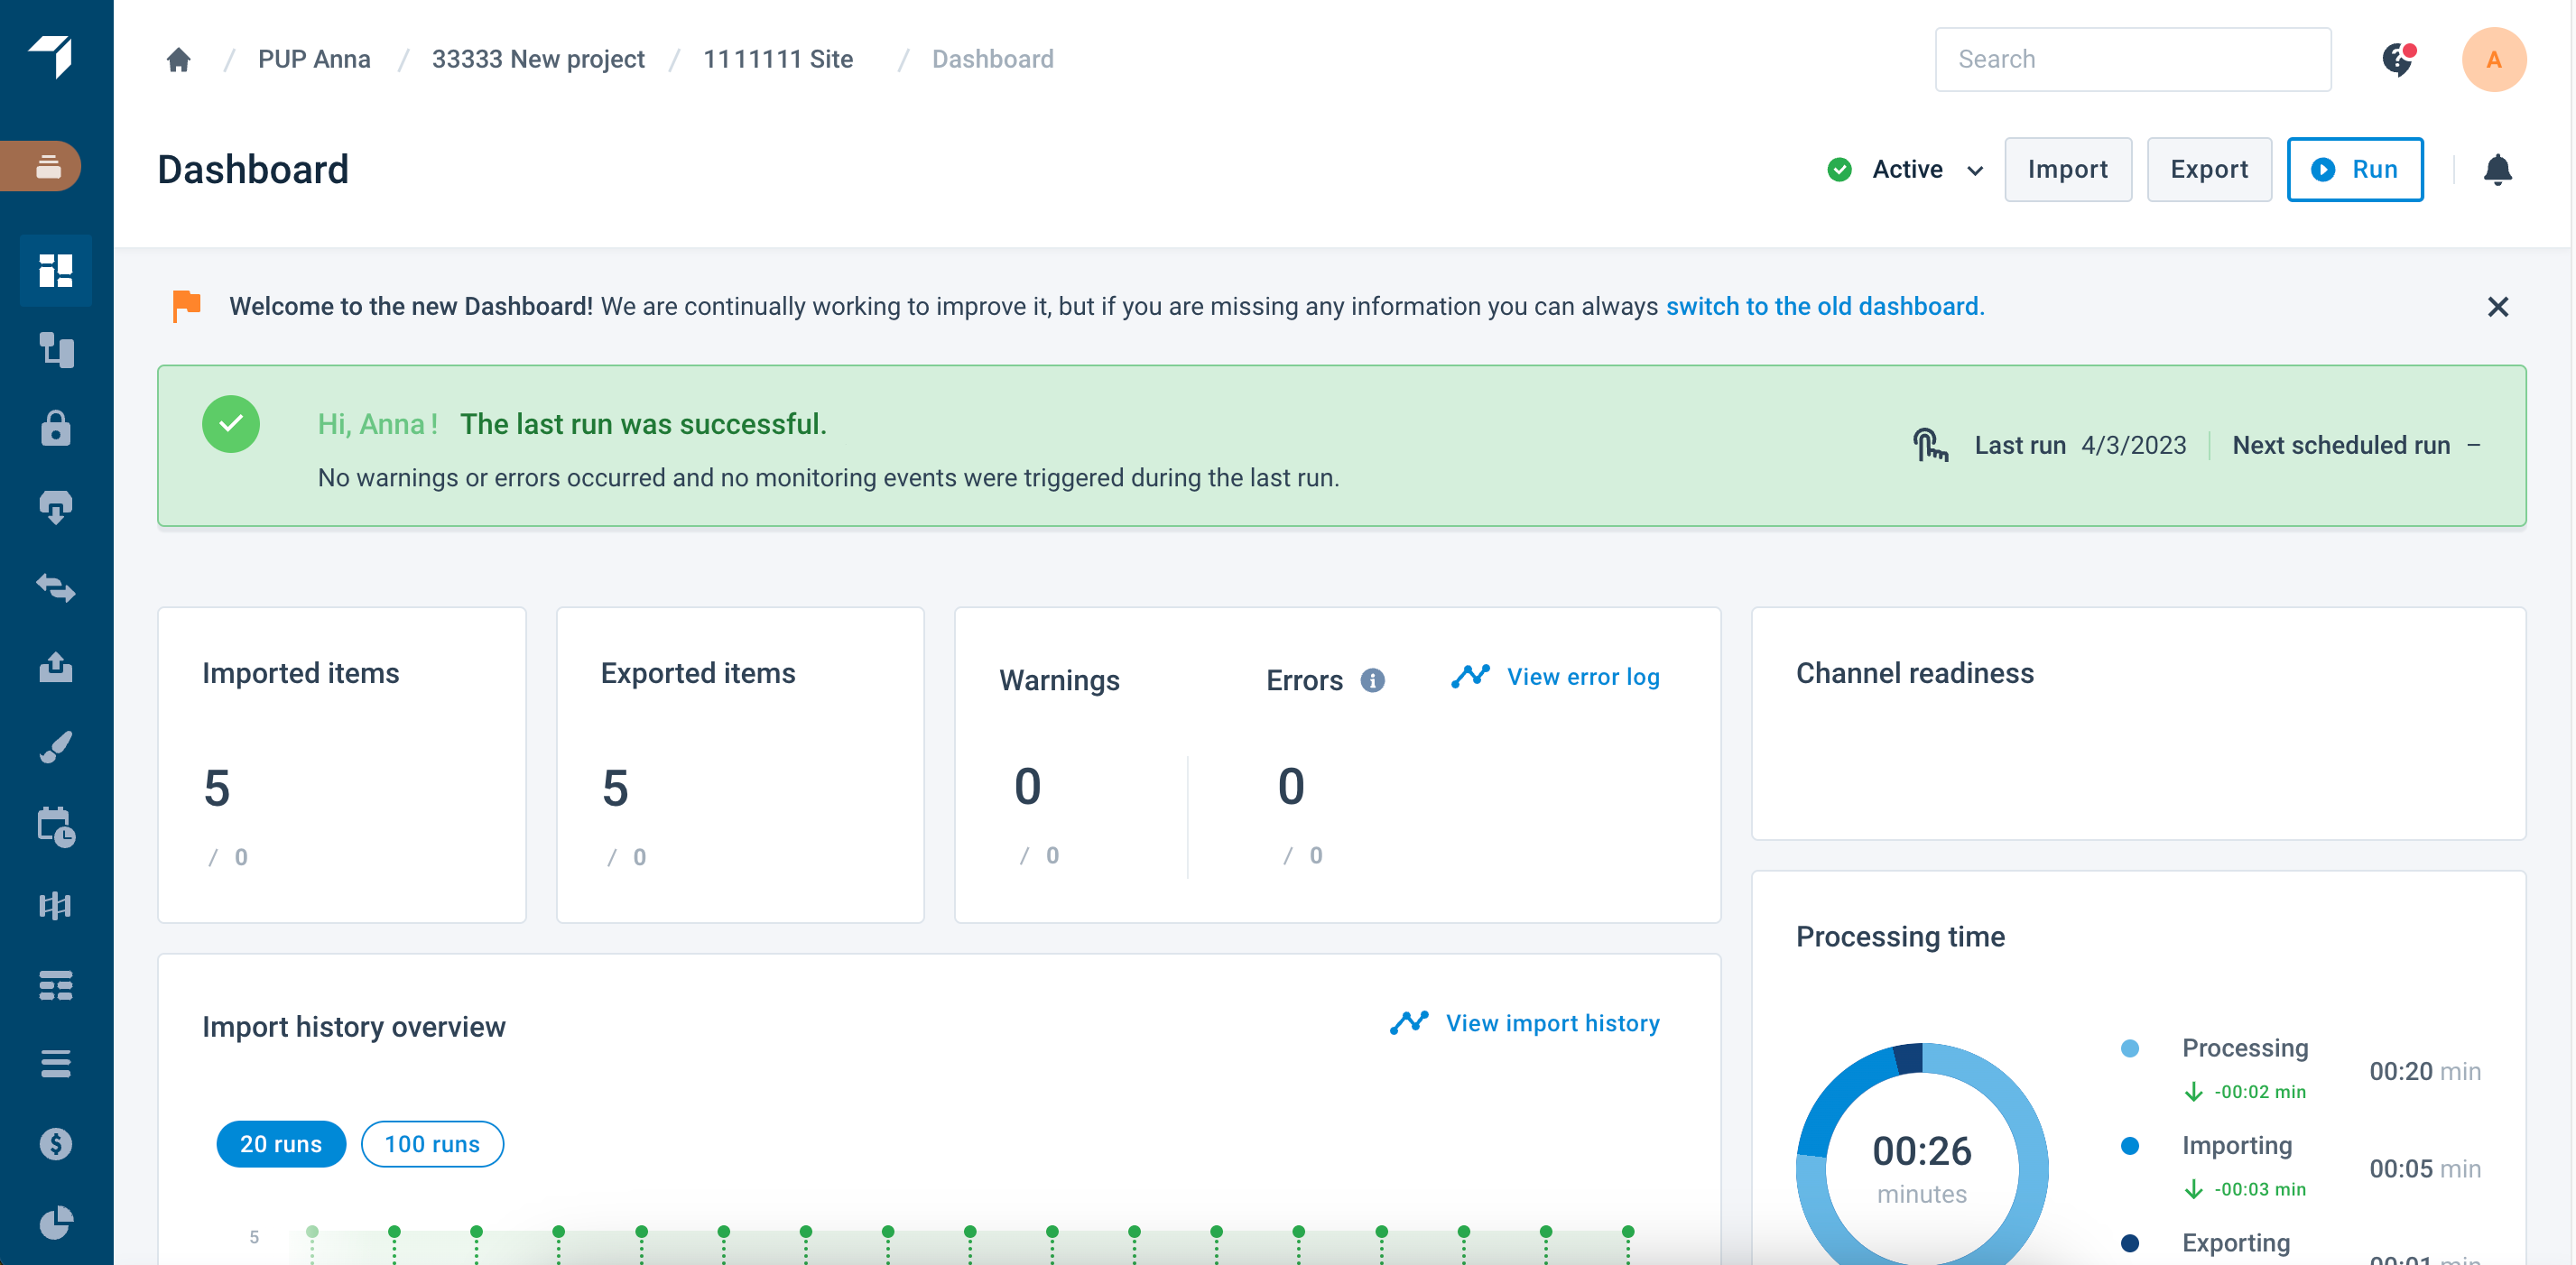
Dashboard is the homepage of every site. Here, you can see the site's stats and get quick access to troubleshooting features.

When creating a site, you have two options:
Creating a new site and manually setting it up from scratch.
Copying an existing site and reusing its settings.
Learn more about the organization structure from the video, or find detailed guidance in the sections below:
Create a site
Go to a project where you want to add a site.

Select Add Site.
Enter a name for your site in Title.
Leave the option Create a new Site in the Create or Copy dropdown.
Select Add.
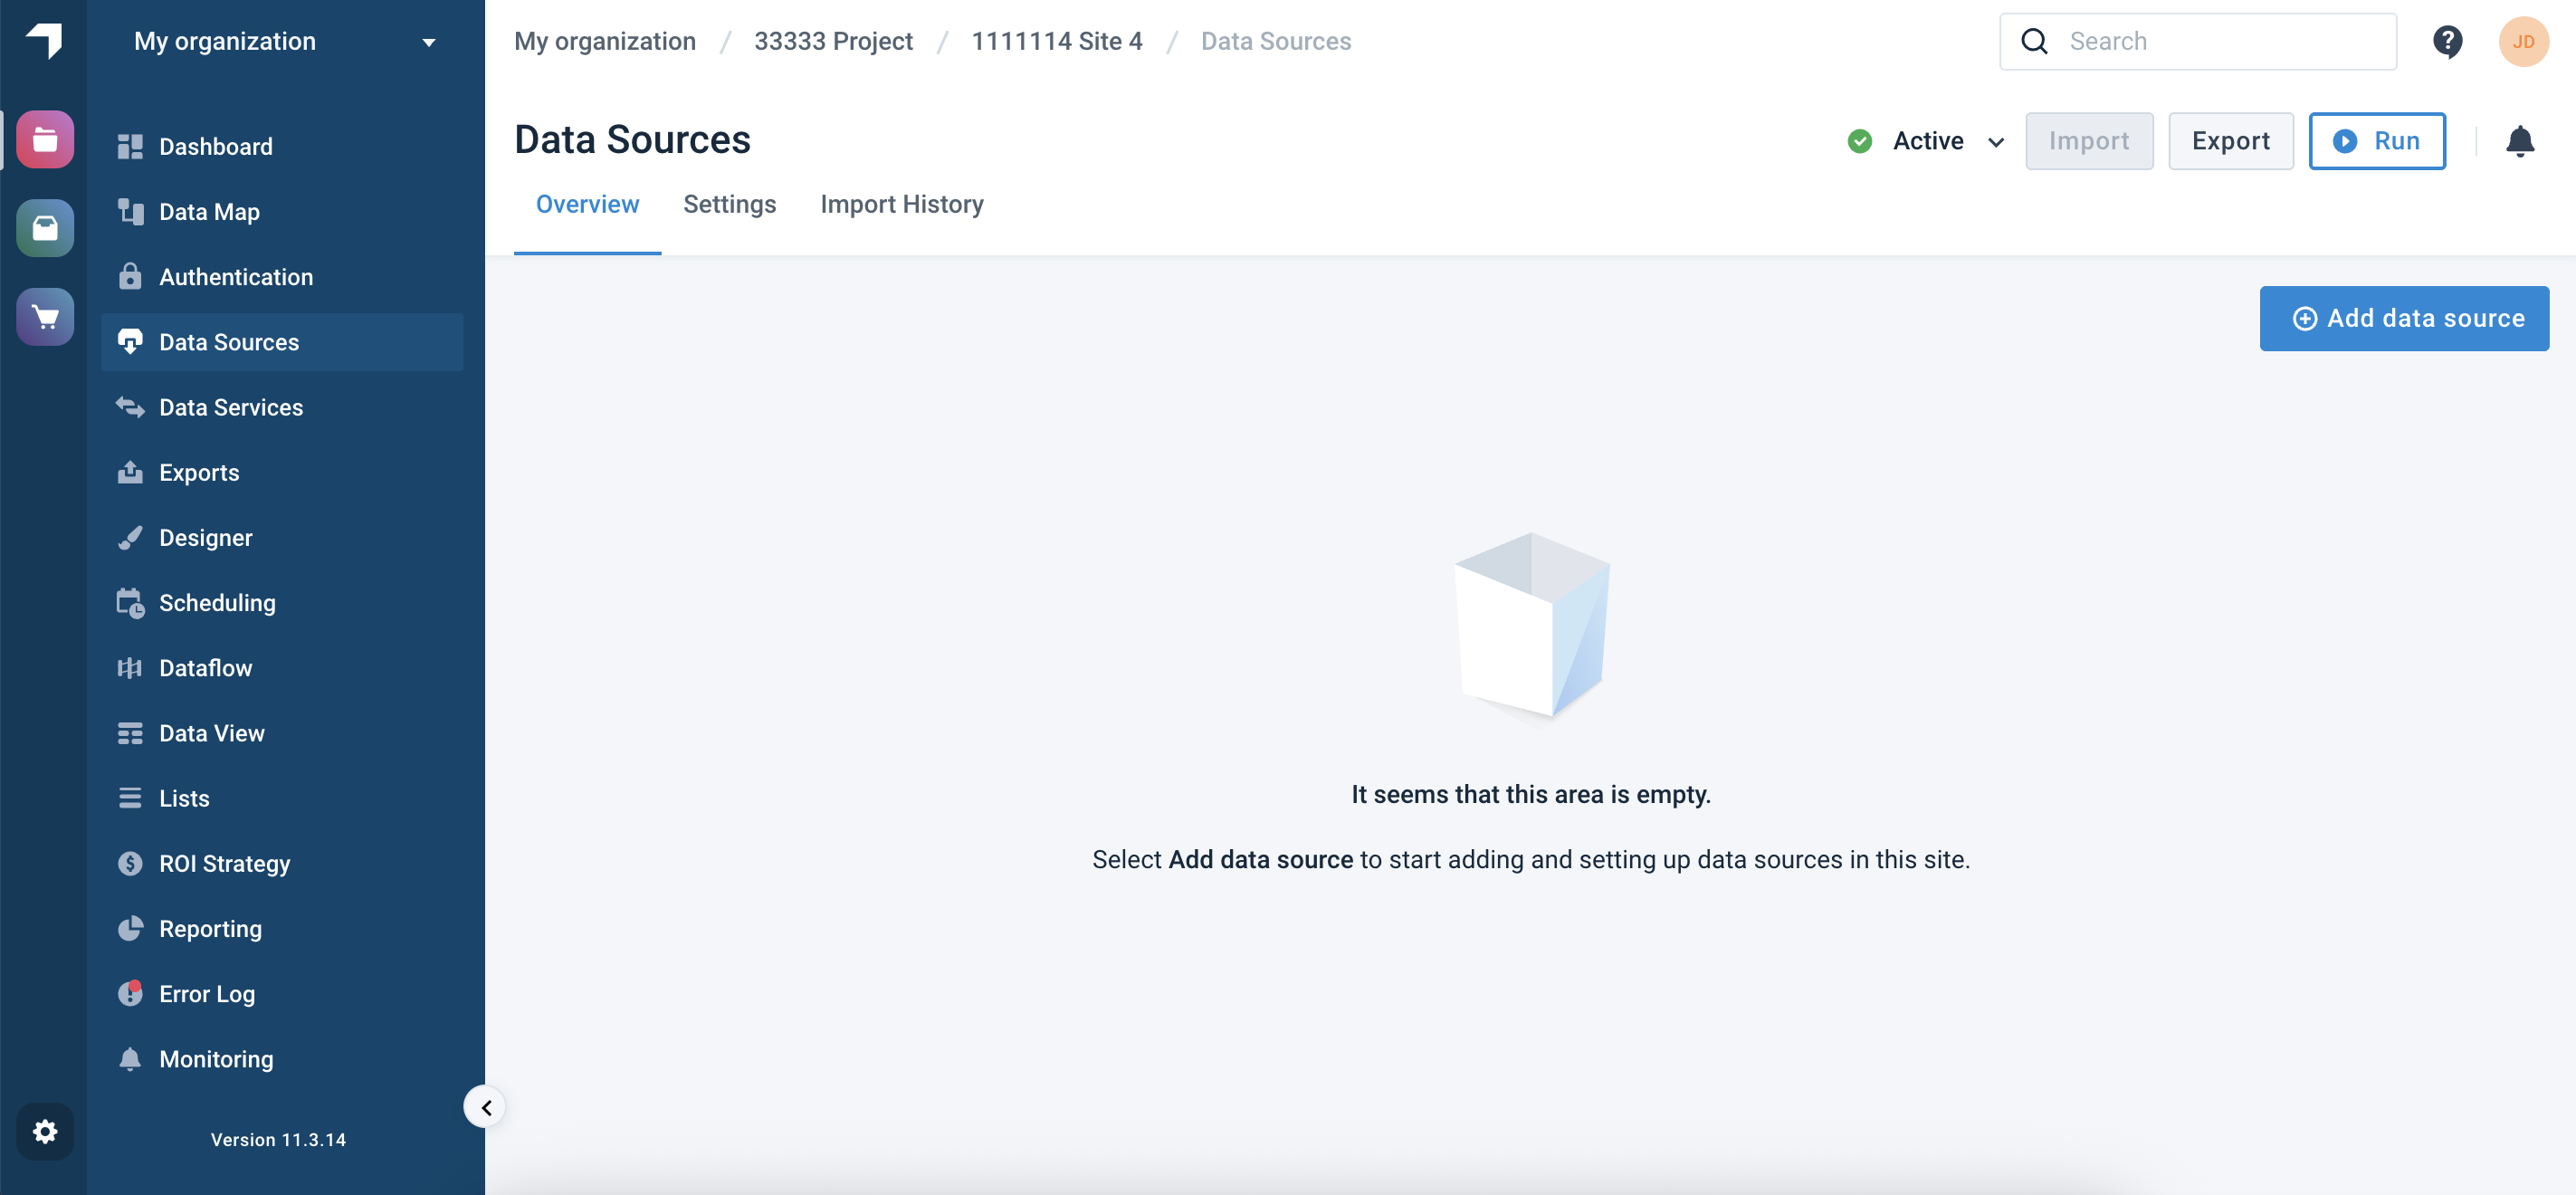
You have created a new site. The platform opens it in your current browser tab, leading you directly to Data Sources to let you start setting up your new site. See Import your data into Productsup for next steps.

Copy a site
Copying a site saves time and reduces the probability of errors caused by configuring sites manually.
Productsup copies the following entities from the source site: | Additionally, you can choose to copy: | Productsup doesn't copy: |
|---|---|---|
|
|
|
Tip
You can use bulk actions to copy multiple sites at once. See Use bulk options to perform actions across multiple sites.
To copy a site, take these steps:
Go to the organization level in Productsup by performing one of the following actions:
Select your organization name at the top of the main menu (highlighted in red).
Select your organization name in the breadcrumbs (highlighted in blue).
Go directly to the link ending with your organization ID, for example,
https://platform.productsup.com/overview/account/123456.

Select the name of the project where you wish to add a site.
Select Add Site.
Enter a name for your site in Title.
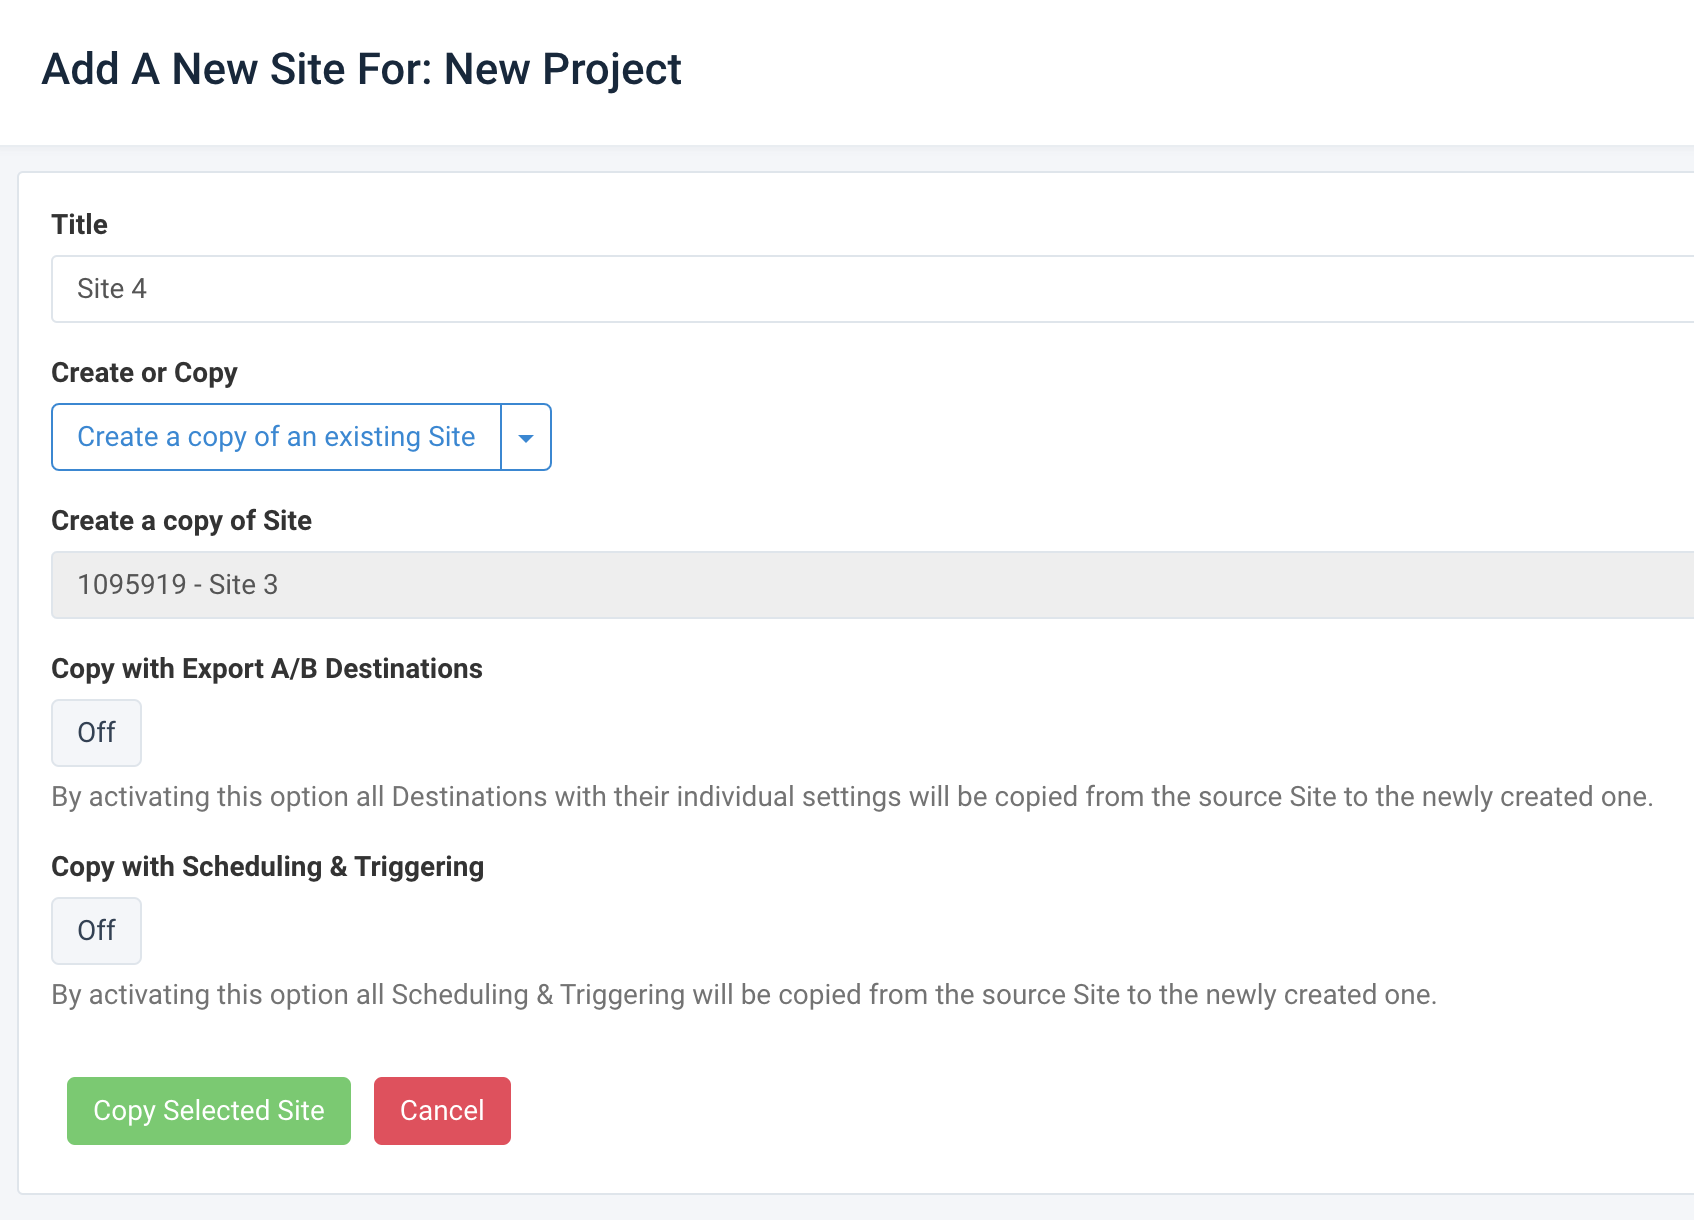
Select Create a copy of an existing Site from the Create or Copy dropdown.
In the Select a Site pop-up, choose the site you want to copy in Select a Site to copy.
Choose Select. This action closes the pop-up and shows you further site settings.

If you want to copy all export destinations from the source site, select Copy with Export Destinations.
Note
If you copy a site with its export destinations, the destinations of both the source and the new site have the same settings, such as file names, folders, buckets, etc.
The Productsup Server destination is the only one that remains unique and gets a new link and file name when you copy it.
To copy all scheduling and triggering settings from the source site, select Copy with Scheduling & Triggering.
To copy all shared dataflow settings from the source site to the new one, select Copy with Shared elements.
Note
This option lets you copy only the sites that already have a shared dataflow.
It is impossible to copy a site with this option if the selected source site is also the source site for the shared dataflow settings. If you still need to copy this type of site, do it without the Copy with Shared elements option and then manually set up the shared dataflow in Shared Dataflow at the organization level. See Share dataflow with other sites to learn more.
Select Copy Selected Site.
Site statuses
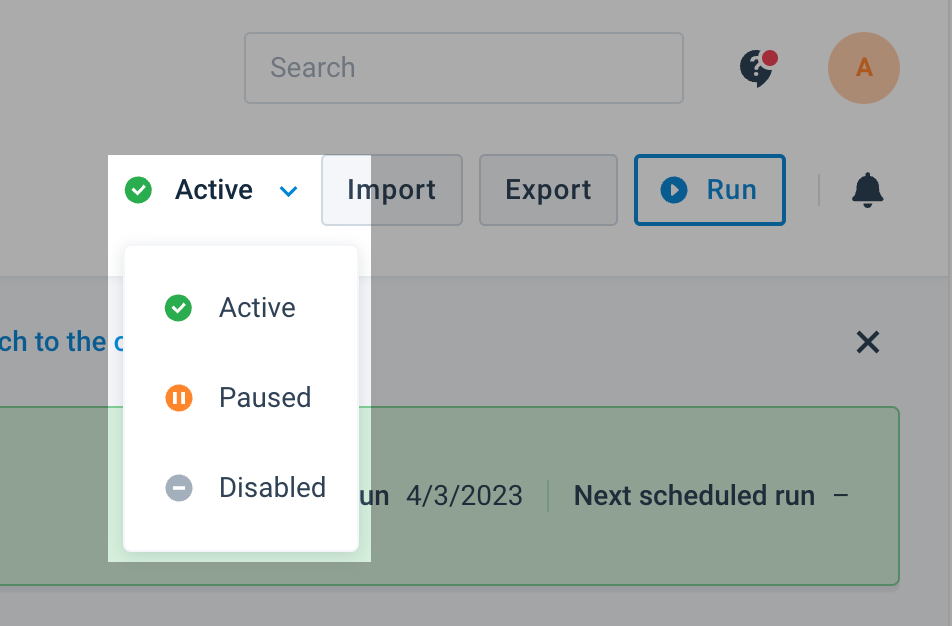
Using site statuses, you can manage which sites run or export data and which ones don't. There are three site statuses in Productsup:
Active: In an active site, the platform uses the existing triggers and schedules to run the site automatically. It imports, processes, and exports data as expected. This is the default site status.
Paused: In a paused site, the platform uses the existing triggers and schedules to partially run the site. It imports and processes your data, but it doesn't send any data to any of the added export destinations. Even if you manually run a paused site, the platform doesn't export the data. Using paused sites is a good way to test data optimization strategies without exporting any data to your target channels before it's ready.
Note
The platform considers items in paused sites as maintained items.
Disabled: In a disabled site, the platform doesn't apply any existing triggers or schedules to import, process, or export data. Disabled sites don't run.
The platform doesn't consider items in disabled sites as maintained items.

Note
Besides the site level, you can also change a site's status at the project and organization level in Overview using the dropdown in the State column.
Site's main menu
You can open and collapse the site-level menu using the arrow at the bottom of the menu  .
.
The features available in the site's main menu are:
 |
|
Note
The list of available features depends on your user access rights. See User types and access rights for more information.