Content Portal
Use the Productsup Content Portal to present your latest product information catalog.
As a product manufacturer, you may want your sales team to present the latest product information as efficiently as possible. While the Productsup Data View does this well for platform users, you may not want to offer your sales team access to everything. Content Portal is a separate interface for presenting the latest product information.
Log in to Content Portal
The Content Portal consists of two components: the Content Portal interface and the Content Portal Catalog export.
You can log in to the Content Portal in one of the following ways:
Follow the link to the Content Portal.
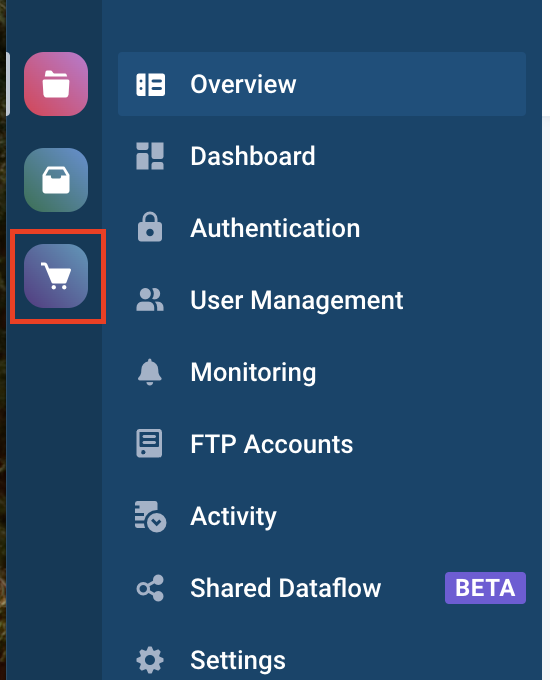
Open the panel on the left from the main menu in the Productsup platform and select the Content Portal icon.
To set up the Content Portal Catalog export, see Set up the Content Portal Catalog export.
Overview of your Content Portal
In the Content Portal, you can create product catalogs, invite users to these catalogs, and manage the settings of the account.
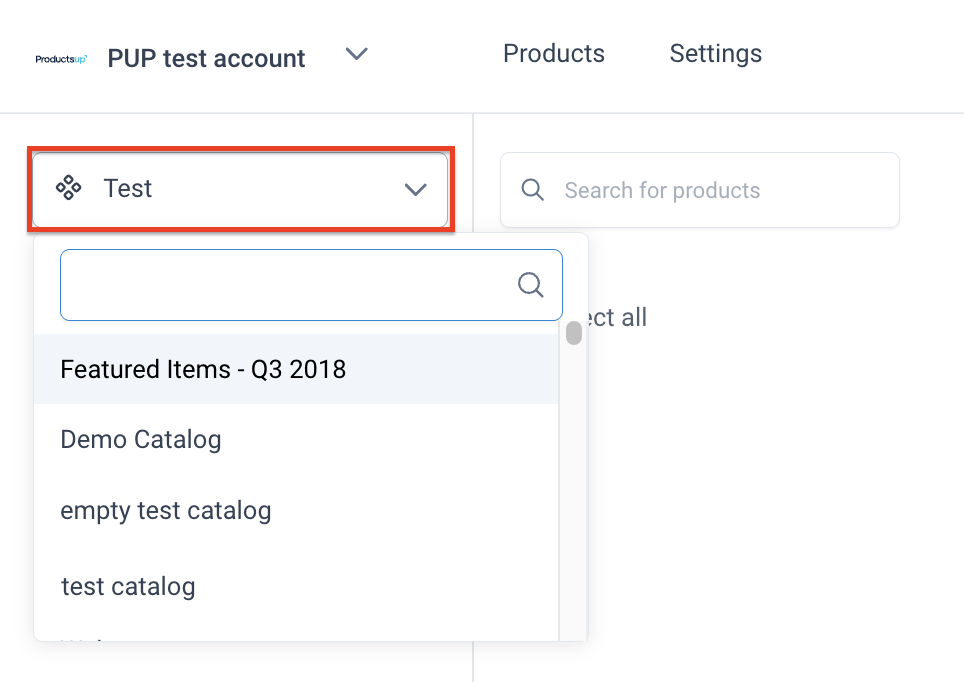
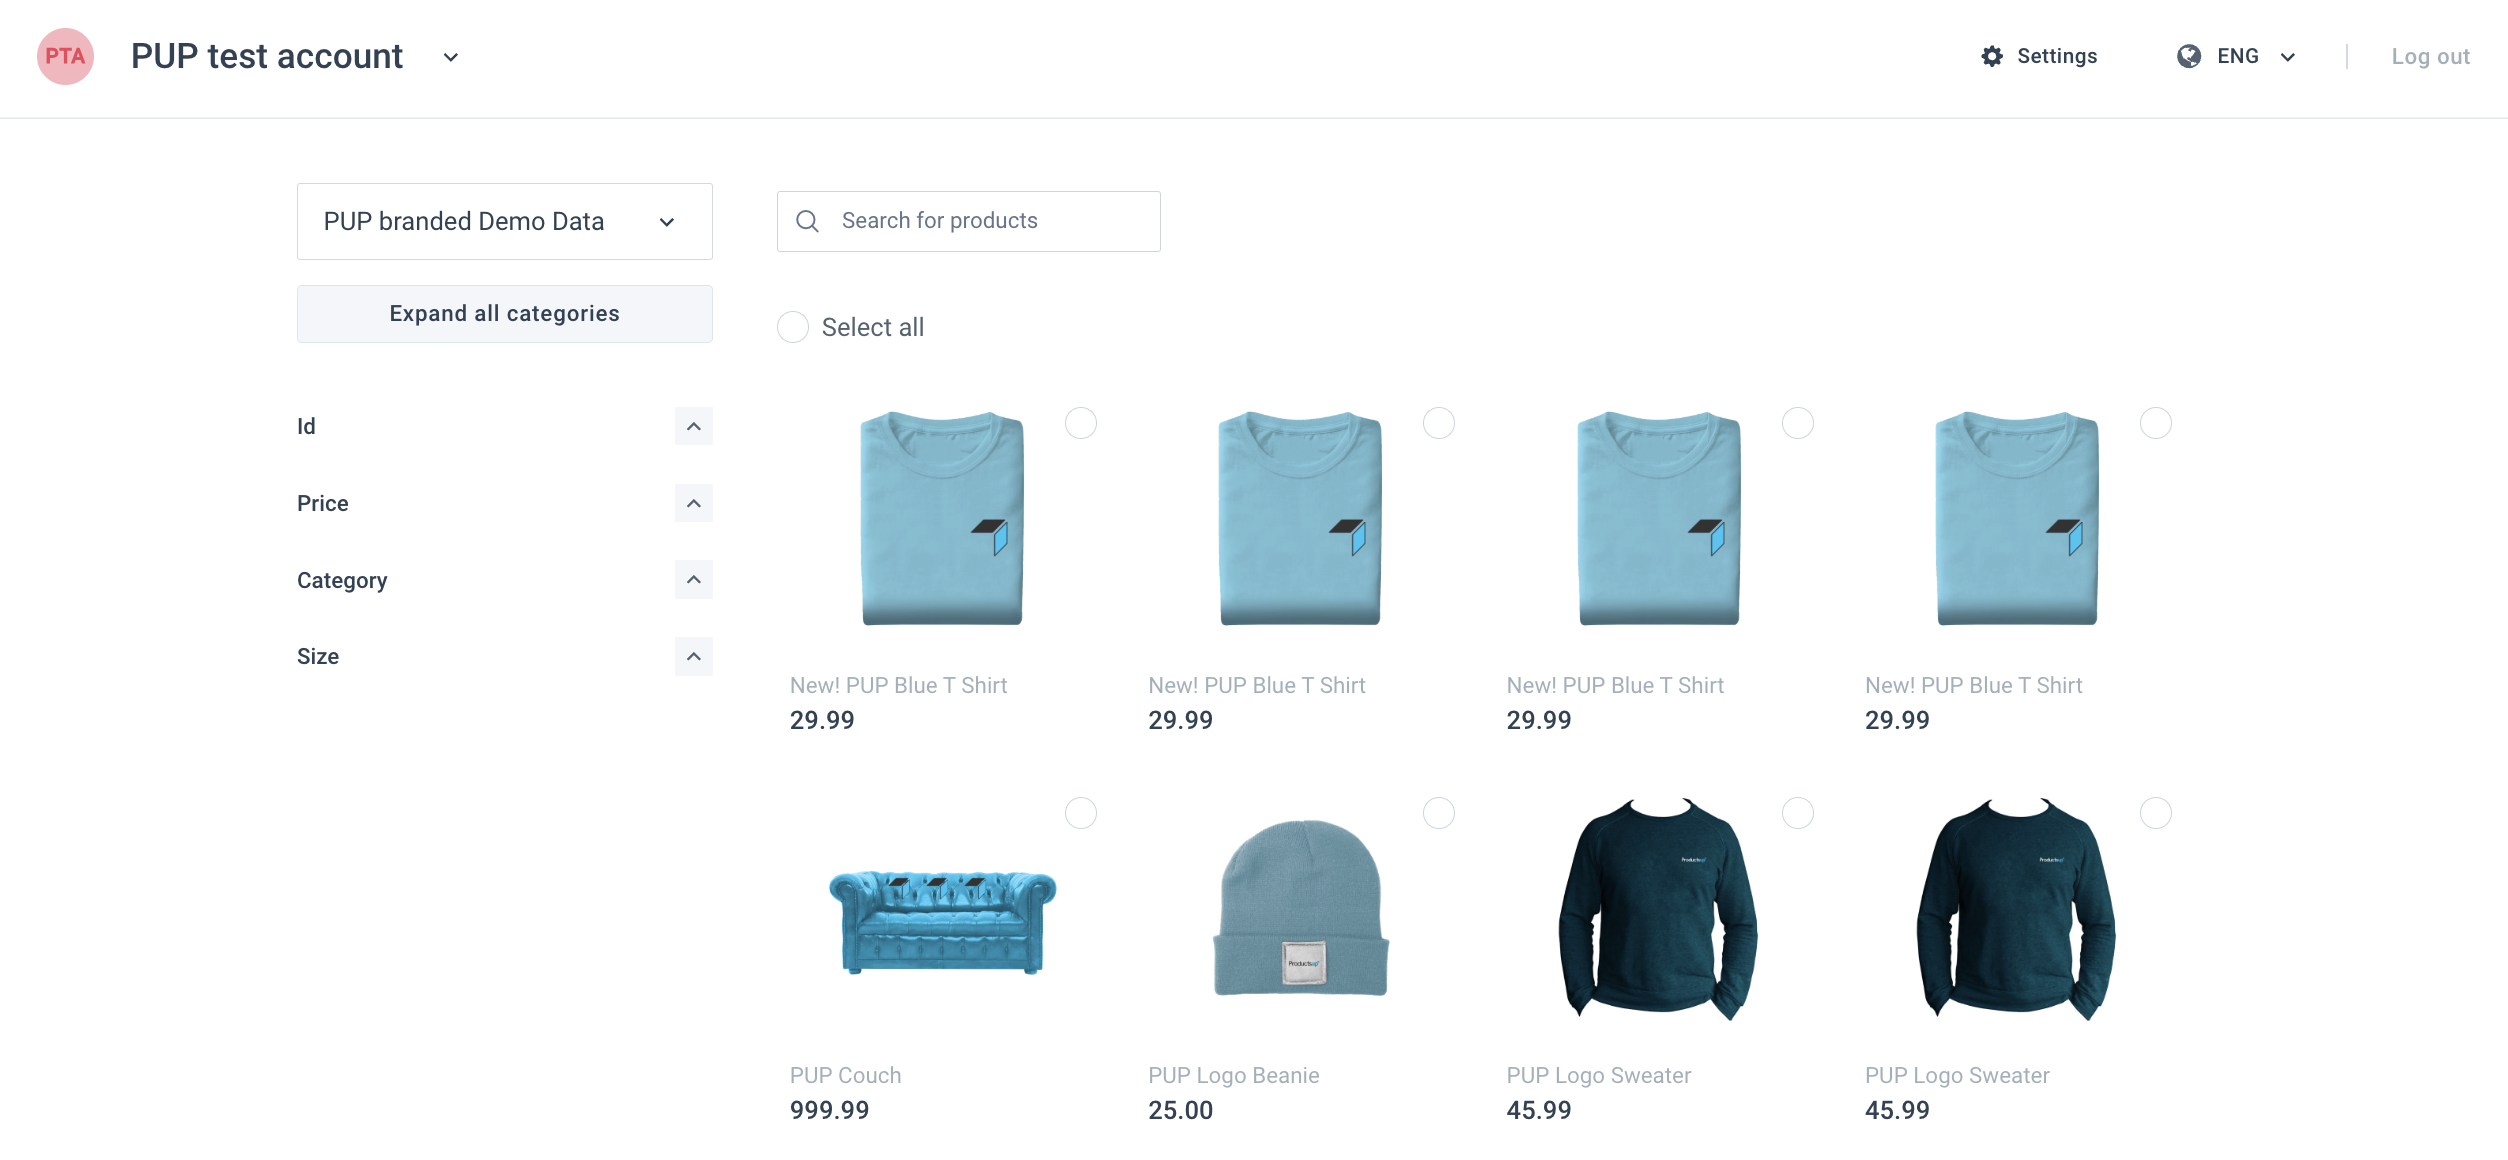
When you log in to your Content Portal as an Admin, you land in your account. In the dropdown in the top left corner, you can view the name of the account. If you have access to multiple accounts, you can switch between them by searching and selecting the needed one from the dropdown.

By default, the Products page opens and displays the products from the first catalog in the dropdown on the left. You can switch between catalogs by searching for a catalog name or scrolling through the list.
User's view of the Content Portal
All users who accepted the invitation via email can access the catalogs shared with them. When logged in, users can view the selected catalog's Products page and select each product to see its details.
Note
The User role can't change the account settings, create new catalogs, or invite and manage users. Only Admins perform these actions.
Set up your Content Portal account
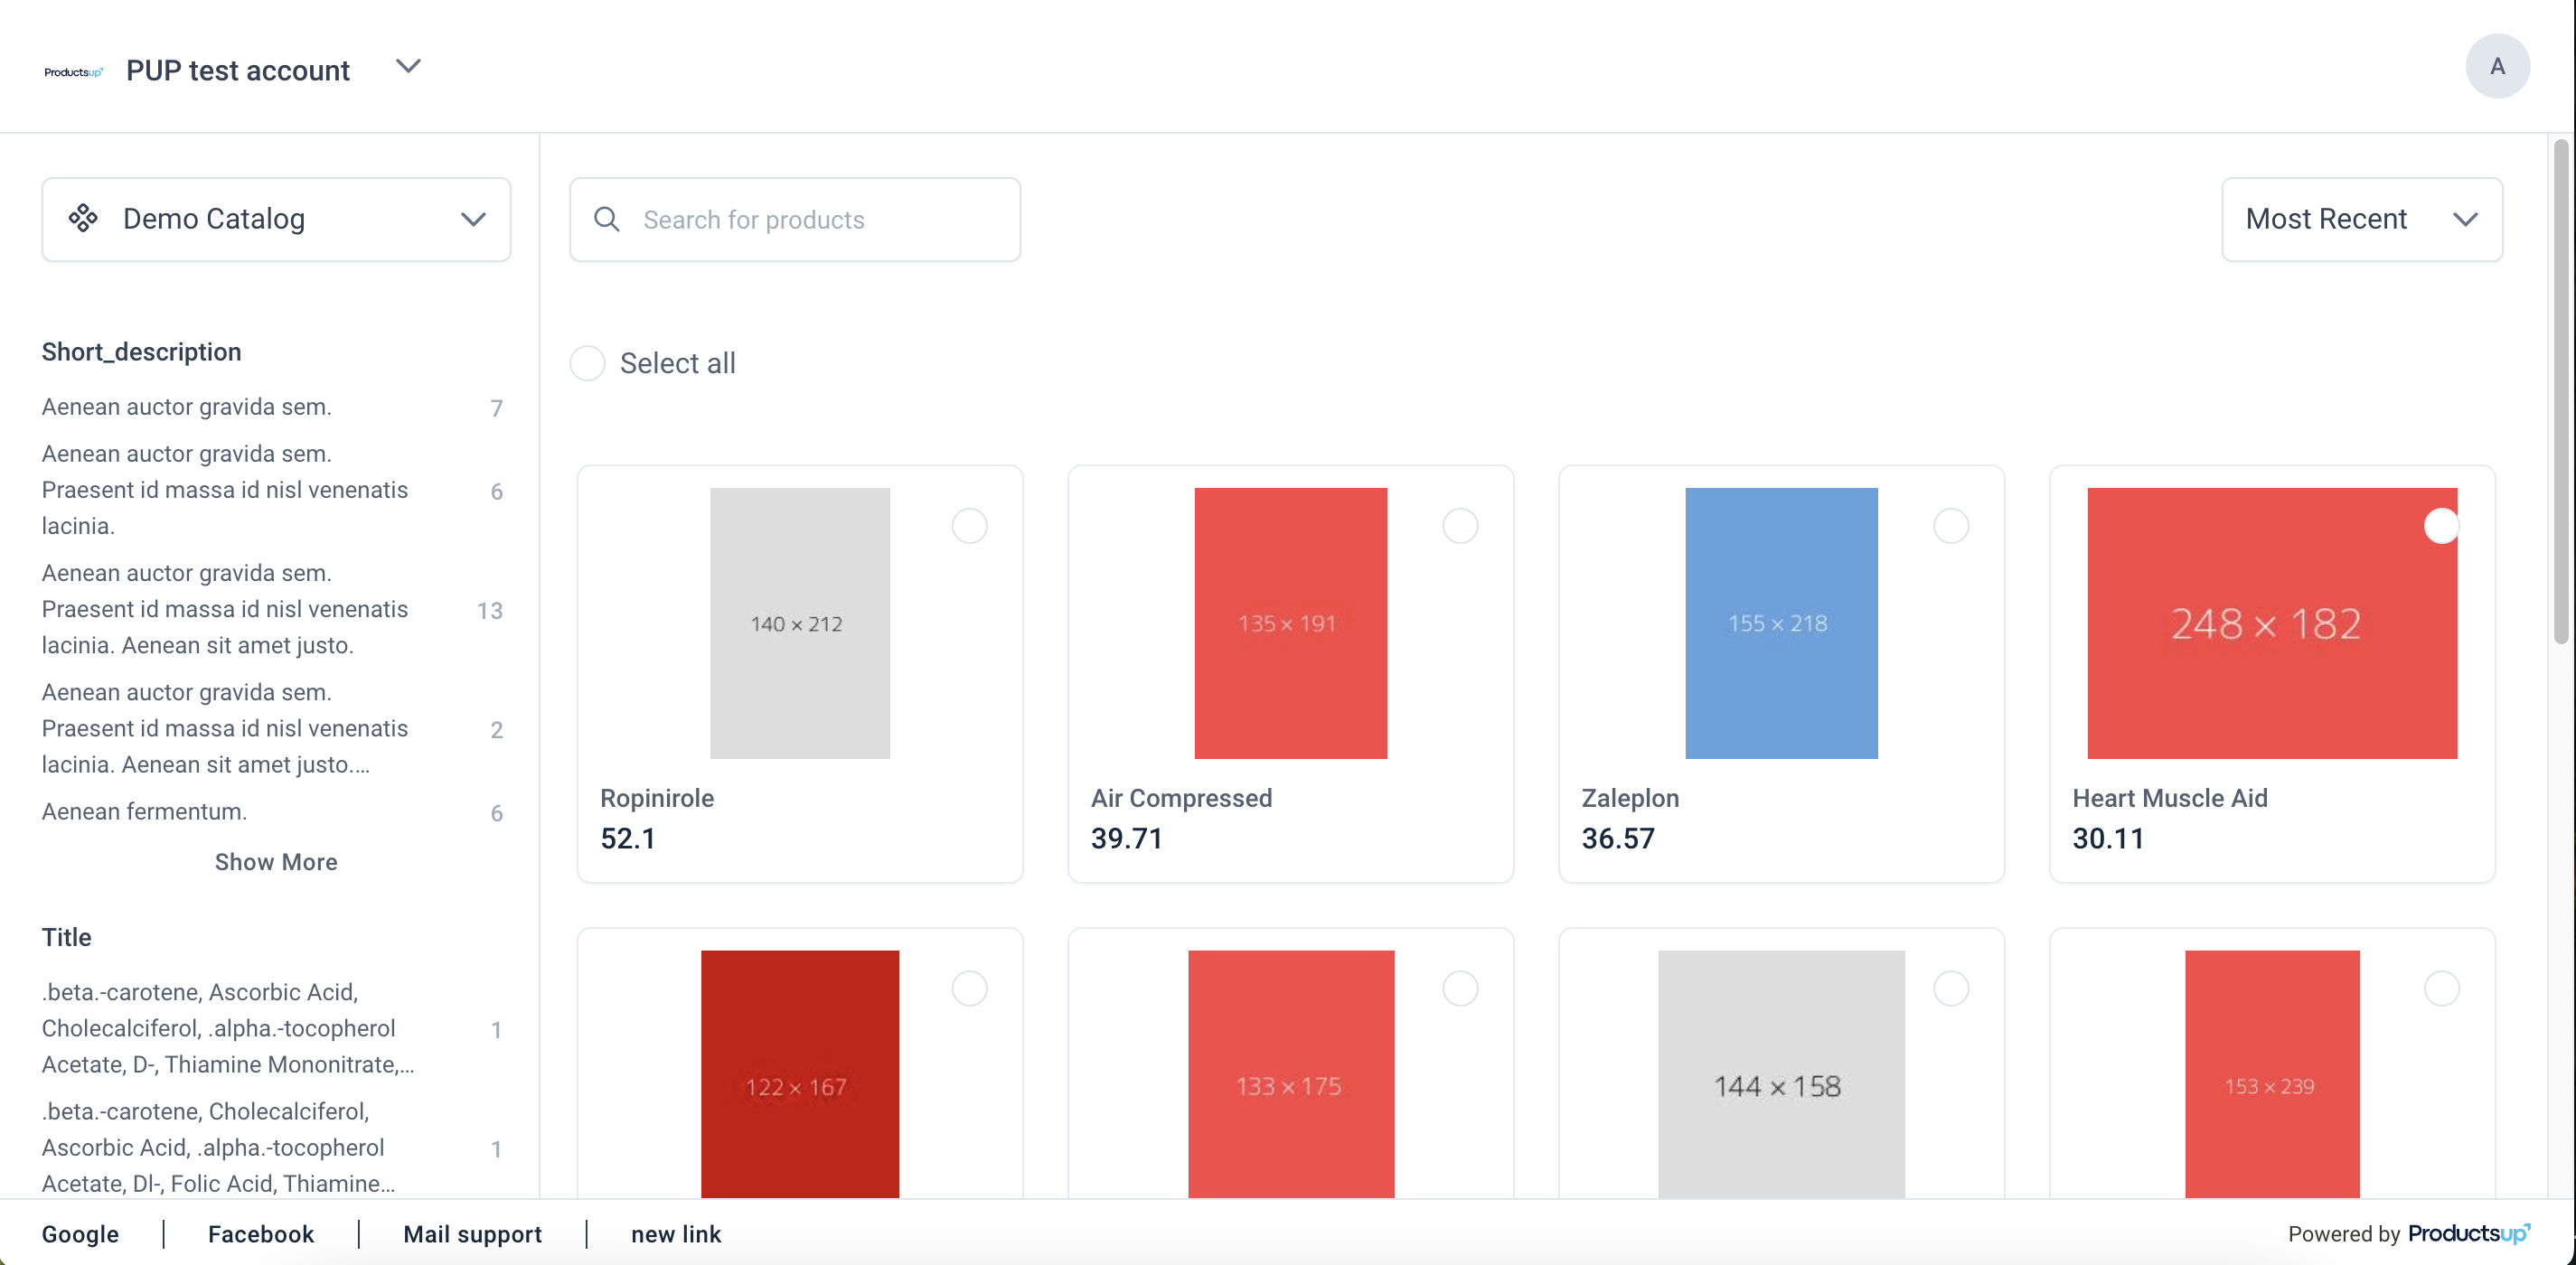
As an Admin, you can set up and edit the general information of your Content Portal, including account name, company logo, language, and footer links. You can change the following information:
Go to the Settings tab in the top bar of your Content Portal view to set up your Content Portal. The three sections will open on the left: Account, Catalogs, and Users.
The Account tab contains general information that your users will see when they open a catalog.
In Account name, enter the desired name. The account name is visible in the URL of your Content Portal.
In Company logo, upload the logo that will be visible in the header of your Content Portal.
In Default language, you can switch from English,selected by default, to French, German, Italian, Portuguese, or Spanish.
In Footer links, add URLs, such as your social media profiles or contact information, that you want to make available to your users at the bottom of the Content Portal.
User's overview of the catalog
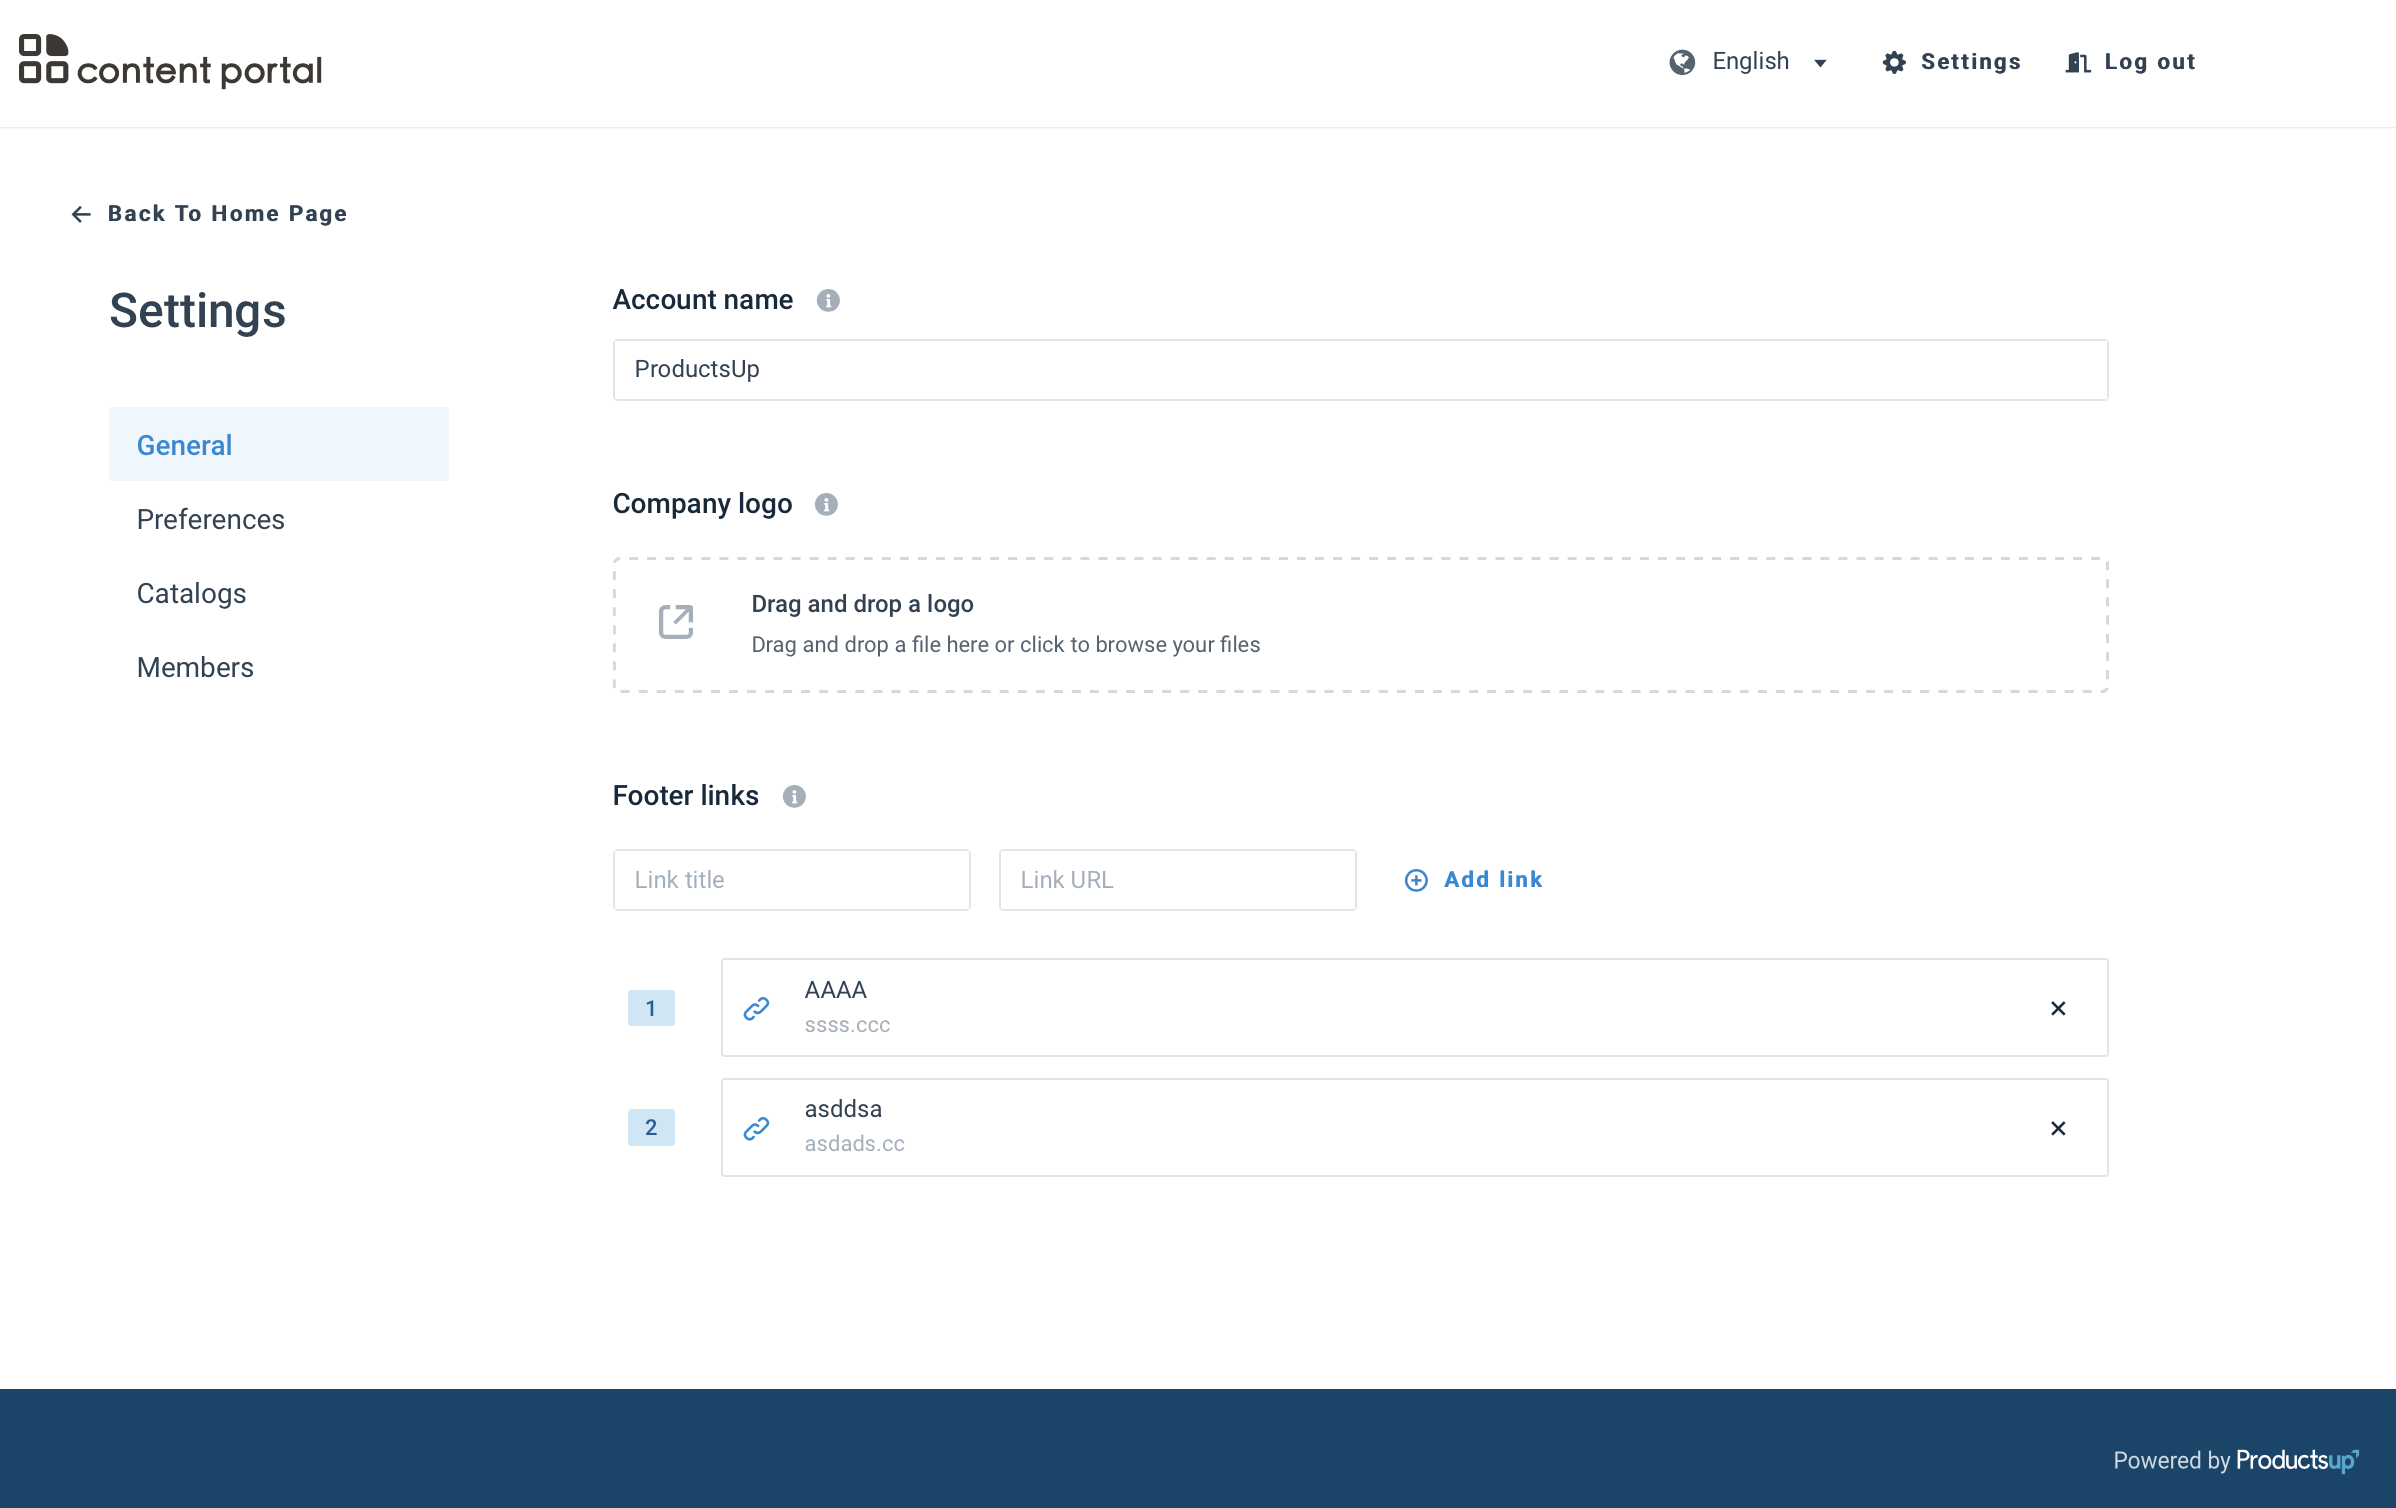
As a user who is invited and logged in to the Content Portal, you can see the first catalog selected by default in the dropdown on the left.
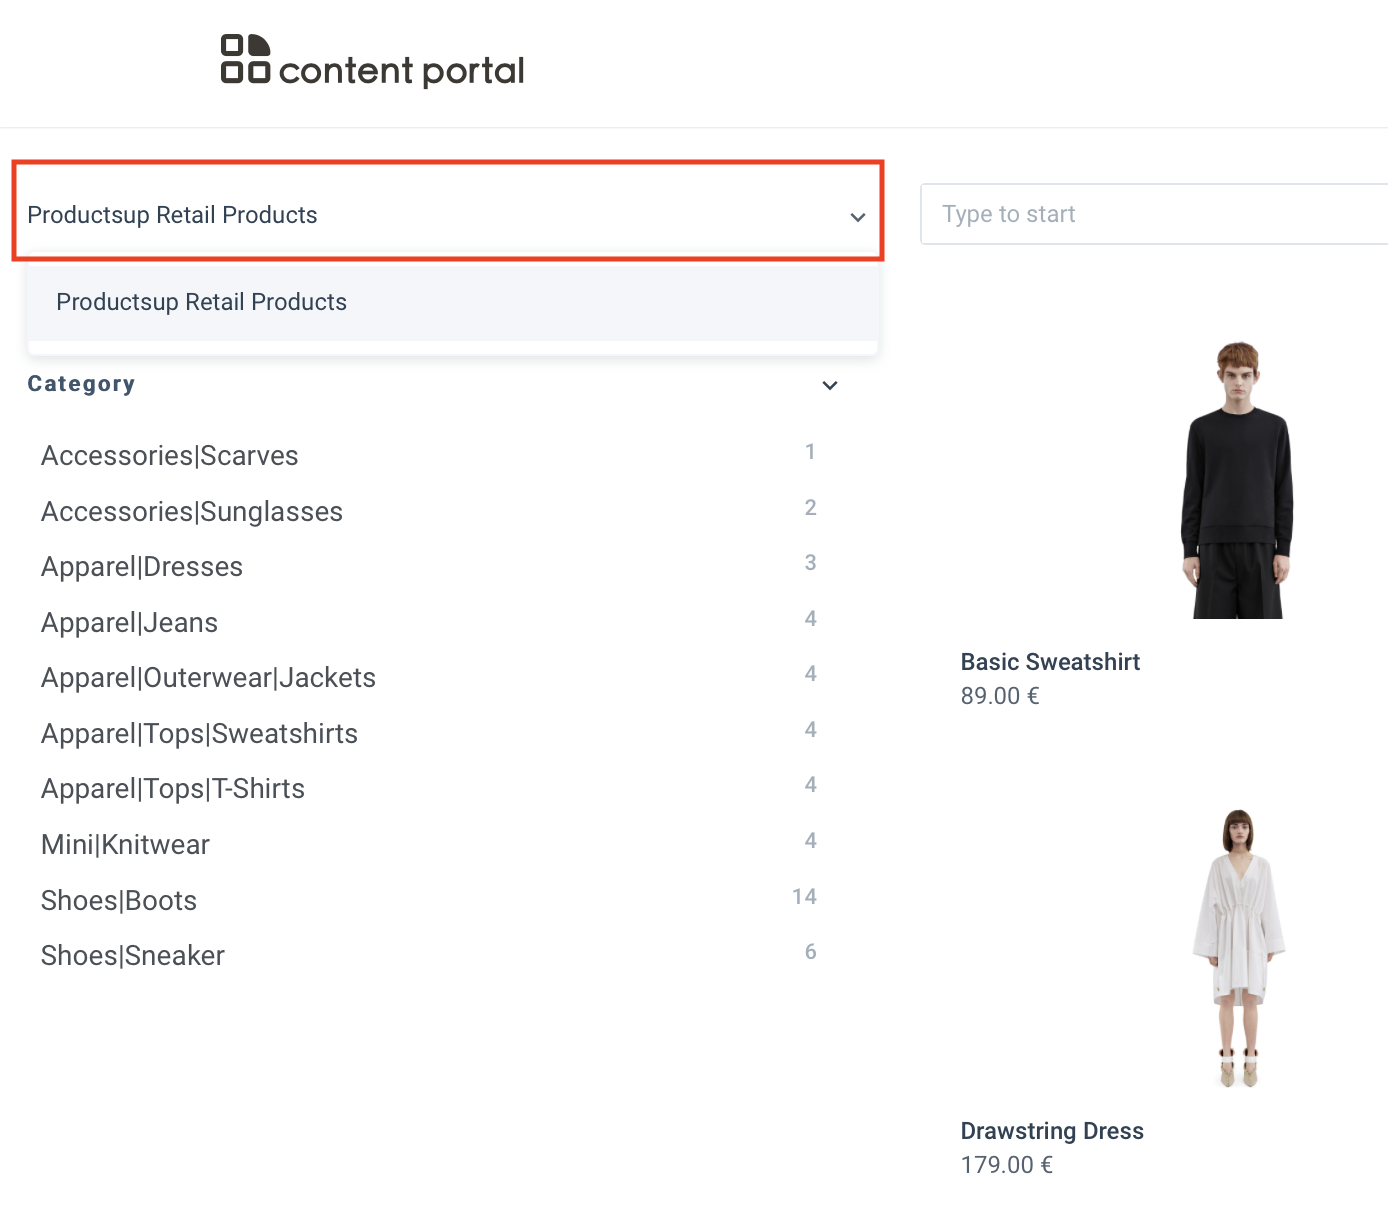
To switch to the needed catalog, search for and select the catalog name in the dropdown.
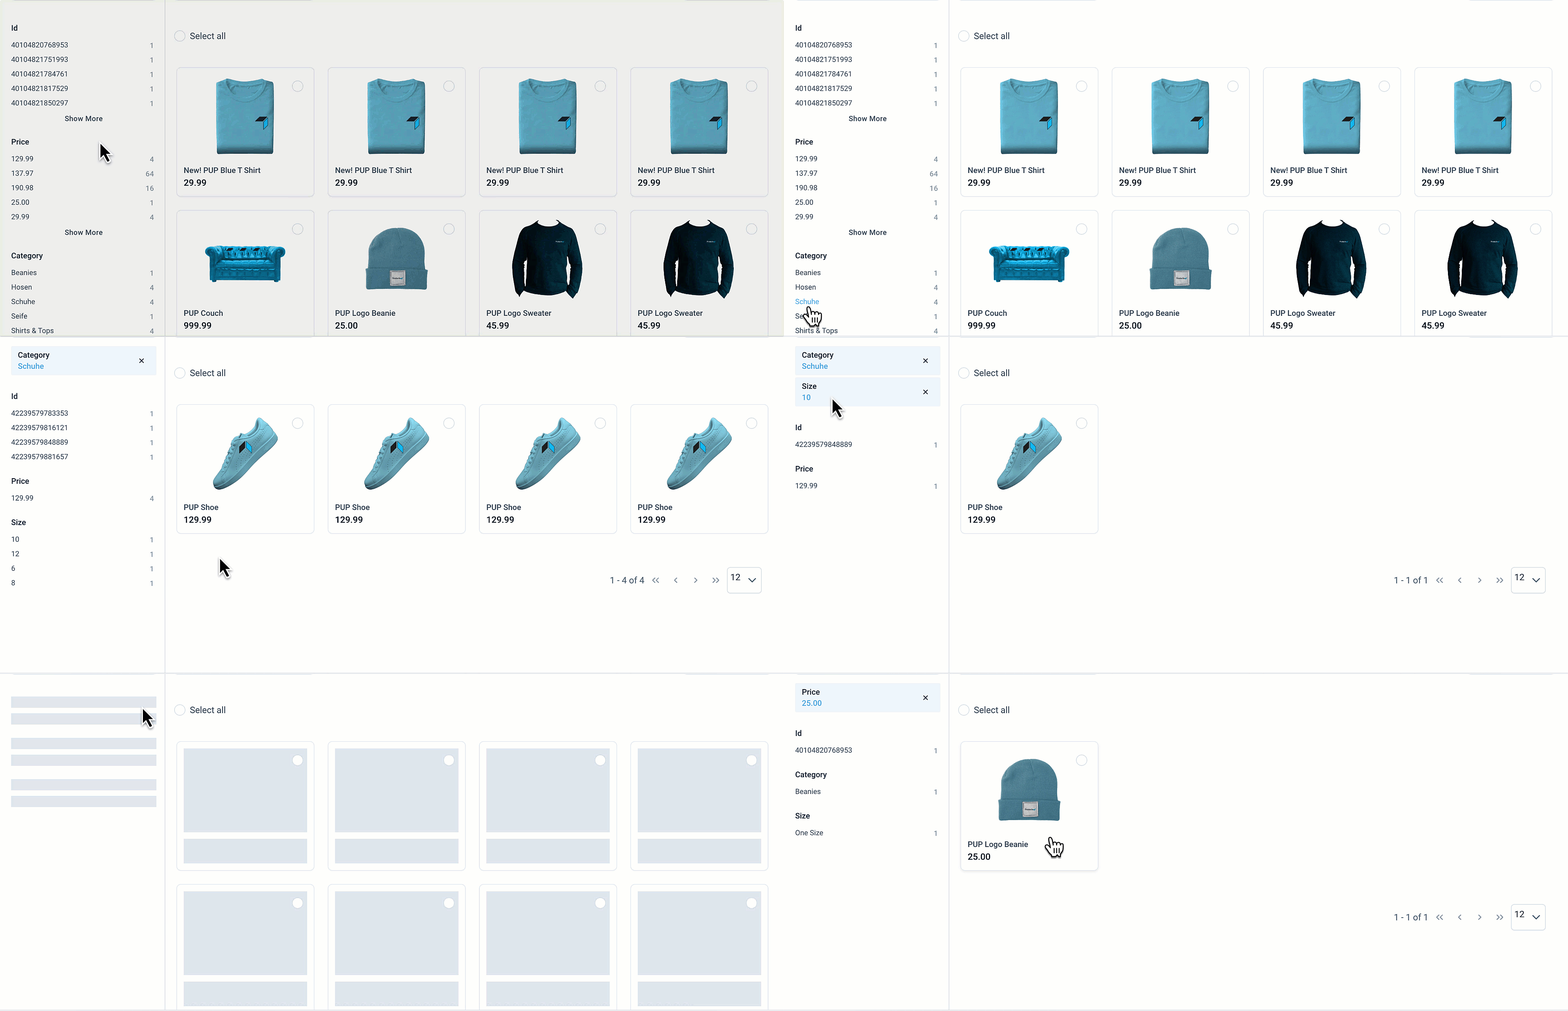
Find products using the search bar at the top or by selecting the needed values in the filter categories. Select Show More to see all values.
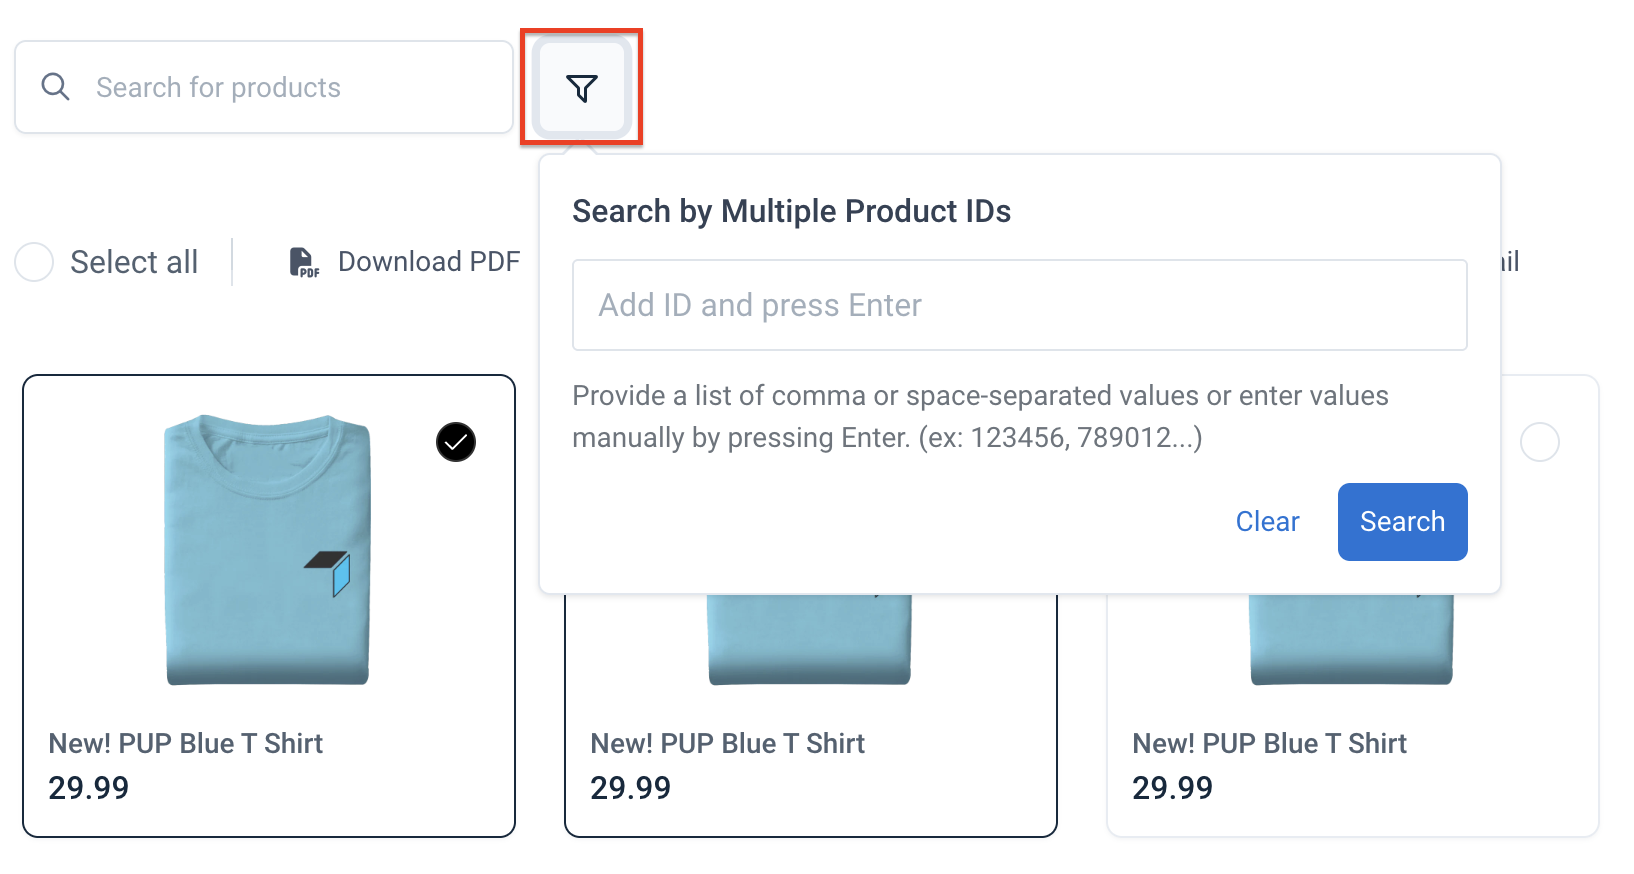
Use the filter icon to search by multiple product IDs.
Select the Most Recent dropdown if you want to sort products in the order: Most Recent, A–Z, or Z–A.
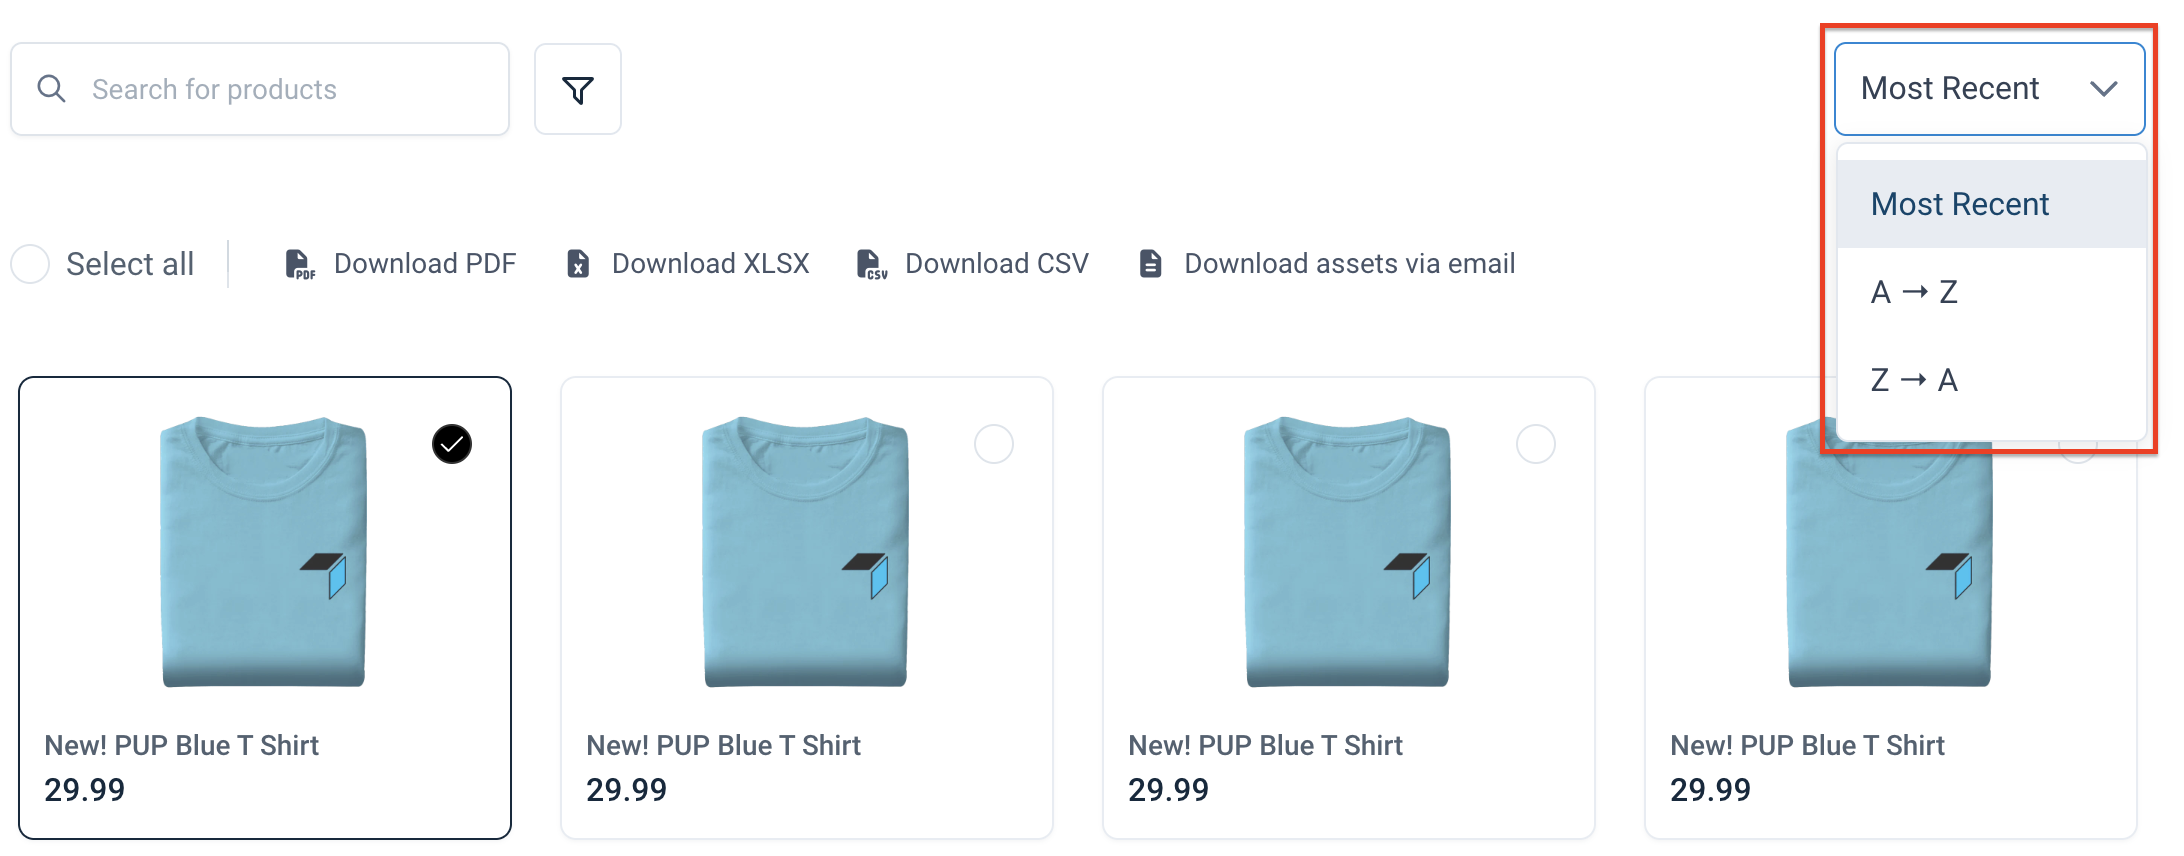
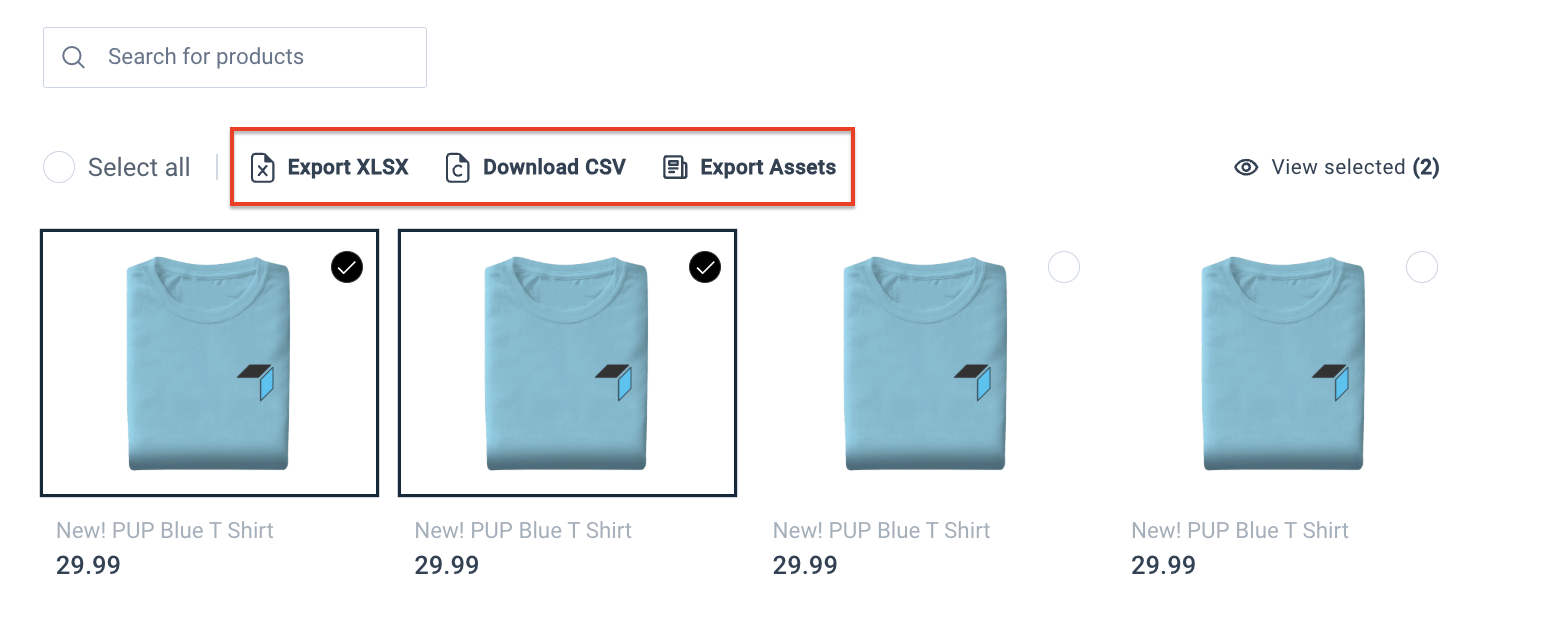
You can checkmark only the needed products and select View selected to hide the rest of the products from the page.

To download all selected products in the needed format, select the needed option:
Download PDF
Download XLSX
Download CSV
Download assets via email
The catalog layout depends on your setting in the Content Portal Catalog export.
View product details
From the Catalog page, you can access each product's details page by selecting the corresponding product image.
You can see all mandatory attributes on the right of the product image. The additional attributes are below in the attribute groups or as individual attributes in the section Other attributes.
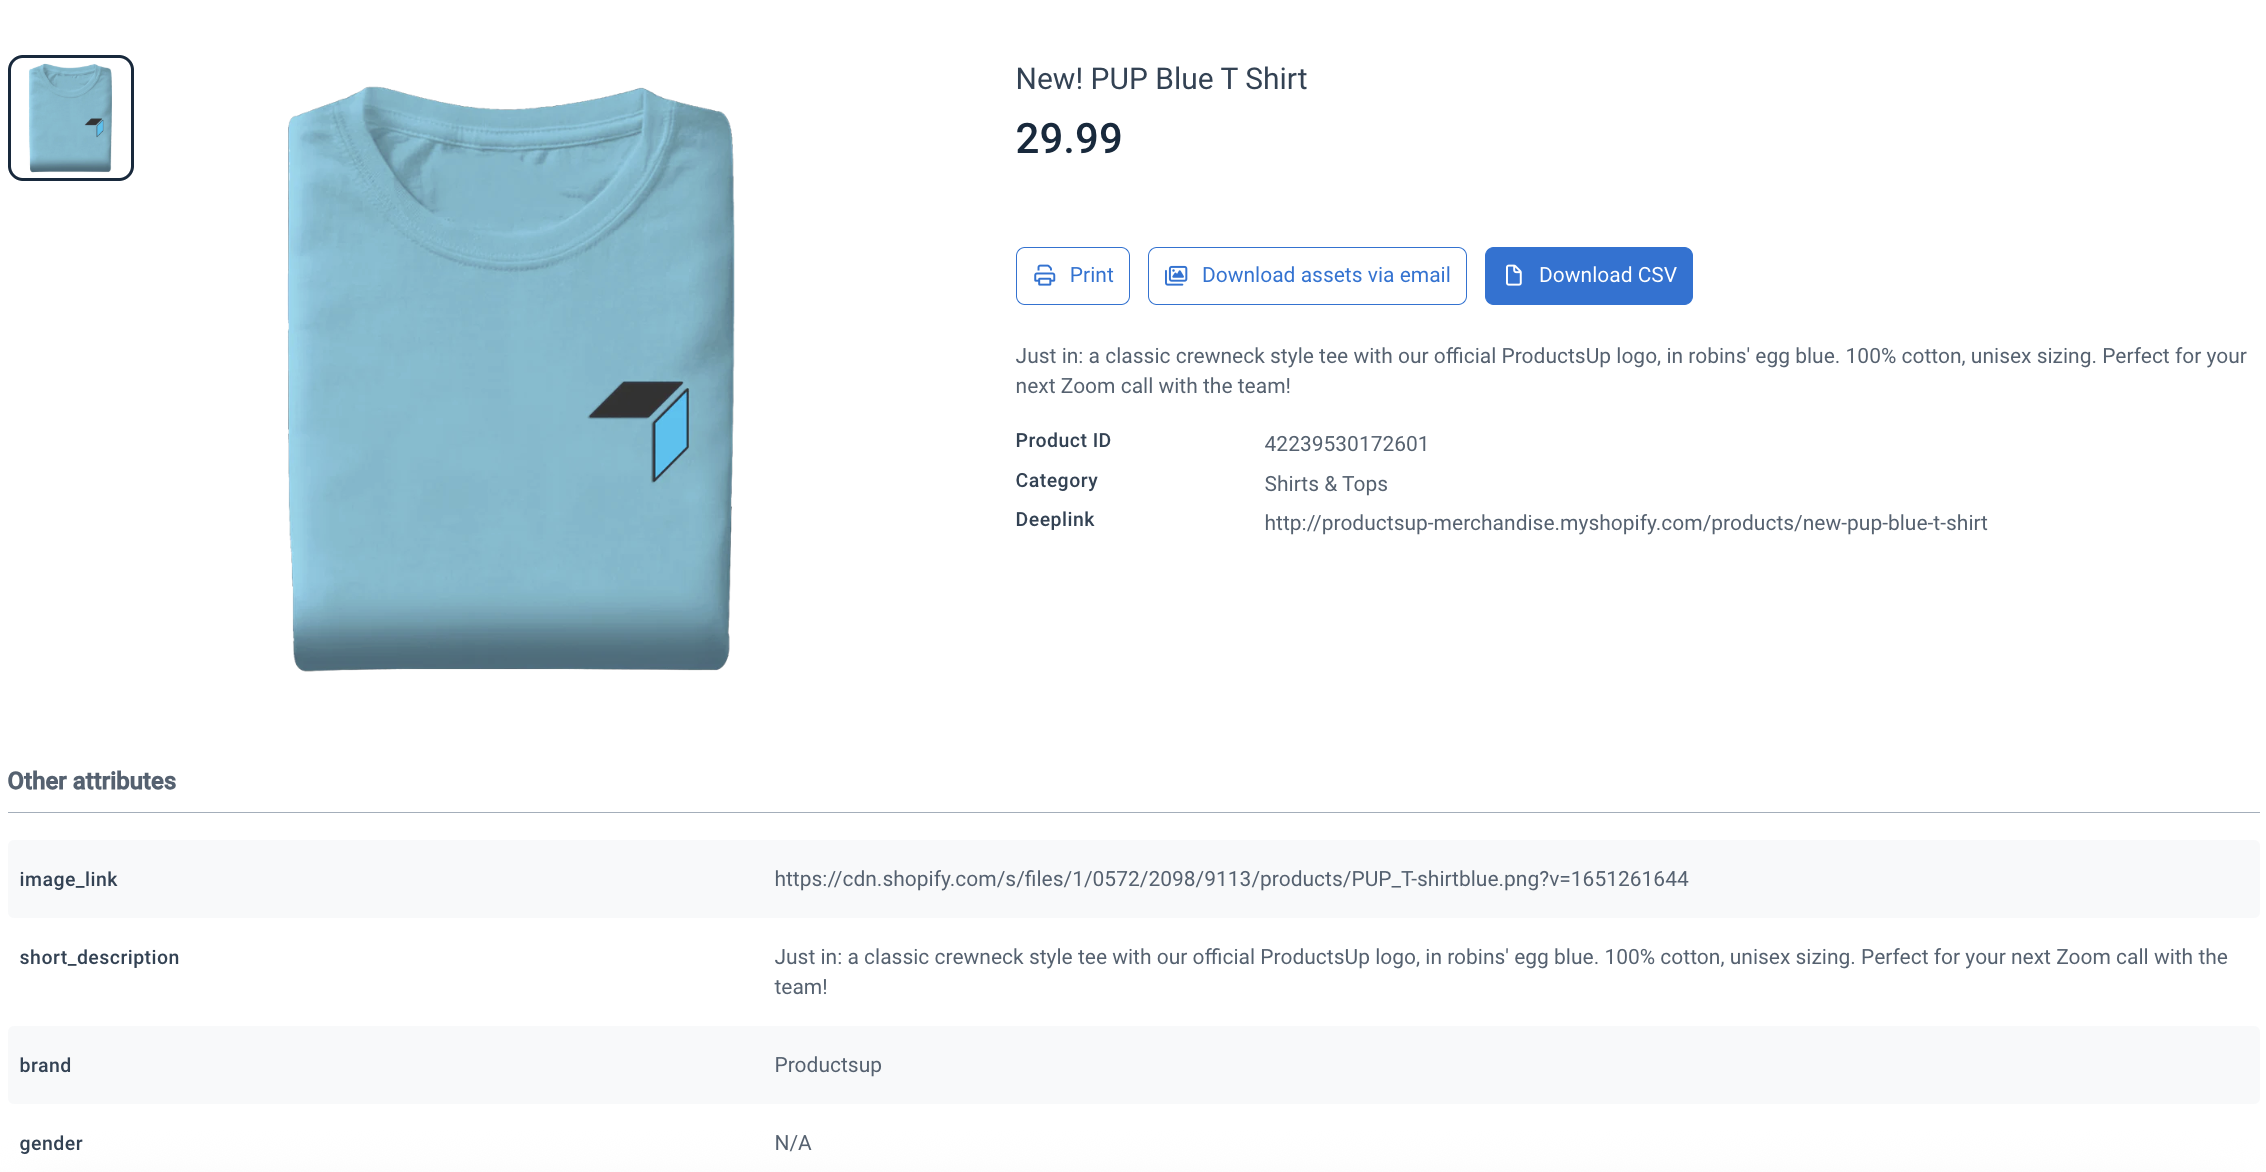
You can print the product details, send assets via email, or download as a CSV file:
Select Print to prepare the product detail page for printing.
Select Send assets via email to create a zip file containing product assets.
Note
The mime types of the product assets should be:
image/jpeg
image/jpg
image/png
image/gif
image/tiff
application/pdf
The file URL must have an extension, such as
.pdfor.jpg. The platform doesn't support file URLs without an extension.Select Download CSV to download the CSV file.