Import XML files - advanced settings
Learn how to import XML files into Productsup using advanced settings in the platform.
XML explained
XML (Extensible Markup Language) is a versatile file format for storing, transmitting, and reconstructing data. An XML file typically has a tree structure with various nodes nested at different depths. Each node in the tree structure is an XML element enclosed in the opening and closing tags, for example, <items>XYZ</items>.
Here is an example of an XML file:
<items>
    <product>
        <title>Yellow shirt</title>
        <size>Medium</size>
        <price>20 EUR</price>
        <old_price>30 EUR</old_price>
    </product>
    <product>
        <title>Blue shirt</title>
        <size>Large</size>
        <price>25 EUR</price>
    </product>
</items>
You can import your raw XML files into Productsup using the following data source options:
Feed URL. See Import a file from a URL for more information.
Local File Import. See Import a file from your computer for more information.
The platform parses XML files before uploading their contents into your site to read and interpret the files correctly. To ensure that parsing goes smoothly, you can use various XML settings while setting up your data source option.
Root nodes in an XML file
In XML, a root node is the parent node for all the nodes in the file. In Productsup, however, a root node is the desired point in an XML file from which the platform should start importing your products.
In the following example of an XML file, the root node, as perceived by XML, is items. Productsup can import products from this file with no errors if you define the root node as items, but it is a Productsup best practice to set the root node as product!. This way, the parser imports all products stored in the <product> nodes.
<items>
    <product>
        <title>Yellow shirt</title>
        <size>Medium</size>
        <price>20 EUR</price>
        <old_price>30 EUR</old_price>
    </product>
    <product>
        <title>Blue shirt</title>
        <size>Large</size>
        <price>25 EUR</price>
    </product>
</items>
Note
Productsup scans XML files for a root node during every run automatically. You can check if the parser detects the correct root node in Root nodes suggestions. If it doesn't, you must set it up manually.
To define a root node manually:
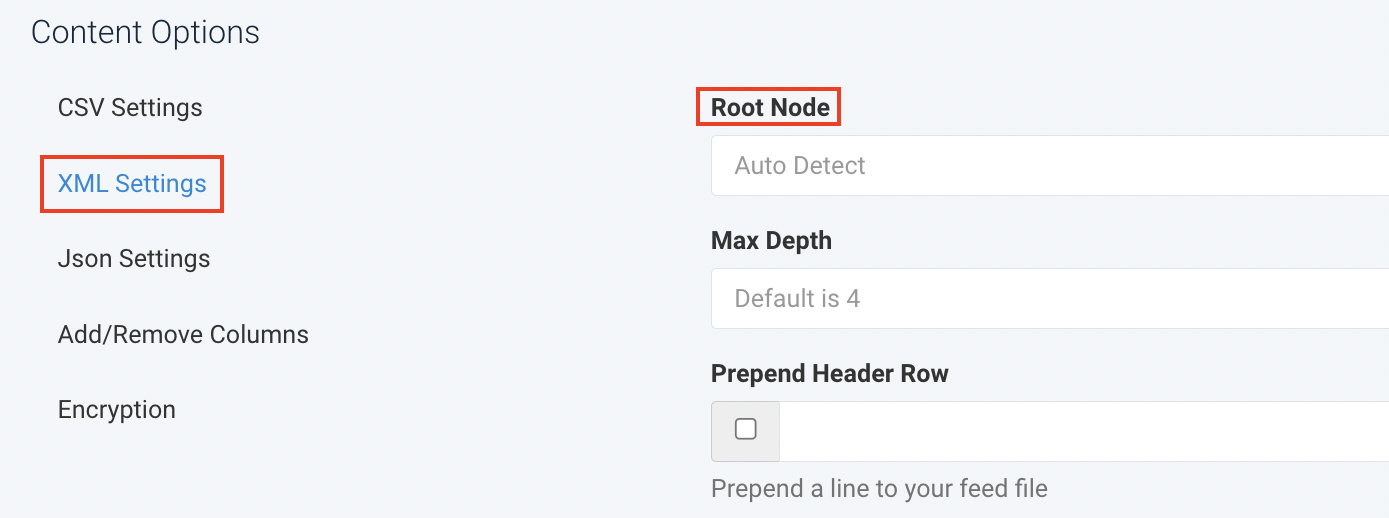
Go to Data Sources from your site's main menu and select the cogwheel icon (⚙) next to the relevant data source.
Find the Content Options panel at the bottom of the data source setup page and select XML Settings.
Add the relevant root node in Root Node.
Use the following syntax to define root nodes:
Use
!to let the platform import all nodes with the defined name as products and all their children nodes as attributes.Root node example:
product!.Use
>as a delimiter between node levels to define a path to your root node and import a specific part of your XML file.Root node example:
items>product>title.Use root node paths to import product variants from XML files with simple structures. For example, you can have a file similar to this:
<?xml version='1.0' encoding="UTF-8"?>
<feed>
<product_list>
    <name>products UK</name>
    <title>Red shirt</title>
    <products lang="en">
        <product>
            <size>M</size>
        </product>
        <product>
            <size>XL</size>
        </product>
    </products>
</product_list>
<product_list>
    <name>products US</name>
    <title>Blue shirt</title>
    <products lang="en">
        <product>
            <size>S</size>
        </product>
    </products>
    <products lang="es">
        <product>
            <size>XS</size>
        </product>
    </products>
</product_list>
</feed>
In such a file, product variants inherit all attributes within
<product_list>, which lets the root nodefeed>product_list>productsimport the following data into Productsup:size
product_@attributes_lang
product_product_list_name
product_product_list_title
M
en
products UK
Red shirt
XL
en
products UK
Red shirt
S
en
products US
Blue shirt
XS
es
products US
Blue shirt
Use tag attributes, such as
lang=xyz, where xyz is the desired tag, to narrow down the list of imported products.From an XML file similar to the one shown previously, the root node
products lang=eslets the platform import the following:size
XS
Use
#n, where n is the number of the parent node you want to import products from. The counting starts at1. The parent node must contain a list of products as child nodes. Use a space to separate the tag from the rest of your root node.From an XML file similar to the one shown previously, the root node
products #1lets the platform import the following:size
M
XL
Tip
You can use both tag attributes and parent node numbers in a root node at the same time. For example,
products lang=es #2.
Select Save all settings. See Import a file from a URL for more information.
Add a max depth to scan the file
Max depth defines how deep into the tree structure of your XML file the parser should go when searching for the root node and extracting your product data. The platform doesn't scan more levels of the tree structure than the maximum depth defines. Adding the max depth setting can reduce your data source processing time.
Note
An XML file always starts at a depth of 0.
In the following example, the node products is at a depth of 2. If you set the max depth of this file to 2, the platform identifies the root node as product_list! and imports data stored at a depth of 2 because the root node itself is at a depth of 1.
<items>                                    // depth 0
   <product_list>                          // depth 1
       <name>Products UK</name>            // depth 2
       <title>Red shirt</title>
       <price>20 GBP</price>
       <products lang="en">
           <product>                       // depth 3
               <size>Medium</size>         // depth 4
           </product>
           <product>
               <size>Extra Large</size>
           </product>
       </products>
   </product_list>
</items>
To specify a max depth:
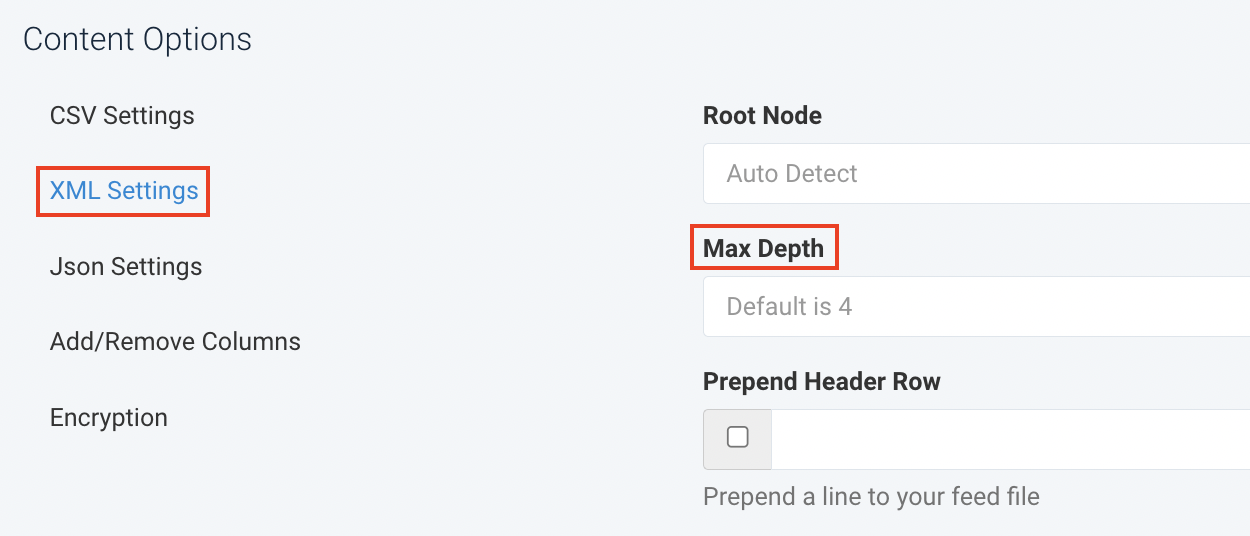
Go to Data Sources from your site's main menu and select the cogwheel icon (⚙) next to the relevant data source.
Find the Content Options panel at the bottom of the data source setup page and select XML Settings.
Add the relevant max depth in Max Depth and select Save all settings.
A digit is the expected input format. By default, the max depth is
4.
Add or replace an XML declaration
An XML declaration is usually the first line of code in an XML file that identifies the file as XML and contains the XML version and the encoding used in the file. Here is a sample XML declaration:
<?xml version='1.0' encoding="UTF-8" standalone="no"?>
To add a missing or replace a wrong XML declaration:
Go to Data Sources from your site's main menu and select the cogwheel icon (⚙) next to the relevant data source.
Find the Content Options panel at the bottom of the data source setup page and select XML Settings.
If your declaration is missing, add it in Prepend Header Row.
If your declaration is incorrect, replace it in Replace Xml Declaration.

Select Save all settings.
Bundle repeating nodes into one column
If your XML file has products whose nodes appear multiple times, the platform imports such nodes as separate columns. If you don't want the platform to import such nodes separately, you can bundle repeating nodes into one column based on how many times they appear.
The following XML file has multiple color variants in one size of a T-shirt product:
<items>
   <product>
        <title>T-shirt</title>
        <size>Medium</size>
            <color>Yellow</color>
            <color>Red</color>
            <color>Blue</color>
            <color>Green</color>
   </product>
</items>
By default, the platform imports this file similar to this:
title | size | color_0 | color_1 | color_2 | color_3 |
|---|---|---|---|---|---|
T-shirt | Medium | Yellow | Red | Blue | Green |
If you bundle the four color nodes and use a colon (:) to separate the nodes' values, the platform imports the data similar to this:
title | size | color |
|---|---|---|
T-shirt | Medium | Yellow:Red:Blue:Green |
To bundle repeating nodes:
Go to Data Sources from your site's main menu and select the cogwheel icon (⚙) next to the relevant data source.
Find the Content Options panel at the bottom of the data source setup page and select XML Settings.
Enter the number of repeating nodes that the platform should bundle into one column in Bundle repeating nodes.
A digit is the expected input format. By default, the platform bundles nodes that appear at least 11 times.
In Bundle delimiter, specify the character that should separate the values of the repeating nodes in your column. By default, the delimiter is a comma (
,).
Select Save all settings.
Repair broken data in your XML file
Sometimes XML files contain broken data. You can solve some of the broken data issues while importing your data into the Productsup platform:
XML files may contain broken UTF-8 control characters. Although such unprinted characters can't appear in your product feed, they can cause parsing errors. For the parser to ignore broken control characters, you can use the Repair control characters option.
Some XML files have a DTD (Document Type Declaration), which is a line of code that usually comes right after the XML declaration:
<?xml version='1.0' encoding="UTF-8"?>       // XML declaration
<!DOCTYPE note SYSTEM "Note.dtd">            // DTD
For the parser not to break because of the DTD, you can use the Remove DTD option.
You may have a missing parent node in an XML file:
<?xml version='1.0' encoding="UTF-8"?>
<item>
    <id>111</id>
</item>
<item>
    <id>222</id>
</item>
If you run an import with such an XML file, the platform can't detect a root node and parse the file, so the import fails.
For the parser not to break because of a missing parent node, you can use the Repair parent node option. If you check the box without specifying the parent node's name, the platform automatically adds the parent node
PUP_ROOTto your file.An XML file can have empty nodes. In the following example, the node
<rating>contains no value:<items> <product> <title>T-shirt</title> <size>Medium</size> <color>Yellow</color> <rating></rating> </product> </items>By default, the platform skips empty nodes and doesn't import them. To import empty nodes as columns with blank values, you can use the Allow empty node option.
If you use the Allow empty node option for the previously-shown XML file, the imported data looks similar to this:
title
size
color
rating
T-shirt
Medium
Yellow
To repair broken XML data:
Go to Data Sources from your site's main menu and select the cogwheel icon (⚙) next to the relevant data source.
Find the Content Options panel at the bottom of the data source setup page and select XML Settings.
Choose any options required to repair your XML data:
Repair control characters
Remove DTD
Repair parent node
Allow empty node
Select Save all settings.
Add a prefix to the attributes imported from your XML file
If you have numerous data sources added to one site, you may need to know which attributes come from which data sources. You can distinguish between attribute sources by adding prefixes to the names of your attributes.
For example, the attribute price imported from a data source called XML1 can get the prefix XML1@ for the platform to display the full name of this attribute as XML1@price.
To add a prefix to the names of attributes that Productsup imports from your XML file, follow these steps:
Go to Data Sources from your site's main menu and select the cogwheel icon (⚙) next to the relevant data source.
Find the Content Options panel at the bottom of the data source setup page and select XML Settings.
In Prepend a String to the Header Columns, enter the prefix you want to add to the names of the attributes imported from this data source.
Select Save all settings.
On the Data Sources page, open the Settings tab and modify the name of your unique item identifier in ID Column according to the new prefix of the relevant attribute name.
Note
You can skip this step if your site doesn't have a unique item identifier or your unique item identifier comes from a different data source with no attribute name prefix.
Transform your XML with XSLT
For complex XML file structures, you may need XSLT (Extensible Stylesheet Language Transformations) to import your product data into the platform as desired. For example, XML files with nested product variants are a common XSLT use case in Productsup.
Note
You can contact your Customer Success Manager or support@productsup.com to have an XSLT code abstract created and implemented for you. Alternatively, you can create and implement XSLT code yourself.
To add XSLT code to your data source:
Go to Data Sources from your site's main menu and select the cogwheel icon (⚙) next to the relevant data source.
Select the Advanced Settings tab and then select I/O Settings.
Choose Add next to Transform XML with XSLT in the Available I/O Settings panel.
Add your XSLT code in the XSL Template field.
Select Save.