Add the Image Exporter export
Add the Image Exporter export in Productsup to export your images to a desired external storage.
Introduction
The Image Exporter lets you send the images from your data to Amazon S3, Microsoft Azure Blob Storage, or an FTP or SFTP server. You can export them as individual image files or as a .zip file.
The Image Exporter can send only image updates to your destination called deltas or the entire data catalog:
Use the Image Exporter export to send only delta files, which means images with new and modified data. If you delete an image from your feed, the export doesn't remove it from the destination. However, if you add a new image to your feed with the same filename as the deleted image used to have, the Image Exporter overwrites the old deleted image in your destination with the new one.
Use the Image Exporter (no delta) export to send the entire data catalog.
Prerequisites
To set up the Image Exporter or Image Exporter (no delta) export, you need to have the credentials of your desired destination:
To upload your images to Amazon S3, log in or create an Amazon Web Service (AWS) account. See AWS.
To upload your images to Azure Blob Storage, log in or create a Microsoft Azure account. See Azure.
To upload images to your Microsoft SharePoint, log in or create a Microsoft Azure account. See Sign in to SharePoint.
To upload your images to an FTP or SFTP, provide FTP or SFTP credentials that allow write access.
Add Image Exporter export
In the site dedicated to sending your product images to a specific destination, add and set up the Image Exporter or Image Exporter (no delta) export:
Go to Exports from your site's main menu and select ADD EXPORT.
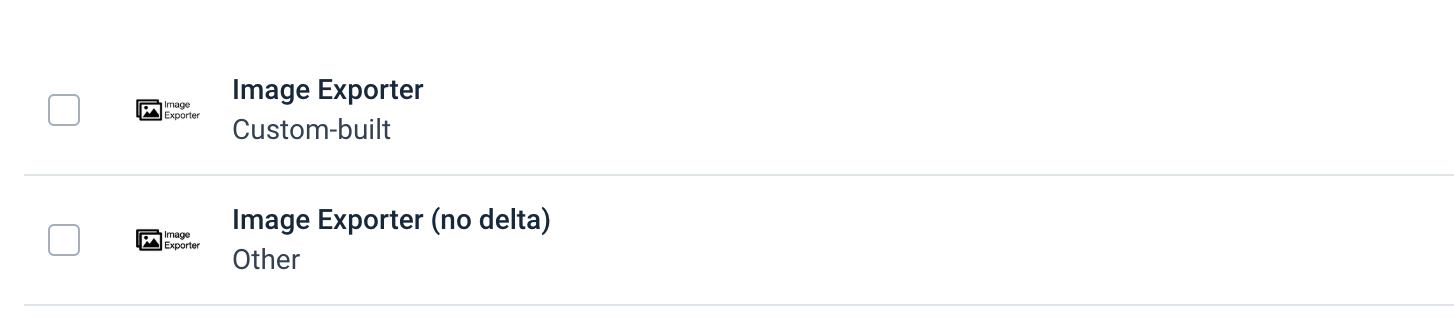
Search for Image Exporter or Image Exporter (no delta), hover over it, and select Add. Select Add again to confirm your selection.
On the Exports page, select the name of the added export to set it up.
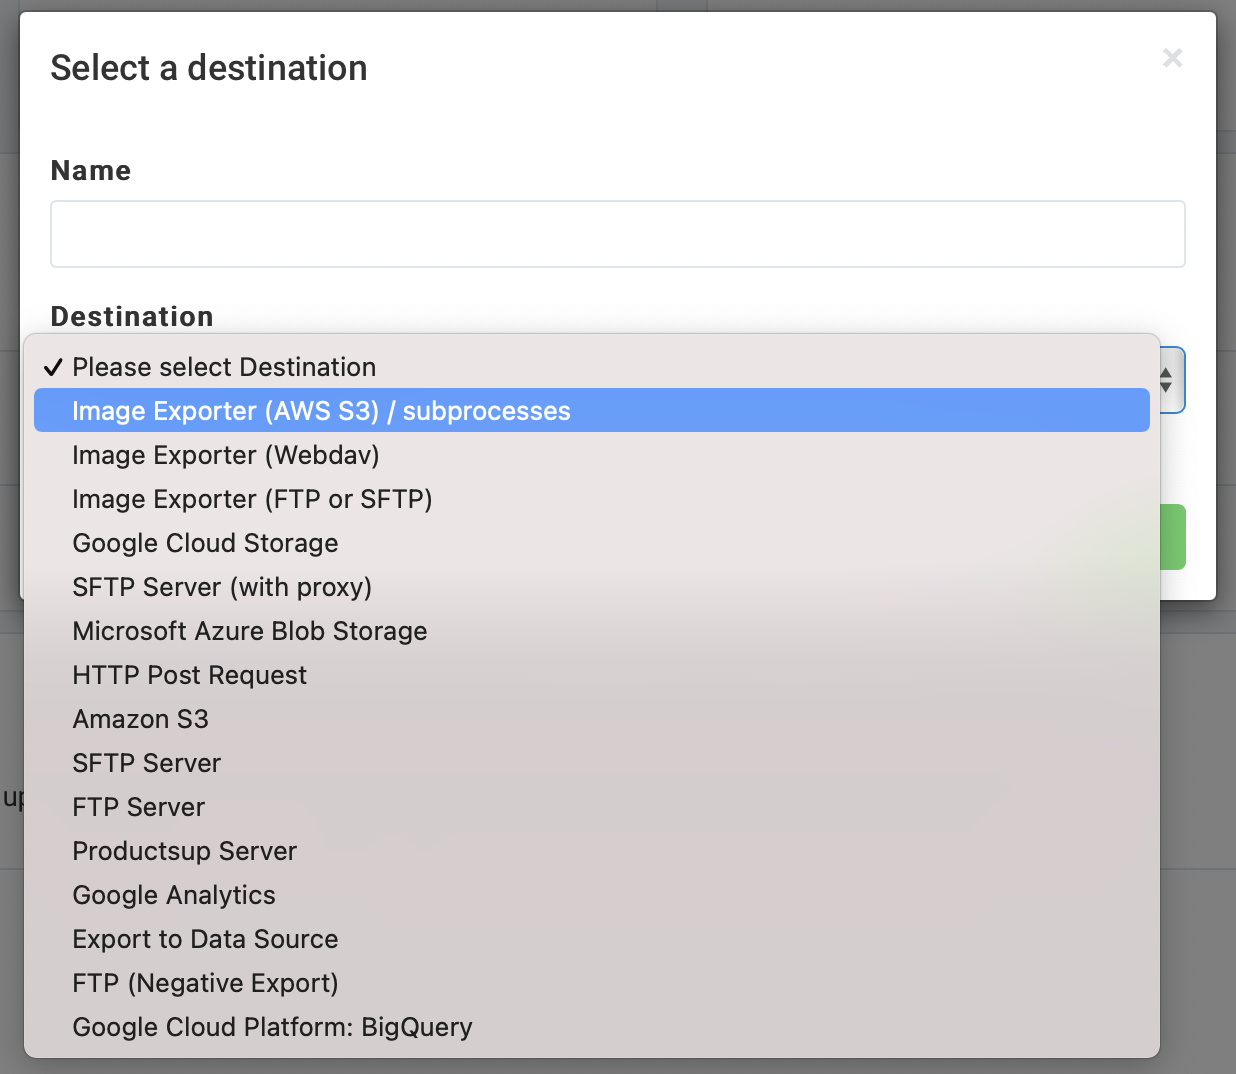
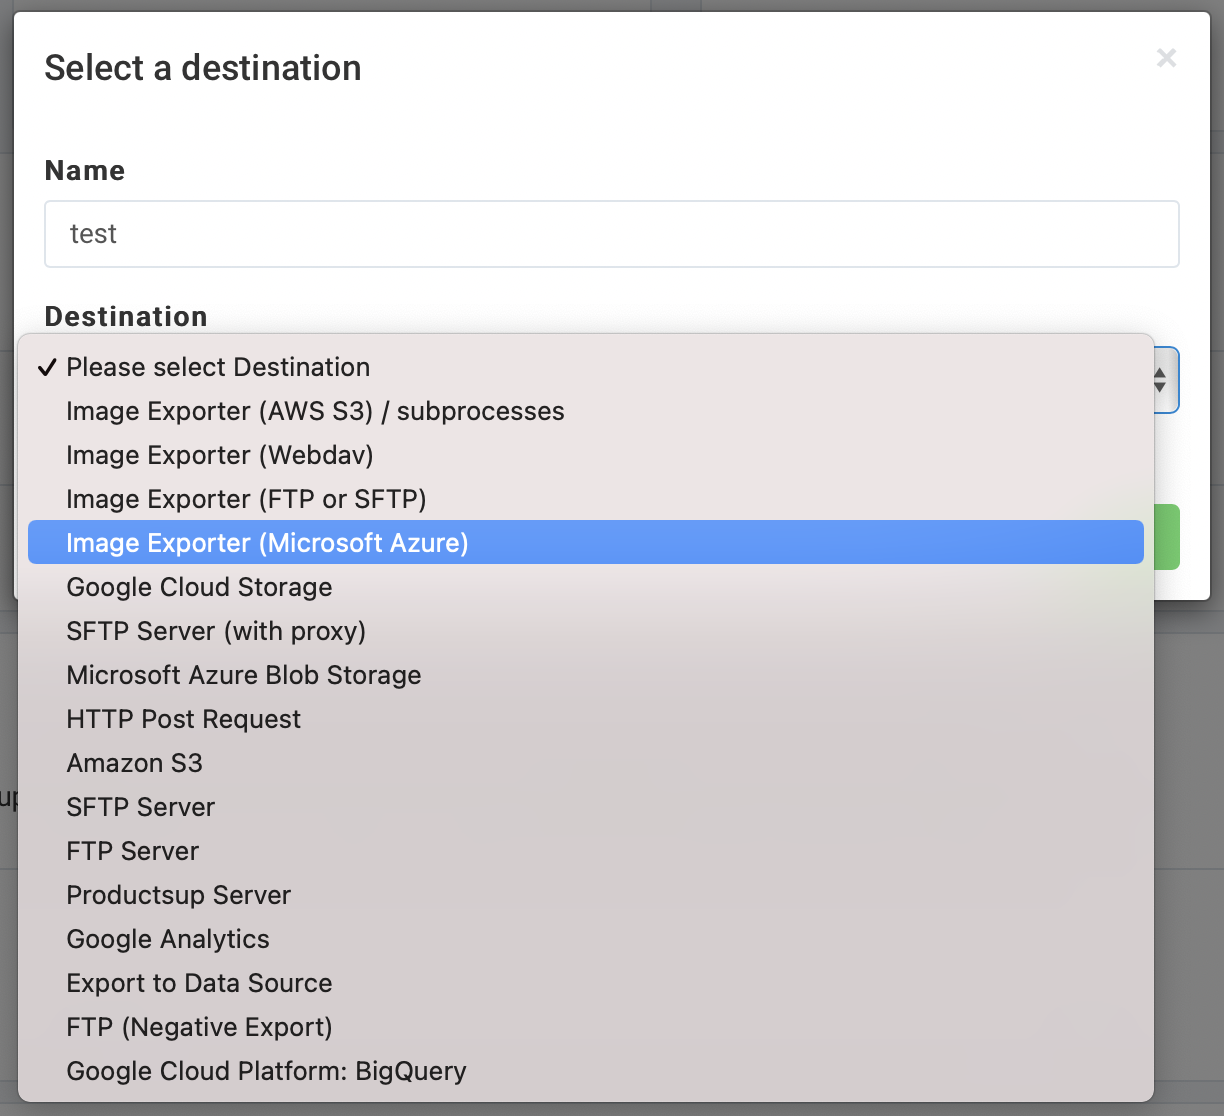
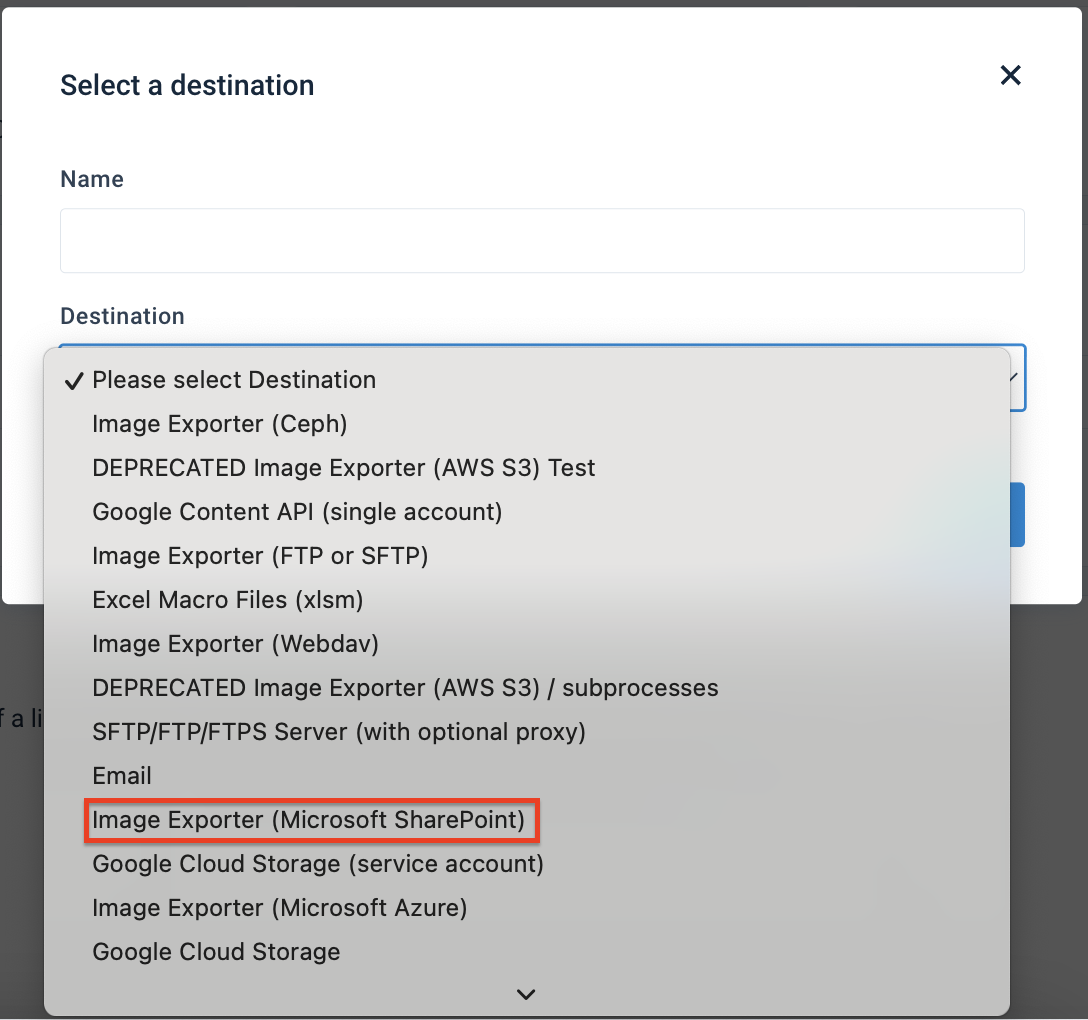
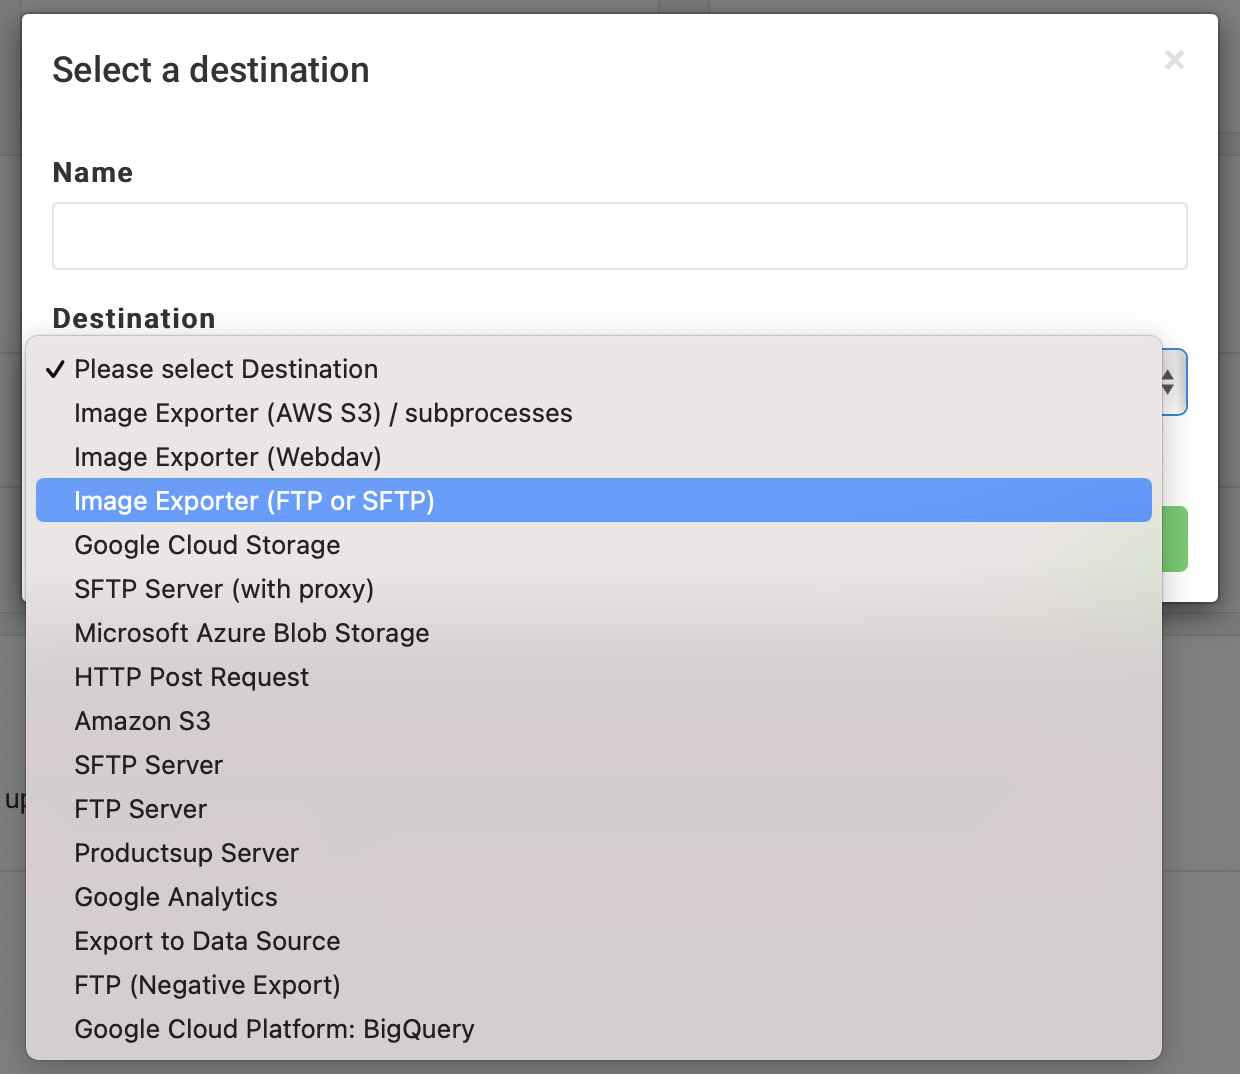
Select Add Destination and choose a needed destination from dropdown. Depending on the destination where you want to export your images, take the steps from one of the following sections.
Set up Image Exporter (AWS S3) destination
Select Add Destination, choose Image Exporter (AWS S3), give it a name, and then select Save.
Enter your AWS credentials in Access Key ID and Secret Access Key, then choose your S3 location in Region.
Enter the bucket name for your image uploads in Bucket and define the image path in Base Path.
In Concurrency, enter the number of images the export should simultaneously download and send to your server. If you have over 1,000 items, set your concurrency between 10 and 20 for the best results.
In Download Progress Notification Interval, enter the number of images the platform should send to the server before notifying you of the export's progress.
If you want to send your images to the server in a .zip file, give that file a desired name in Zipfile (optional).
The platform uses the input you provide in this field and adds
_0001as a postfix and the .zip file extension. For example, the full name of your exported file can be name-example_0001.zip.If you provide a desired name for your .zip file in Zipfile (optional), you can also use the Zip Size Limit field to specify your maximum file size in bytes.
If the size of the .zip file with all your exported images exceeds this limit, the destination sends the images to the server in multiple .zip files. The names of each .zip file will get a unique postfix in the end. For example, if the platform splits all your images into three (3) files, their names can be name-example_0001.zip, name-example_0002.zip, and name-example_0003.zip.
Note
If you enter
0in this field, the destination sends all images to one .zip file on your server without restricting its size or amending its name with a postfix.Toggle Active to On to activate the destination.
Select Save.
Next, you need to map your attributes. See Map your attributes for Image Exporter in Dataflow.
Set up Image Exporter (Microsoft Azure) destination
Select Add Destination, choose Image Exporter (Microsoft Azure), give it a name, and then select Save.
Select the authentication type:
If your authentication type is Access Key, enter your Microsoft Azure credentials in Account Name and Access Key.
If your authentication type is SAS Token, enter your Microsoft Azure credentials in SAS Token and SAS Blob Endpoint.
Enter the container name for your image uploads in Blob Container and define the image path in Base Path.
In Concurrency, enter the number of images the export should simultaneously download and send to your server. If you have over 1,000 items, set your concurrency between 10 and 20 for the best results.
In Download Progress Notification Interval, enter the number of images the platform should send to the server before notifying you of the export's progress.
If you want to send your images to the server in a .zip file, give that file a desired name in Zipfile (optional).
The platform uses the input you provide in this field and adds
_0001as a postfix and the .zip file extension. For example, the full name of your exported file can be name-example_0001.zip.If you provide a desired name for your .zip file in Zipfile (optional), you can also use the Zip Size Limit field to specify your maximum file size in bytes.
If the size of the .zip file with all your exported images exceeds this limit, the destination sends the images to the server in multiple .zip files. The names of each .zip file will get a unique postfix in the end. For example, if the platform splits all your images into three (3) files, their names can be name-example_0001.zip, name-example_0002.zip, and name-example_0003.zip.
Note
If you enter
0in this field, the destination sends all images to one .zip file on your server without restricting its size or amending its name with a postfix.Toggle Active to On to activate the destination.
Select Save.
Next, you need to map your attributes. See Map your attributes for Image Exporter in Dataflow.
Set up Image Exporter (Microsoft SharePoint) destination
Select Add Destination, choose Image Exporter (Microsoft SharePoint), give it a name, and then select Save.
Enter your MS SharePoint credentials in Client ID and Client Secret.
Enter your MS SharePoint tenant ID in Tenant ID.
Add the file's location URL in Upload File Url. This URL should lead to the root folder of your Sharepoint, such as
https://company-name.sharepoint.com/Shared Documents.If you need to upload images to a subfolder inside the root folder, enter the path to the needed subfolder in Upload Directory. For example,
/Images/PUP.Together with the input in Step 4, it means that the platform goes to the specified root folder and then uses the path provided in this field to find the folder where it uploads your images.
In Concurrency, enter the number of images the export should simultaneously download and send to your SharePoint folder. For best results, set your concurrency between 10-20 if you have more than 1,000 items.
In Download Progress Notification Interval, enter the number of images the platform should send to SharePoint before notifying you of the export's progress.
If you want to send your images to SharePoint in a .zip file, give that file a desired name in Zipfile (optional).
The platform uses your input in this field and adds
_0001as a postfix and the .zip file extension. For example, the full name of your exported file can be name-example_0001.zip.If you provide a desired name for your .zip file in Zipfile (optional), you can also use the Zip Size Limit field to specify your maximum file size in bytes.
If the size of the .zip file with all your exported images exceeds this limit, the destination sends the images to SharePoint in multiple .zip files. The names of each .zip file will get a unique postfix in the end. For example, if the platform splits all your images into three (3) files, their names can be name-example_0001.zip, name-example_0002.zip, and name-example_0003.zip.
Note
If you enter
0in this field, the destination sends all images to one .zip file on your server without restricting its size or amending its name with a postfix.Activate Skip feature if you want to continue downloading and uploading images even in case of a failure.
Toggle Active to On to activate the destination.
Select Save.
Next, you need to map your attributes. See Map your attributes for Image Exporter in Dataflow.
Set up Image Exporter (FTP or SFTP) destination
Select Add Destination, choose Image Exporter (FTP or SFTP), give it a name, and then select Save.
Enter your FTP server address in FTP Hostname. Then, enter the credentials in FTP Username and FTP Password.
Define the image path in Base Path.
In Concurrency, enter the number of images the export should simultaneously download and send to your server. For best results, set your concurrency between 10-20 if you have more than 1,000 items.
In Download Progress Notification Interval, enter the number of images the platform should send to the server before notifying you of the export's progress.
If you want to send your images to the server in a .zip file, give that file a desired name in Zipfile (optional).
The platform uses the input you provide in this field and adds
_0001as a postfix and the .zip file extension. For example, the full name of your exported file can be name-example_0001.zip.If you provide a desired name for your .zip file in Zipfile (optional), you can also use the Zip Size Limit field to specify your maximum file size in bytes.
If the size of the .zip file with all your exported images exceeds this limit, the destination sends the images to the server in multiple .zip files. The names of each .zip file will get a unique postfix in the end. For example, if the platform splits all your images into three (3) files, their names can be name-example_0001.zip, name-example_0002.zip, and name-example_0003.zip.
Note
If you enter
0in this field, the destination sends all images to one .zip file on your server without restricting its size or amending its name with a postfix.Toggle Active to On to activate the destination.
Select Save.
Next, you need to map your attributes. See Map your attributes for Image Exporter in Dataflow.
Map your attributes for Image Exporter in Dataflow
To proceed, you must map your attributes in Dataflow from import to export.
Go to Dataflow from the site's main menu and choose the added export from the dropdown in the toolbar.
Map the attributes from import to export. See Use Dataflow to map your attributes from import to export for more information.
You can export several images per product. Each image needs a URL and a filename to save on the S3 bucket. The required attributes are:
id: Your unique product ID is critical for sending delta updates.
img_url_{ascending_number}: The image source URL.
img_name_{ascending_number}: The image file name, including the file extension. You must add an image extension to each image file. For example, add
.jpgto the image fileshort_frontto produceshort_front.jpg.You can use the Append/Prepend Value rule box. See Append/Prepend Value.
Important
To prevent you from overwriting your images, ensure that you don't use duplicate image names within your data.
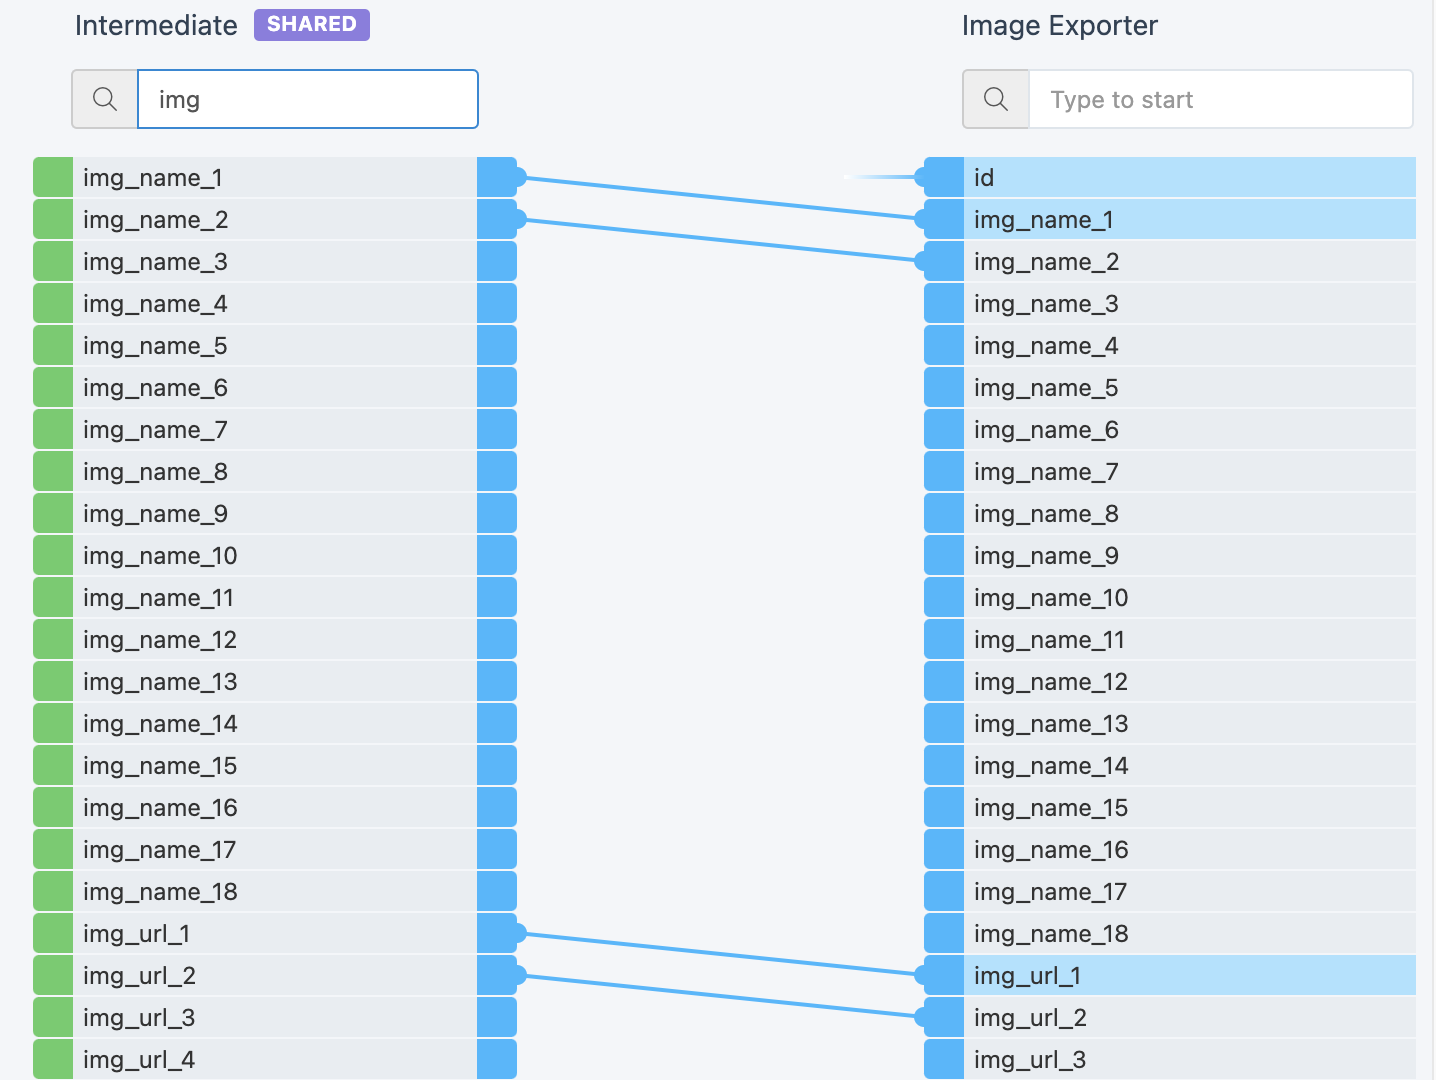
If you want to export only one image per product, go to Dataflow and map the id, image_name_1, and image_url_1 attributes from the intermediate stage to the corresponding attributes in the export stage.
If you have more than one image per product, go to Dataflow and map the id attribute and as many as needed attributes image_name_{ascending_number} and image_url_{ascending_number} from the intermediate stage to the attributes with the corresponding numbers in the export stage.
As you've mapped the attributes and set up a destination, select Run or Export in the top-right corner of your view.