Add the HTTP Post Request destination
Learn how to set up the HTTP Post Request destination in Productsup to send data to a REST API endpoint for data import.
Introduction
Most exports in Productsup can send data to the HTTP Post Request destination. This is a general API destination that can send data to a REST API endpoint. It isn't specific to any particular API.
You can use the HTTP Post Request destination if your export channel system has a REST API endpoint that can import data. You can also use it to send your data to a WebDAV server, which can be an alternative to FTP.
Prerequisites
To set up the HTTP Post Request destination, you need to find the following details in the API documentation of your export channel system:
The host URL of the API with the needed endpoint for importing data.
The query that your API request should use.
The way the platform should push your product data to the API.
The name of the file attribute within the API request.
The product file extension that the API accepts.
By default, Productsup generates CSV export files that contain your product data. If the API doesn't accept CSV files, you may need to go to the Settings tab on your export setup page and use the Export-Plugin or Export as XML fields to let the export generate a file with the needed extension. See Settings tab for more information and contact support@productsup.com if you need help.
The headers or any other information required within an API request.
The authentication method and the associated credentials:
If your API authenticates requests via an API key, get the needed key.
If your API authenticates requests via login credentials, get the needed username and password.
If your API can sync with Productsup via an SLS certificate, create an SSL Certificate authentication in Authentication. See Add OAuth authentication to external systems.
Set up the HTTP Post Request destination
Note
Setting up the HTTP Post Request destination is a technically advanced task. Contact support@productsup.com if you need help.
Go to Exports from your site's main menu and select an export from the list to open the export setup page. If your site doesn't have the needed export yet, select ADD EXPORT to find and add an export.
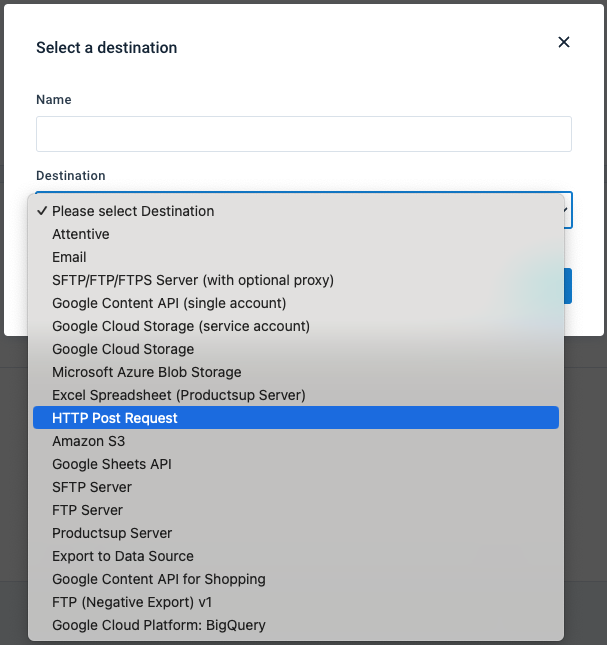
On the export setup page, select Add Destination, choose HTTP Post Request from the drop-down list, give it a name, and then select Save.
On the destination setup page, enter your API address with the data import endpoint in URL.
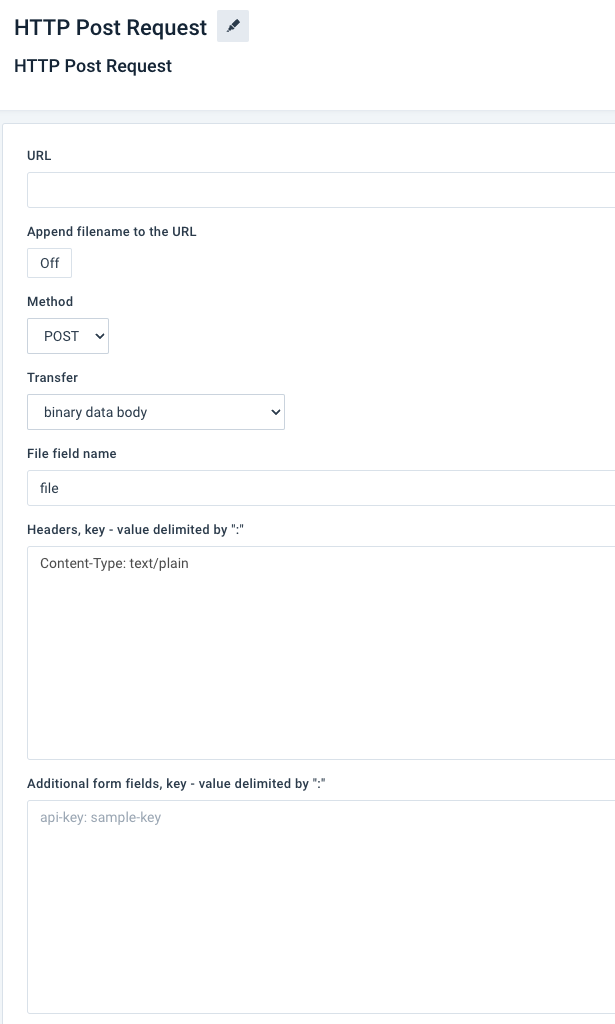
Toggle Append filename to the URL to On if your API requires the URL to feature the name of the file you want to upload.
Select the needed query in Method:
POSTPUT
In Transfer, choose how the platform should push data from your export file to the API:
binary data body pushes your export file as is, without form fields.
multipart/form-data (Form Based) pushes your export file as HTML, with form fields.
form field content pushes only the contents of your export file's form fields.
In File field name, enter the name of the file attribute where the platform should state the export file name within the API request body. The default file attribute name is
file.In Headers, key - value delimited by ":", provide the names of the needed API request headers and their respective values as required by the API. Follow the pattern key1:value1 and start each new key-value pair on a new line.
In Additional form fields, key - value delimited by ":", provide any other required parts of the API request and their respective values. Follow the pattern key1:value1 and start each new key-value pair on a new line.
If you need to authenticate with the API, use one of the following options:
Add your API key in Headers, key - value delimited by ":" following the pattern Authentication:11111-11111-11111-1111-111111111. The API documentation should specify the name of the authentication header.
Enter your login credentials in Username (Optional) and Password (Optional).
Use the Authentication feature in Productsup to authenticate via an SSL certificate. See Add OAuth authentication to external systems.
If your organization, project, or site already has the needed authentication added, you can choose it in the Authentication drop-down list. If you don't have the needed authentication in Productsup yet, you can create it by selecting Add New Authentication:
In Type, select SSL Certificate.
Give your authentication a desired name and select Next.
In the window SSL Certificate - Type: SSL Certificate, enter your certificate type and provide the base64-encoded certificate. Enter a password if needed and then select Save.
Select the newly created authentication in the Authentication drop-down list on the destination setup page.
Toggle Via Proxy to On if you want the platform to use a proxy server to connect to your API endpoint.
Here is a list of IPs you need to whitelist so that Productsup can send data to the API via a proxy:
148.251.96.244 (we are retiring this server in July 2024)
148.251.96.243 (we are retiring this server in July 2024)
78.46.60.217
78.46.61.222
Toggle Upload response contents to On to let the platform receive feedback files from the API in case of export errors. This helps to troubleshoot the setup.
Tip
You can find the uploaded feedback file at the bottom of the export setup page. The name of the feedback file is the same as your export file with
.responseat the end.Toggle Active to On to activate the destination.
Select Save.
When your data is ready for export, select Run in the top-right corner of your page to let the platform import, process, and send your data to the destinations of all active exports in your site.
If you want to run only the export where you added your API destination, you should:
Select Import to let the site import and process your data.
Go to Exports, select the needed export, and choose Export this export.

Once the site finishes the export, you can check if your export channel system imported the data as expected.
Send data to a WebDAV server
You can use the HTTP Post Request destination to send data to a WebDAV server. Take the steps outlined in the previous section with the following details in mind:
Toggle Append filename to the URL to On.
Choose
PUTin Method and binary data body in Transfer.Leave
filein File field name andContent-type: text/plainin Headers, key - value delimited by ":".