Replace feed attributes with the Attribute-based Replacement list
Use the Attribute-based Replacement list to replace values in the selected import or intermediate attributes in Productsup.
Introduction
The Attribute-based Replacement list, formerly the Mapping list feature, lets you replace the existing attribute's values with newly defined ones. Unlike the Static Replacement list, the Attribute-based Replacement list automatically creates the list of existing attribute's terms, and you need only to add the new values for each of them manually.
Use the Attribute-based Replacement list, if you don't want to use one of the pre-defined taxonomies from the Partner Taxonomy Mapping list and want to create your custom terms.
To apply the replacement, you must use one of the following rule boxes in Data View or Dataflow. The rule boxes differ only in the way they match the values:
Taxonomy Mapping lets you select between replacing the entire string or only a part of the string, as with the Replacement rule box. The Taxonomy Mapping rule box is optimal for the Attribute-based Replacement list, especially when replacing category terms.
Replacement lets you replace only a part of the string that matches the list terms. It's case-sensitive. The Replacement rule box doesn't let the platform update your list with new rows added to your data source.
Replacement Sensitive lets you replace a part of the term, a complete term within a string as the Replacement rule box, or the entire string as the Taxonomy Mapping rule box.
Set up the Attribute-based Replacement list
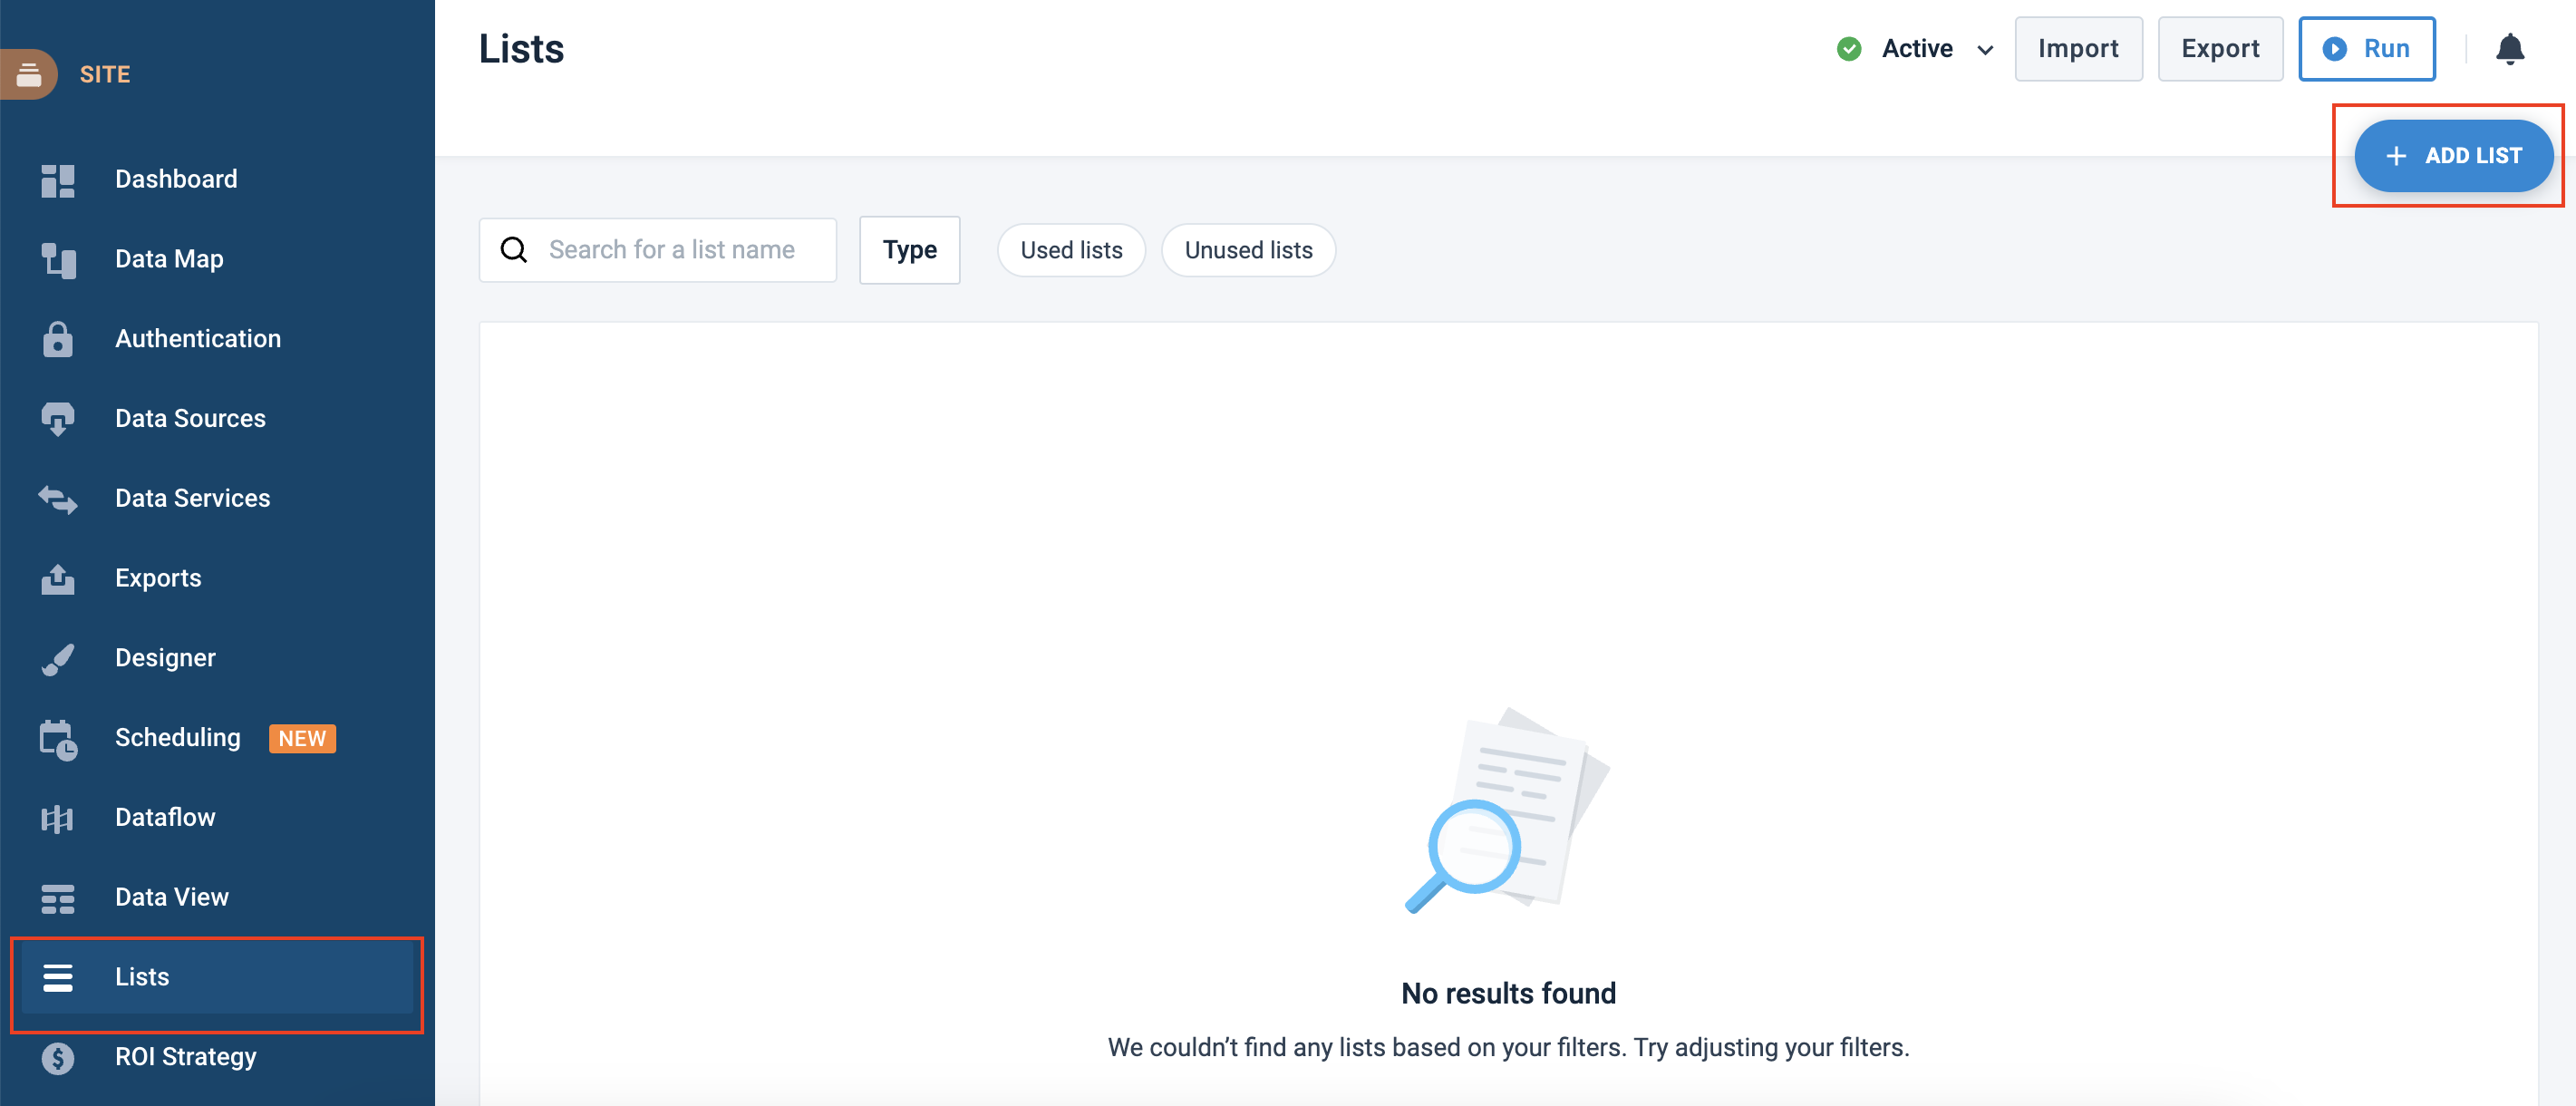
Go to Lists from your site's main menu and select ADD LIST.
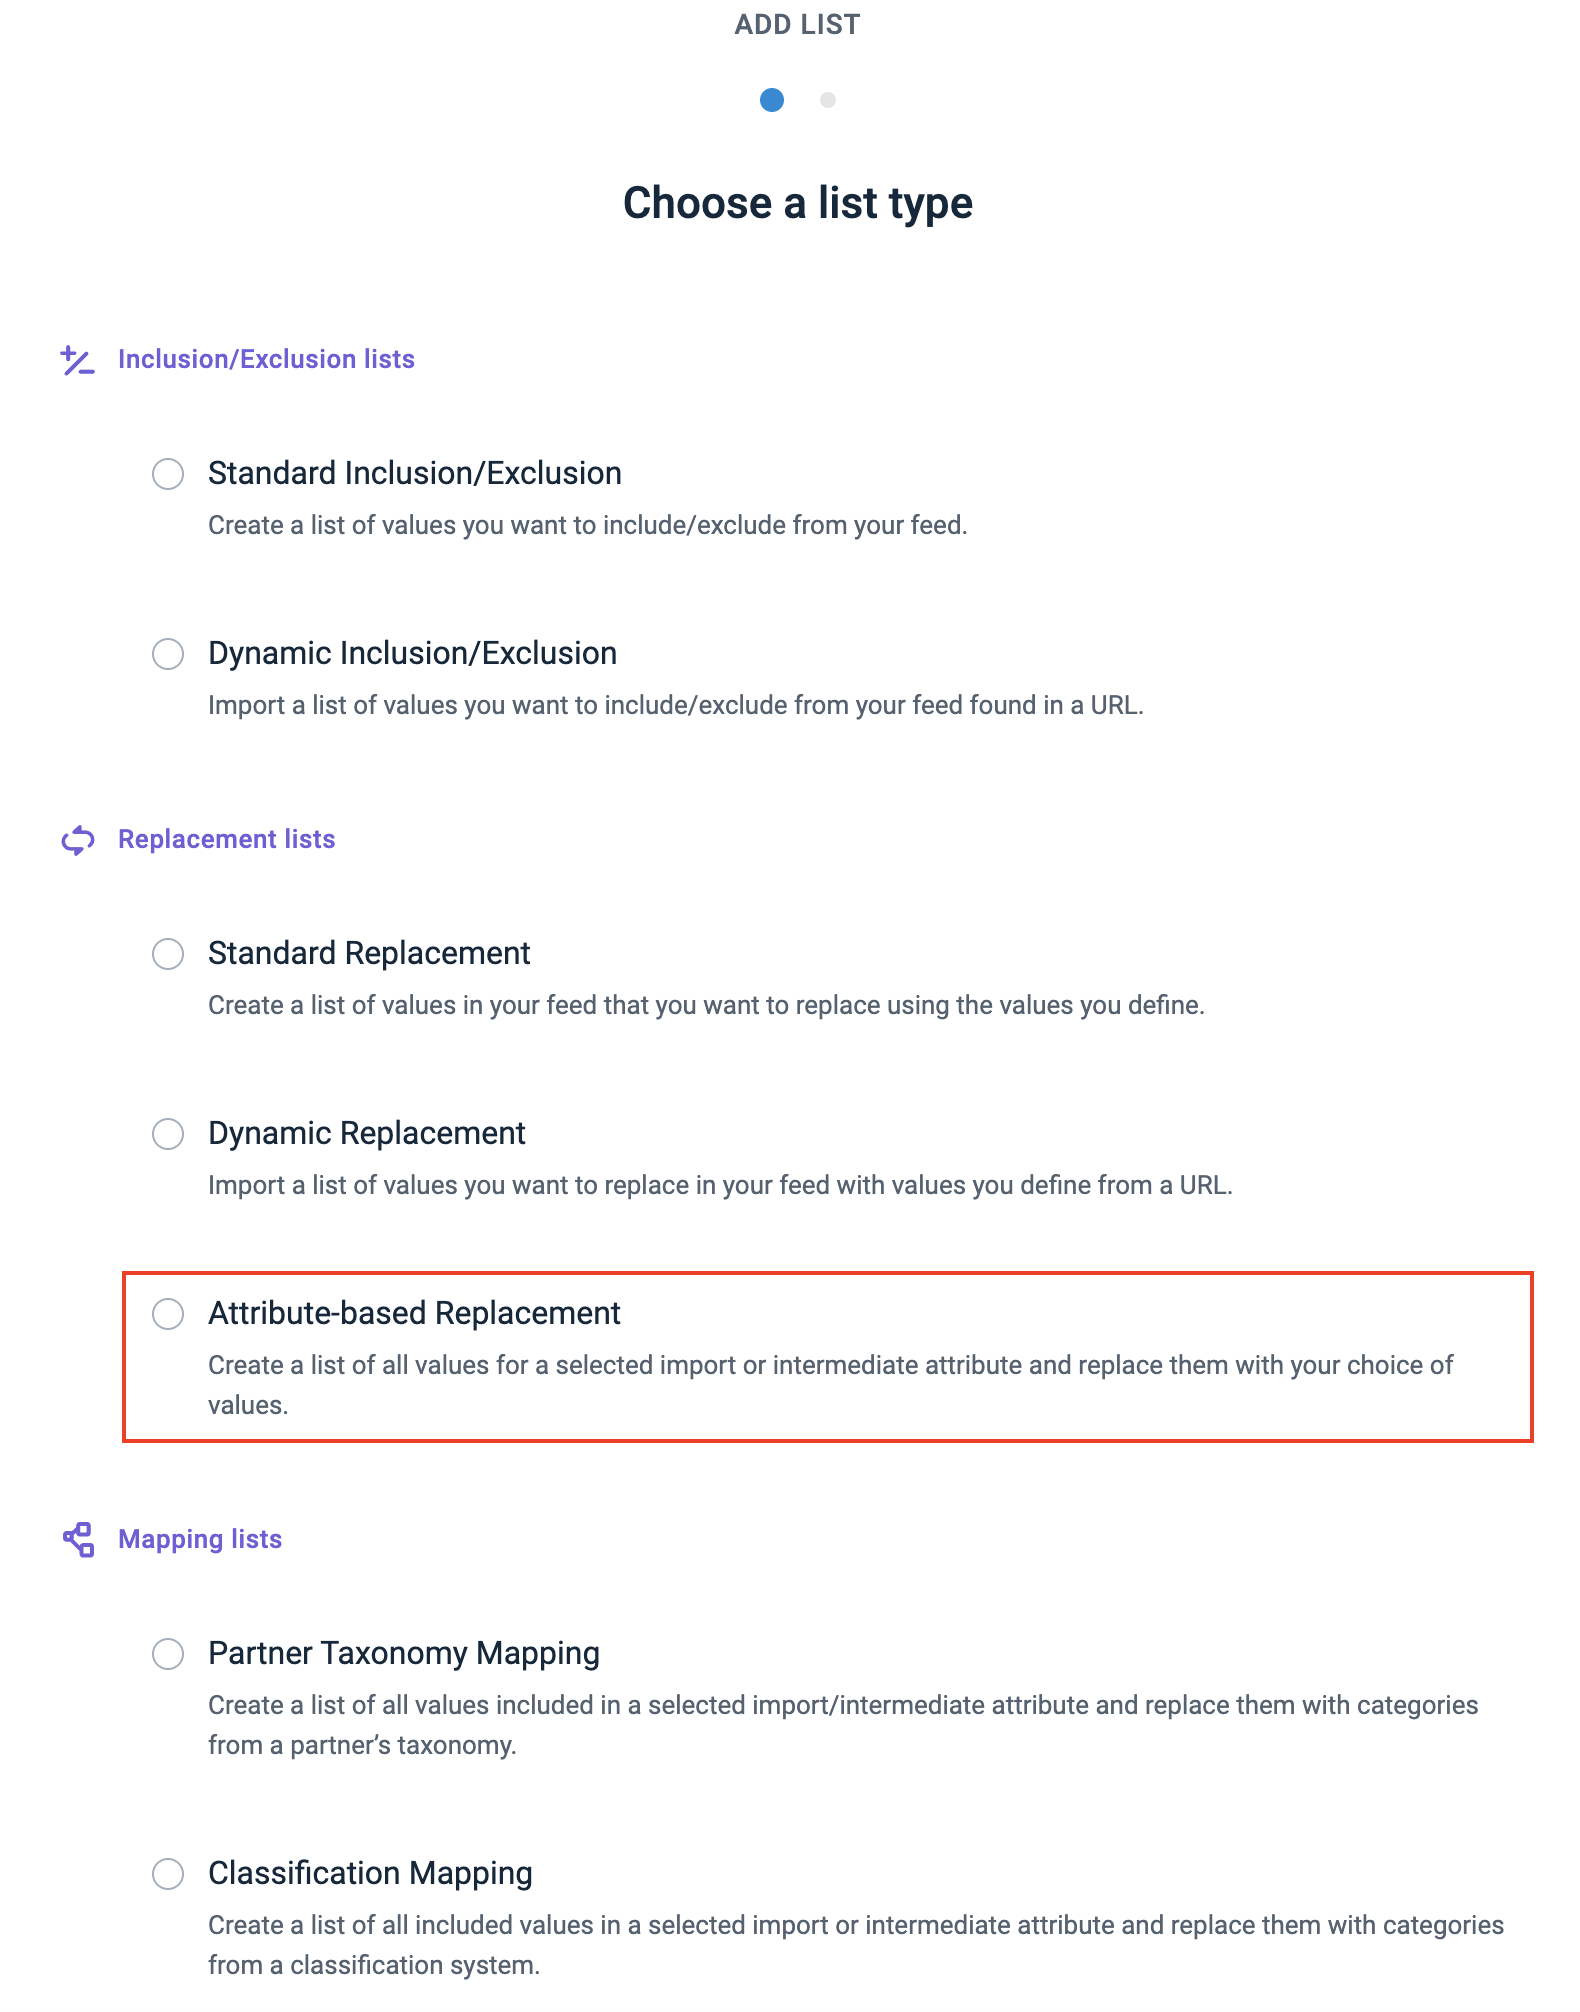
Choose Attribute-based Replacement and select Continue.
In Name, give your replacement list a custom name.
In Stage, choose the stage that contains the attribute where you want to replace values.
In Attribute, select an attribute.
Optionally, toggle on the Share list button and choose one of the following:
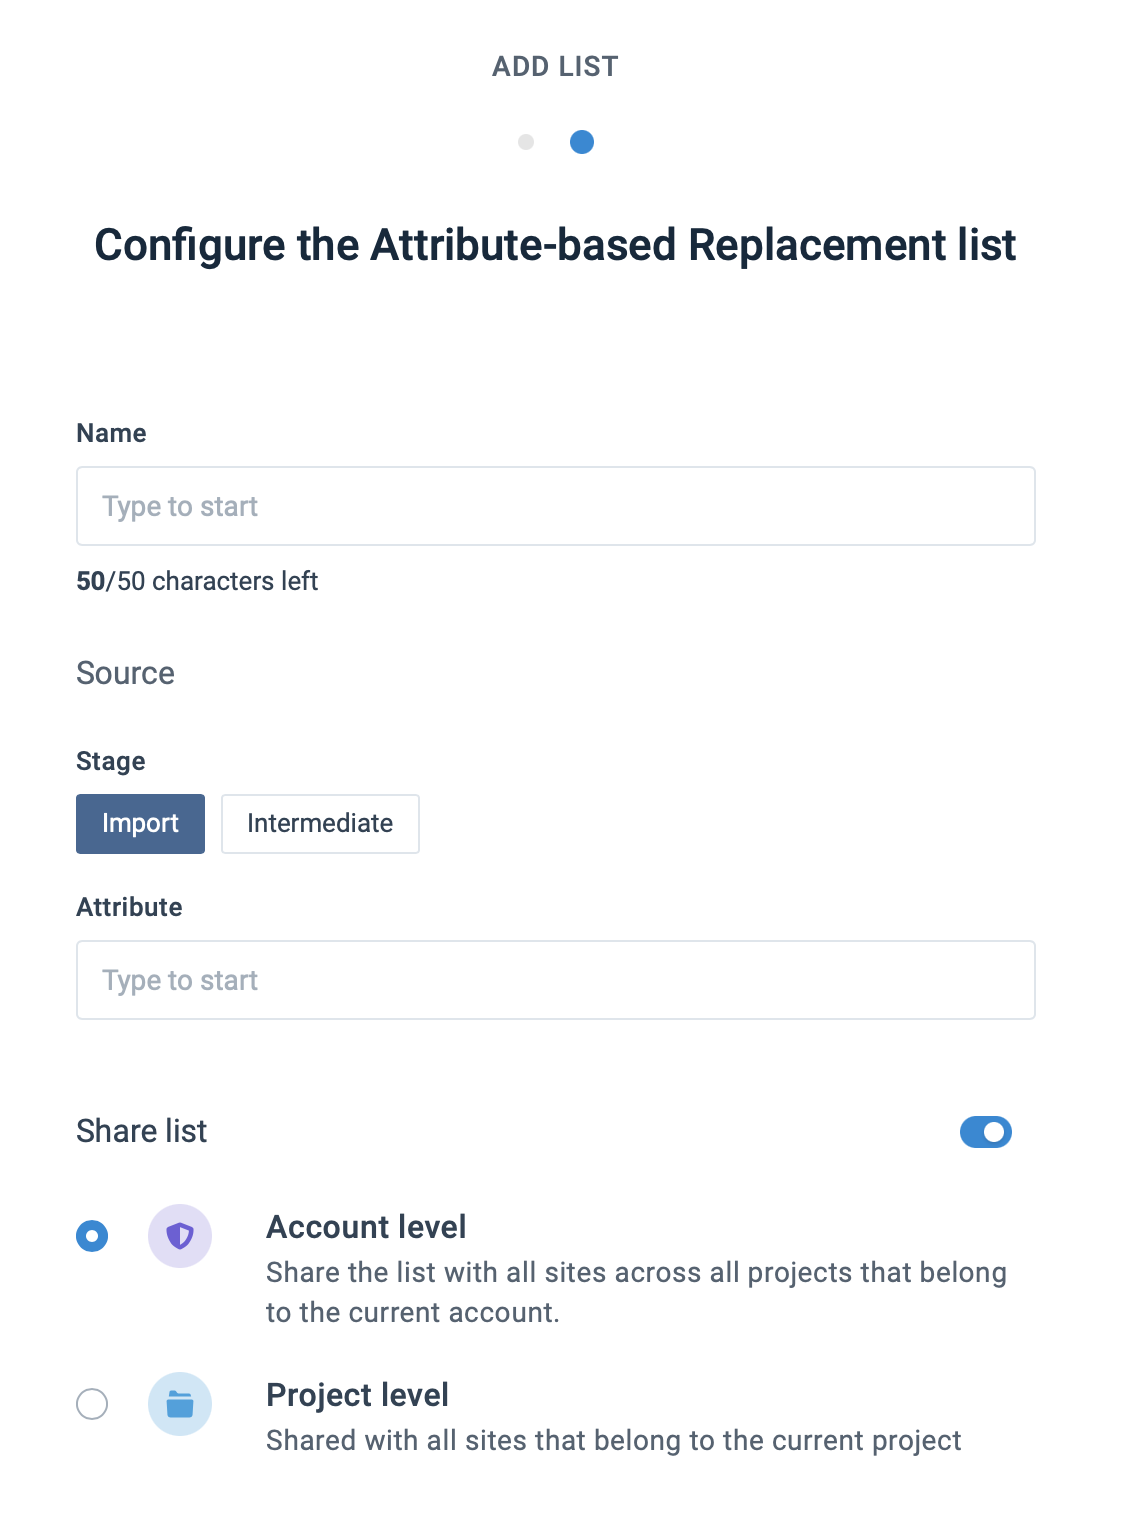
Account level shares this list with all sites across all projects under this organization.
Project level shares this list with all sites under this project.
Select Add.
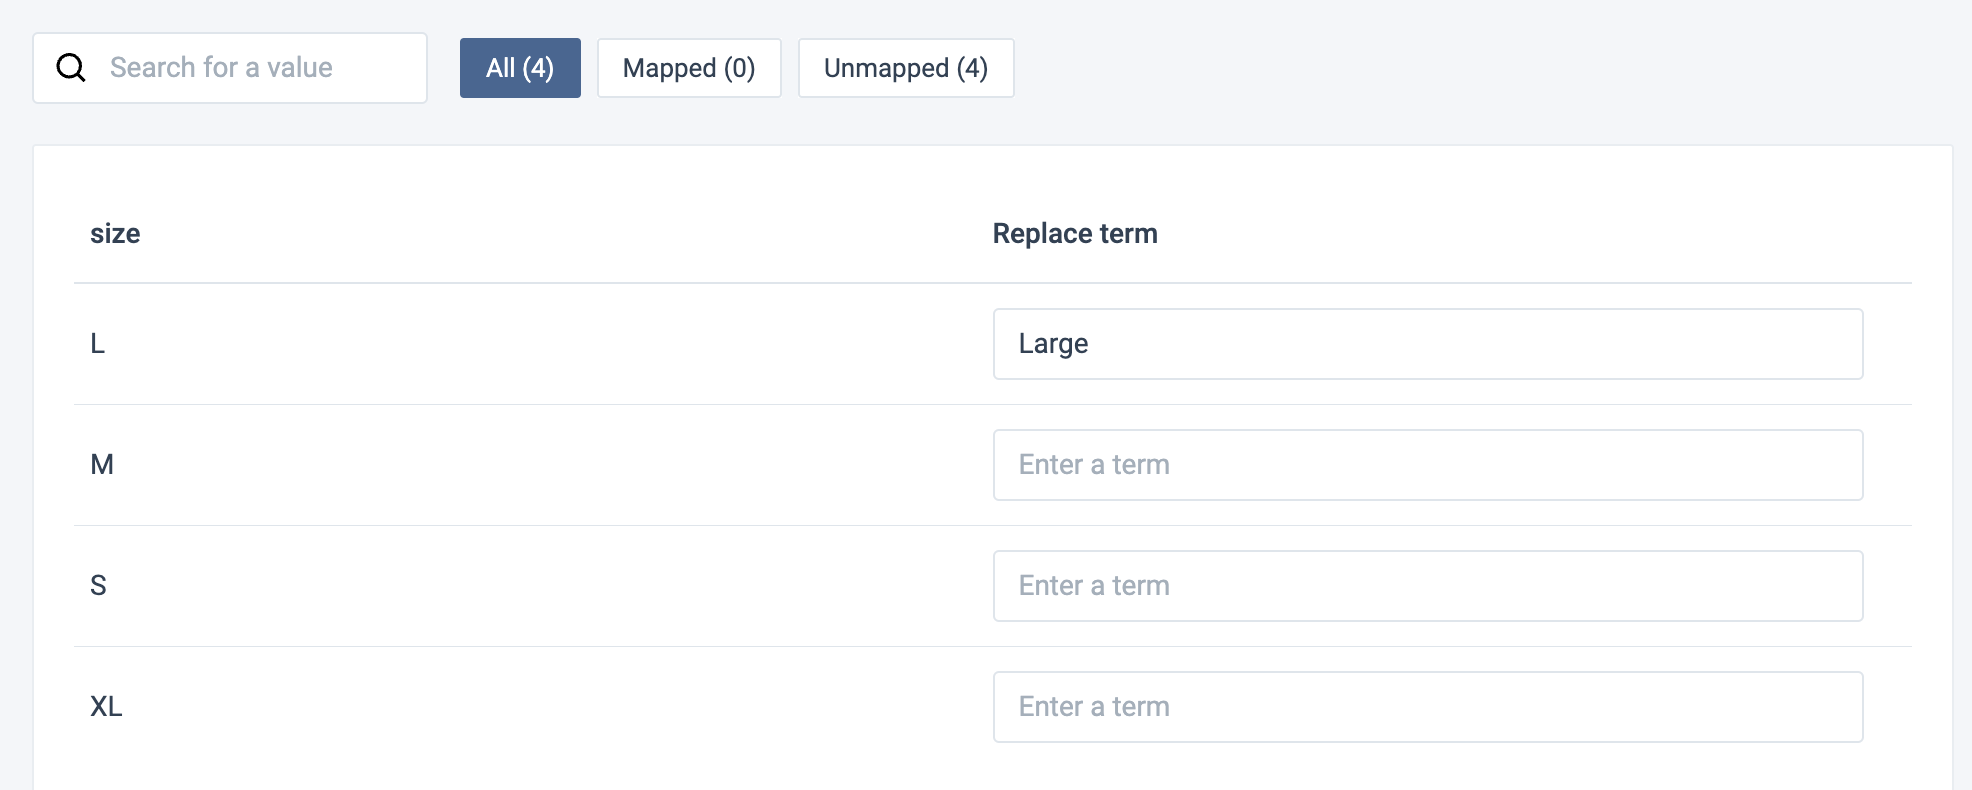
Enter replacement terms in the Replace term column opposite each pre-populated attribute's term.
Select Import in the top-right corner of your site's view.
Add the Taxonomy Mapping rule box
To apply your Attribute-based Replacement list to your feed:
Go to Data View and select the intermediate or export stage from the drop-down menu in the top ribbon.
Select Edit for the attribute where you want to replace terms.
Select the Add Box drop-down menu.
Search for and select the Taxonomy Mapping rule box.
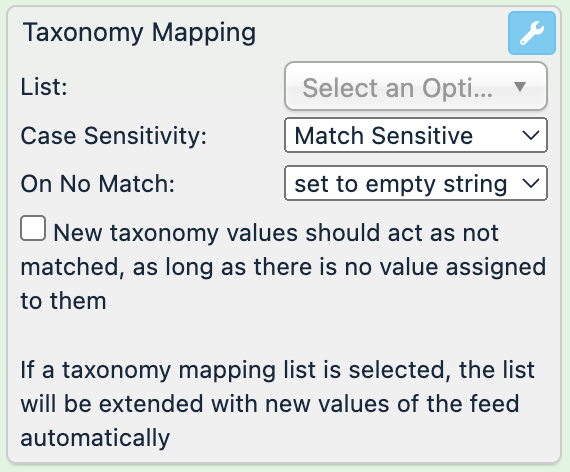
Choose a necessary replacement list from the List drop-down menu.
In Case Sensitivity, choose Match Sensitive to let the platform perform a case-sensitive search in the values of the selected attribute. Select Match Insensitive to let the platform ignore the case of the strings.
In On No Match, choose the behavior for the values that don't match with the values in the Search field on the list:
set to empty string leaves the cell empty if there is no match.
set original value doesn't replace the cell value if there is no match.
Select Save.
Tip
If you want to update your list with new rows added to your data source, select Run in the upper-right corner of your view.
Add the Taxonomy Mapping rule box
Go to Data View from your site's main menu and select Intermediate or a needed export from the drop-down menu on the left side of the upper ribbon.
Select Edit for the needed attribute.
Select the Select an Option drop-down menu, search for and select the Taxonomy Mapping rule box.
Take steps from Taxonomy Mapping.
(optional) Add the Replacement rule box
As an alternative to the Taxonomy Mapping rule box, you can apply replacement with the Replacement rule box. This rule box affects parts of the string that match your replacement terms.
Go to Data View from your site's main menu and select Intermediate or a needed export from the drop-down menu on the left side of the upper ribbon.
Select Edit for the needed attribute.
Select the Select an Option drop-down menu, search for and select the Replacement rule box.
Take steps from Replacement.
(optional) Add the Replacement Sensitive rule box
As an alternative to the Taxonomy Mapping rule box, you can apply replacement with the Replacement Sensitive rule box.
Go to Data View from your site's main menu and select Intermediate or a needed export from the drop-down menu on the left side of the upper ribbon.
Select Edit for the needed attribute.
Select the Select an Option drop-down menu, search for and select the Replacement Sensitive rule box.
Take steps from Replacement Sensitive.