Add a rule box
Add a rule box to optimize your product data in Productsup.
Productsup lets you optimize your data feed directly in the platform using numerous rule boxes.
Rule boxes are a universal tool that lets you change your attribute data any way you want it after you import your data into the platform. For example, you can use rule boxes to add a discount or VAT to your prices, rotate an image, remove emojis from a product description, replace one word with another, or change your current attribute values to the values of another attribute if they meet a condition.
This document explains how to add a rule box in Data View and Dataflow.
Add a rule box in Data View
The most effective way to add rule boxes is in Data View, as there you can immediately see the results of changes in your data.
To add a rule box in Data View:
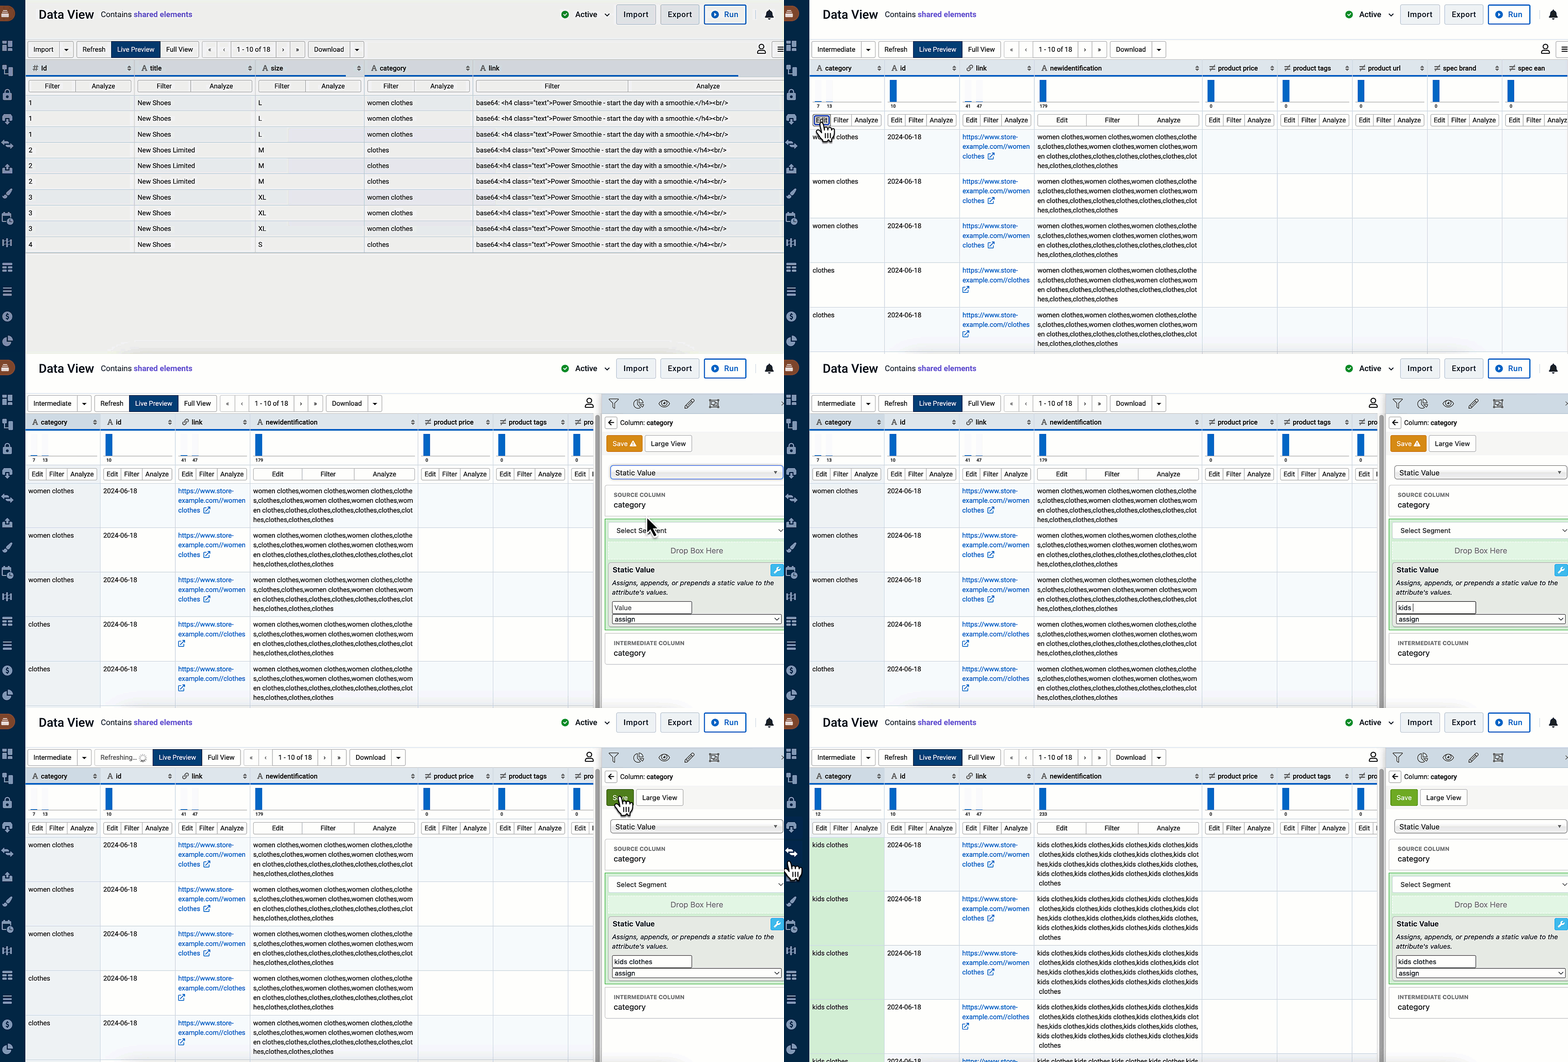
Go to Data View from your site's main menu and select Intermediate or a needed export from the dropdown on the left-hand side of the top ribbon.
Note
You can add rule boxes only in the intermediate or export stage.
Select Edit in the attribute that needs changes. The panel on the right opens.
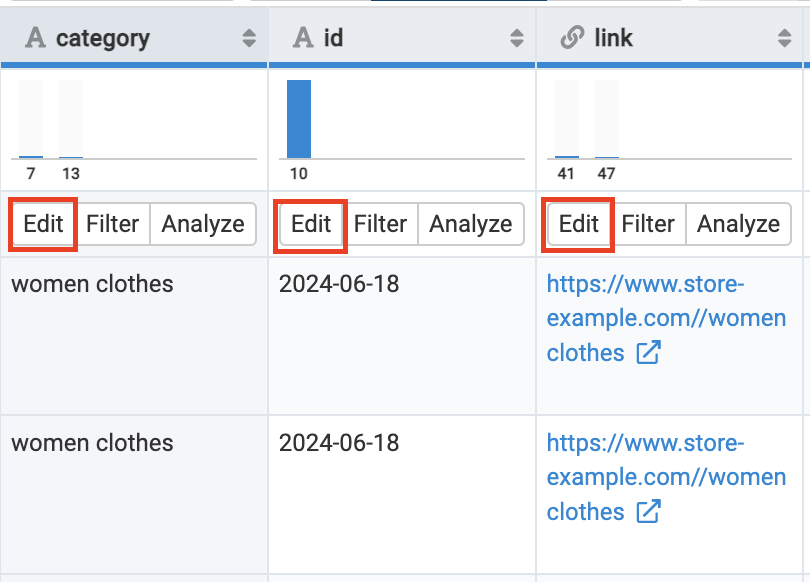
Select the Select an Option dropdown, search for and select the needed rule box in the list.
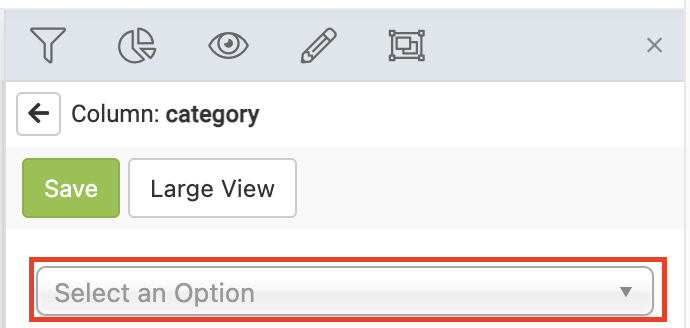
Search for and select the needed rule box in the list.
Configure the rule box by selecting or entering values.
Tip
Select the wrench icon 🔧 in the top-right corner of the rule box to open advanced options such as pausing, duplicating, removing, or applying the rule box to a segment.
Select Save.
After saving a rule box, Data View refreshes to show you the results of the editing. You can also compare the values before and after applying rule boxes with the enabled Before/After View feature. See Visualize your data in Data View.
Note
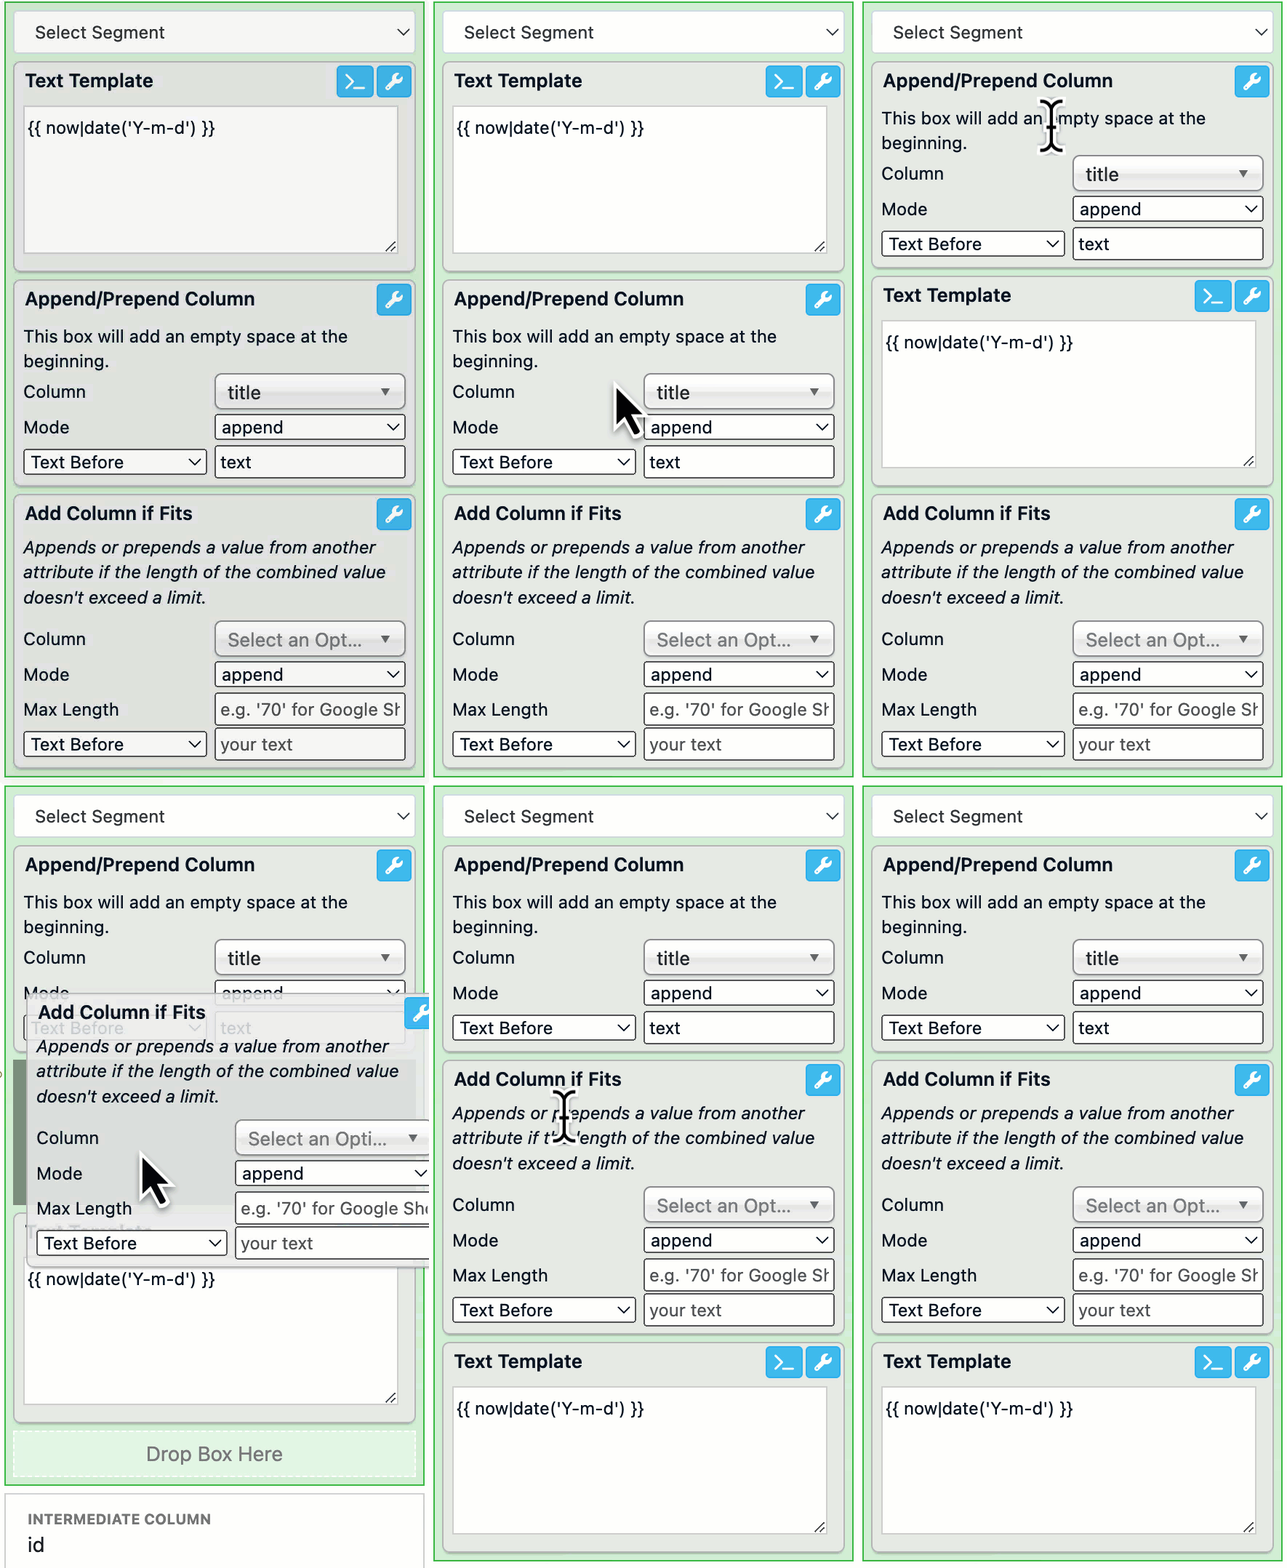
You can add as many rule boxes to the same attribute as you need. However, the order in which you add rule boxes matters as the platform performs them one after another. The rule box at the top of the list has priority.
You can easily change the order of the rule box sequence by dragging and dropping them in the corresponding area.
Edit a rule box in Data View
You can edit any rule box after you have applied it.
Go to Data View from your site's main menu and select Intermediate or a needed export from the dropdown on the left-hand side of the top ribbon.
Select Edit in the attribute that needs changes. The panel on the right opens.
Configure the rule box by selecting or entering values.
Select Save.
Add a rule box in Dataflow
You can add rule boxes in Dataflow. Dataflow doesn't display your data, but it provides a broad overview of all your connections and rule boxes that you have already applied. The bubbles on the connections between the stages represent rule boxes applied to the attributes. You can hover over a connection to see a list of all rule boxes applied to it.

Here are the meanings of the different colors:
Green bubbles are rule boxes between the import and intermediate stages.
Blue bubbles are rule boxes between the intermediate and export stages.
Gray bubbles are rule boxes on pause.
Yellow bubbles are rule boxes containing skip rules.
You can add rule boxes between the import and intermediate stages or between the intermediate and export stages:
If you add rule boxes to the green connections between the import and intermediate stages, they affect all your exports in the site.

If you add rule boxes to the blue connections between the intermediate and export stages, they only affect the selected export.

Note
You can add as many rule boxes to the same attribute as needed. But the order in which you add rule boxes matters, as the platform performs them one after another. Higher rule boxes in the list have higher priority.
Go to Dataflow from your site's main menu and select the needed export from the dropdown on the left in the top ribbon.
Select the arrow icon
 next to the needed attribute in the relevant stage. The panel on the right opens.
Select the Select an Option dropdown, search for and select the needed rule box in the list. Or use the AI-based rule box recommendations. See Find a rule box using the rule box recommendations.

Configure the rule box by selecting or entering values.
Tip
Select the wrench icon 🔧 in the top-right corner of the rule box to open advanced options such as pausing, duplicating, removing, or applying the rule box to a segment. See Advanced rule box options.
Select Save.
Go to Data View from your site's main menu, select the same export as in Dataflow where you added the rule box, and see the changes in the attribute.
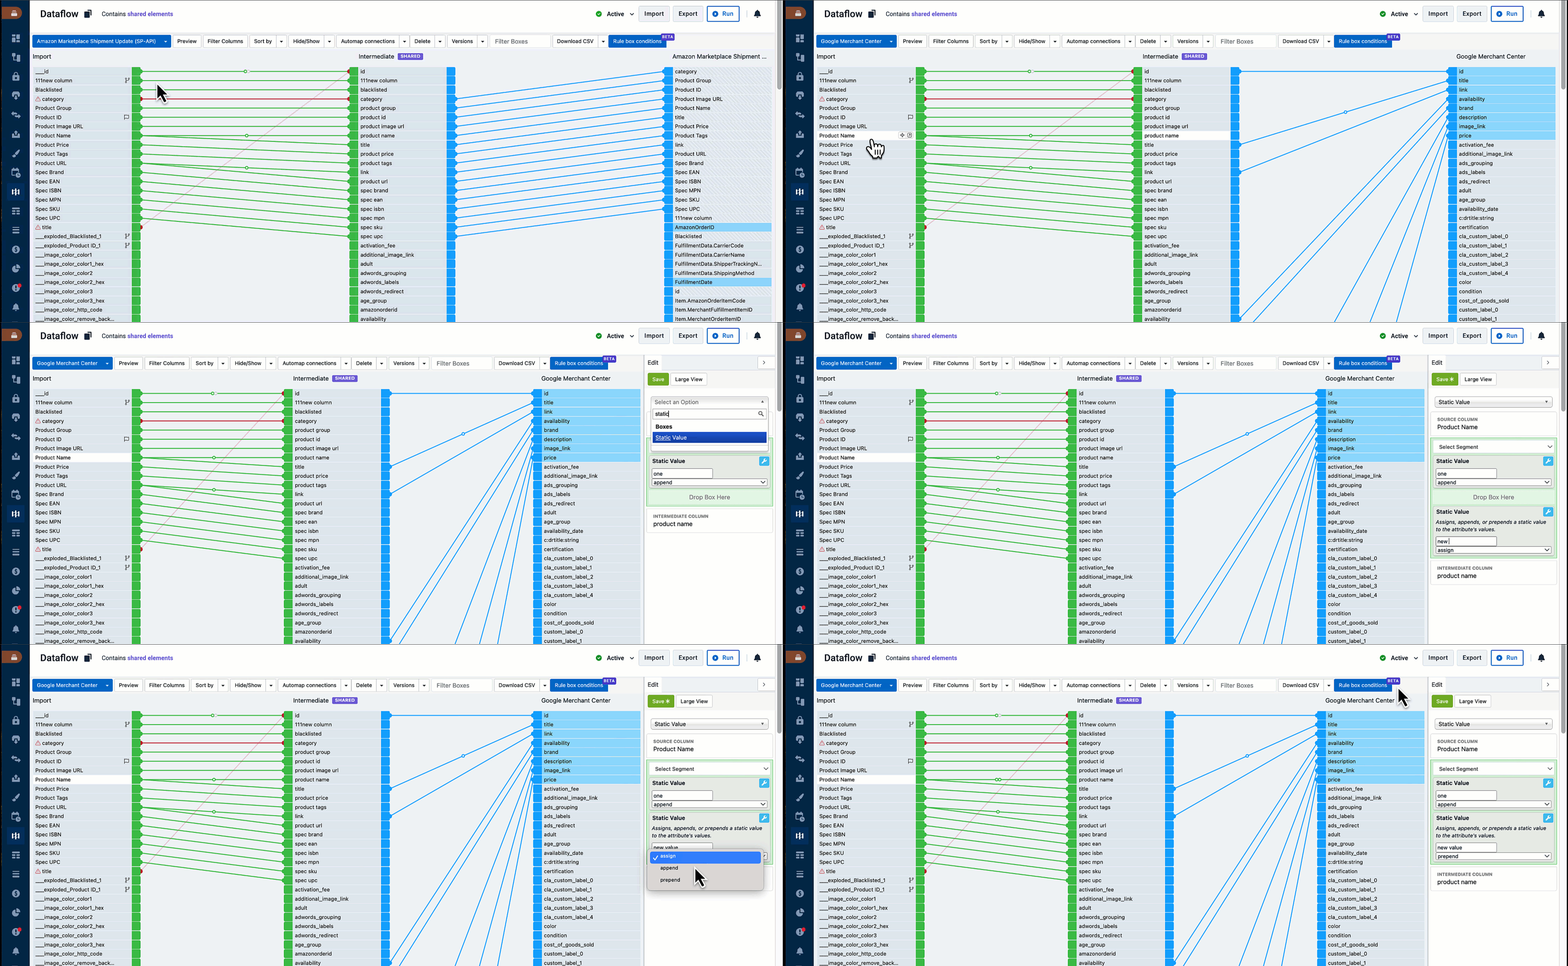
Edit a rule box in Dataflow
You can edit any rule box after you have applied it.
Go to Dataflow from your site's main menu and select the needed export from the dropdown on the left-hand side of the top ribbon.
Select the arrow icon
 next to the needed attribute in the relevant stage. The panel on the right opens.
Configure the rule box by selecting or entering values.
Select Save.
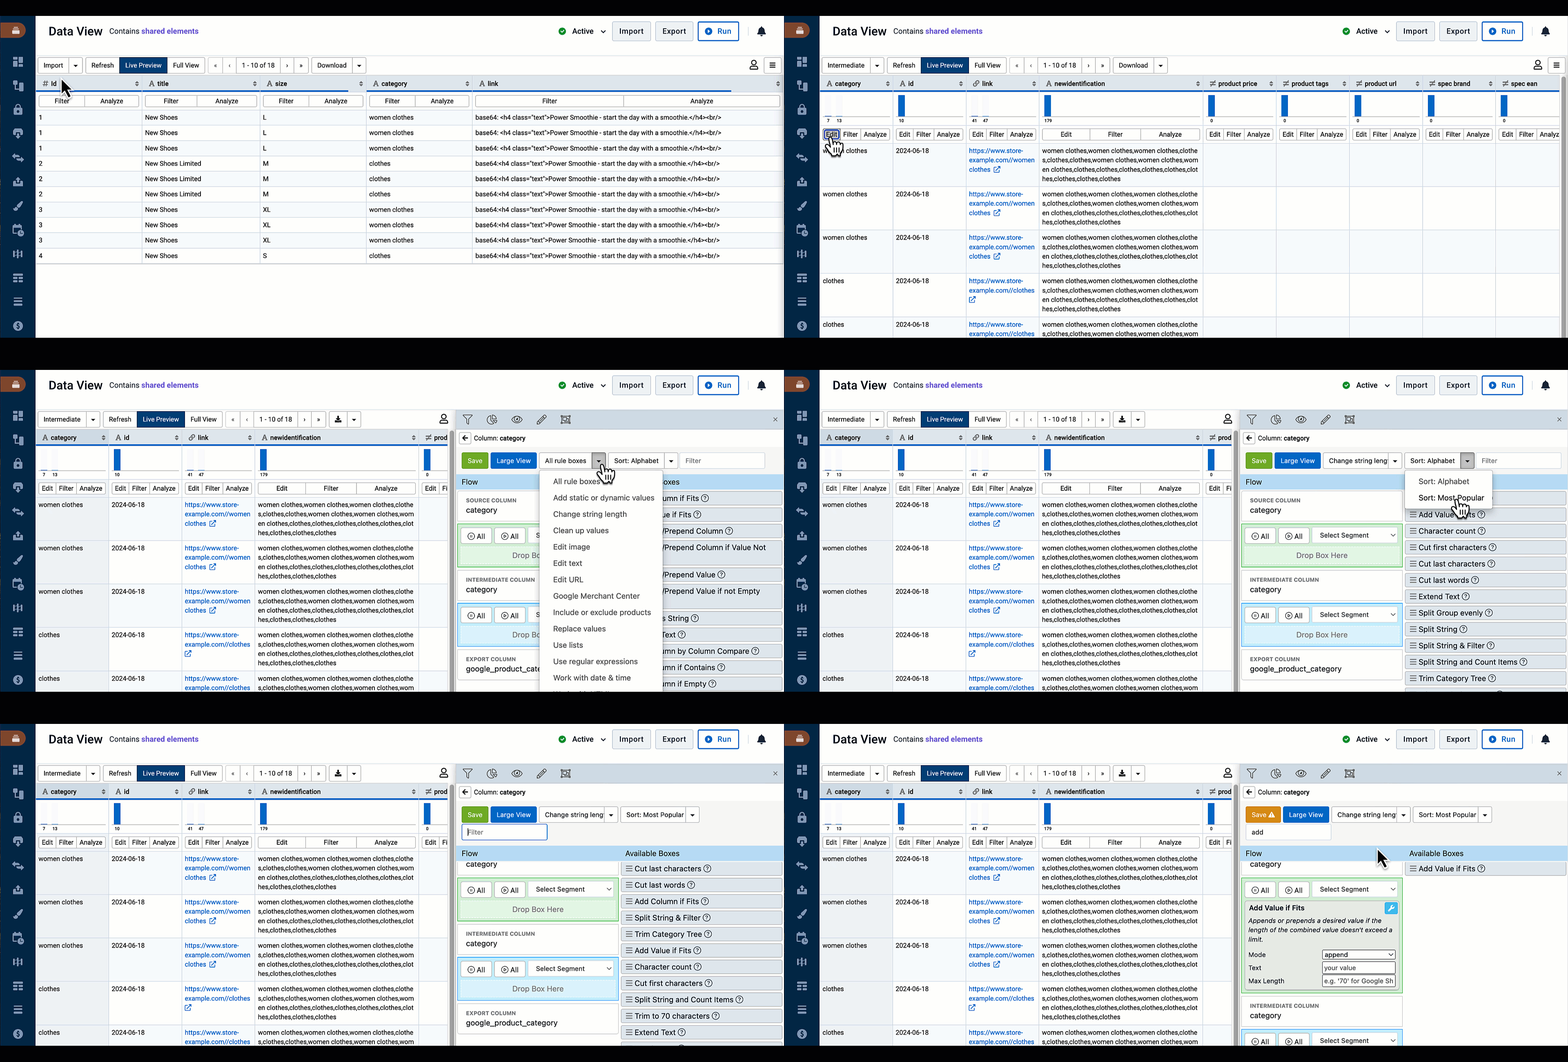
Use Large View to add a rule box
Both in Data View and Dataflow, you can use Large View when adding a rule box to have more search options for rule boxes.
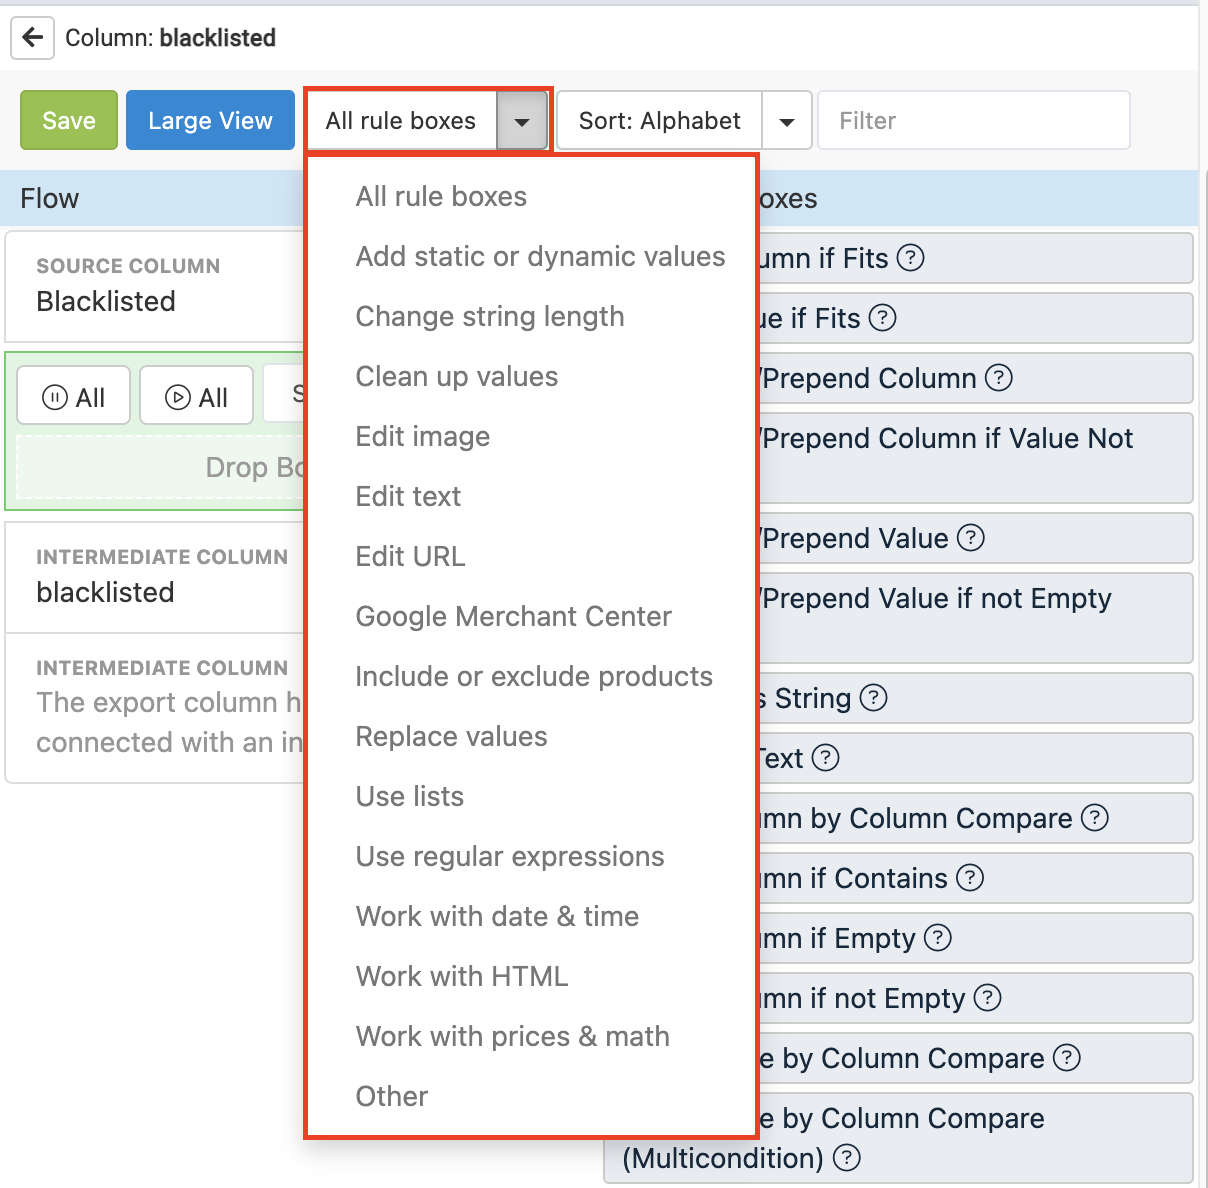
To add a rule box in Large View:
Select the intermediate stage or a needed export, choose the attribute you want to modify, and select the Large View button.
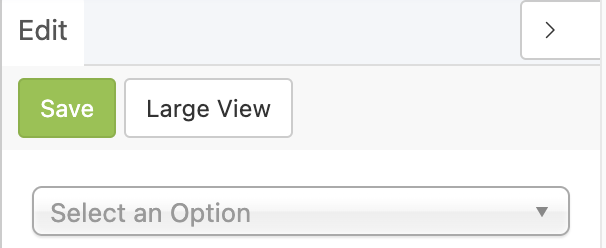
To find a needed rule box, use the following options:
Select All rule boxes to choose a needed rule box category.
Sort the rule boxes alphabetically or by popularity.
Enter the rule box name in Filter.
Use AI-powered rule box recommendations.

Drag the rule box to the needed stage: the green area is for the import to intermediate stages, and the blue area is for the intermediate to export stages.
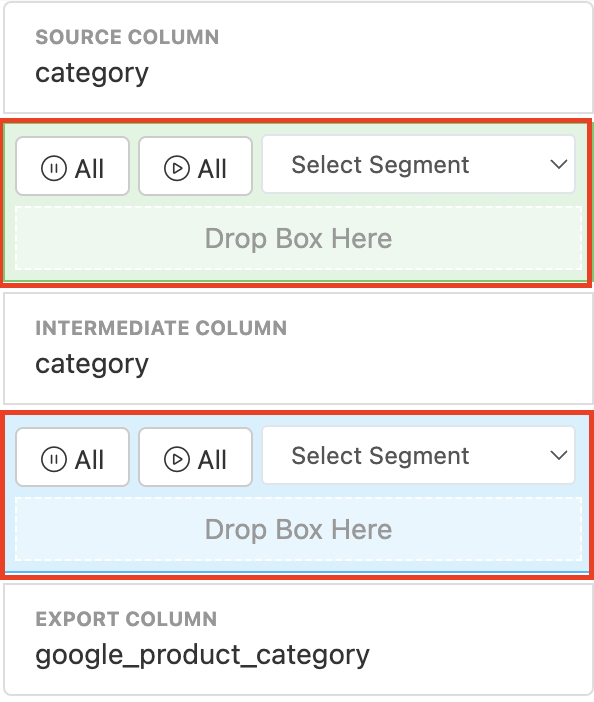
Configure the rule box and select Save.
Tip
Take the video course and practice adding rule boxes Optimization: Rule boxes for platform.productsup.com on our Academy website.
Find a rule box using the rule box recommendations
Rule Box Finder is available in both Dataflow and Data View. Empowered with AI, the feature lets you find the needed rule boxes by your desired outcome description.
To find a rule box:
If you are in Data View, select Edit for the attribute where you want to apply a rule box. If you are in Dataflow, select the arrow icon
 next to the needed attribute in the relveant stage.
 Select the Rule box finder button.

Enter your desired data transformation outcome in Describe your goal and select Find.
View the list of all possible rule boxes that may fulfil your needs, including those that use Lists. Hover over the information icon of each rule box to see a short explanation of why it’s a fit. If you need more details, select a link to the related Help Center document that guides you through the rule box setup.