Translate your feed with the Google Translate and Google Translate (Advanced) data services
Translate your product feed with the Google Translate and Google Translate (Advanced) data services in Productsup.
Introduction
To let you translate your product information, such as titles or descriptions, into any language you need, Productsup offers two (2) data services:
The Google Translate data service
The Google Translate (Advanced) data service
These data services are helpful if your product catalog is available only in one language, but you use it across different countries. You can also use them to quickly translate your product information for trying out a new market.
Both data services use the Google Cloud Translation API and can detect the language of the attribute you want to translate. Using the Google Cloud Translation API isn't free, the pricing depends on the chosen API option.
Here is how the data services differ:
Google Translate data service | Google Translate (Advanced) data service |
|---|---|
Uses Translation API Basic. See Cloud Translation options for more details on the capabilities of this option. See Cloud Translation pricing for cost details. | Uses Translation API Advanced. See Cloud Translation options for more details on the capabilities of this option. See Cloud Translation pricing for cost details. |
Translates your product data without using any custom glossaries. | Lets you use glossaries created in your Google Cloud service account to consistently translate the needed terms and phrases. |
Lets you translate only one (1) attribute within one data service setup. | Lets you translate one or multiple attributes within one data service setup without adding the data service multiple times. |
When fetching translations for your product data, the translation data services add two (2) new attributes to your site per each translated column if you have only one (1) target language. Each additional target language adds one (1) more attribute per each translated column.
The names of the added attributes vary per data service. The following examples use the default prefix ___service_google_translate. If you change your prefix in the data service setup, the names of the added attributes are going to look different, but the endings of the attribute names will still be as shown below.
The Google Translate data service adds: | The Google Translate (Advanced) data service adds: |
|---|---|
|
|
Prerequisites
Each translation data service has its own set of prerequisites:
Google Translate data service:
A unique item identifier. See Set a unique item identifier.
An API key to authenticate in Google Cloud. You need to enable and purchase it. See Cloud Translation API Key.
Google Translate (Advanced) data service:
A unique item identifier. See Set a unique item identifier.
A Google Cloud service account with at least one project created in it. See Setup for more information.
The region of your Google Cloud project. See Regions and zones.
The configuration of your Google Cloud service account in the JSON format. It should feature the needed project ID, private key, client ID, etc. See Create a service account key.
The ID of a glossary associated with a relevant Google Cloud project. The platform only supports glossaries in the CSV format. See Equivalent term sets (CSV).
See Creating and using glossaries (Advanced) for more information.
Note
This prerequisite is optional. You need a glossary ID only if you want to use a glossary for your translations.
Add the Google Translate data service
Go to Data Services from your site's main menu and select ADD SERVICE.
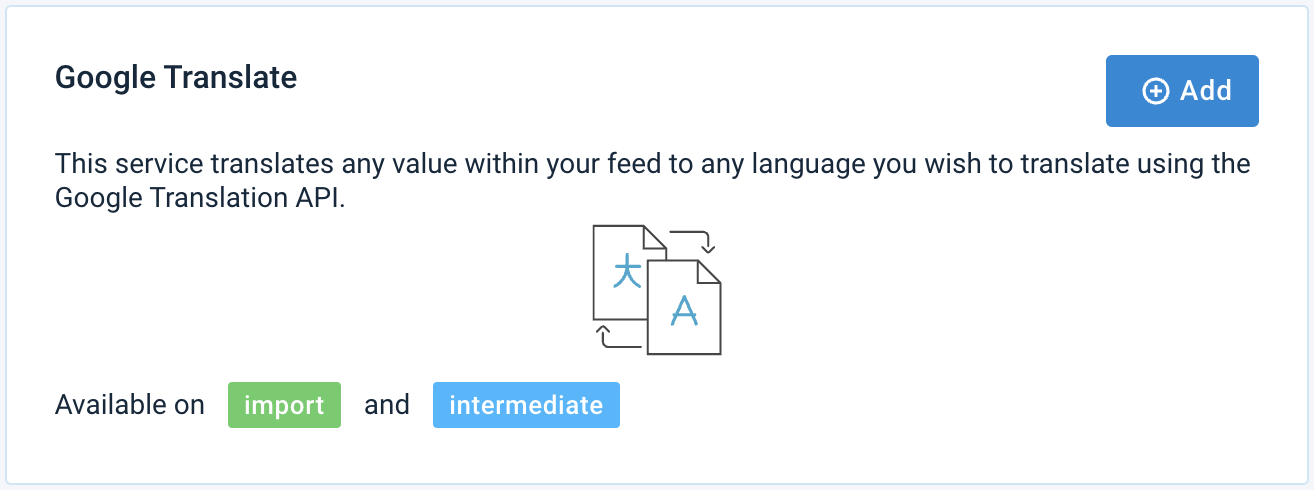
Search for Google Translate and select Add.
Give it a desired name and column prefix. By default,
___service_google_translateis the column prefix.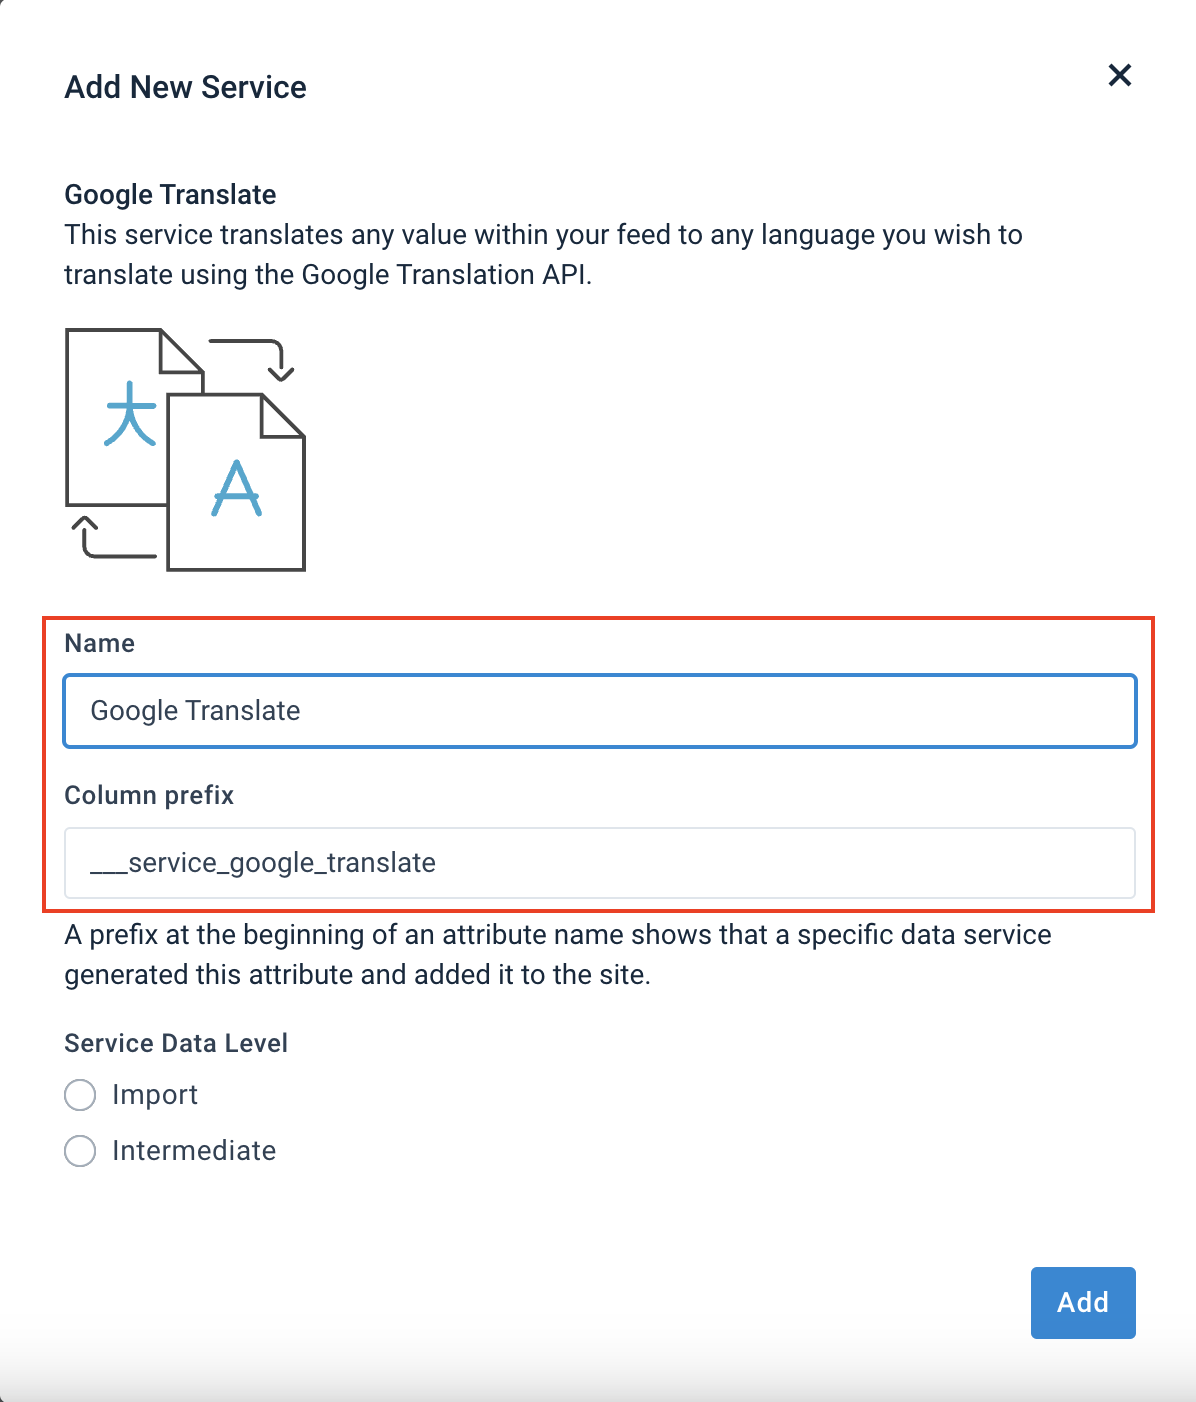
Choose the stage containing the columns you want to translate in Service Data Level and select Add.
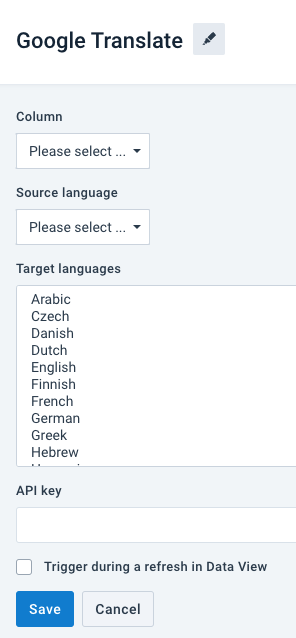
Select the column you want to translate from the Column drop-down list.
Note
If you choose Import in Service Data Level, the drop-down list Column displays the columns of your import stage. If you choose Intermediate, the drop-down list contains your intermediate-stage columns.
Select a source language from the Source language drop-down menu.
Select one or several target languages in the Target languages field. Hold the CTRL or Cmd key to select more than one language.
In API key, enter your Google Cloud Translation API key.
If you want the platform to run the data service every time there is a refresh in Data View, check the box Trigger during a refresh in Data View.
Select Save.
For the platform to process a new data service, select Import or Run in the top-right corner of your site's view.
Note
If you can't see the columns that the Google Translate data service added to your feed in Data View, ensure the platform hasn't hidden them:
Go to Data View from your site's main menu and choose the relevant stage or export in the drop-down list on your left.
Select the menu icon on the right and then select the eye icon.
Find the attributes in the list that use the default prefix
___service_google_translateor a prefix that you set up in Step 3 and select the eye icon next to each attribute you want Data View to display. The attribute names that the data service generates always start with three underscores (___), which means the platform doesn't send those attributes to your export channels.Close the pop-up menu.
Add the Google Translate (Advanced) data service
Go to Data Services from your site's main menu and select ADD SERVICE.
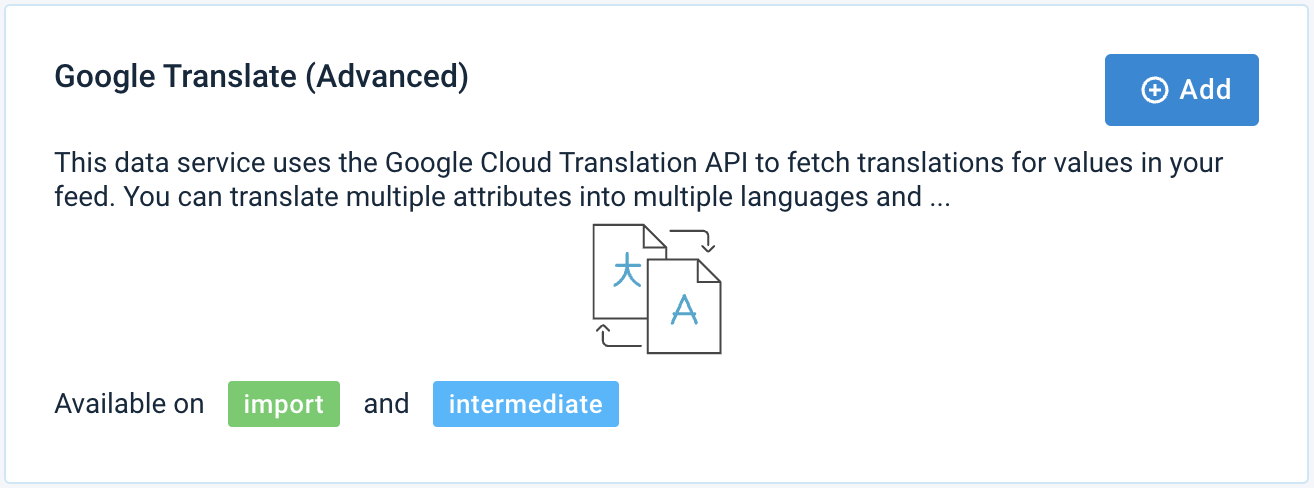
Search for Google Translate (Advanced) and select Add.
Give it a desired name and column prefix. By default,
___service_google_translateis the column prefix.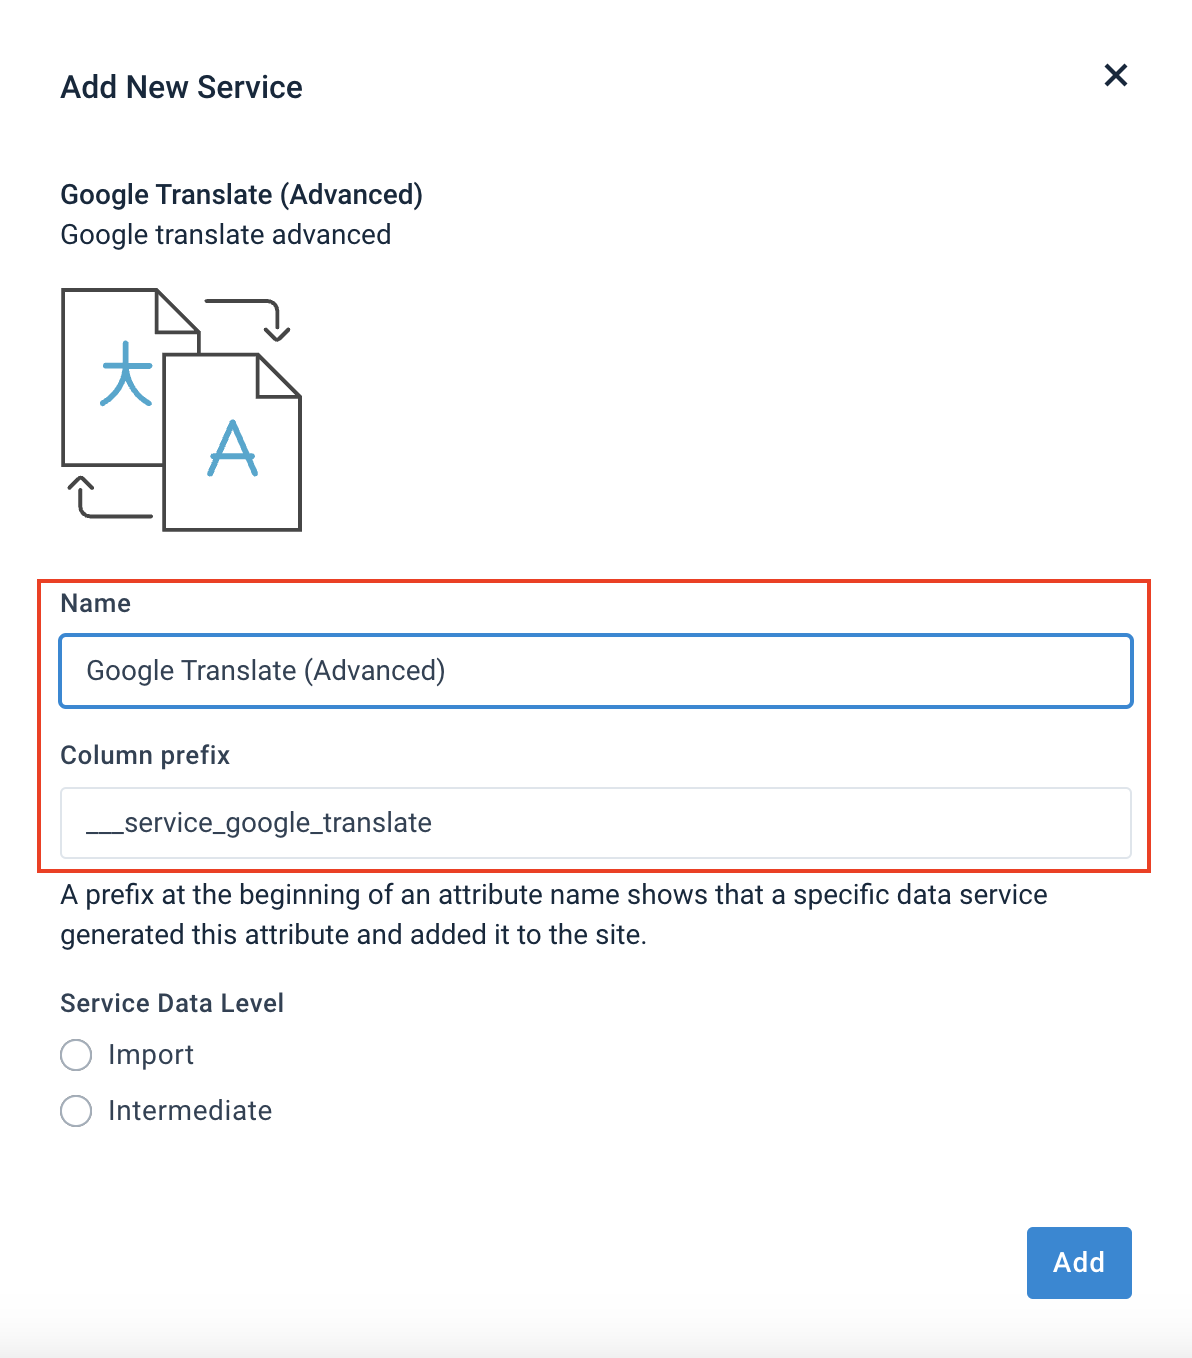
Choose the stage containing the columns you want to translate in Service Data Level and select Add.
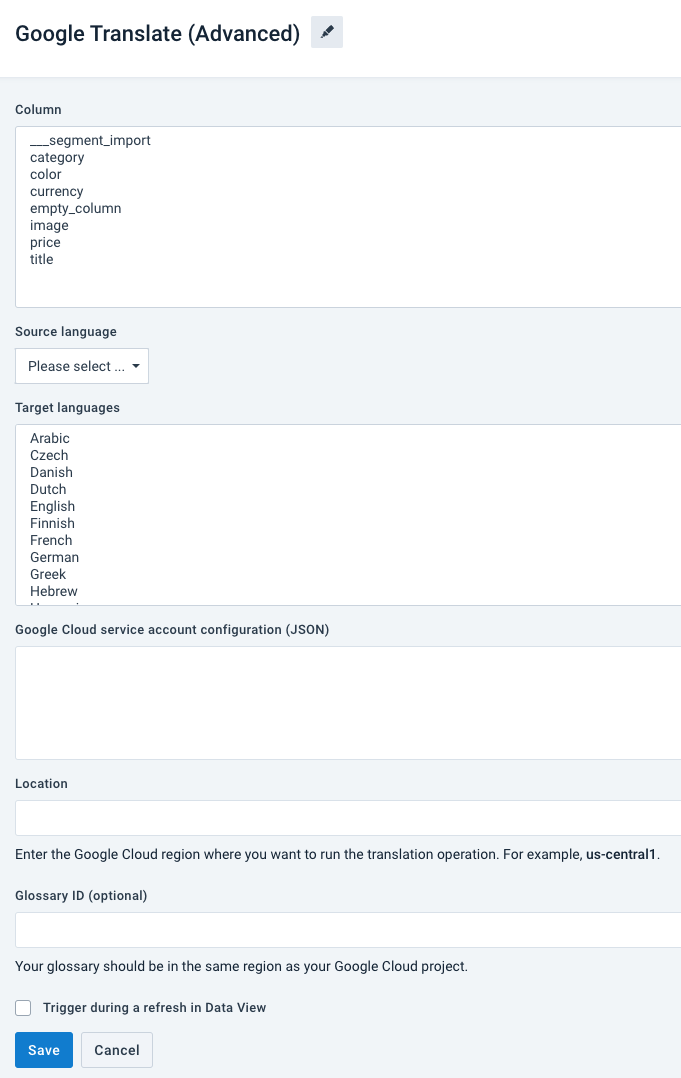
Select the columns you want to translate in the Column field. Hold the CTRL or Cmd key to select multiple columns.
Note
If you choose Import in Service Data Level, the field Column displays the columns of your import stage. If you choose Intermediate, the field contains your intermediate-stage columns.
Select a source language from the Source language drop-down menu.
Select one or several target languages in the Target languages field. Hold the CTRL or Cmd key to select more than one language.
In Google Cloud service account configuration (JSON), enter the configuration of your Google Cloud service account in the JSON format. See Prerequisites to find more details about it.
In Location, state the region of your Google Cloud project.
In Glossary ID (optional), you can provide the ID of the glossary you created in your Google Cloud project if you want more control over the consistency of your translations.
If you want the platform to run the data service every time there is a refresh in Data View, check the box Trigger during a refresh in Data View.
Select Save.
For the platform to process a new data service, select Run in the top-right corner of your site's view.
Note
If you can't see the columns that the Google Translate (Advanced) data service added to your feed in Data View, ensure the platform hasn't hidden them:
Go to Data View from your site's main menu and choose the relevant stage or export in the drop-down list on your left.
Select the menu icon on the right and then select the eye icon.
Find the attributes in the list that use the default prefix
___service_google_translateor a prefix that you set up in Step 3 and select the eye icon next to each attribute you want Data View to display. The attribute names that the data service generates always start with three underscores (___), which means the platform doesn't send those attributes to your export channels.Close the pop-up menu.