Add Amazon CSA export
Add the Amazon category-specific attributes (CSA) export templates in Productsup to save you time.
Introduction
Amazon sellers can link over 270 categories and subcategories to Productsup for product export needs. Productsup has automated the process by creating Amazon category-specific attributes (CSA) export templates to save you time. You can also perform analyzer tests for each CSA to confirm that your export attributes match those required by the Amazon export channel.
Note
Amazon CSA export templates are for Amazon sellers only, unfortunately not vendors. Productsup connects to Amazon via the Selling Partner API.
If you need assistance or have any further questions regarding the Amazon CSA, contact support@productsup.com.
Stage 1 - Configure category sub-templates for an Amazon CSA export
Add and set up export
Set up the Amazon CSA data source to import and sync product data with Amazon Marketplace. To add the Amazon CSA export channel in Productsup:
Go to Exports from your site’s main menu.
Select ADD EXPORT and search for Amazon CSA

Select Add and confirm adding it again as an export.
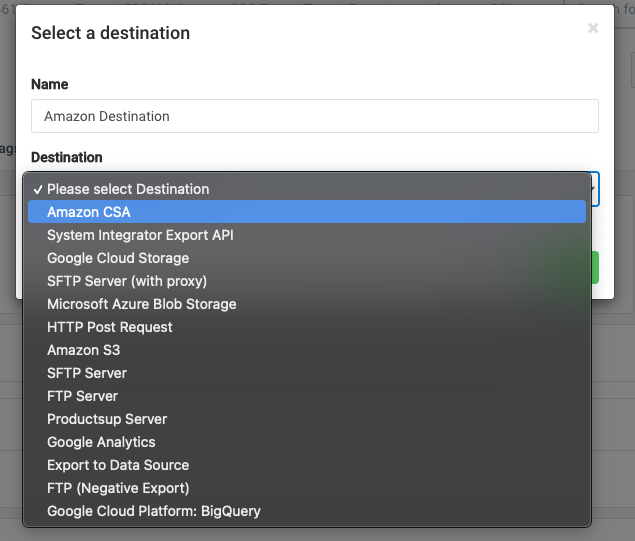
In the export setup, select Add Destination and choose Amazon CSA from the drop-down list. Now enter a destination Name.
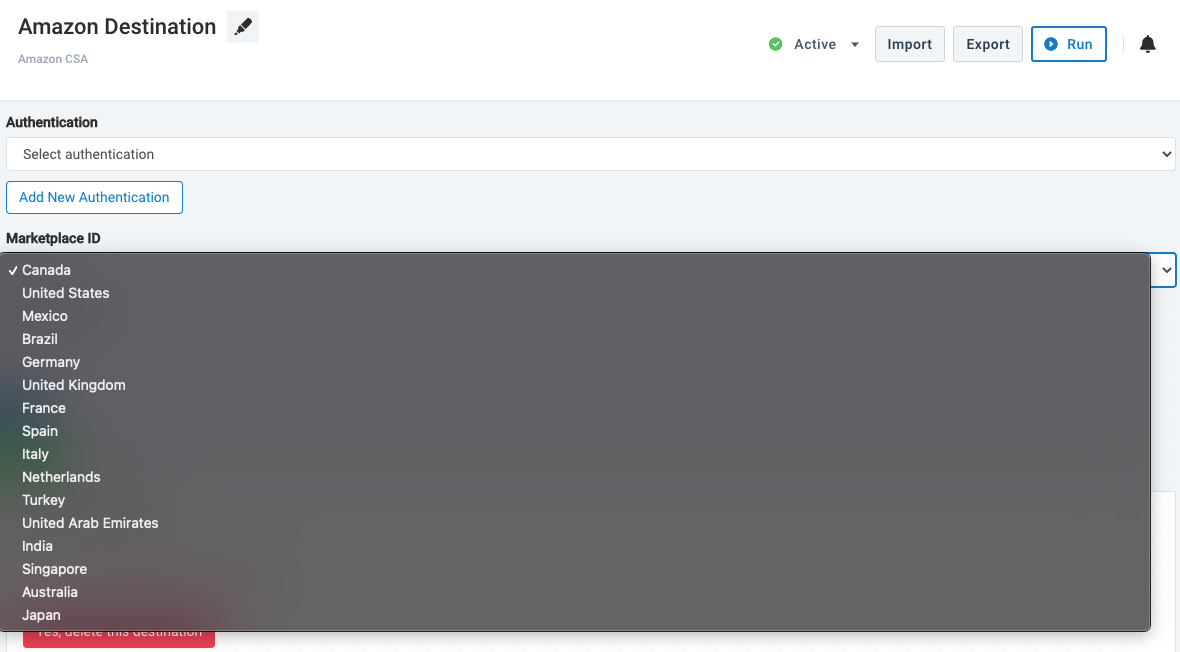
In Authentication, select Add New Authentication or choose Select authentication. You can select an available authentication from the drop-down list. You can also choose to use pre-existing export tags from another platform in Authentication. See Add OAuth authentication to external systems to set up authentication with another platform.
On the Destination page in Marketplace ID, select the Amazon marketplace region you want to export product data from in the drop-down list.
Switch Feedback import to On if you want an error file returned to the platform once your data export finishes. Go to step 10 if Feedback import is set to Off.
Turn on the destination by switching Active to On.
Select Save.
Set up Category Mapping
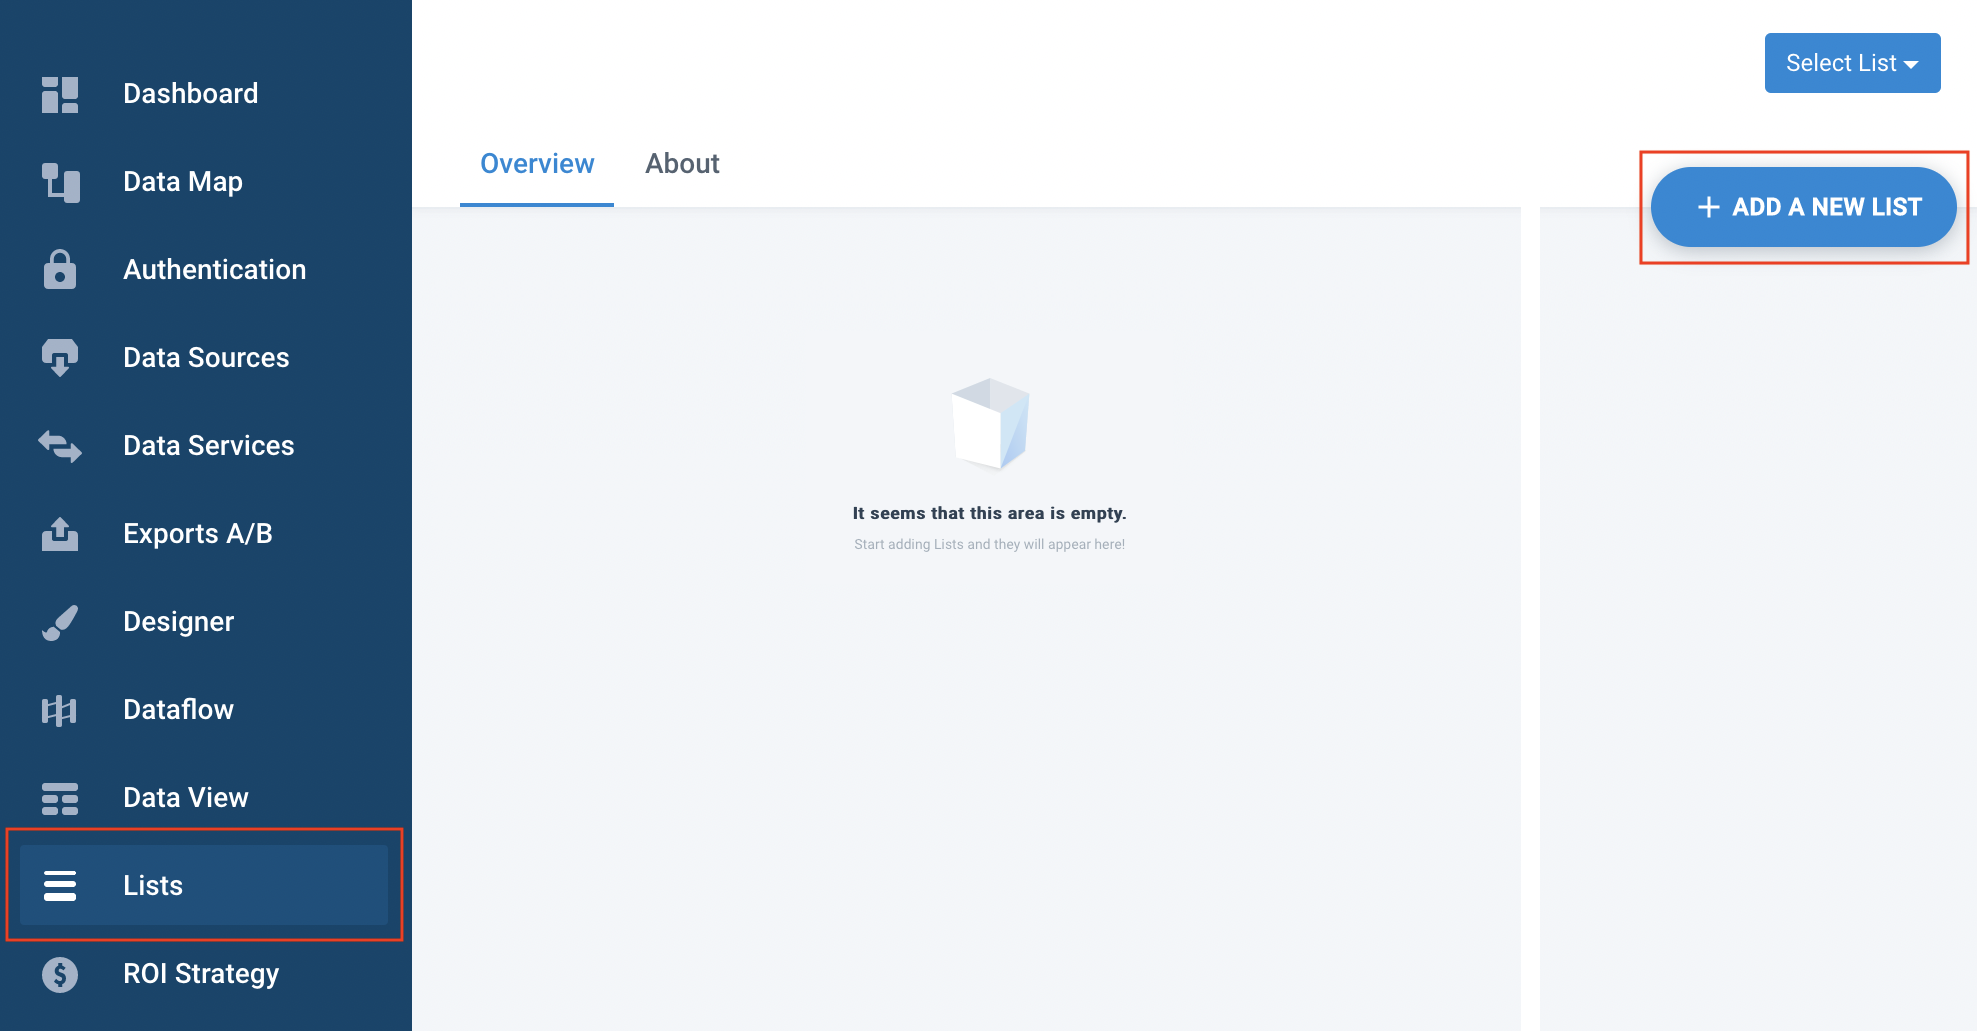
Go to Lists from your site’s main menu and select ADD A NEW LIST.
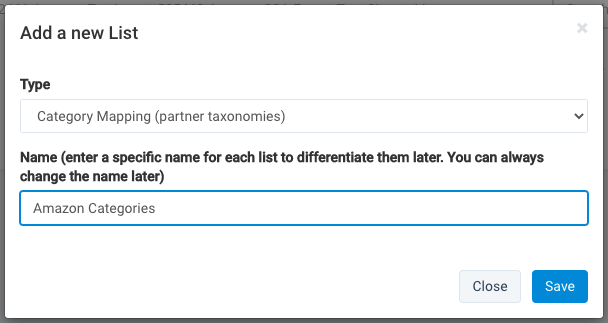
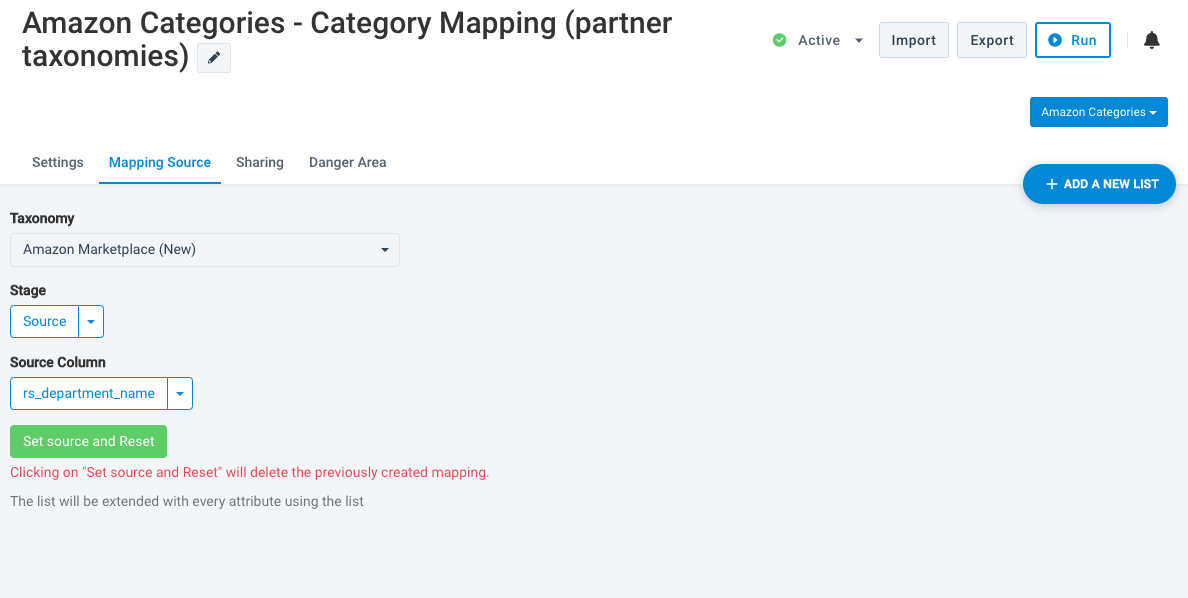
In Type, select the Category Mapping (partner taxonomies) list type.
Next, in Name, give your new list a specific name to help you distinguish it from other lists. You can change it later.
Select Save.
In Taxonomy, select Amazon Marketplace (New) from the drop-down.
In Stage, select the data source stage that the mapping affects. You can choose from Source (import) or Intermediate.
Select a column/attribute that’s associated with category data at the source or intermediate stage in Source Column. The source column applies to your chosen taxonomy list.
Select Set source and Reset to apply the new source and delete any previously created mapping.
Return to your List Overview page, select the list, and go to the Settings tab.
Map and replace the Source or Intermediate stage column value(s) that you previously selected in Source Column with the Amazon Taxonomy value instead, from step 7.
Set up Category Mapping Box
Go to Dataflow and select
categoryin the Intermediate column, and add the Category Mapping box.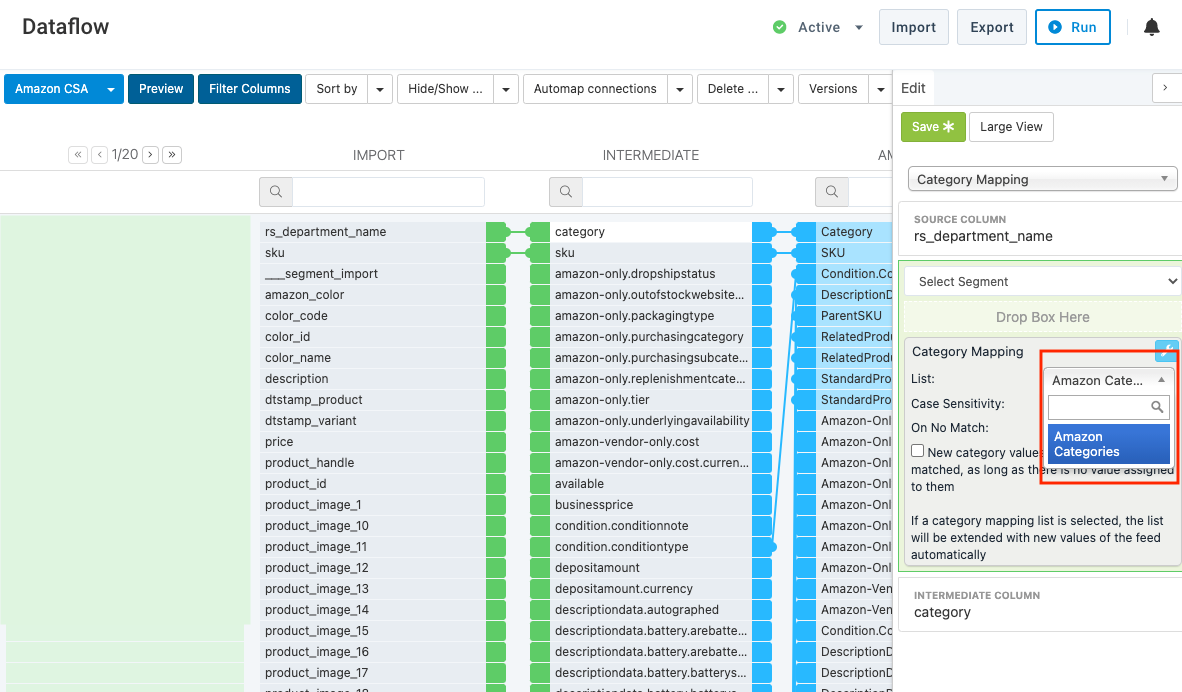
In the Category Mapping box, go to List and select the Amazon Marketplace Taxonomy list you previously configured in the drop-down list.
The data feed now contains category values that Amazon supports.
Create CSA sub-exports in the Amazon CSA export channel
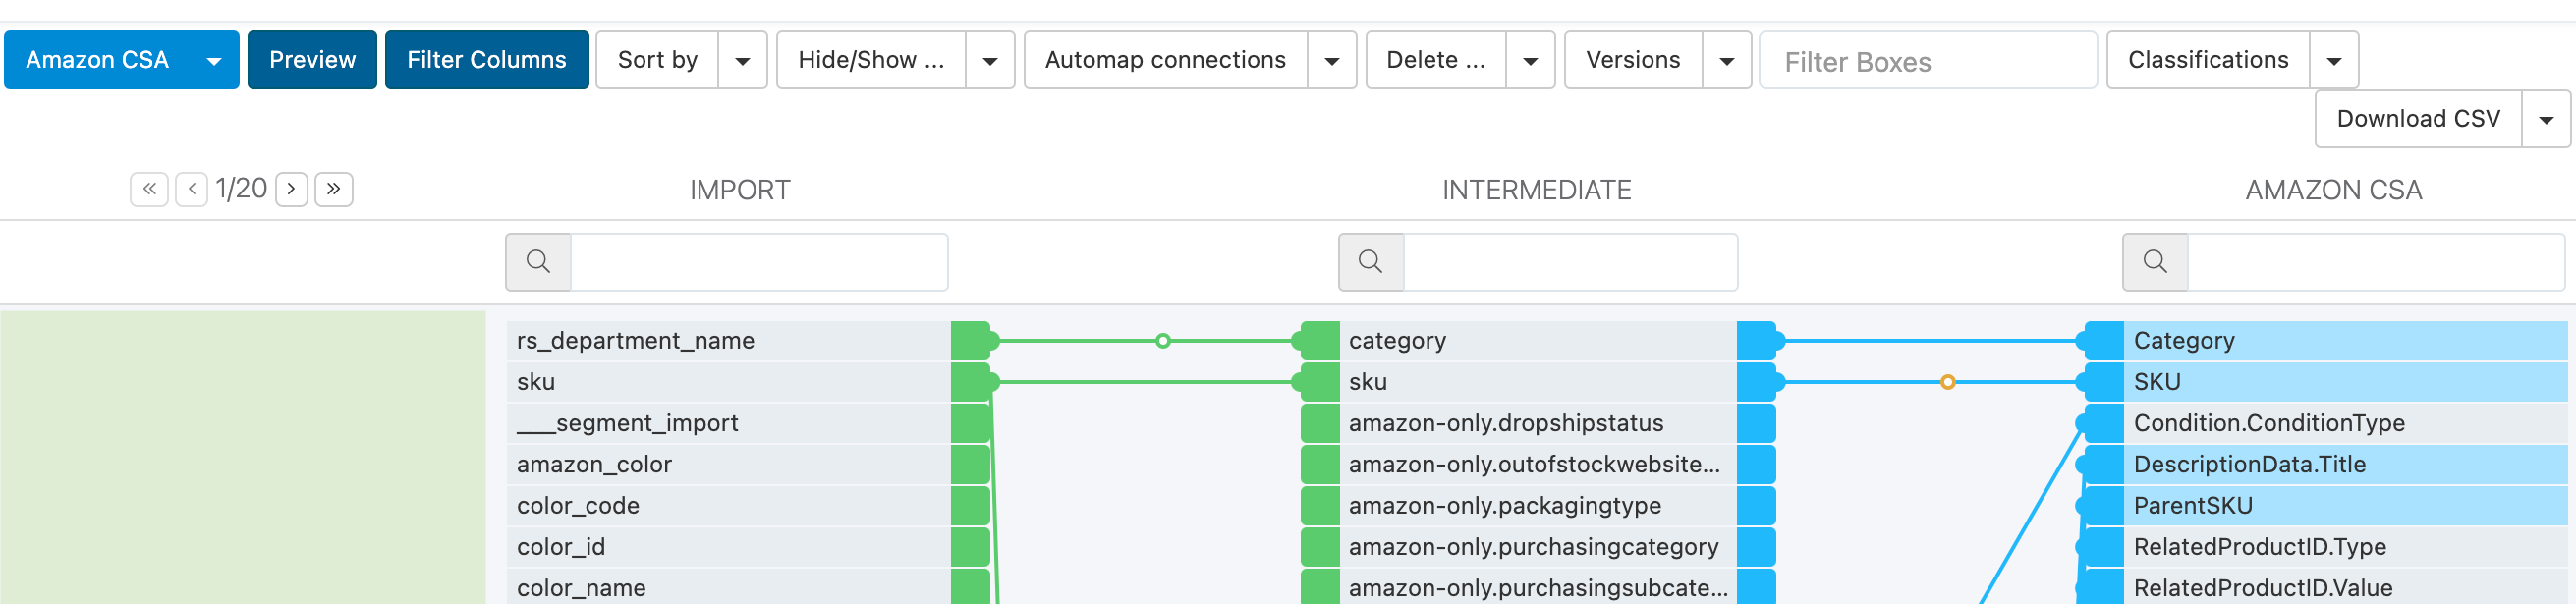
In Dataflow, map all the required global attributes highlighted in blue.
Next, select Export. As the export runs, the platform creates all subcategory templates related to your data feed and displays them in the platform interface.
In Notifications, you can see the following messages:
Generating XML Feed TypeLoading XSD structureThese messages mean that the platform is creating CSA sub-channels. Productsup only creates sub-channels for the categories in the feed. For example, after category mapping completes and only the
Shoescategory exists in the feed, only then is the Shoes CSA export template available.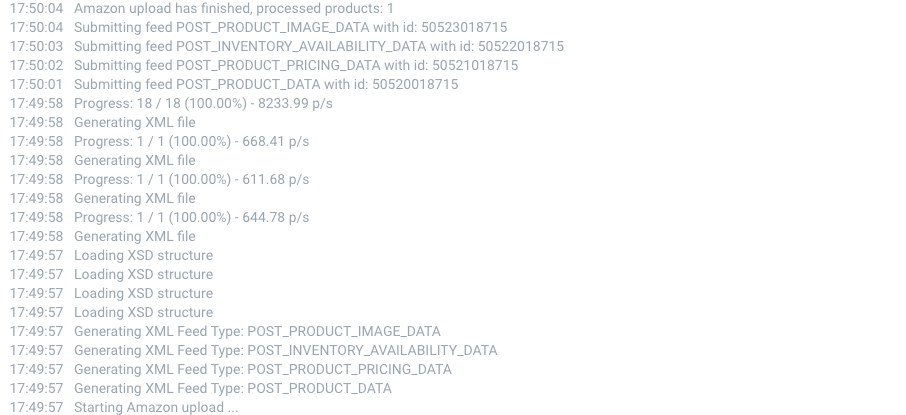
Once the export run finishes, you can see the Classifications filter option in the export level in the Dataflow and Data View menu bars.
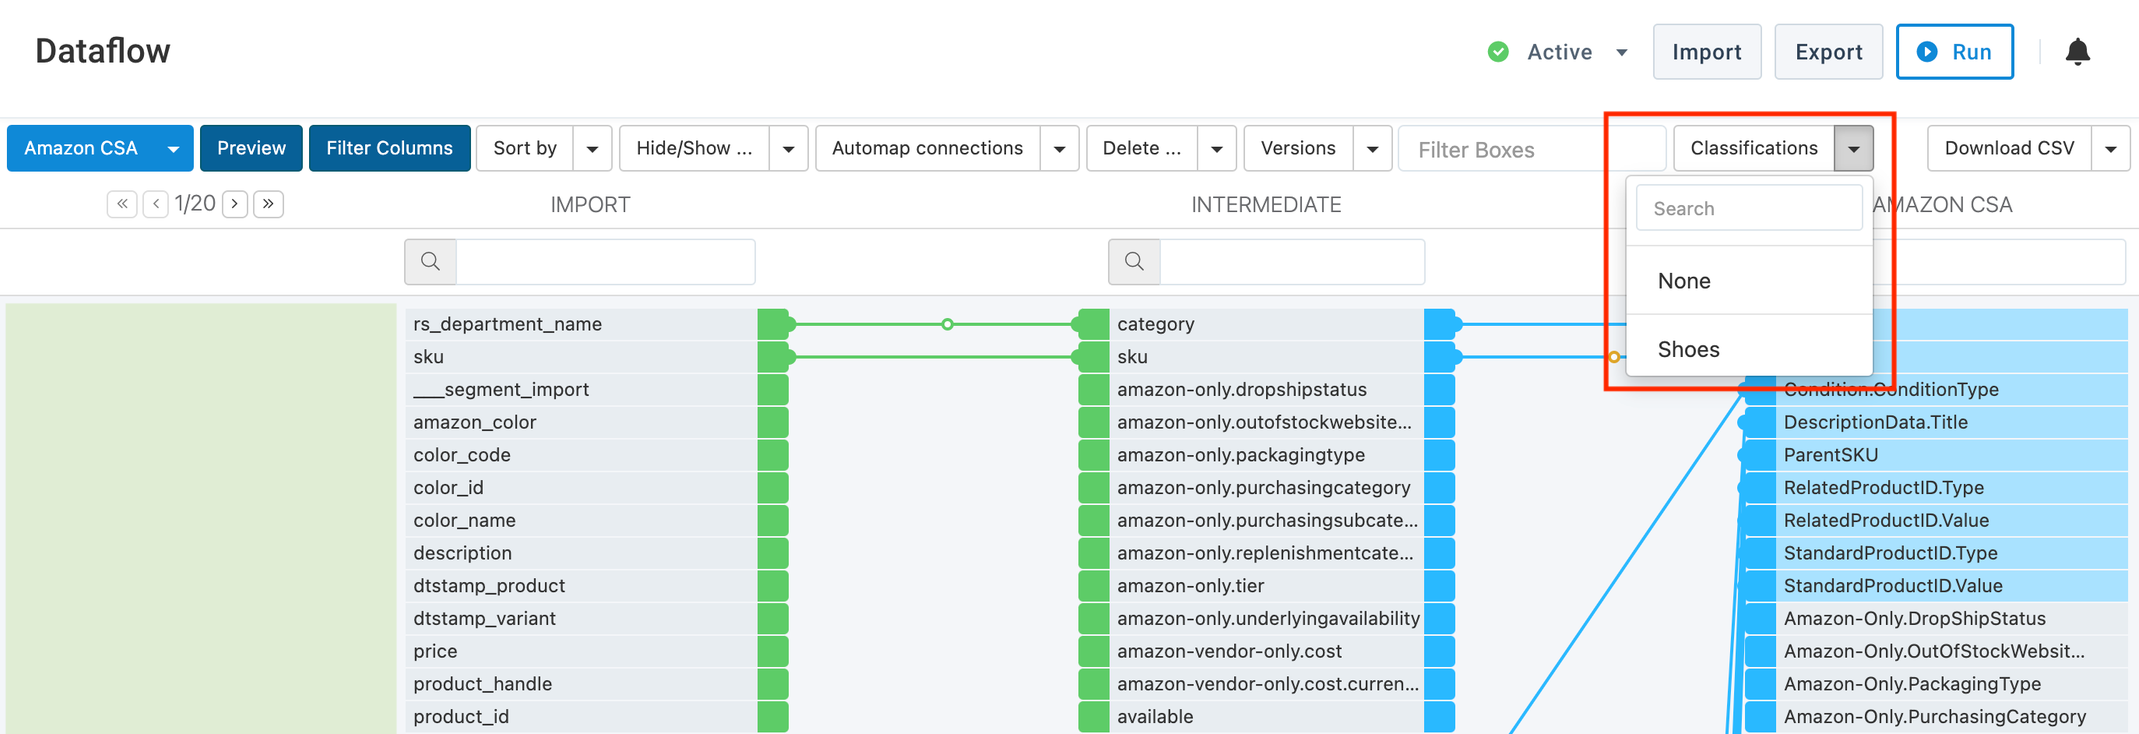
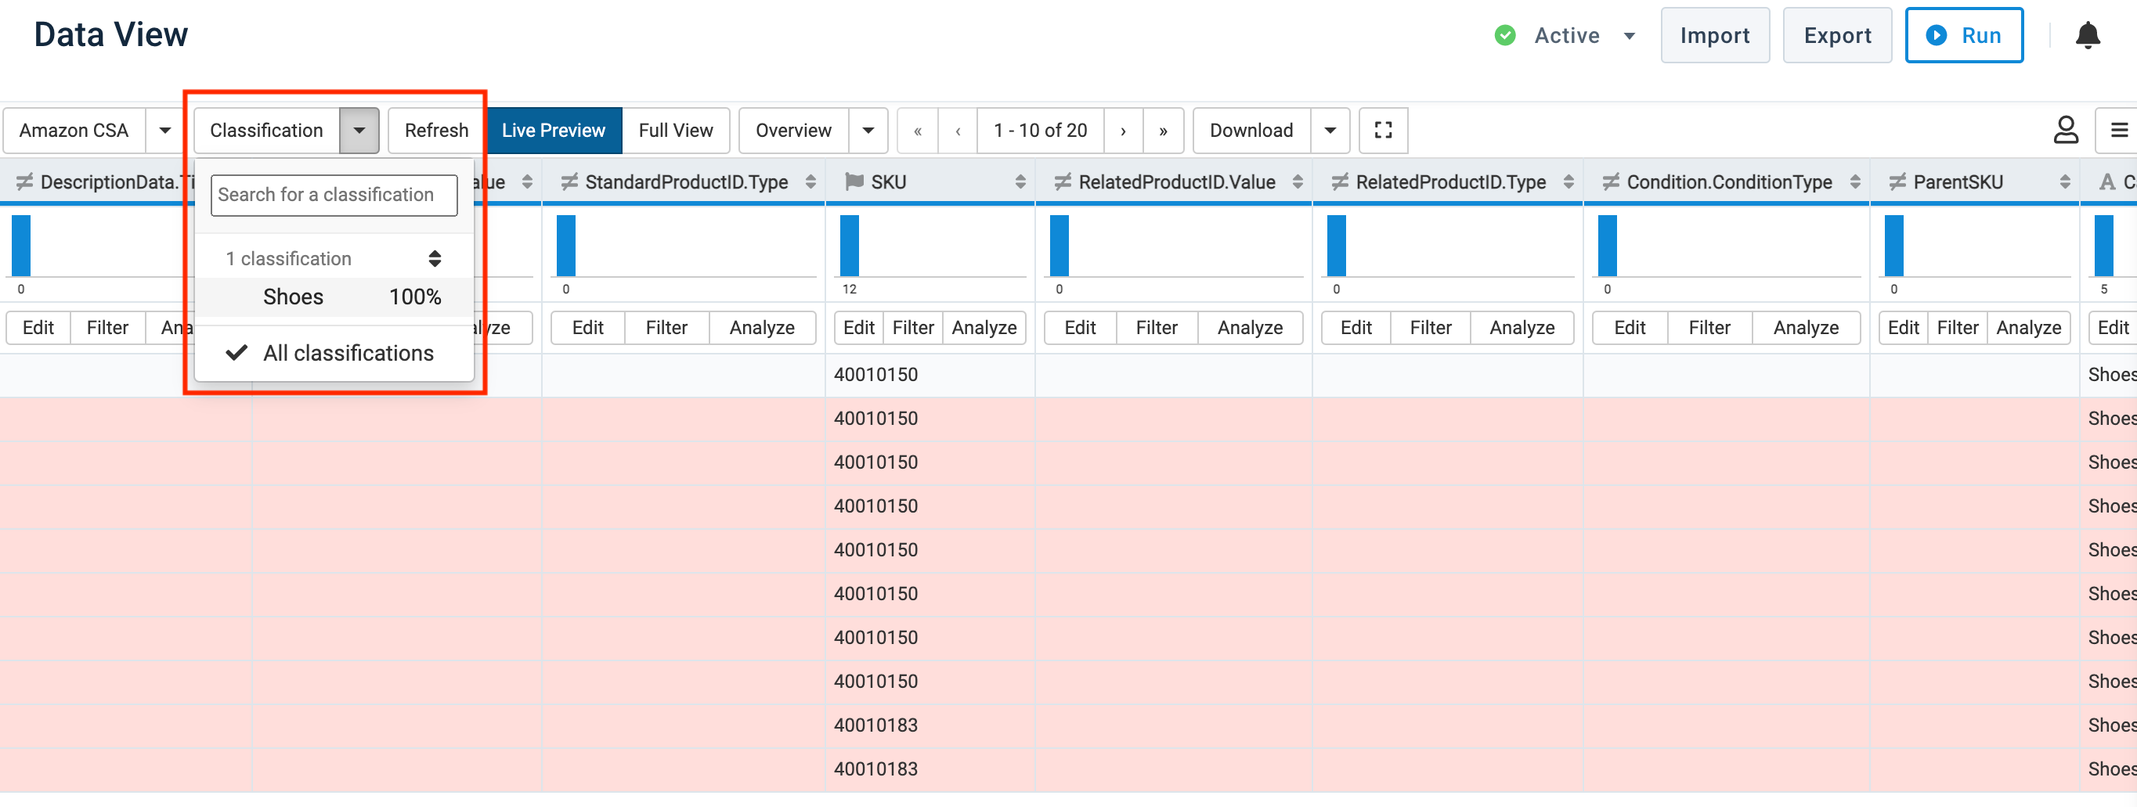
Dataflow Classifications filter and Data View Classifications filter
Stage 2 - Prepare your data for export to Amazon
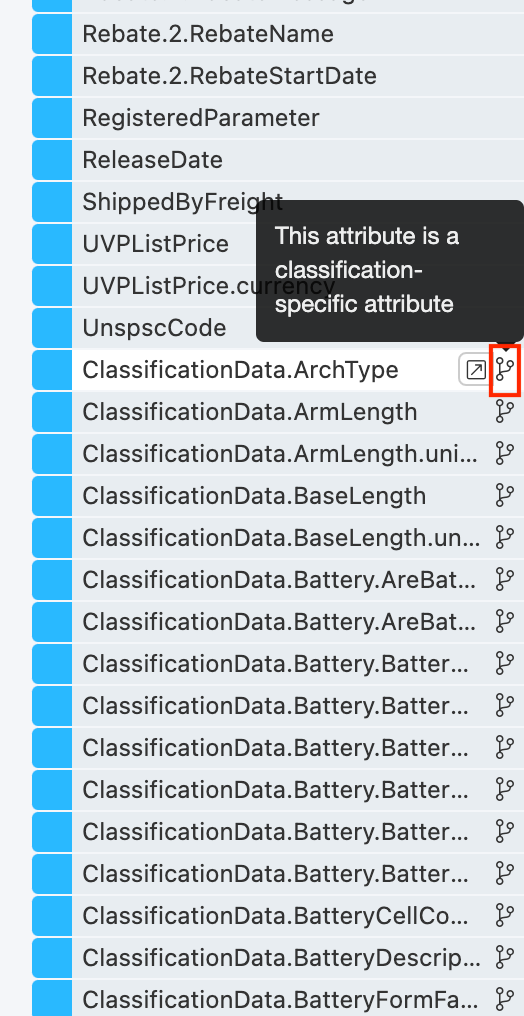
Using the Classifications filter, map your data to a CSA by switching between CSA sub-channels.
The fork icon, to the right of the attribute name, identifies attributes that are classification-specific and relevant to the selected Amazon Category.
Run an analyzer test to check your channel readiness. It tells you how complete and ready your data is for an Amazon Marketplace export.